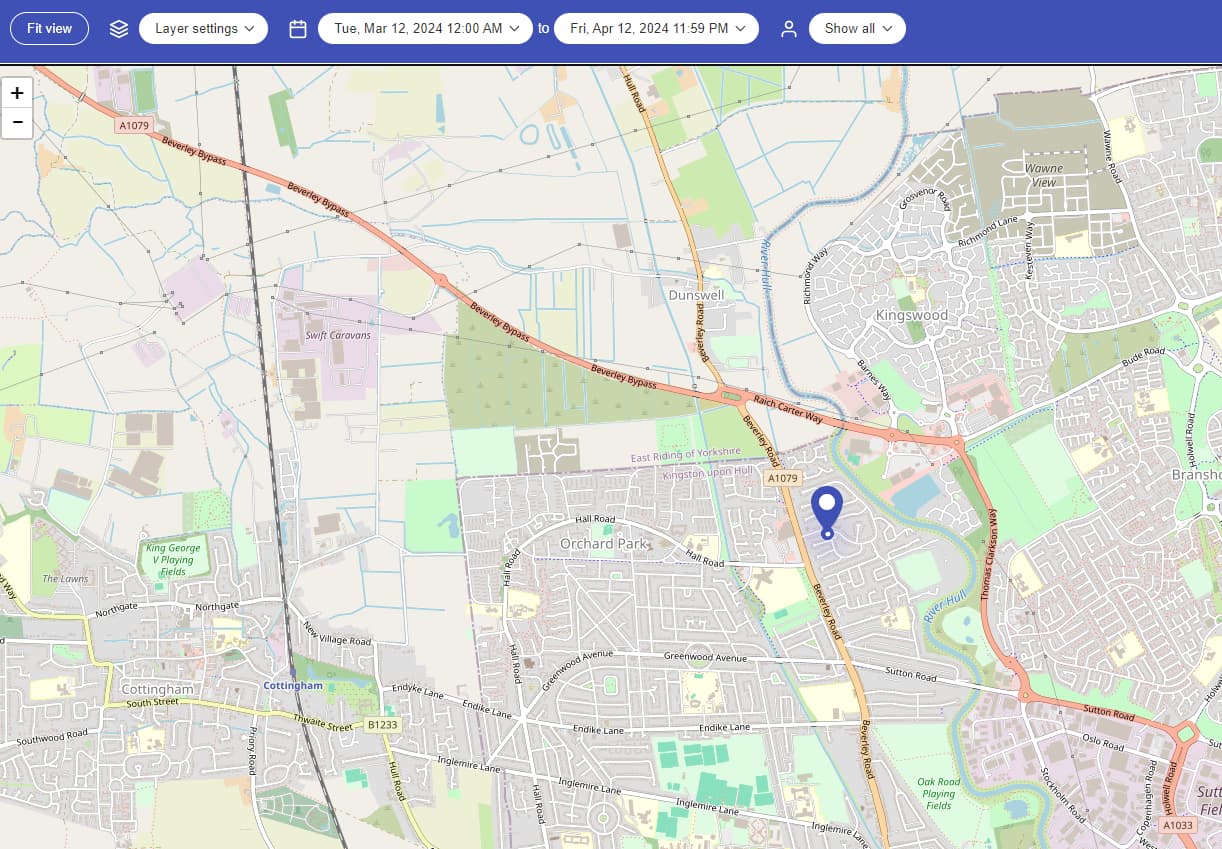
I was looking for a fall back solution as Life360 was slowly deprecating the features I used, and wanted OwnTracks to work "similar" to Life360 while adding in central management. You can change regions in this app, as well as location and display settings which will get pushed to each device the next time they report a location. This integration supports both the Android and iOS OwnTracks apps.
If you like this integration, feel free to Buy me a Coffee!
The app/driver is available from the Hubitat Package Manager or directly from here:
Click here for the Installation and Configuration Instructions and FAQ
Phone Locations are not Responsive
Phone Locations are not Responsive
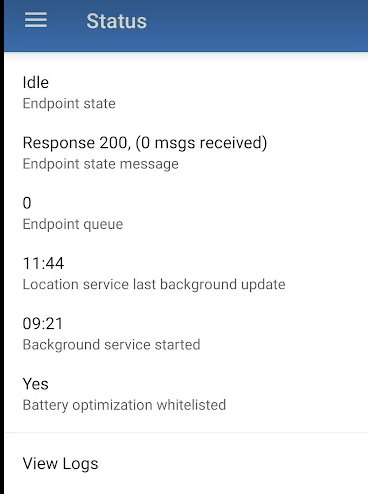
If you are using the Android Play Store version, the Owntracks mobile app MUST be opened after each app or phone restart to make it active. You can use 3rd party tools like Tasker to do this automatically, or use the APK version in Post #2 which allows the app to automatically start and run in the background.
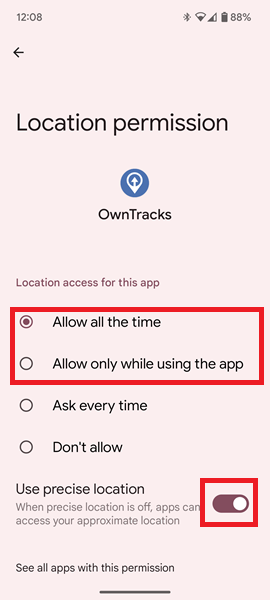
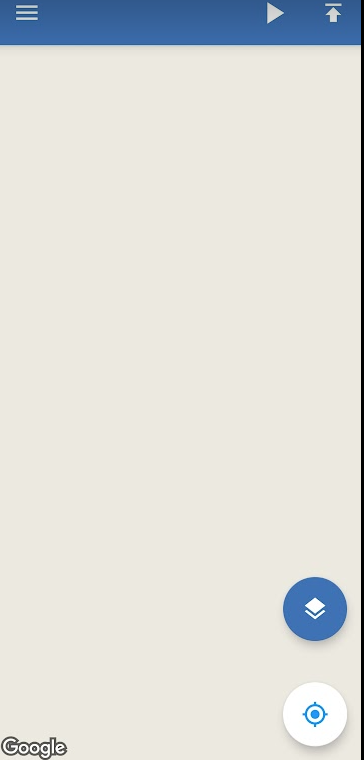
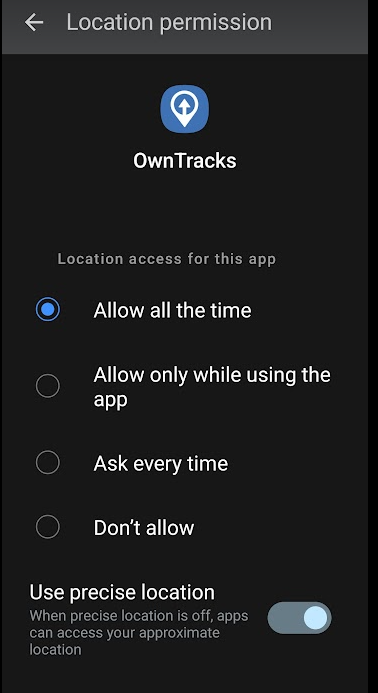
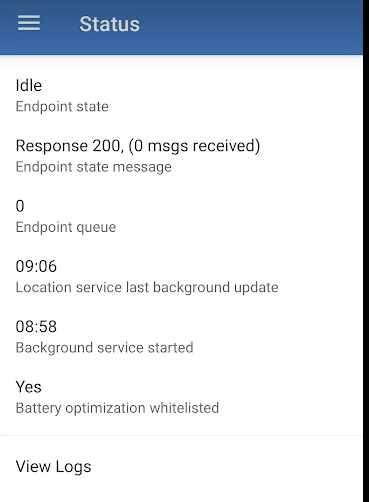
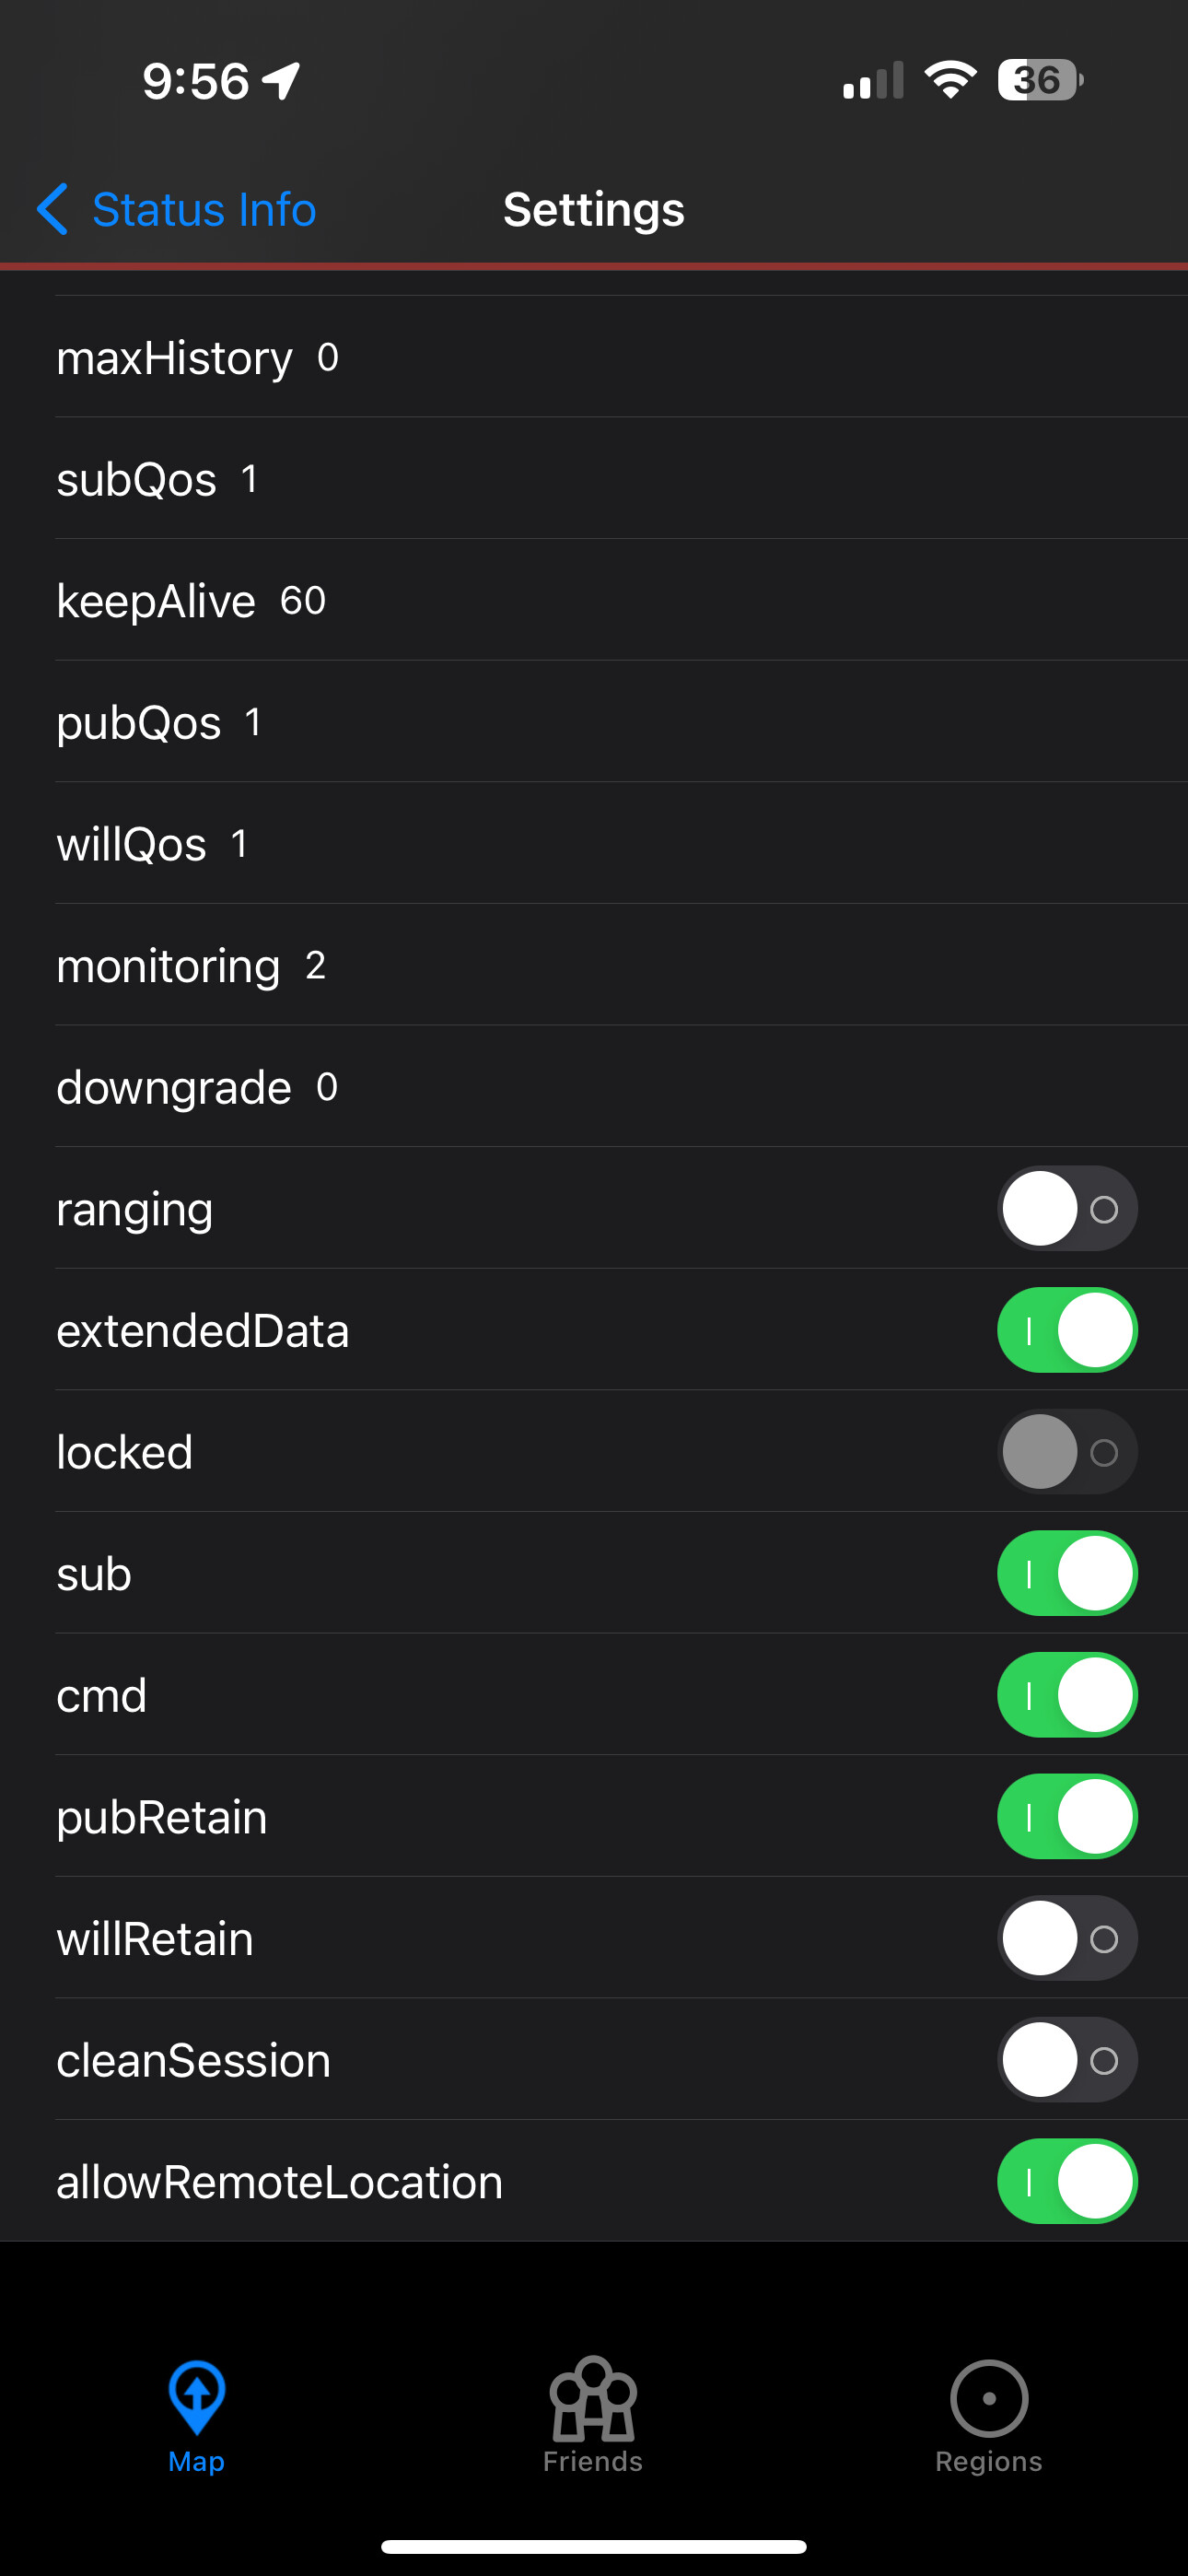
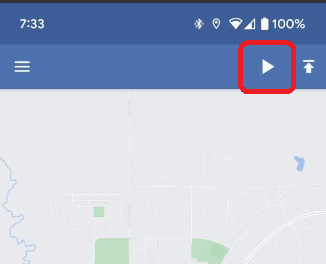
Ensure that the phone is set to "Move" or "Significant" monitoring mode (see image below). Tapping this icon will toggle through the "Move->Significant->Manual->Quiet" modes. Manual and Quiet will not report locations automatically. This button was disabled in the APK in post #2:
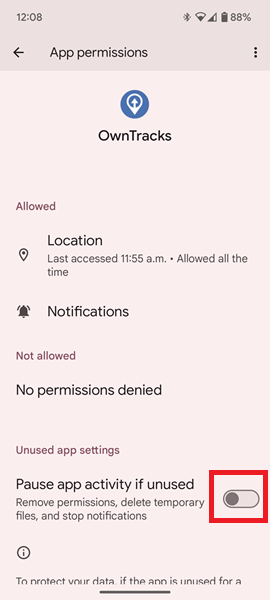
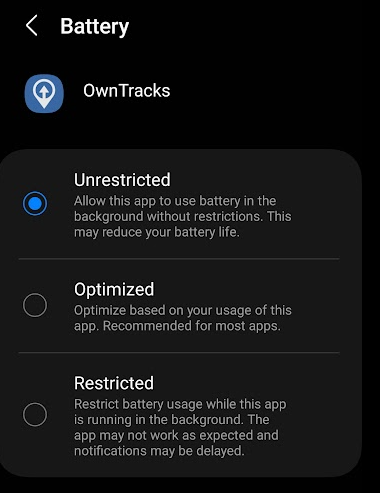
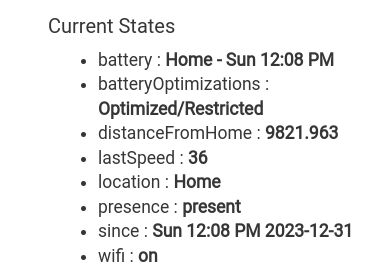
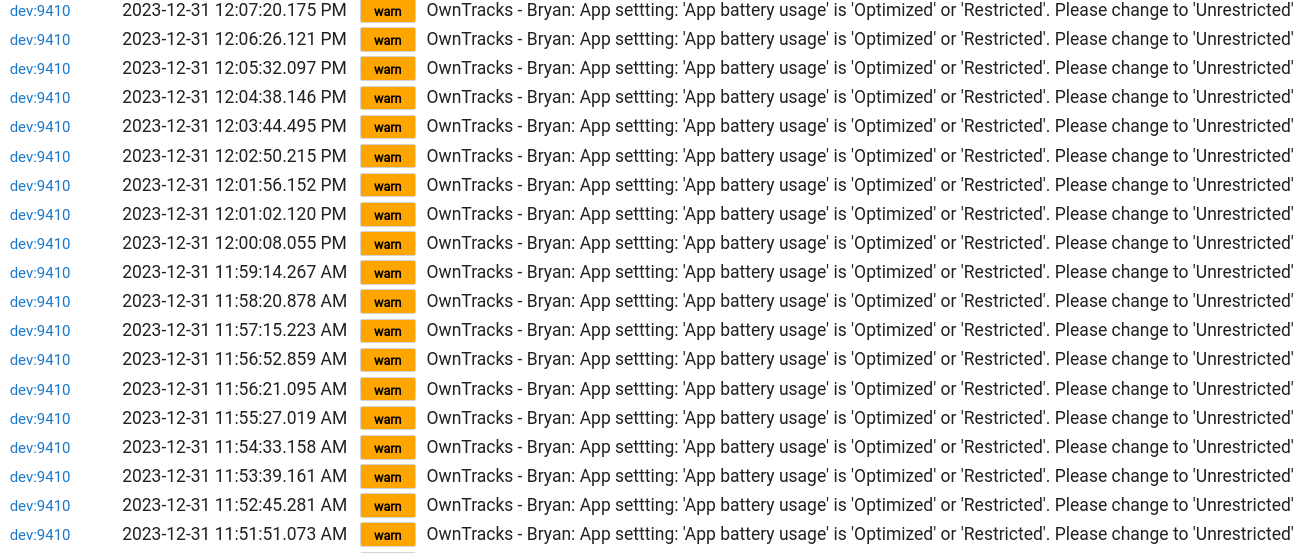
Android Battery Optimizations
Recommended Battery Settings
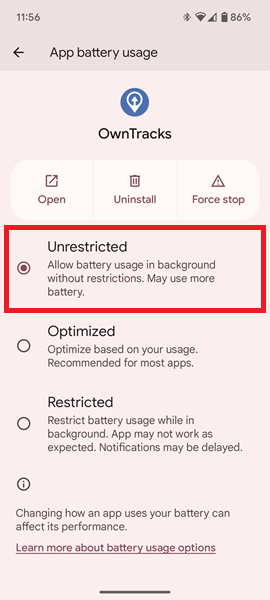
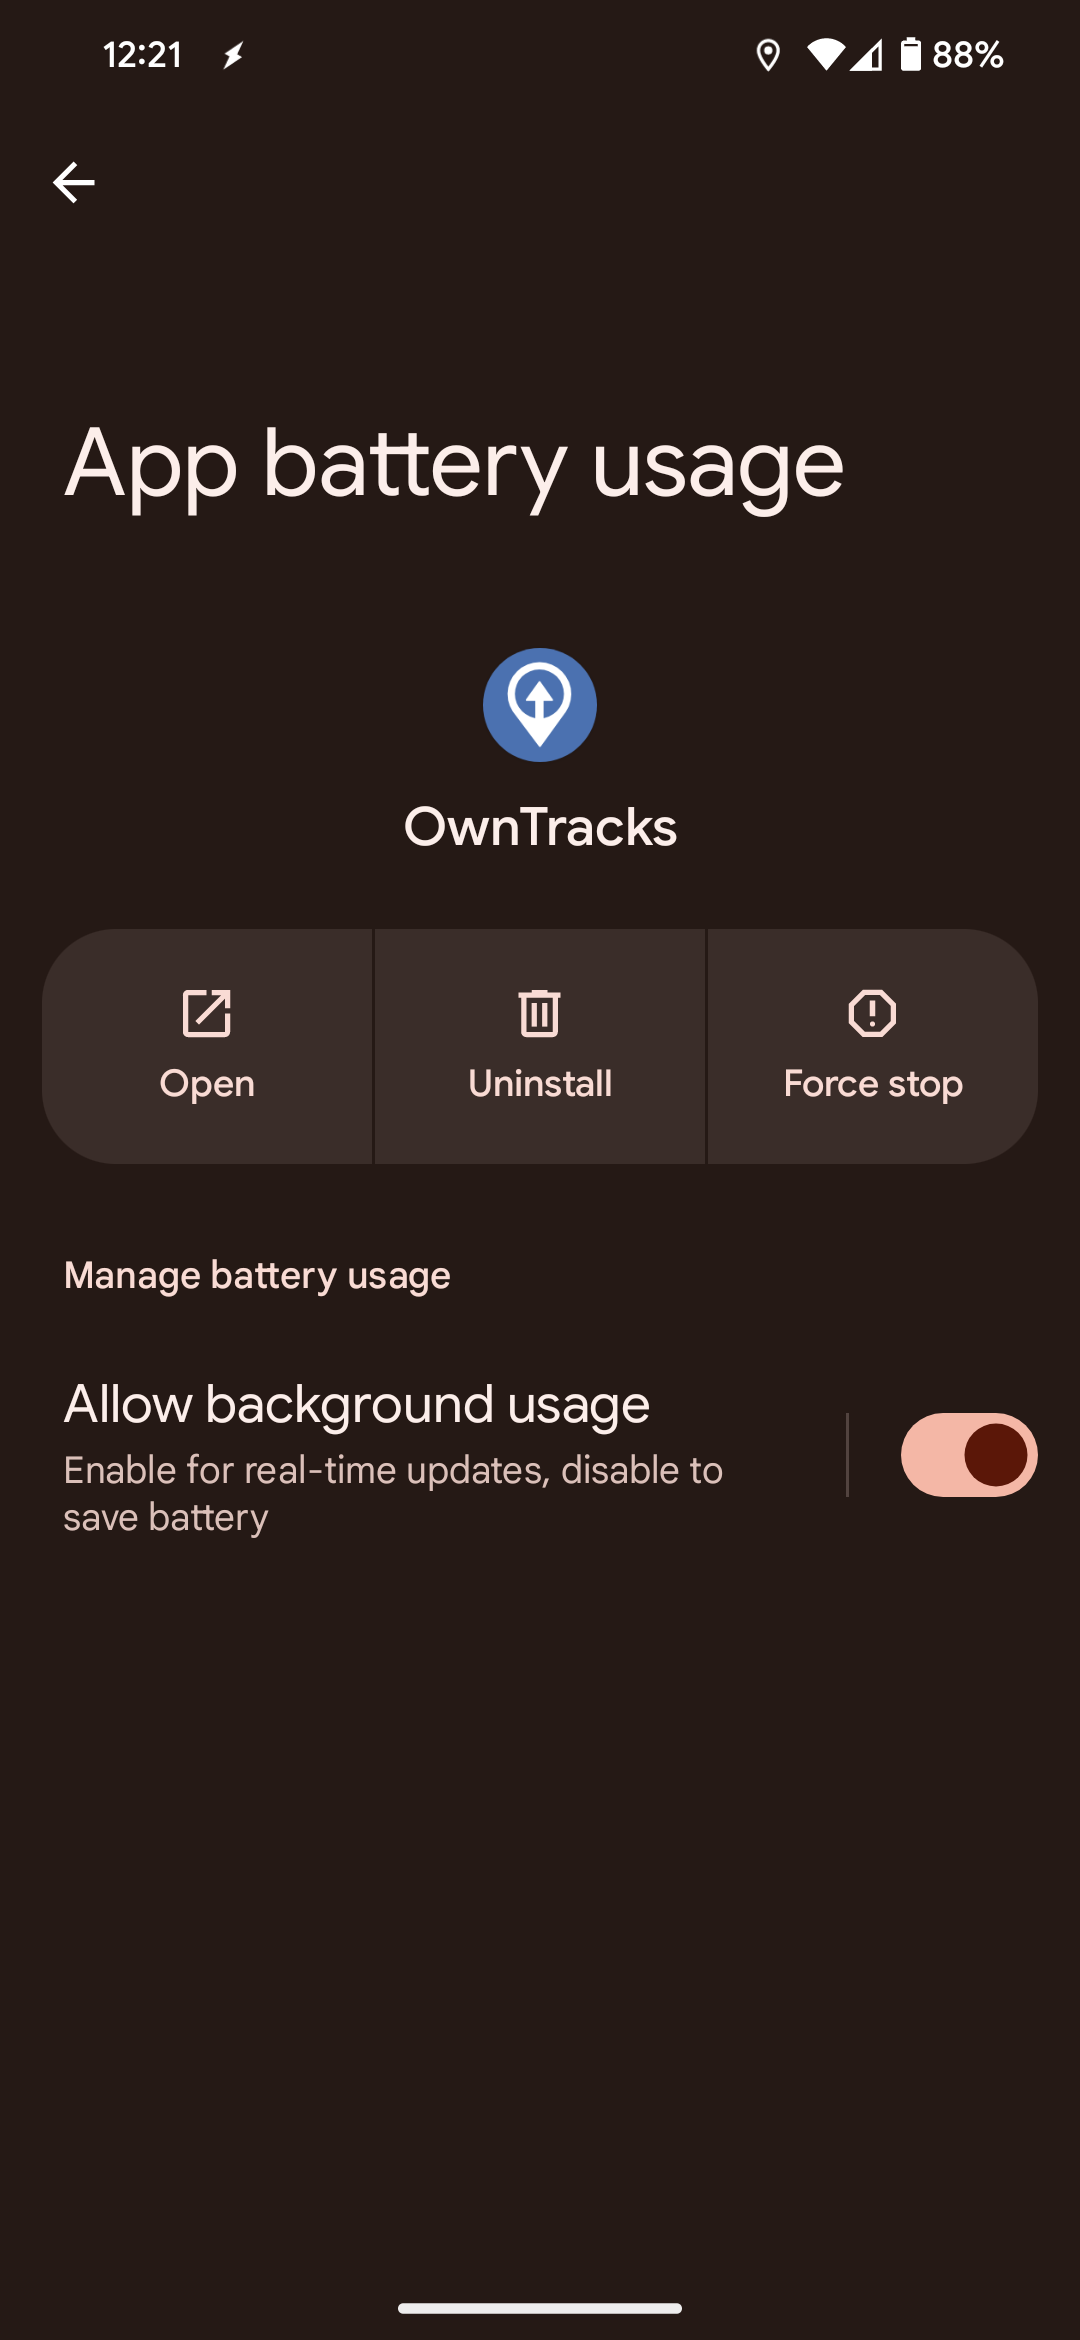
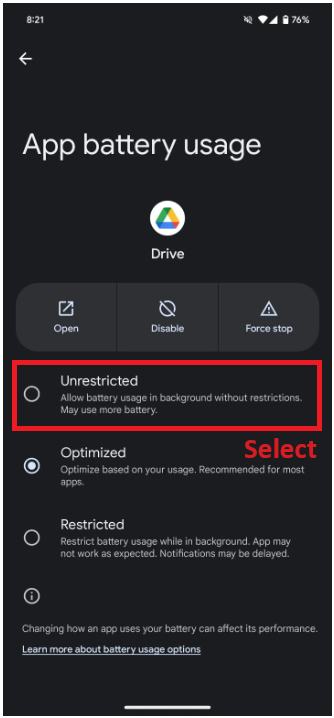
- Select 'Settings' -> 'Apps' -> 'OwnTracks' - > 'App Battery Usage'.
- For Android 14 QPR1 and older with the three radio box selection, select the 'Unrestricted' radio button:
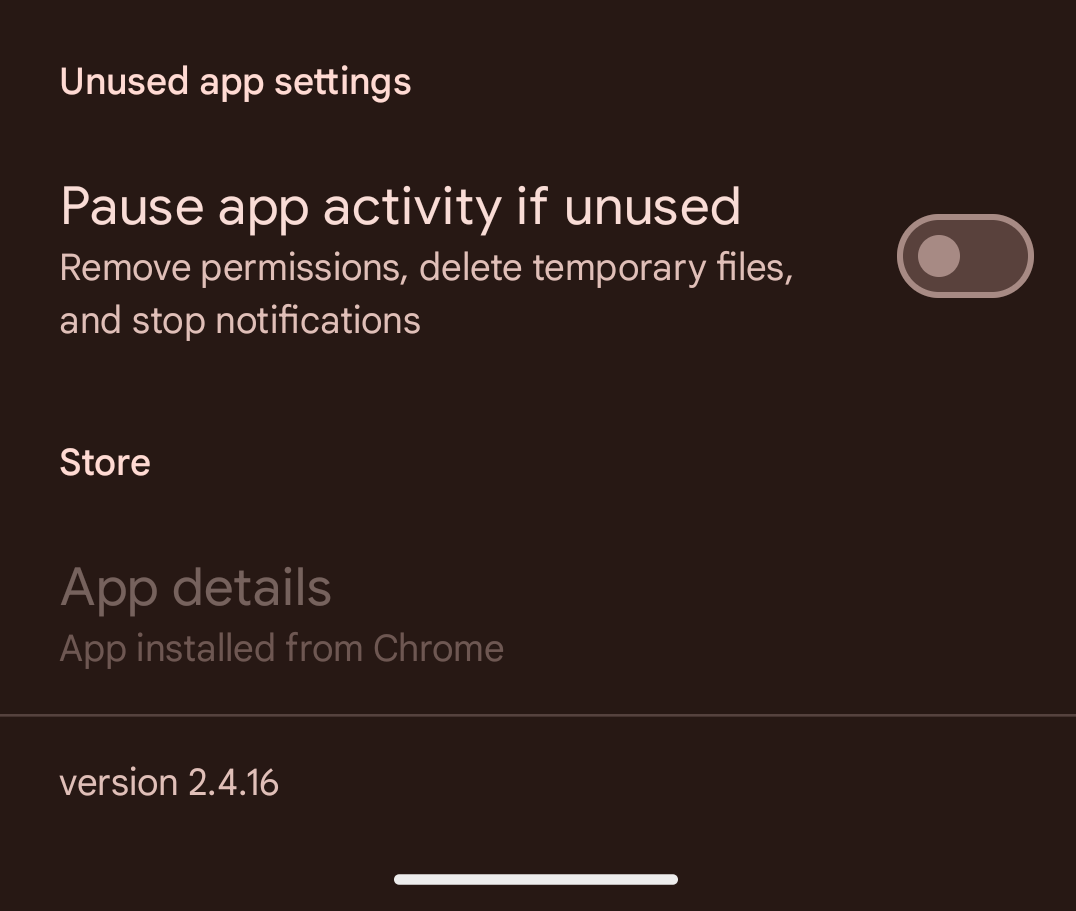
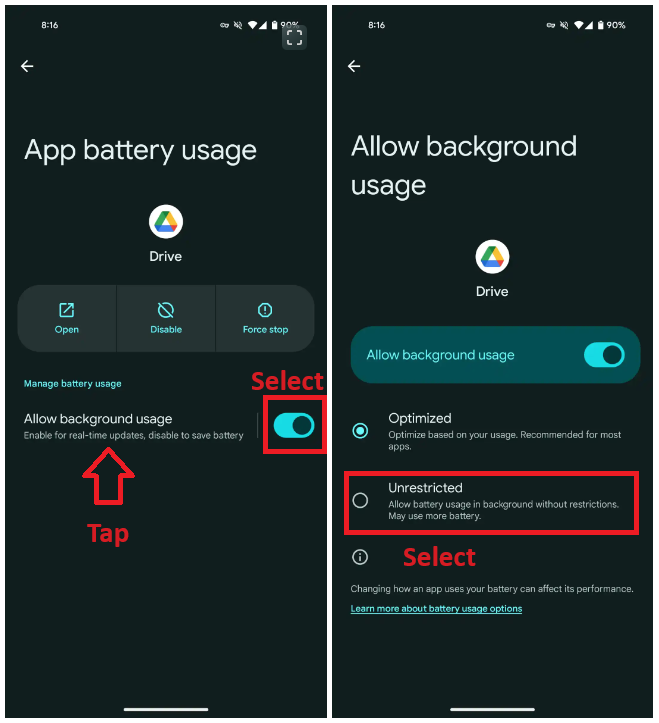
- For Android 14 QPR2 and newer with the single 'Allow background usage' slider:
- Select the slider.
- Tap the text for 'Allow background usage'.
- Select 'Unrestricted'.
General troubleshooting steps
Thanks @danabw for the following!
General troubleshooting steps
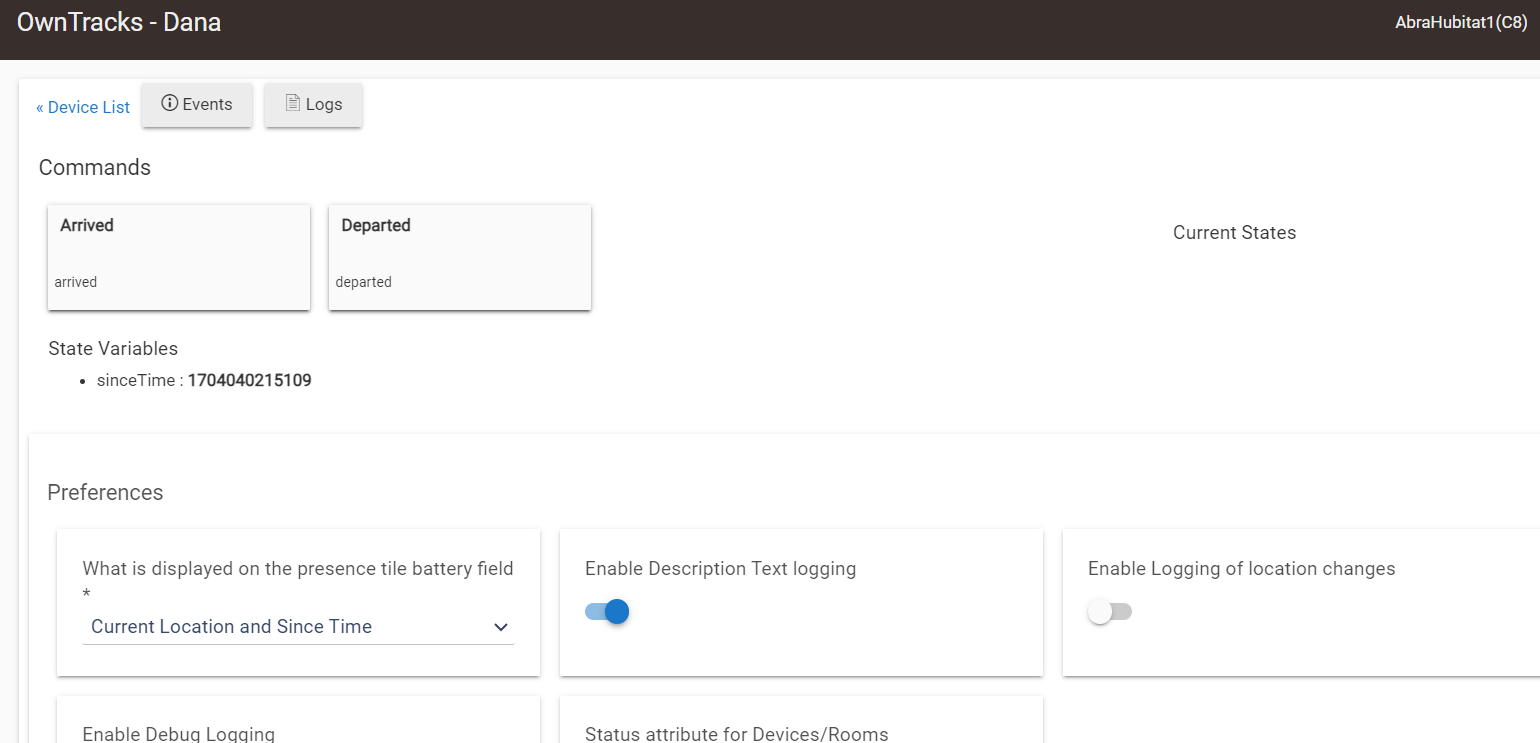
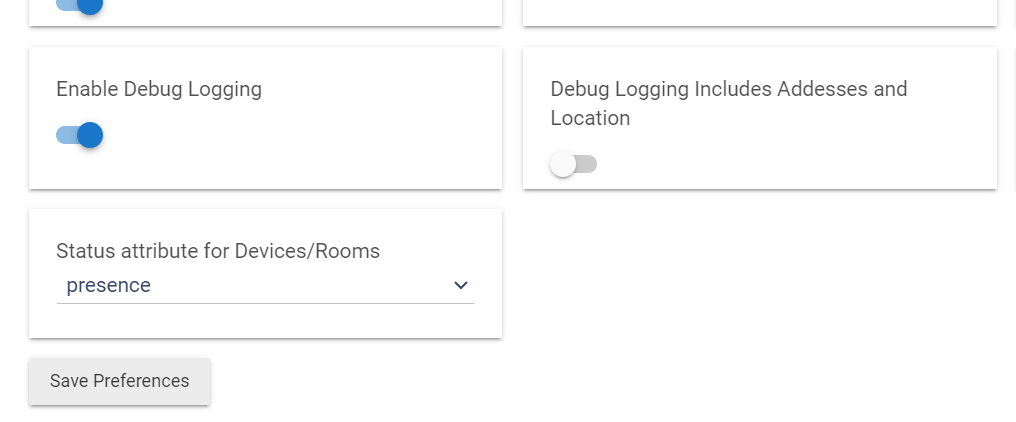
Turn on debug logging in the app and set it for enough to cover your next trip. Hit Done at the bottom of the app page to save your settings.
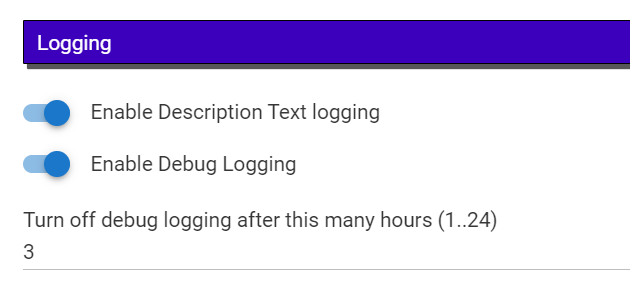
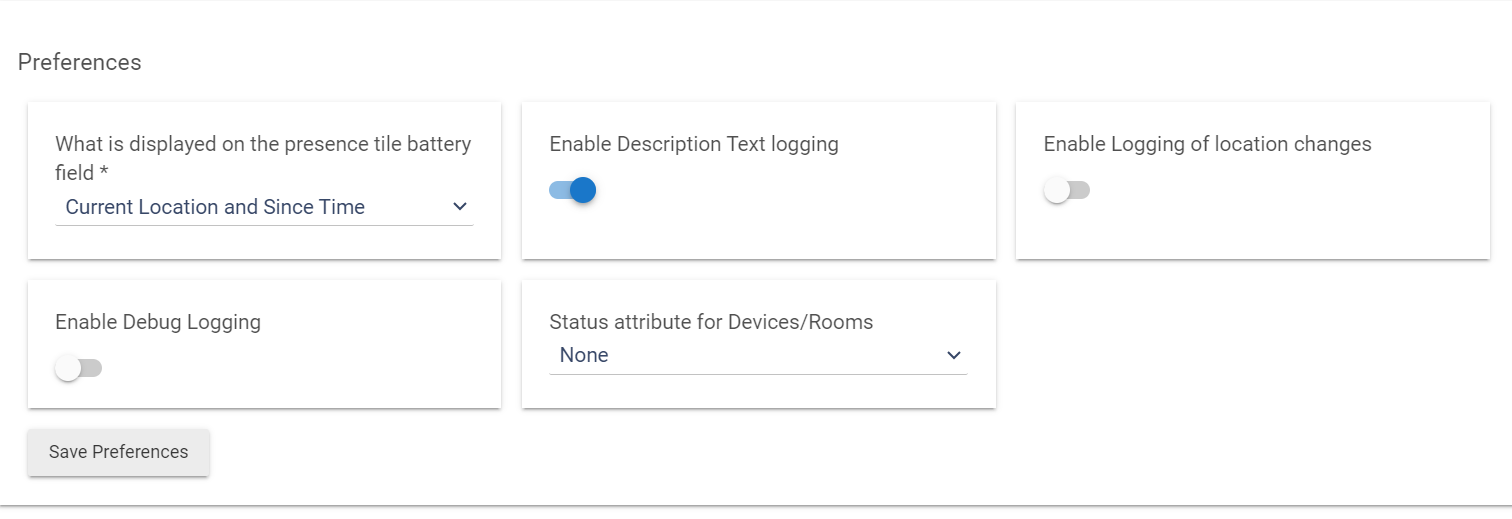
Turn on debug logging in your Owntracks device(s) that you want to monitor. Turn off address/location info on debug logging if you want to preserve privacy. Save your changes.
Then take your trip. Keep track of when you leave and when you arrive back home.
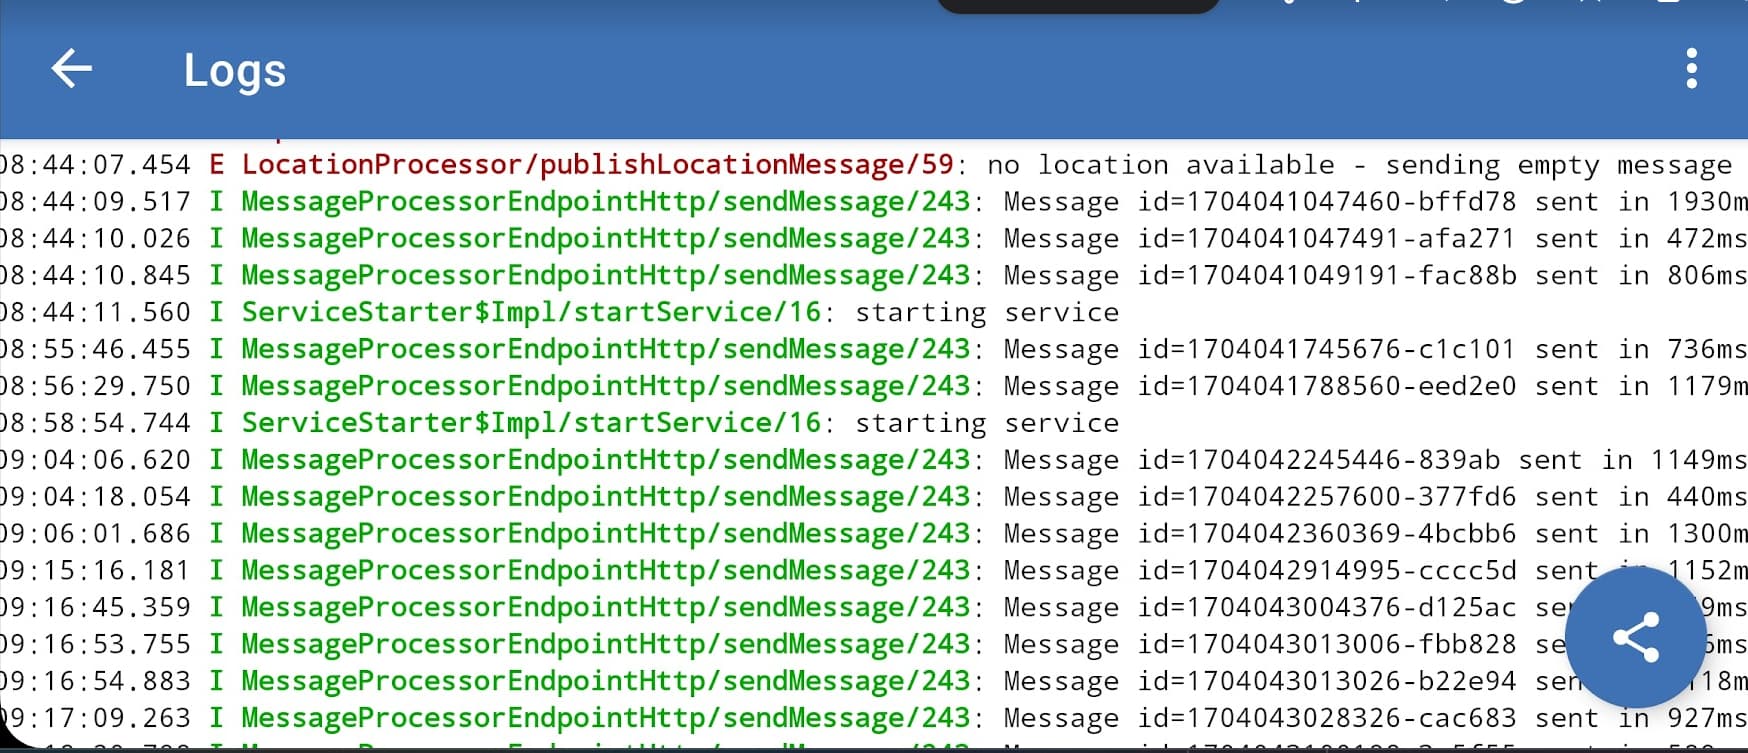
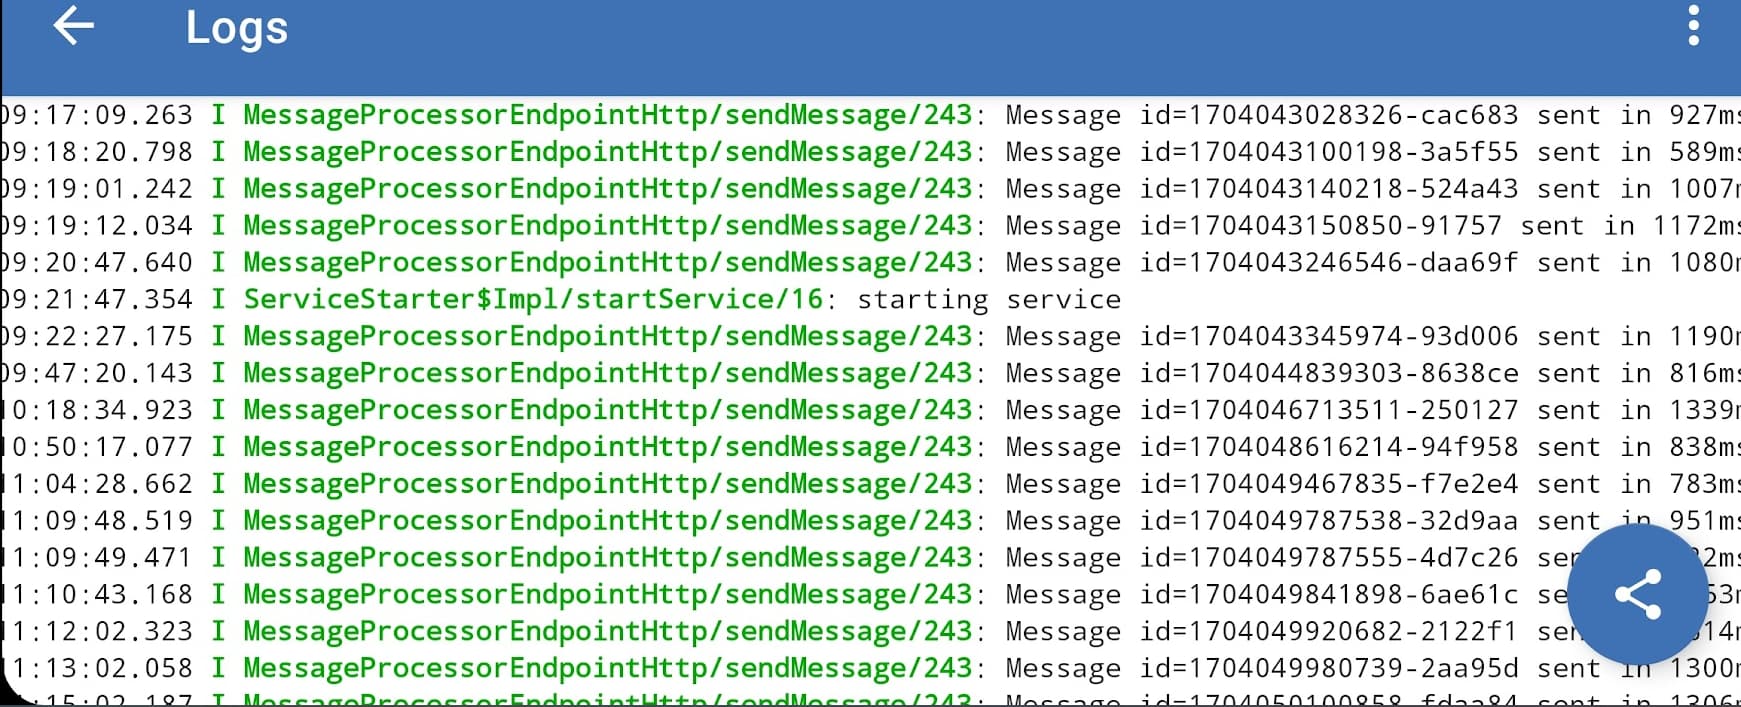
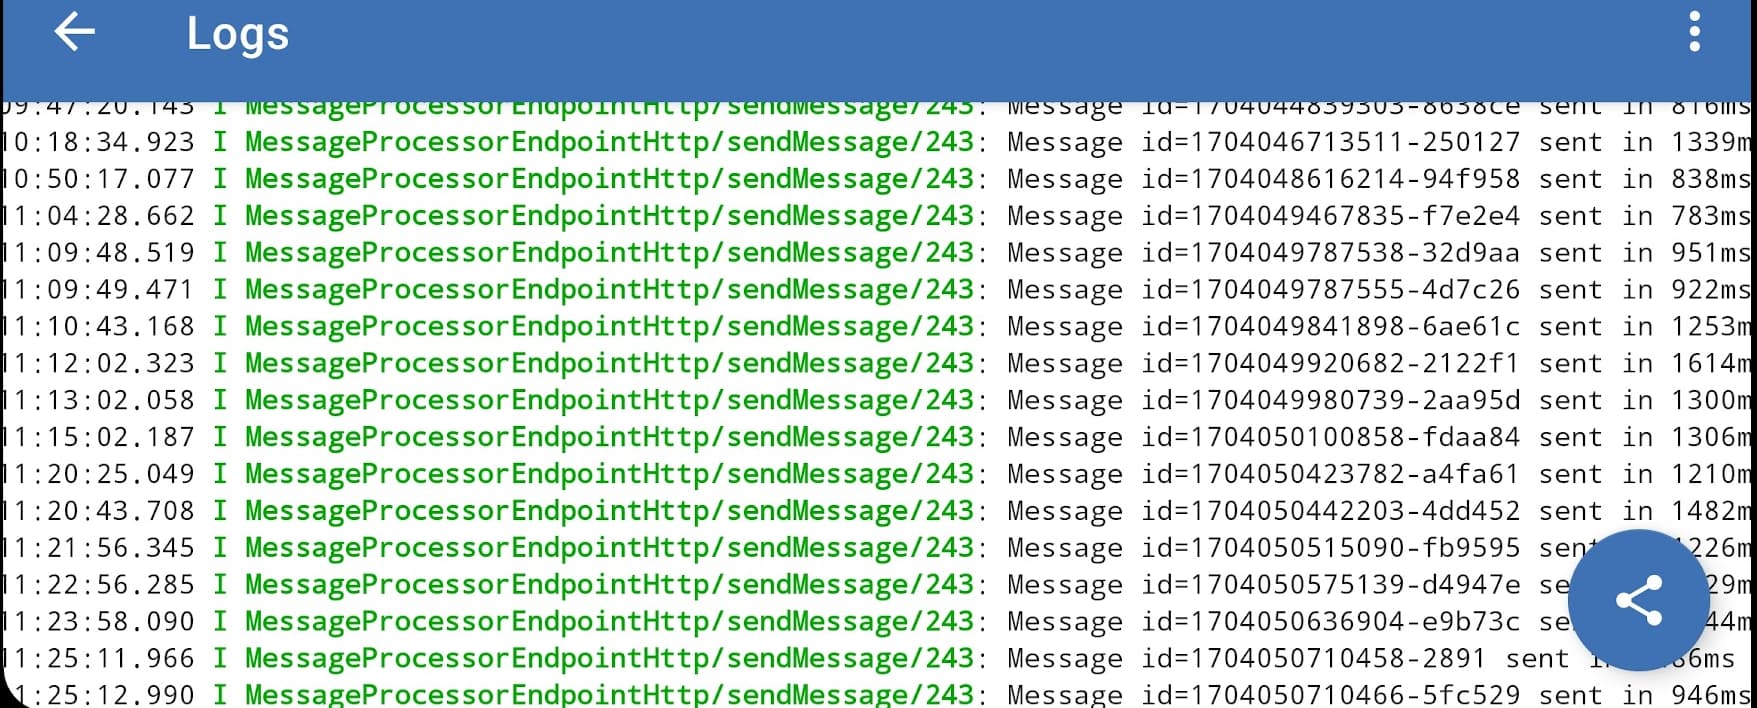
When you get back, go to the Logs>Past Logs page and hit the Reload button to update it w/the most recent logs:

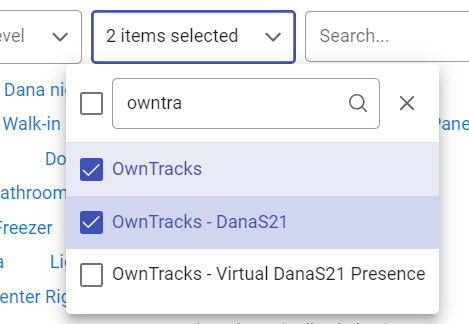
Then filter your logs on your Owntracks app and Owntracks devices:
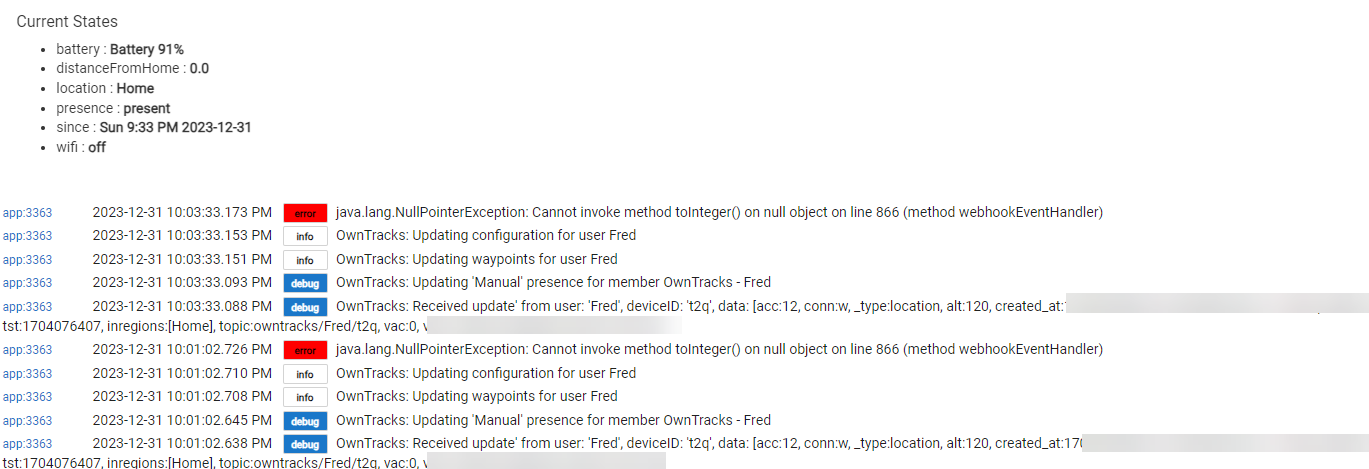
Take screen caps of your filtered logs for the time-frame of your trip. Get logs from several minutes after you arrived home to when your trip started. Send the logs to @lpakula in a PM, or post them here - if you've turned off showing location/addresses in the logs posting them here should be fine. If you post them here, hide them so that this topic doesn't become full of really long posts w/screen caps of logs:
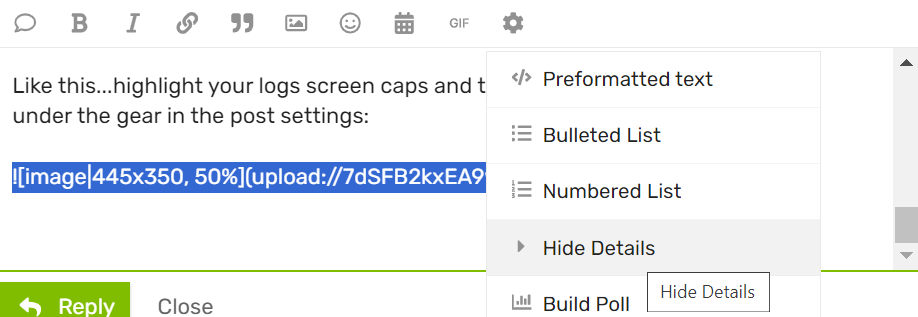
Like this...highlight your screen caps and then use the "Hide Details" option under the gear ![]() in the post settings:
in the post settings:
Restricting the Google maps and geocode API access (optional feature)
Adding Google API Security Restrictions
It is recommended that you secure the API access to avoid unauthorized usage should your API key be compromised.
Navigate to the Google cloud console, select Keys & Credentials and select each API key to add restrictions. Your API key names will be whatever you named it during your setup. In this case, they are prefixed with 'OwnTracks App...':

Google Geocode API
Since this API is only called from the Hubitat Hub, it can be restricted to your WAN IP. You can go here: https://www.whatsmyip.org/ to find what your IP is.
NOTE: Most ISP's give a long lease time IP so your WAN IP is effectively "static" and never changes. If they do a system update, you may be assigned a new IP, and then these steps would need to be repeated to get the IP to address geocoding again.
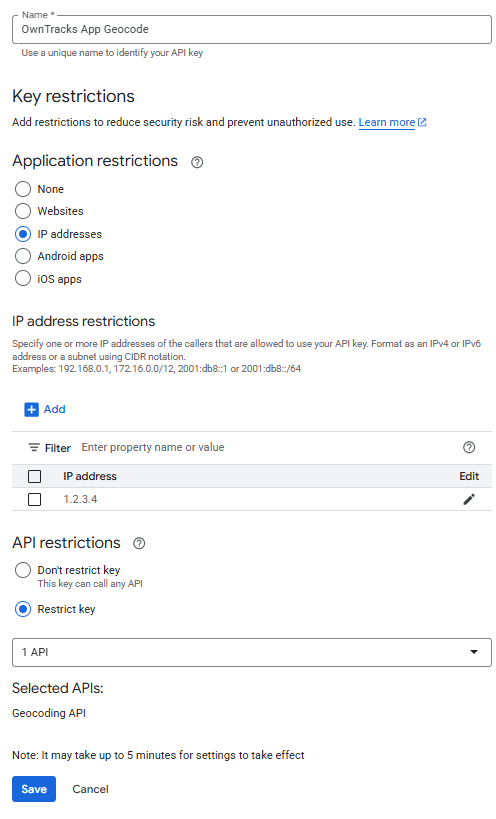
Follow these directions to apply IP restriction to the geocode API. A screen image below shows the fields:
- Application Restrictions: select "IP Addresses".
- IP address Restrictions: select "Add" and enter the IP from above. In the image below, it is
set to 1.2.3.4 purely as an example. - API restrictions: select "Restrict key", and select the "Geocoding API".
- Select "Save". It may take up to 5-minutes for the Google cloud servers to synchronize these new settings.
Example:
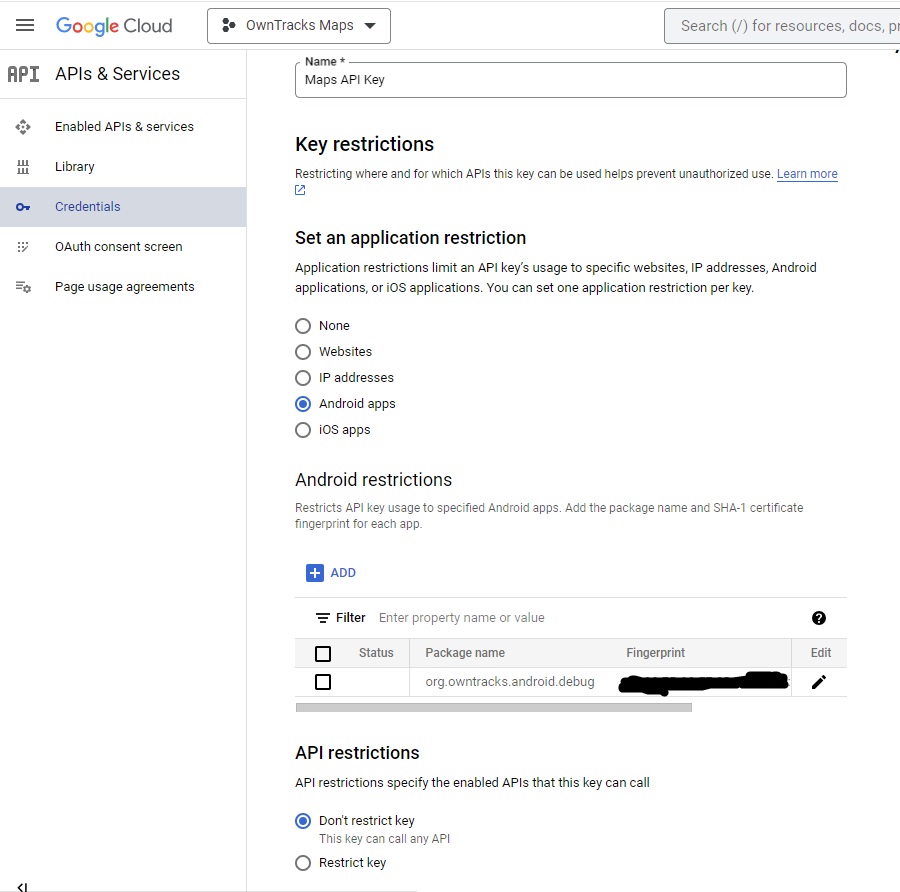
Google Maps API
Since this API can be called from any browser outside the network that the Hubitat Hub is located on, we restricted it to the Hubitat Cloud endpoint.
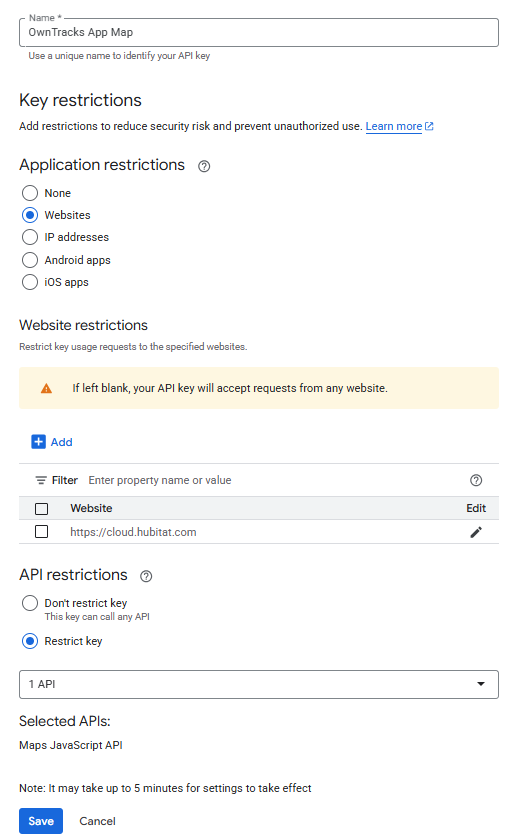
Follow these directions to apply Website restrictions to the maps API. A screen image below shows the fields:
- Application Restrictions: select "Websites".
- Website Restrictions: select "Add" and enter "https://cloud.hubitat.com". If you access the Google Family map from the local endpoints, you can select "Add" and add the LAN IP of the Hubitat hub here as well. For example, if your hub IP was 1.2.3.4, you could also add this website: "http://1.2.3.4".
- API restrictions: select "Restrict key", and select the "Maps JavaScript API".
- Select "Save". It may take up to 5-minutes for the Google cloud servers to synchronize these new settings.
Example:
OwnTracks Recorder (for Past Location History)
Thanks to @djh_wolf for the walkthrough!
Installing OwnTracks Recorder on Windows
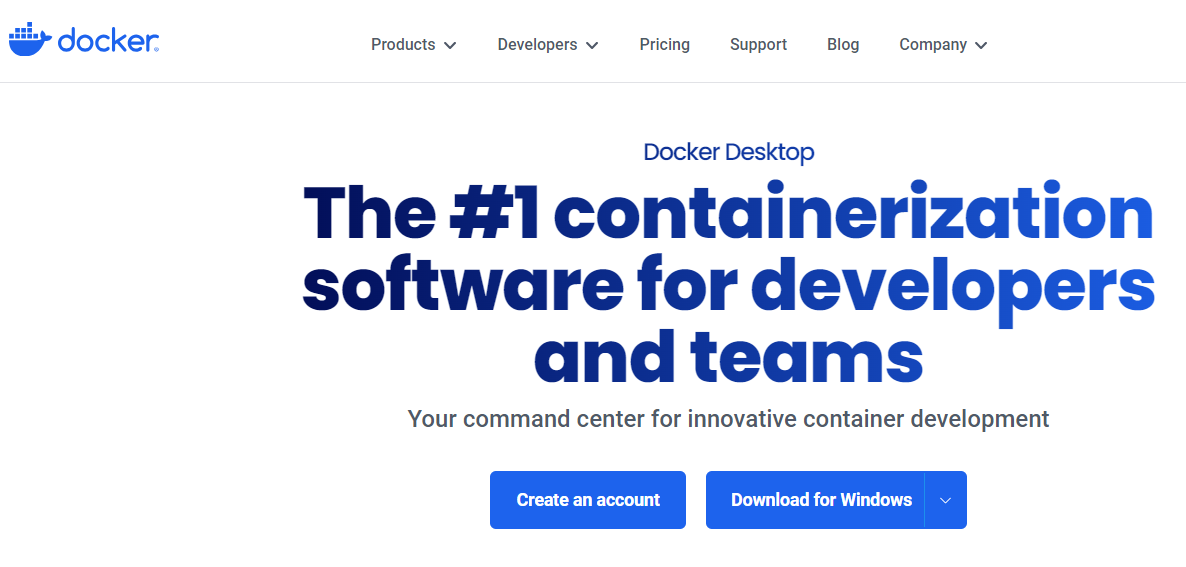
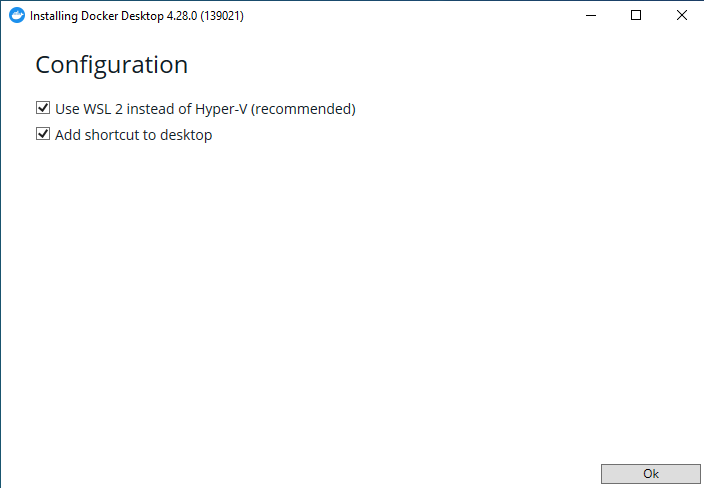
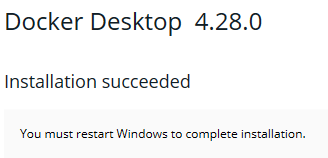
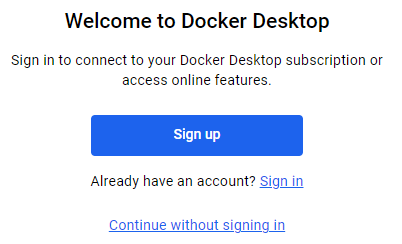
- Install Docker Desktop (Docker Desktop: The #1 Containerization Tool for Developers | Docker)
- Run command prompt

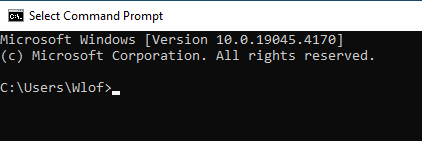
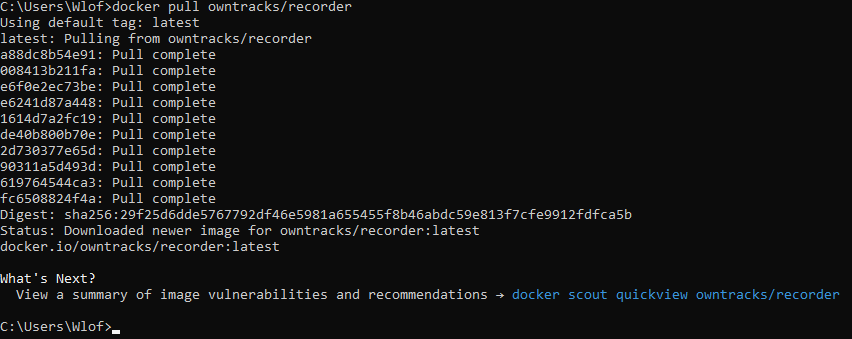
- Type:
docker pull owntracks/recorder
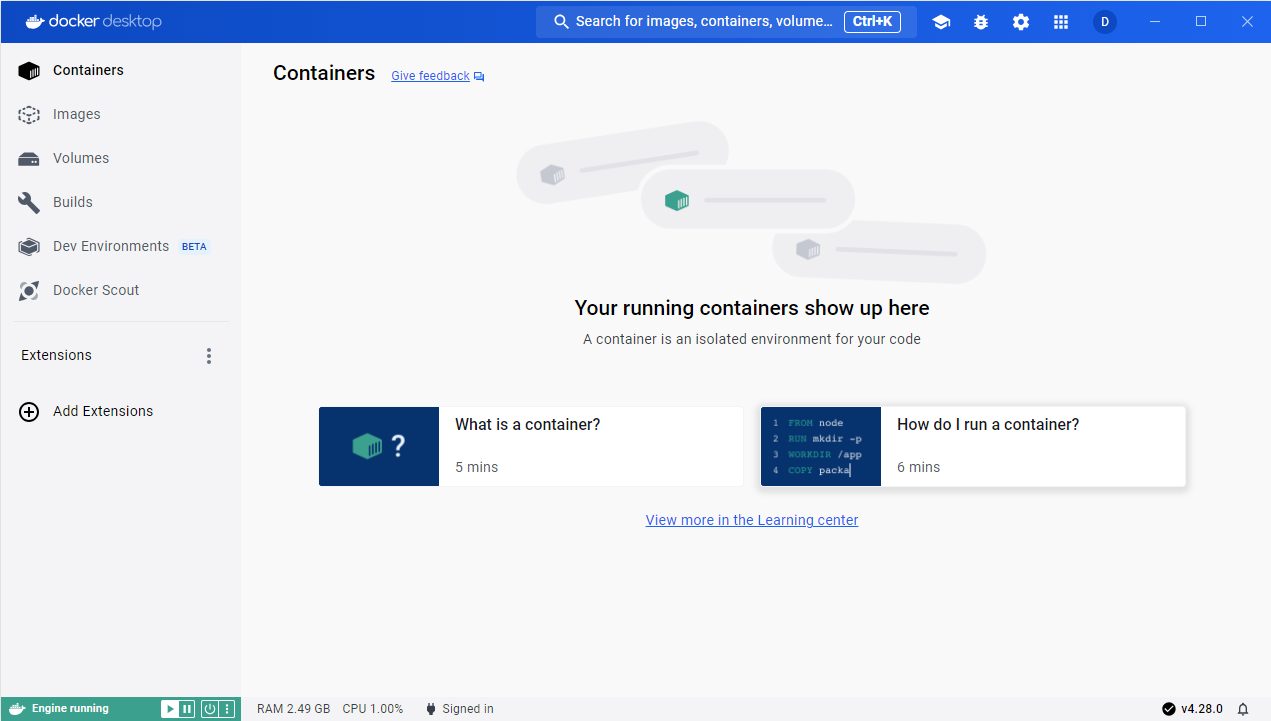
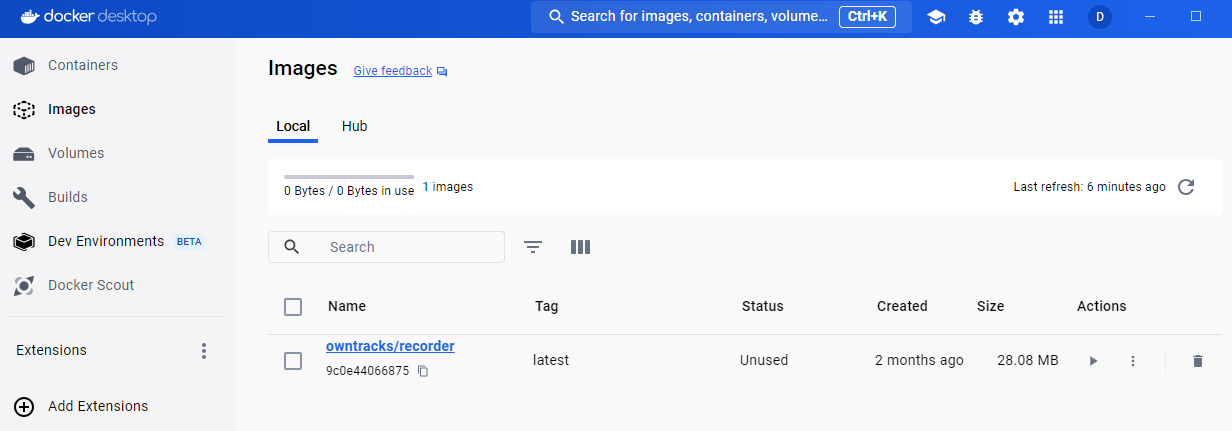
...which will create this under the images section of Docker desktop
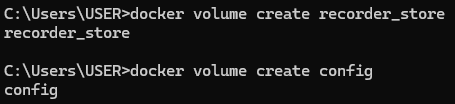
- Type the following two commands
docker volume create recorder_store
docker volume create config
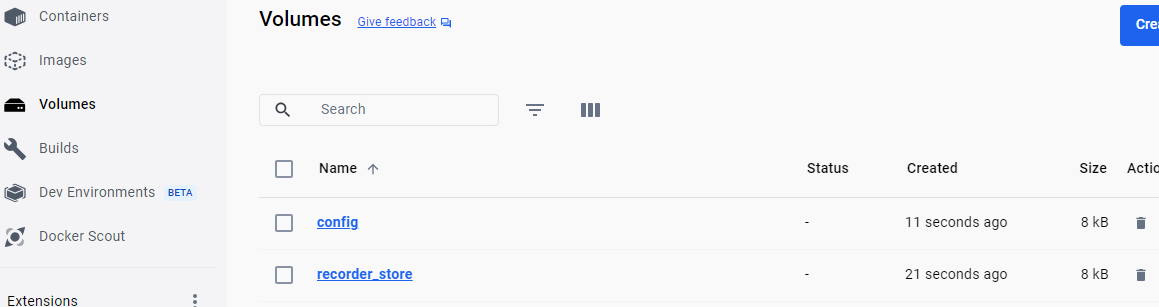
...which will create the following volumes under the Volumes section of docker desktop...
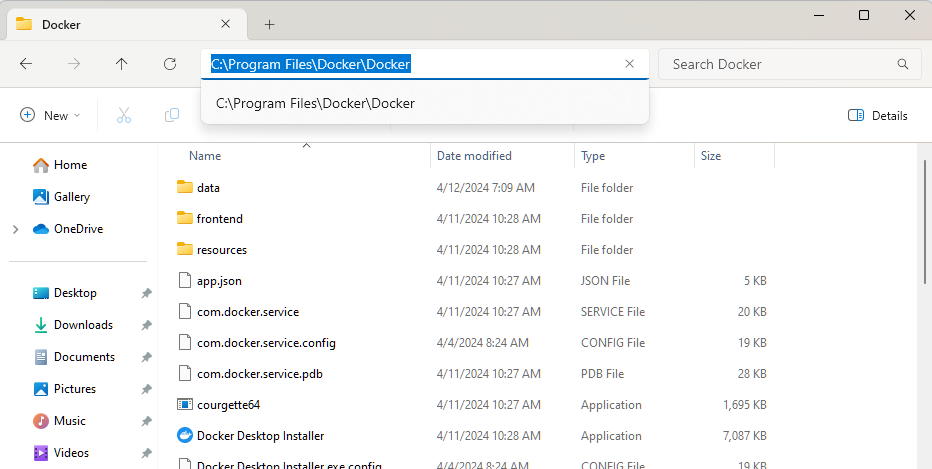
- On my system, Docker desktop was installed in the following folder by default:
.. I manually created the following folder tree:
Data -> Docker -> Volumes -> Config -> _data
- Run the following command:
docker run -d --restart always --name=owntracks -p 8083:8083 -v recorder_store:/store -v config:/config owntracks/recorder

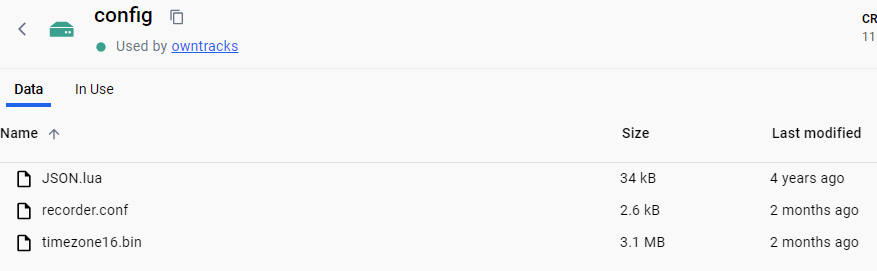
- Now when you click on Volumes -> Config...

...you'll see this:
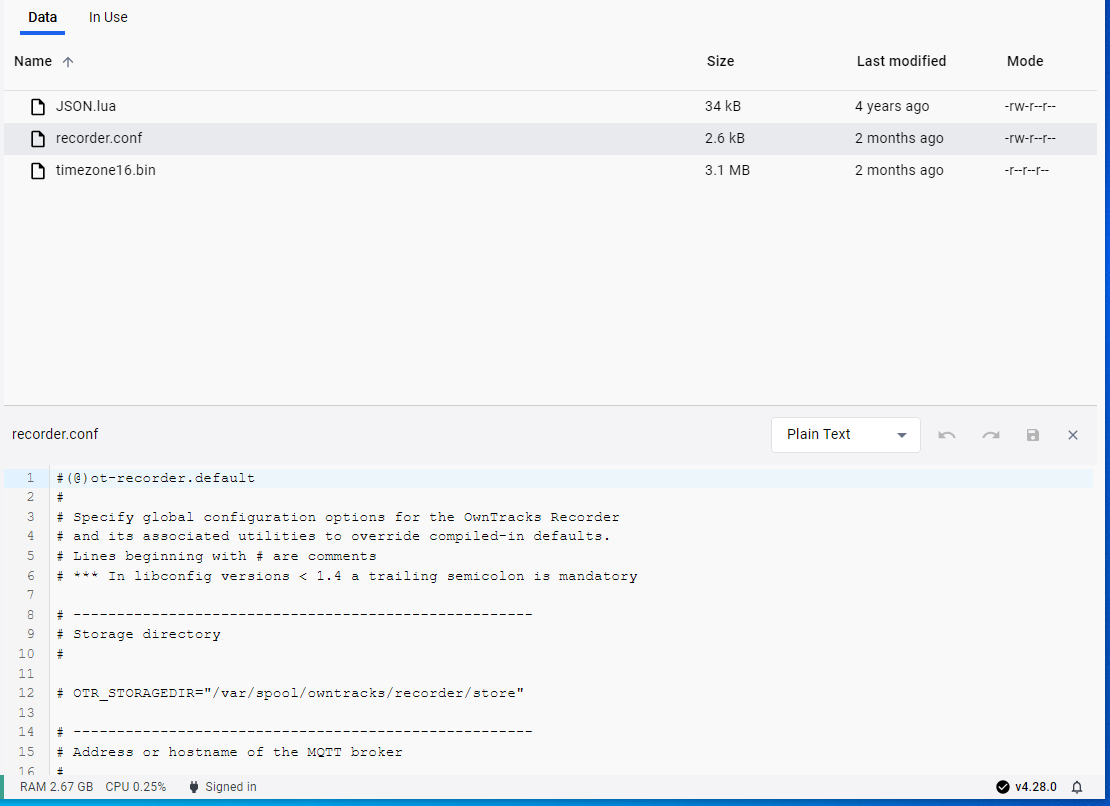
...now double-click on recorder.conf and you'll see this:
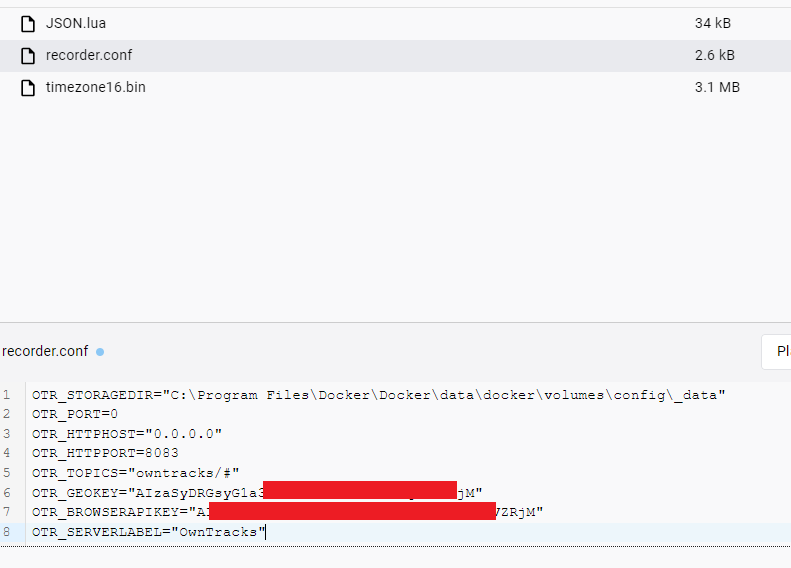
- Replace this with the following code:
OTR_STORAGEDIR="C:\Program Files\Docker\Docker\data\docker\volumes\config\_data"
OTR_PORT=0
OTR_HTTPHOST="0.0.0.0"
OTR_HTTPPORT=8083
OTR_TOPICS="owntracks/#"
OTR_GEOKEY=""
OTR_BROWSERAPIKEY=""
OTR_SERVERLABEL="OwnTracks"
(I've added my google api code into there too)
- Run this under Owntracks Desktop -> Images:

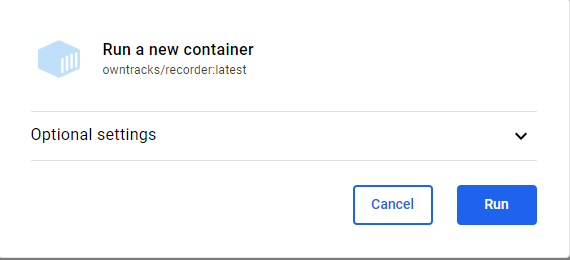
...which then gives this error, which I have no idea is important:
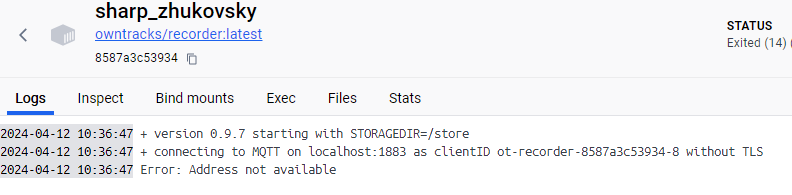
- Now you should be able to access the recorder via your browser, once you've entered the settings in the Hubitat owntracks app and sent a location update:

(http://192.168.1.252:8083)


- If the PC is unattended, it needs to automatically login on a restart. This link fixed it:
Configure Windows to automate logon - Windows Server | Microsoft Learn
I had a "page not found for several minutes". Logged on to RD, 30 secs later, docker desktop showed they'd been running for 30 secs and everything worked fine again.
Note this is the default setting for the docker service on my machine:
![]()
I tried changing the service to autostart and that didn't make a difference, I still need to log on as a user first.
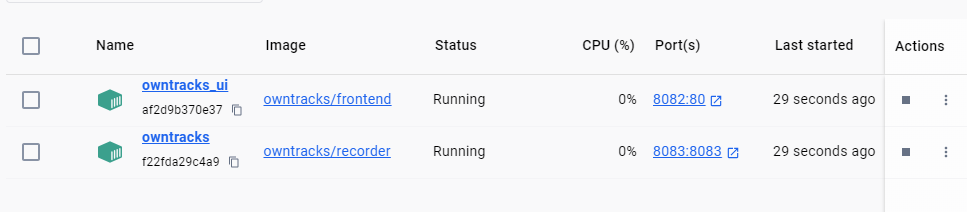
- Installing the frontend is way better.
docker pull owntracks/frontend
docker run -d --restart always --name=owntracks_ui -p 8082:80 -e SERVER_HOST=192.168.1.252 -e SERVER_PORT=8083 owntracks/frontend
Enter this into browser:
http://192.168.1.252:8082/
...