Custom integration for connecting the Wink Relay to Hubitat including control of light loads (relays) and instant status updates for the sensors, light loads, and button presses. The integration is all performed over your local network with no additional dependencies on IFTTT, Stringify, or other cloud services.
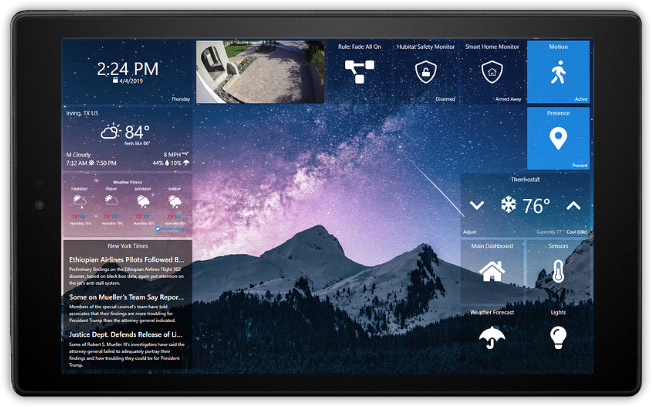
Developer Note: I am not personally using Wink Relay devices any more, but the integration remains available for you to use! While I love the form factor, I prefer running a larger wall mounted tablet with the SharpTools.io dashboard now:
The integration is comprised of three components:
- Custom Android app which runs on the Wink Relay
- Custom App for automated device discovery
- Custom Device Driver + Child Device Driver
Included Features
In this initial alpha release, I've focused primarily on the two-way communication between Hubitat and the Wink Relay. This includes the following features:
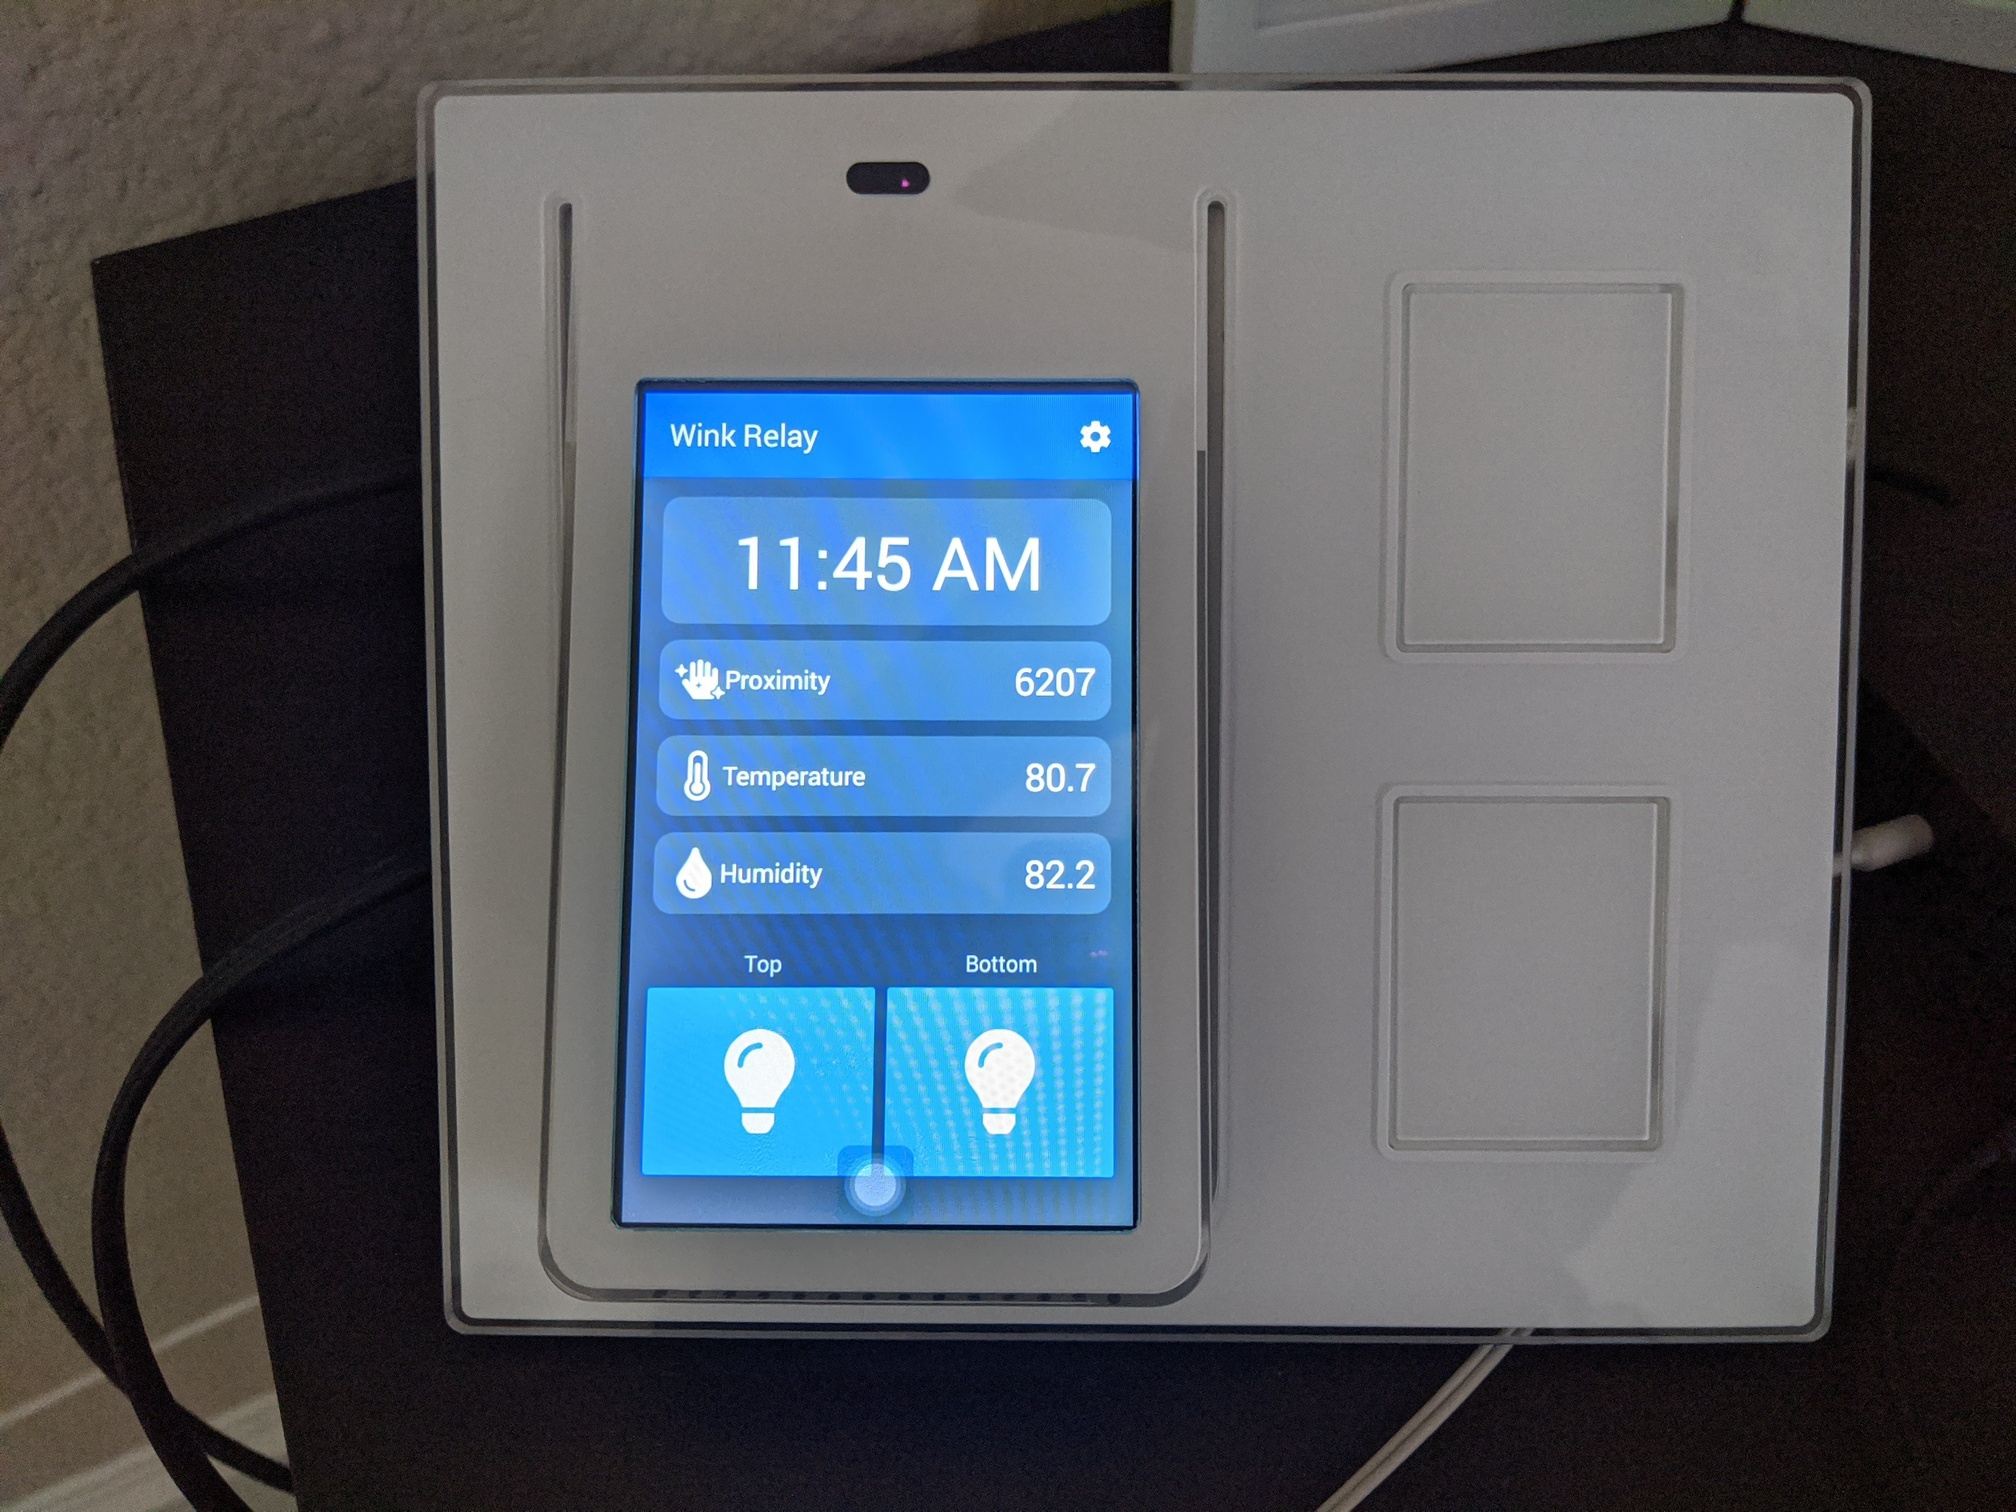
- Instant Status Updates for:
- Temperature*
- Humidity*
- Proximity**
- Relay 1 and Relay 2
- Top and Bottom Buttons
- Control:
- Relay 1
- Relay 2
- Both relays simultaneously
*The temperature and humidity will only post an update to Hubitat if they change by more than 0.5 units each.
**The proximity will only change when it has changed more than 100 units.
OEM Disabler
Starting with release 0.3.0, the Android app includes a feature to disable the OEM Wink Relay app and includes the ability to wake the LCD screen based on screen touches or button presses.
Also note that the proximity values are currently sent across as the raw value anytime the raw number changes more than 100 units. It's not clear to me what the unit of measure is for the proximity sensor, so I'll need to investigate this further before I feel comfortable adding some logic to map it to a motion attribute.
Other Features
This release includes a few additional features which are not exposed in the device tiles, but may be helpful in other SmartApps and Integrations.
Wink Relay Buttons
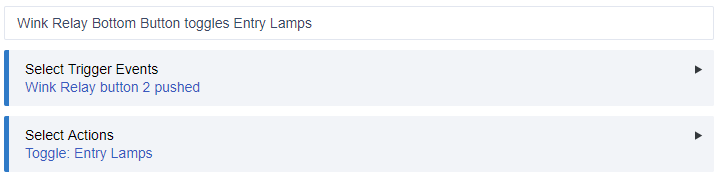
The status of the Wink Relay buttons are mapped to attribute values in the device driver as switch style attributes as well as pushable button attributes. These button events can be used in Rule Machine to trigger actions like controlling other things, changing modes, running scenes, etc.
topButton = [ "on", "off"]bottomButton = [ "on", "off"]pushed = [1, 2]- 1=top, 2=bottom
Screen Backlight Control
The screen backlight can be controlled with the screenBacklightOn() and screenBacklightOff() commands. These can be called from other custom Apps like Rule Machine.
Installation
High Level Instructions
- Open the Hubitat portal on your hub and:
- Install the App
- Install the Device Driver
- Install the Child Device Driver
- On the Wink Relay (achieve root and install the custom app):
-
Root your Wink Relay
Note: See the Rooting Instructions section below for details. -
Install the STWinkRelay.apk custom app
Note: You can either do this by opening the STWinkRelay APK using your web browser (if you still have it) or install via ADB. For the web-browser approach, make sure you have "Unknown Sources" allowed for installation.ADB Details
For the ADB approach:
- Download the STWinkRelay.apk to your computer
- Open a command prompt / terminal
- Change directory to the location where you downloaded the apk
cd C:\users\{youraccount}\Downloads- Run the installation command:
adb install -r STWinkRelay_1-1-0a.apkNote: You will either have to have ADB in your path or have ADB accessible in the same directory in which you have the APK downloaded. If you have installation protection enabled from KingRoot, be sure to approve the installation physically on the device before the timer runs out.
-
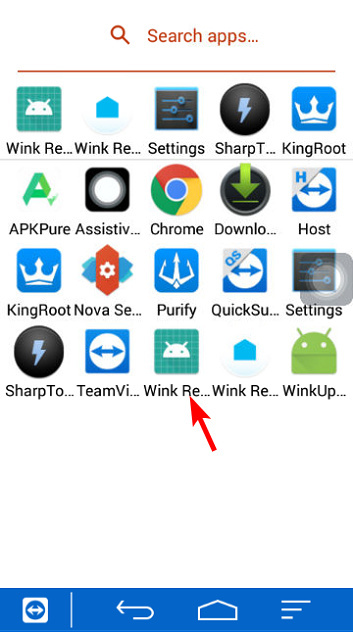
Open the custom Wink Relay app at least once
Note: If you have root management enabled, be sure to approve the permission request on the physical device before the timer runs out.
Note: There are a number of services which run in the background including device discovery, services for watching the sensors and buttons, and a web server for Hubitat to send commands to the device. These services are set to automatically start when the device is booted, but you may have to open the app once immediately after installing it in order to kick off the services.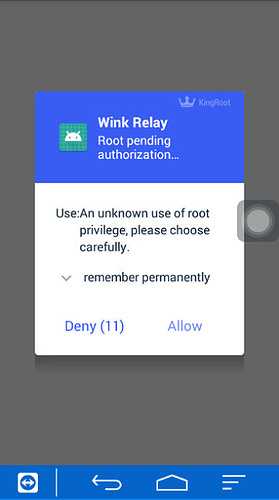
-
- From the Hubitat portal on your Hub:
- Navigate to the Apps tab
- Choose to Add a New App
- Scroll down to the bottom of the screen and select "STWinkRelay" and tap to continue
- Wait for the Device Discovery to complete
- After selecting your device from the list, select Save to complete the installation of your device(s)
You should now have a working 'Wink Relay' device (and a couple child devices) in your Devices list! Open the device from your Device list and tap refresh to make sure everything is synced up.
Rooting Instructions
Use the Wink Relay wiki entry on ThingsThatAreSmart.wiki as a reference:
http://thingsthataresmart.wiki/index.php?title=Wink_Relay
Important: Stop at step 32. You should not need the Root Package Disabler or any adb commands for this project.
Tips and Tricks:
- You may want to factory reset your Wink Relay before proceeding with the rooting / installation steps (see the section immediately below)
How to Factory Reset
- While holding top right switch (physical button) on Relay, press soft reset button underneath faceplate
- Continue holding top right button until “System recovery” screen appears
- Press bottom switch twice, or until “wipe data/factory reset…” is highlighted
- Press top switch once to select “wipe data/factory reset…” option
- Screen will display message - “Confirm wipe of all user data? THIS CAN NOT BE UNDONE”
- Using bottom switch, navigate down until “Yes - - delete all user data” is selected
- “Wiping data… Formatting /data…” screen will appear, followed by original “System recovery” screen
- Press top switch to select “Reboot system now” option. “ERROR” may appear on screen, this is normal.
- Relay will reboot, and should eventually load main Relay home screen. If home screen does not load, Relay may require one more soft-reset (press button under faceplate).
- You may have to install an old version of Assistive Touch - the Wink Relay is running an old version of Android, so newer versions might not work.
- Many people have chosen to use Firefox instead of Chrome (again, you may have to use an older version of the software)
- In the section about Setting up the Wink Software, this part might not be absolutely required.
- We'll see if the updates stay available when Wink starts requiring a paid subscription.
- It's unclear what's included in the updates, but I believe at least one of the updates changes the default screen resolution
- Some users have noted that the KingRoot website is no longer available, but you can install KingRoot directly from APK Pure
If anyone wants to update the Things That Are Smart Wiki entry, please go ahead and do so! The original wiki entry author posted in this thread that they are supportive of that decision.
Upgrading from Older Versions (<1.0)
How to Upgrade from Old Versions
From the Wink Relay:
- Open the existing STWinkRelay app
- Tap the Settings icon in the top-right corner
- Tap General > Update
- Tap the Get Update button
It will try to download and install the update, but won’t be able to complete it
- Navigate back to your homescreen and open the app drawer
- Long-press on the existing STWinkRelay app and uninstall it
- Open the Downloads app
- Select the STWinkRelay_1-1-0a file that should be in the downloads folder already
- Open the new STWinkRelay app and enjoy!
Alternatively, you can download things manually via a web browser on the Wink Relay (or install via ADB). Instructions are available at http://wink.boshdirect.com

 If not, I will return this unit.

