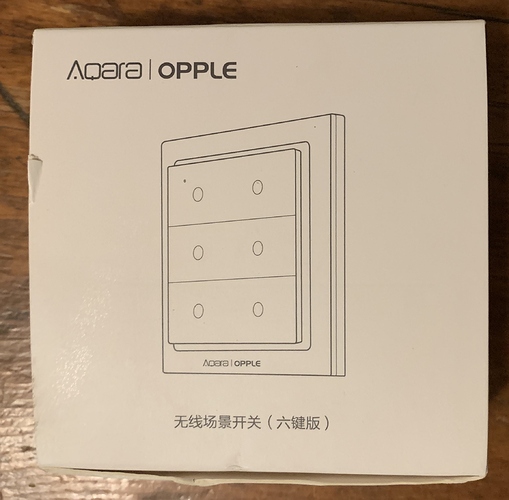
Received my 6 button Xiaomi Zigbee 3.0 remote. It's been an odd experience so far, from receiving my package from Canada Post on Sunday (Canada Post doesn't normally deliver on the weekend at all), to the seemingly dead on arrival device, with no instructions on how to change the battery, and it's strange pairing result.
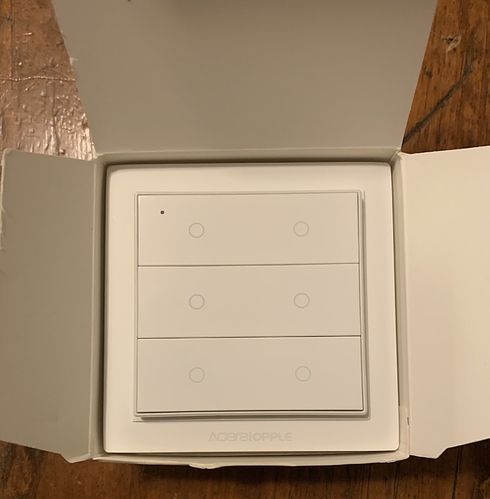
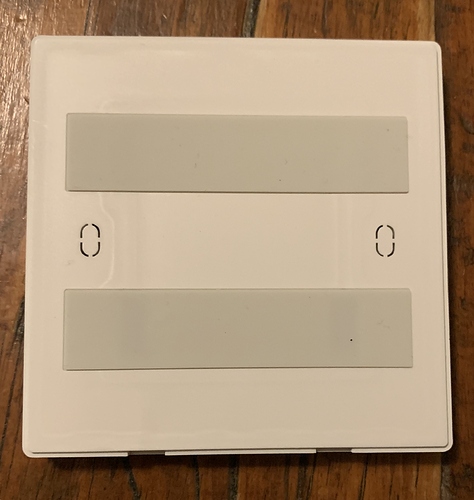
Despite all this, I will say that its physical design is very nice. The branding is very subtle, and the device feels very solid. I learned some important facts about this device that will hopefully help others that want to try it, and hopefully a driver can be created. It does look and feel worth the effort.
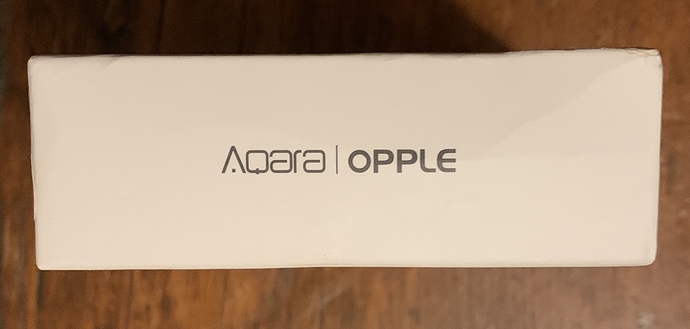
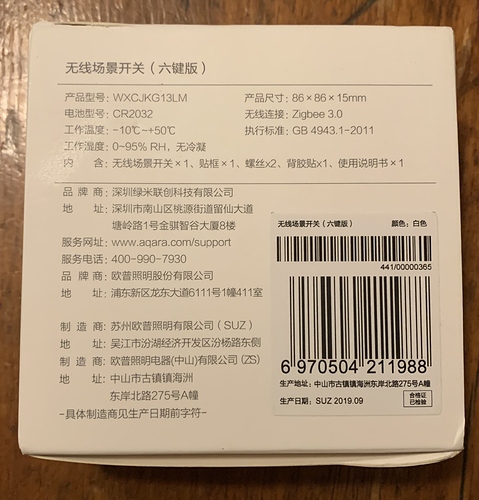
Packaging:
Even though it was packed in an unpadded poly mailer, the device itself was completely unharmed on arrival.
Design:
The controller is an eggshell white plastic that feels tough and seems very flexible as you'll understand from my experience trying to open it without a clue how.
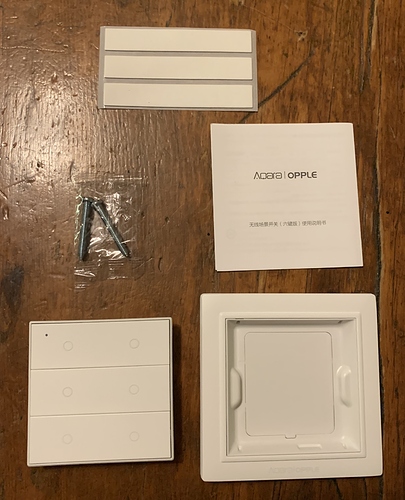
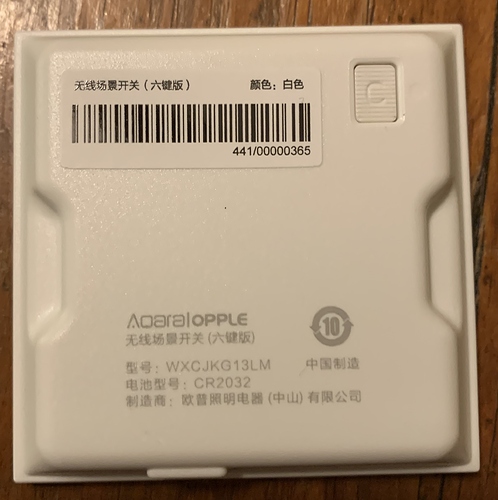
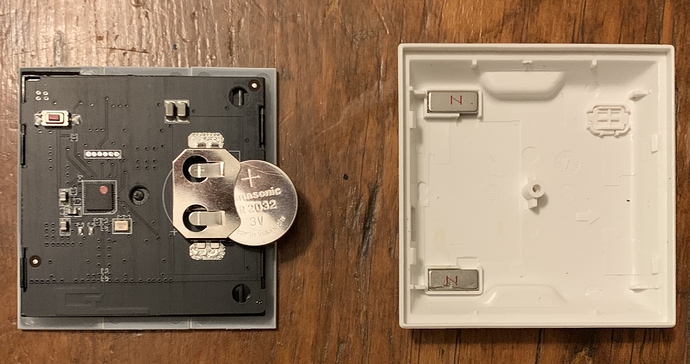
Two neodymium magnets secure the controller to its base, which has two anti-slip strips on the back and comes with three adhesive strips and two screws, probably for direct attachment to a Chinese electrical box.
Opening for battery changes
As mentioned, I was surprised to find the device not showing any signs of life on arrival. Like all Xiaomi devices, it has the battery already installed and there is no pull tab for activation. I thought for a bit that maybe it was a piezo device and I had missed something in the description. Using Google Translate, I was reassured, but puzzled that they wouldn't include any instruction on how to change the battery, especially since there is no obvious way to open it. In China, these devices come with installation help and on-site service, so that must be their reasoning.
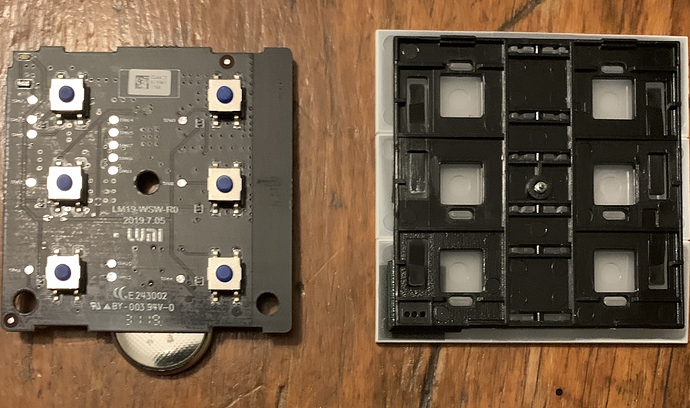
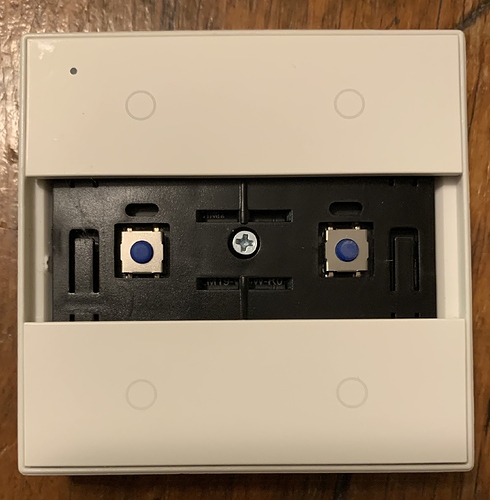
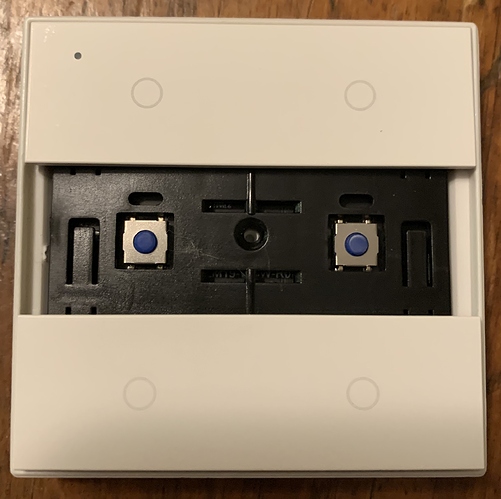
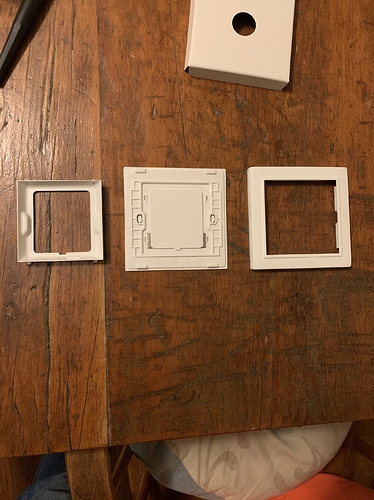
I began prying at the small gap between the buttons and the back housing, when I discovered two points on the top and bottom of the back housing that seemed to be holding the front to the back. A little more aggressive prying and one side broke free, then the other, and finally the entire front assembly released from its housing. As you can see in the center, there was actually a small screw also holding the assembly together. I'm lucky that I only slightly stripped the hole, and didn't crack the housing or the post in the center.
The problem:
There's a couple of things to unpack here. First I find it difficult to believe that two companies with so much experience building these type of devices could get this one wrong, but the battery holder does seem to be an issue with this device.
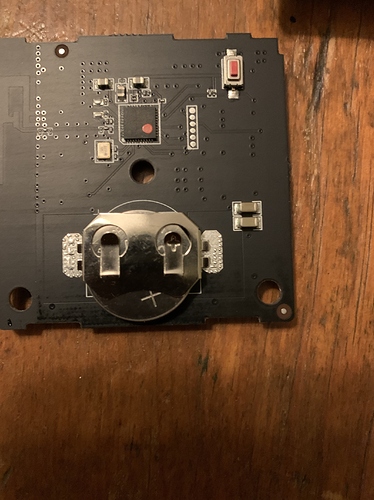
I pulled the battery and measured it with my ZTS MBT-1 and it was full strength. It was quite obvious that the battery had corrosion on the negative terminal, so I figured a simple cleaning with 2000 grit emery cloth would resolve that, but it did not. I replaced the battery, but found that it still wouldn't work. Only when the battery is placed lower in the holder than what looks to be the recommended position screened on the circuit board, did the device begin to work.
How to properly open the controller
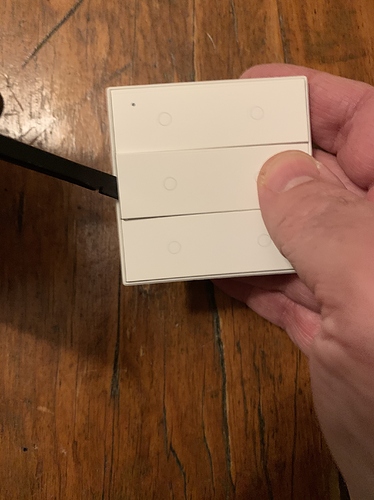
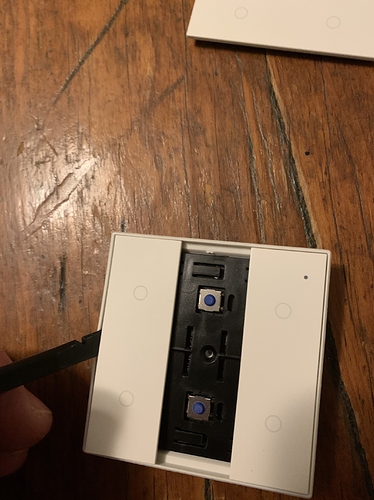
- Press on one of the two middle buttons to raise one side and allow a plastic spudger to be inserted.
- Once you get the spudger in the gap underneath the button, push forward along the width of the two buttons. The thickness of the spudger will cause the middle button to release. As you can see in this photo, the back of the button has four tiny, yet very pliable tabs that hold it in.
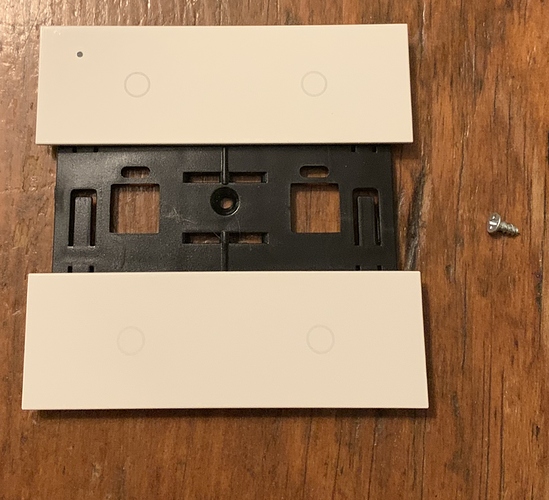
- Remove the tiny philips head screw in the center
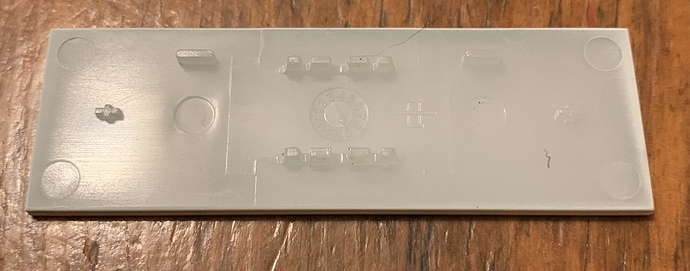
- Again use the spudger to pry between the housing back and the top assembly. Start in the middle since this is where the back housing flexes the most, then work the spudger right and left to release the clips. Ensure you are prying downward, into the bottom case, not up on the button itself. There are two clips on the bottom and two on the top which can be seen in the photo above that shows the inside of the back housing with the magnets. With the screw out, it may only be necessary to pop the clips on either the top or bottom, not both.
Disassembly of the holder for screw mounting
Unlike the controller itself, the holder has two very obvious places to insert a spudger so it can be disassembled. This is necessary if you want to mount the holder using screws. You will need to use a sharp knife to cut out the plastic where the screws go.
Pairing
This was not easy, and the results are a bit odd on both Hubitat and the Aqara HomeKit Gateway. The device is slow to pair. In fact I had to start the pairing over a few times, since it wouldn't finish before the time ran out. When it did pair to my home hub on channel 13, it was discovered as a Xiaomi leak sensor. This makes some sense because I do have that driver loaded. However when I attempted paired it to my test hub on channel 20, it failed to join multiple times before finally succeeding. However, once it paired, it was found as an Orbit 12 unit sprinkler controller !? Not only that, but in all cases, HE hub and Aqara HomeKit Gateway, the device is discovered twice, but one of the two are unresponsive and can be deleted.
Although pairing with the Aqara HomeKit hub also took an unusually long time, it works fine with HomeKit when all is said and done. Oddly it also created two devices. One was not responsive, and deleting it from HomeKit caused no harm.
Fingerprint
@veeceeoh, here is the device fingerprint if you'd like to take a shot at a driver for this. It seems to respond with the Xiaomi button controller driver, but not at all how I expected.
**Manufacturer:**  LUMI

**Product Name:**

**Model Number:**  lumi.remote.b686opcn01

**deviceTypeId:**  90

more...

manufacturer : LUMI

idAsInt : 1

inClusters : 0000,0003,0001

endpointId : 01

profileId : 0104

application : 11

outClusters : 0003,0006,0008,0300

initialized : true

model : lumi.remote.b686opcn01

stage : 4

manufacturer :

idAsInt : 2

inClusters :

endpointId : 02

profileId :

application :

outClusters :

initialized : false

model :

stage : 0

manufacturer :

idAsInt : 3

inClusters :

endpointId : 03

profileId :

application :

outClusters :

initialized : false

model :

stage : 0

manufacturer :

idAsInt : 4

inClusters :

endpointId : 04

profileId :

application :

outClusters :

initialized : false

model :

stage : 0

manufacturer :

idAsInt : 5

inClusters :

endpointId : 05

profileId :

application :

outClusters :

initialized : false

model :

stage : 0

manufacturer :

idAsInt : 6

inClusters :

endpointId : 06

profileId :

application :

outClusters :

initialized : false
Performance
As I mentioned, the result with the Xiaomi button controller driver and this Xiaomi Opple Zigbee 3.0 button is strange to say the least. Without any rules or other configuration, when I pressed button 2, all my Zigbee 3.0 switches (an Aqara dual relay, and two Trådfri plugs) simultaneously turned on. This was kind of a problem at 1:30am, since the Aqara relay triggers the alarm on the Aqara HomeKit Gateway. Pressing button 1 turned all three off. I thought this was a fluke, so I unpaired and repaired the device, but the results were the same.
Conclusion
This is a really small and well made controller, that I wouldn't have a problem displaying anywhere in my home. I do hope for the sake of the community, that a driver for HE can be developed. In the mean time, I'm using it with my Aqara HomeKit Gateway and it's working perfectly. It was necessary to update the Aqara Gateway to version 1.6.7 to get it to pair, and this is only available when the country region is set to Mainland China. Although it appears as an available device to add to the Gateway in the HomeKit only region for Europe, it will not pair. This may be related to the Gateway firmware, since each time I switched to a region other than Mainland China, the Gateway said it needed updating again after switching the region back to Mainland China.
 )
)


