Deprecated! There's a Version 2!
Check out the new version, which is backwards-compatible and includes generic switch control. ![]()
Backstory
Until fairly recently I had no idea what MQTT was, or why I'd want to use it. That changed with my Hildebrand Glow driver for UK smart metering, which relies on it entirely. Once I understood that MQTT is essentially just a very quick and lightweight network messaging system and that support is already built-in to Hubitat, what Zigbee2MQTT might mean became painfully clear. It's right there in the name. Take in Zigbee radio messages, send them out via MQTT to your network.
My previous solution was to run an extra Hubitat hub just to keep my Xiaomi buttons happy on their own Zigbee mesh. Sadly, though these pernickity devices liked the C5 and C7, they didn't like my new C8 and harmony in the household was diminishing rapidly.
Now that I knew what Zigbee2MQTT was for I searched for the community app which was sure to be out there, and was surprised that what is quite a simple integration didn't already exist. Necessity being the mother of invention, here's my take on a Zigbee2MQTT Routing Driver.
Preflight
Before installing the routing driver you will need a working Zigbee2MQTT system. I'm using a Raspberry Pi 3 and a Sonoff Zigbee 3.0 USB Dongle-P.
Even if you have a working system, check the "How Do I Set Up Zigbee2MQTT" section below. There's one very important setting required.
Installation
Search for the keyword "general" on Hubitat Package Manager and you should see "General Drivers from BirdsLikeWires". Requires HPM v1.8.7 or later. Or install manually using the links below.
- BirdsLikeWires Library Bundle - Bundle URL: ZIP
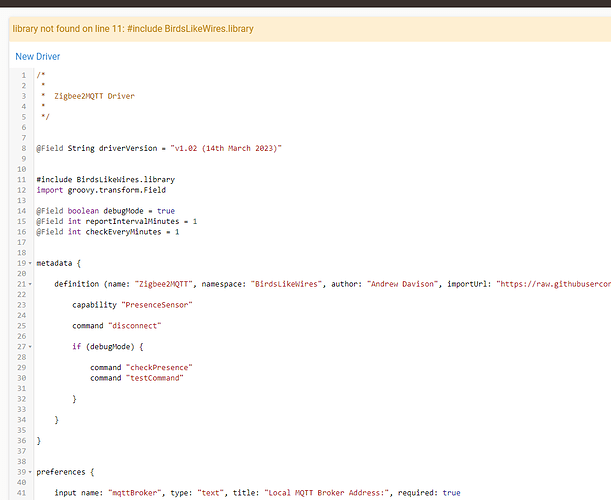
- Zigbee2MQTT Driver - Import URL: RAW
If you have any HPM installation issues please go to:
Apps > Hubitat Package Manager > Package Manager Settings > Remove a Matched Package
Choose my "General Drivers" package, unmatch the package (which doesn't uninstall it) and then link it back up again:
Apps > Hubitat Package Manager > Match Up
Configuration
After installing the driver, on your Hubitat system:
- Click "Devices" on the left navigation bar.
- Choose "Add Device" in the top-right.
- Click "Virtual".
- Name the virtual device whatever you like, it'll get changed.

- Choose "Zigbee2MQTT" in the "Type" dropdown.
- Click "Save".
- Click "Devices" on the left navigation bar again, scroll down until you find "Zigbee2MQTT" and give it a click.
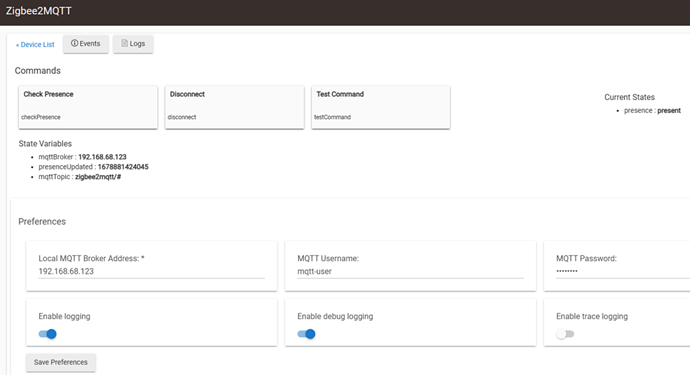
- Enter your MQTT broker IP address and, optionally, the username and password for it.
- Click "Save Preferences".
Supported Devices
You will need to install the matching IKEA or Xiaomi device drivers, which are used by the child devices to interpret the MQTT messages and convert them into Hubitat events. Some of these are combination drivers, supporting a direct Zigbee connection (if that's working for you) and MQTT messaging in one.
IKEA
- E1744 Symfonisk Sound Controller
- E1766 Open/Close Remote
- E1812 Shortcut Button
Xiaomi
- WXKG06LM / WXKG07LM Wireless Remote Switch
- WXKG11LM / WXKG12LM Wireless Mini Switch
How Does This Work?
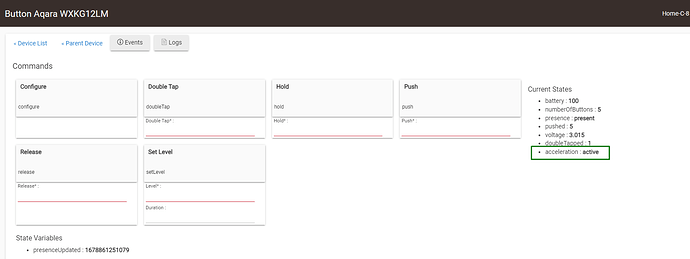
The Zigbee2MQTT driver connects to the MQTT broker, to which your Zigbee2MQTT installation is publishing messages. It watches out for device models it recognises and automatically generates or updates a child device in Hubitat with the correct driver and passes on the MQTT message. You can use that child device just as you would any normal device.
How Do I Setup Zigbee2MQTT?
There are great instructions on the Zigbee2MQTT website. Essentially, you need some sort of computer you can leave on all of the time and a Zigbee dongle. Any Raspberry Pi, even the oldest, would be more than capable.
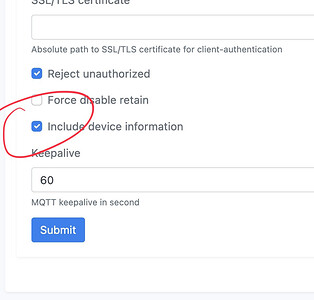
One important thing! Under Settings > MQTT you must tick the "Include device information" option near the bottom of the page. Otherwise... well, there's not enough device information for things to work. ![]()
I've now been running this since March 2023 and it has been almost perfect (completely flawless since April). I even moved the installation from a Mac mini to a Raspberry Pi and it continued to work without a hitch.
It's honestly amazing getting these working with Hubitat and I hope this helps others out too.


