New Feature for Rule Machine Global Variables
With Release 2.1.4 there is a new feature in Rule Machine that allows Global Variables to be displayed and set from Dashboards. It also allows them to be used to link with other apps, where previously one would create a Virtual Switch device to cause the connection.
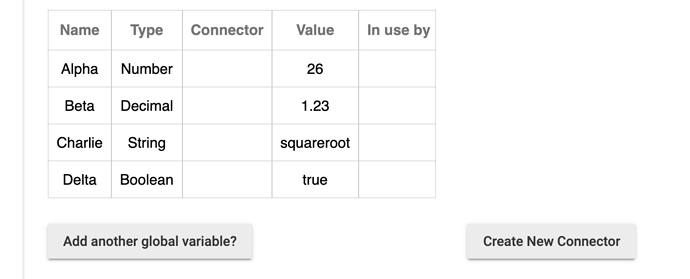
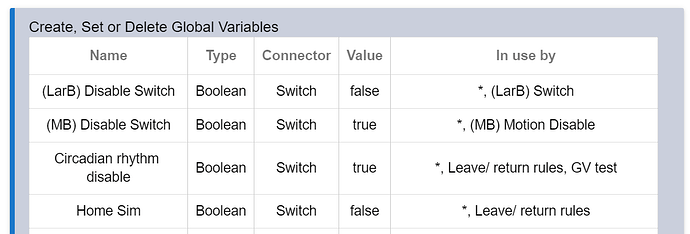
In the Global Variables setup section of Rule Machine, you will find a new column of information, Connector, and a new button, Create New Connector:
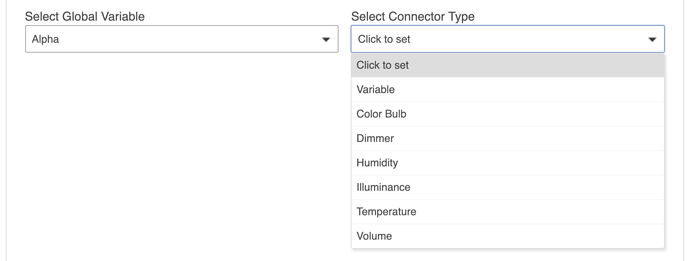
When you click Create New Connector, you will have a choice of which Global Variable to use, and a connector type to choose:
The available connector types vary by the type of the Global Variable. You can see above the choices for a Number GV.
For Decimal GV, the choices are Variable and Temperature. For a Boolean GV, the choices are Variable and a list of devices with two states, e.g., a switch is on or off, a lock is locked or unlocked. For a String GV, just Variable is available.
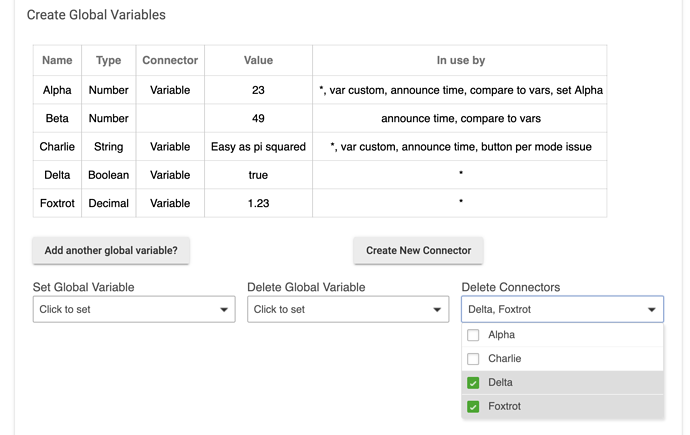
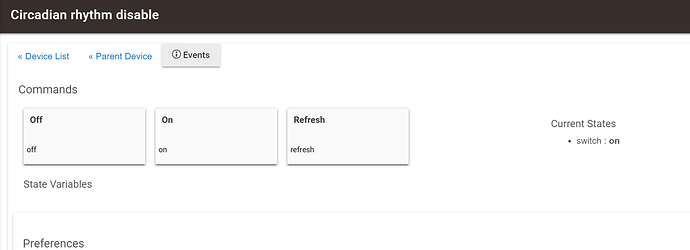
What happens when you make this selection is that Rule Machine creates a Virtual Device with the same label as the Global Variable. For the example above with Alpha, there will be a new device showing up in the Devices list called Alpha. All of these created virtual devices are components of a parent device called Rule Machine Connectors, so look for that in the Devices list. Each Global Variable with a connector selected will show an asterisk in the "In use by" column.
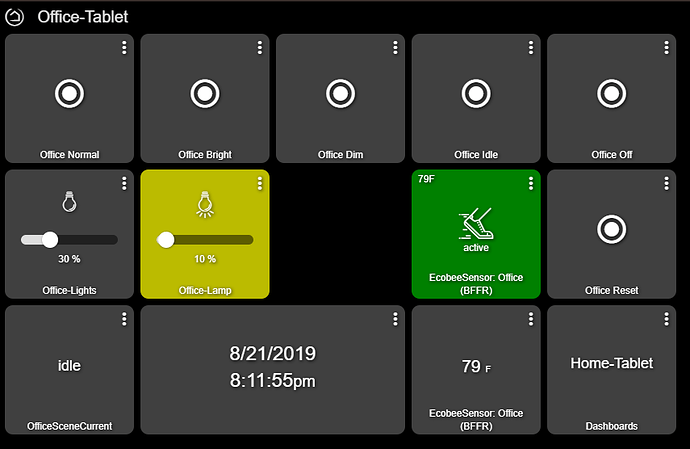
Here's where it get's fun: For each type of GV the first choice offered is Variable. If you choose that, it creates a virtual device that has an attribute called 'variable'. That attribute will be set to the value of the Global Variable. There are four new tiles for Dashboard called Variable Boolean, Variable Decimal, Variable Number, and Variable String. Using these tiles you can both display and set the value of the corresponding Global Variable.
Another option for a Number GV is to use connector type Dimmer. For this choice a Virtual Dimmer will be created, and using the Dimmer tile in a Dashboard the slider can be used to set the value of the Global Variable between 0 and 100. The same is true using Volume. Play around with different choices to see what is possible. These choices allow different tiles to be used depending on the meaning the Global Variable has in your rules.
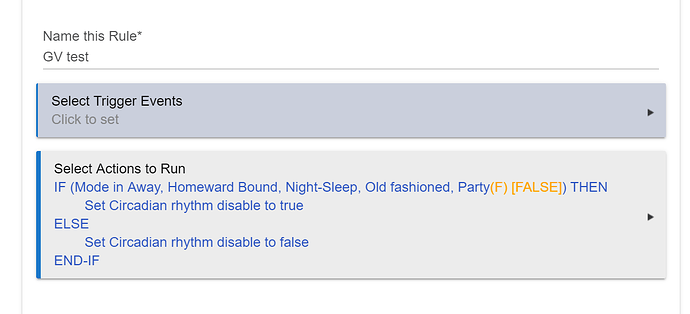
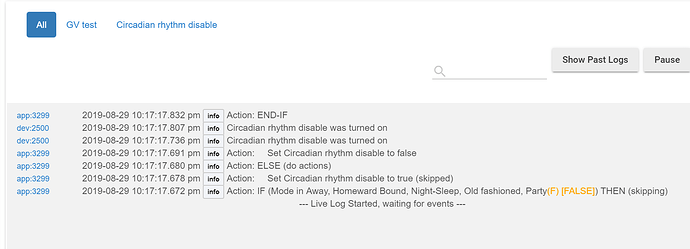
By creating a Virtual Switch for a Boolean GV, one can use that Global Variable to control the virtual switch. This means that another app that uses a switch to enable or disable could use that virtual switch. Thus, a rule could enable or disable the other app by setting the GV to true and false.
Finally, you can also delete connectors.
Be cautious doing this, as doing so will delete the virtual device associated with that connector. There won't be any warning about apps that might be using that virtual device before it is removed.
Displaying Global Variables in Dashboard
For a Number GV the value can be displayed with these tiles: Color Bulb (as Color Temperature), Dimmer, Humidity, Illuminance, Temperature, Volume or Variable Number.
For a Decimal GV the value can be displayed with these tiles: Temperature or Variable Decimal.
For a Boolean GV the value can be displayed with these tiles: Acceleration, Contact Sensor, Lock, Motion, Presence, Switch, Water and Variable Boolean.
For a String GV the value can be displayed with a Variable String tile.
For the desired tile, choose the corresponding Connector Type when creating the connector.
Setting Global Variables from Dashboard
For a Number GV the value can be set with these tiles: Color Bulb (using Color Temperature slider 1500 - 8000), Dimmer (using the slider 0 - 100), Volume (using the slider 0 - 100), or Variable Number (any value).
For a Decimal GV the value can be set with the Variable Decimal tile.
For a Boolean GV the value can be set with these tiles: Lock, Switch and Variable Boolean.
For a String GV the value can be set with the Variable String tile.
Example: Manage lock code from Dashboard
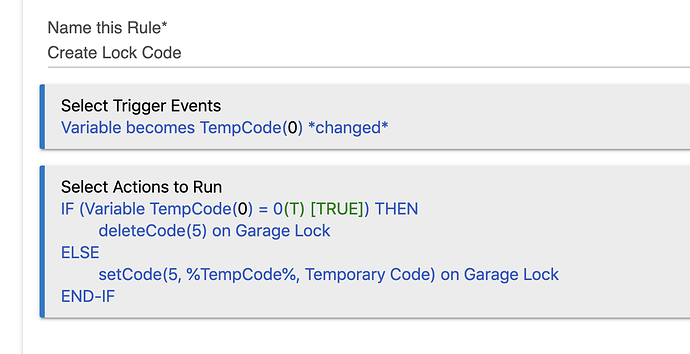
Suppose you want to create a lock code for a workman who needs access to your house while you can't be there, assuming you trust this person. By having a GV Connector setup in advance with a Variable String tile on a dashboard (called TempCode below), this rule would enable that:
Both deleteCode and setCode are Custom Actions, where 5 is the position number of the lock code called "Temporary Code" (both arbitrary for this example). By setting the TempCode tile to a new lock code, that lock code would be enabled on the lock. To remove the lock code later, set TempCode tile to 0. TempCode must be a String GV.
