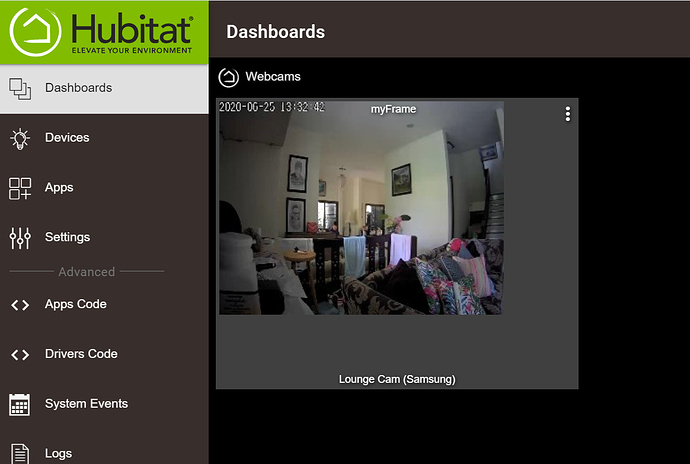
Put your web/ip cam into tinyCam (or suchlike).
Activate the webserver in tinyCam.
Get the url for that camera (for example, for tinyCam it is like this):
http(s)://your_tinyCam_webserver_ip:your_tinyCam_webserver_port/axis-cgi/mjpg/video.cgi?user=blah&pwd=blahdeblah&camera=1&resolution=320x240
Add this driver to your Hubitat system:
preferences {
        input("src", "text", title: "iFrame Url",  required: true)
    }
metadata {
    definition (name: "iFrame", namespace: "srp", author: "srp") {
        capability "Switch"
        attribute "myFrame", "text"
    }
}
def on() {
    sendEvent(name: "switch", value: "on")
    sendEvent(name: "myFrame", value: "<div style='height: 100%; width: 100%'><iframe src='${src}' style='height: 100%; width:100%; border: none;'></iframe><div>")
}
def off() {
    sendEvent(name: "switch", value: "off")
}
def installed() {
    on()
}
Create a new device using this driver, and put your webcam url above into the html address for this device.
Create or access the dashboard you want to add your cameras to. Add the iFrame device you just created.
Presto!
(sorry the house is a bit of a mess, we have the in-laws staying  )
) 
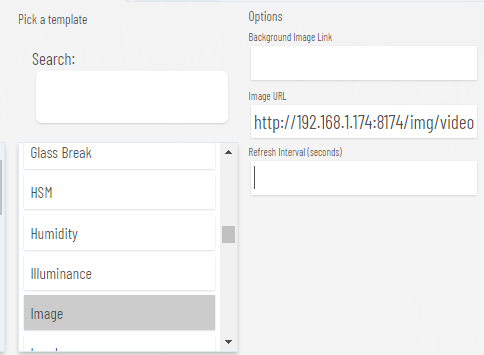
[updated: - see below, no need for the iFrame driver, just use an Image tile]


