EDIT: Personally I feel like, while there are differences in the implementation, I would suggest people start by looking at @jshimota 's driver. It provides a more rich set of attributes for display on dashboards and use in rules.
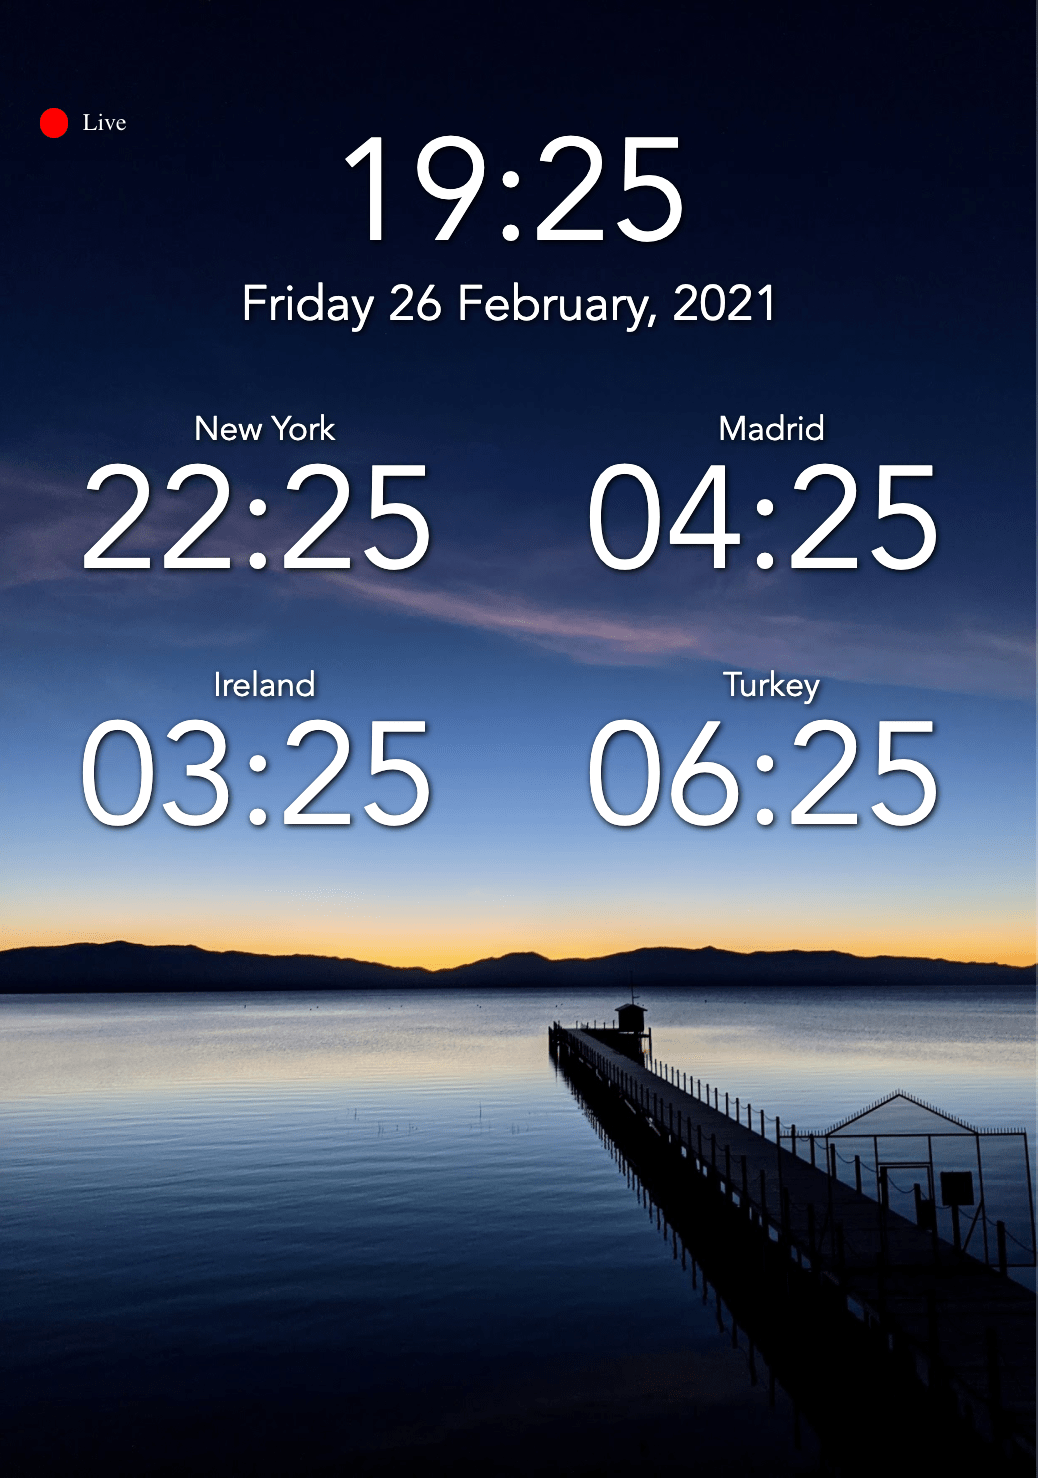
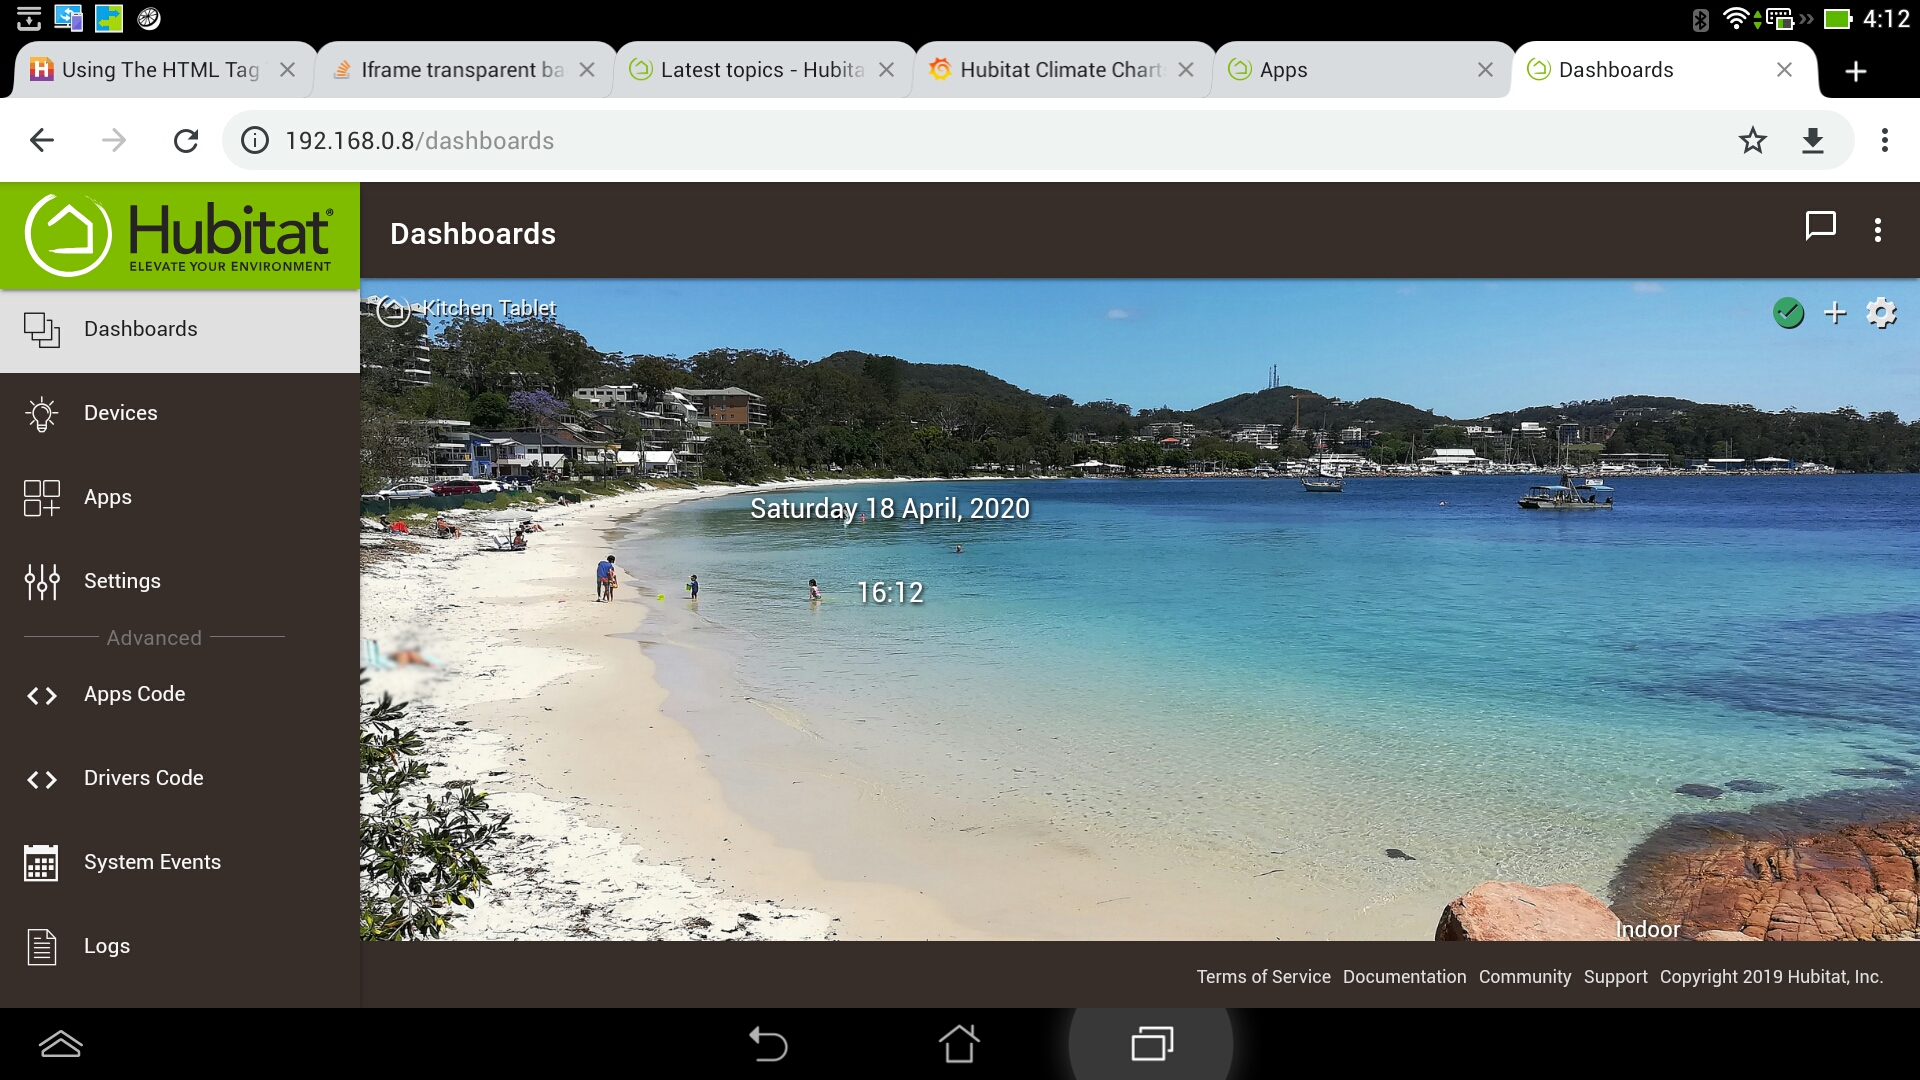
I wanted to adjust the formatting of the date and time on my dashboards, so I have setup a small device driver to achieve this, along with help from @luarmr.
The driver provides:
- Ability to adjust formatting preferences for date and time display
- Selection of a time zone
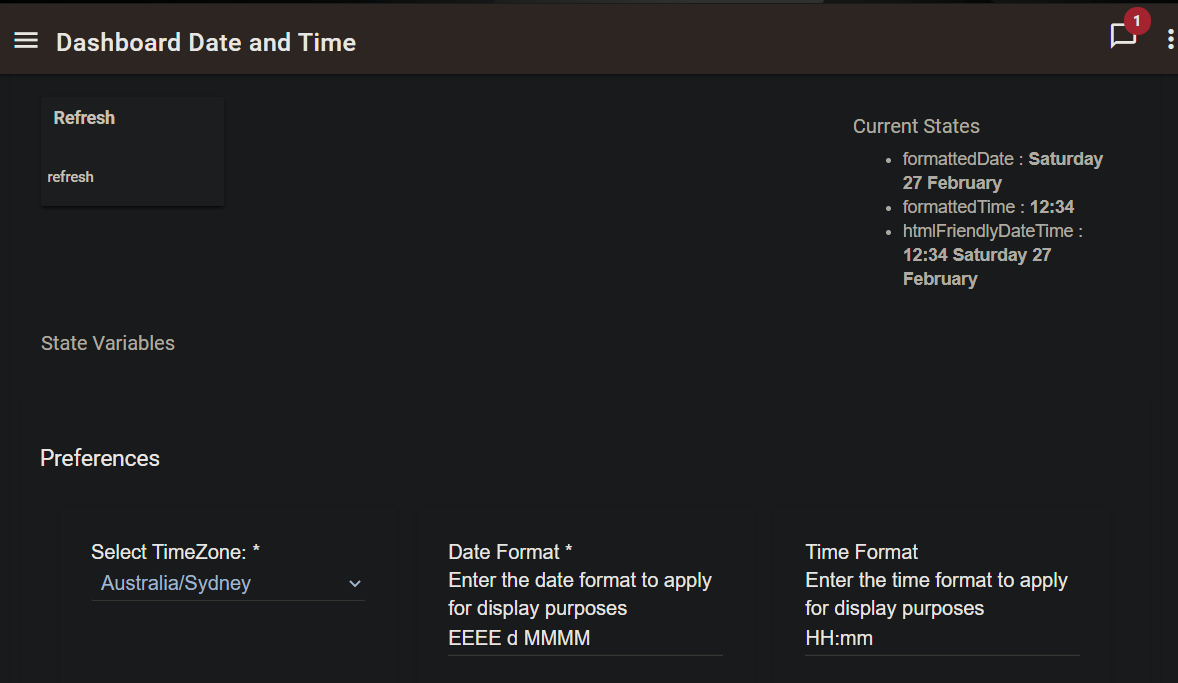
- Separate date and time attributes as well as a combined date and time attribute
- Built-in scheduling of updates (default every minute), removing any need for RM rules.
Installing and Using the Driver
-
Open the Drivers Code section of the HE web interface, selecting "New Driver". From a separate tab in your browser, open the code from here on my GitHub repository, pasting the text from this tab into the new HE driver page, click Save to install the driver on your HE hub.
-
In HE, navigate to the Devices page, selecting to Add Virtual Device, given the new device a name and selecting the new date format driver from the "Type" drop-down list.
-
In the Device Edit page for the new device, enter the desired date and time formats under the Preference settings. See here for some notes on formatting options, in particular the Pattern Syntax and Patter Examples section of this page.
-
Adjust the automatic update settings, although the default setting of every minute is mostly likely what would be required.
-
Click Save Preferences to apply any changes
-
To add the device to a dashboard, open the Apps page in HE, click on the dashboard under the Hubitat Dashboard app, in the configuration page add the virtual device to the list of devices available on the dashboard, clicking Done to apply the changes.
-
Navigate to the Dashboards section of HE, selecting the dashboard to be updated
-
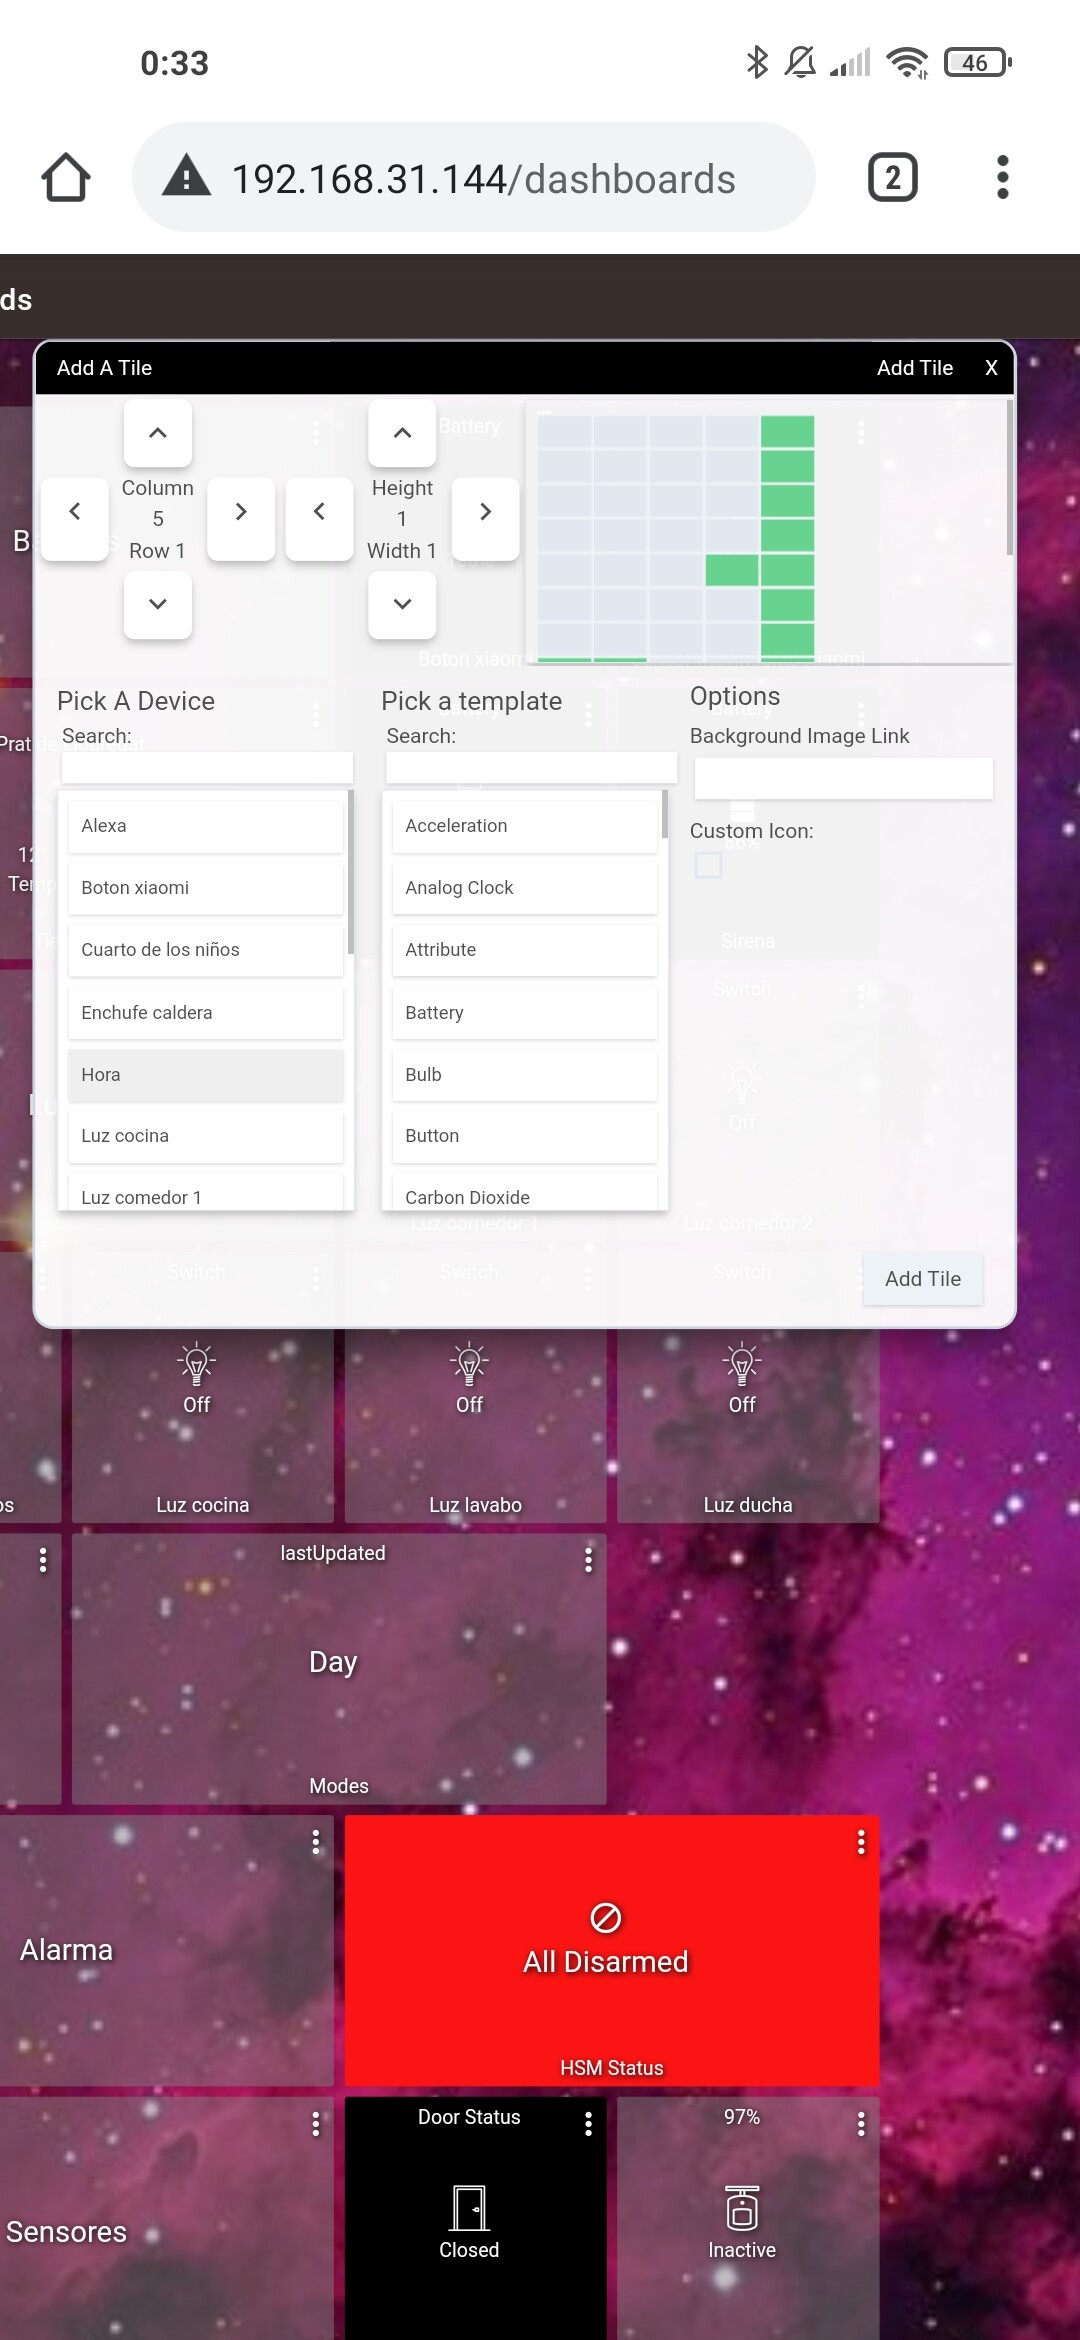
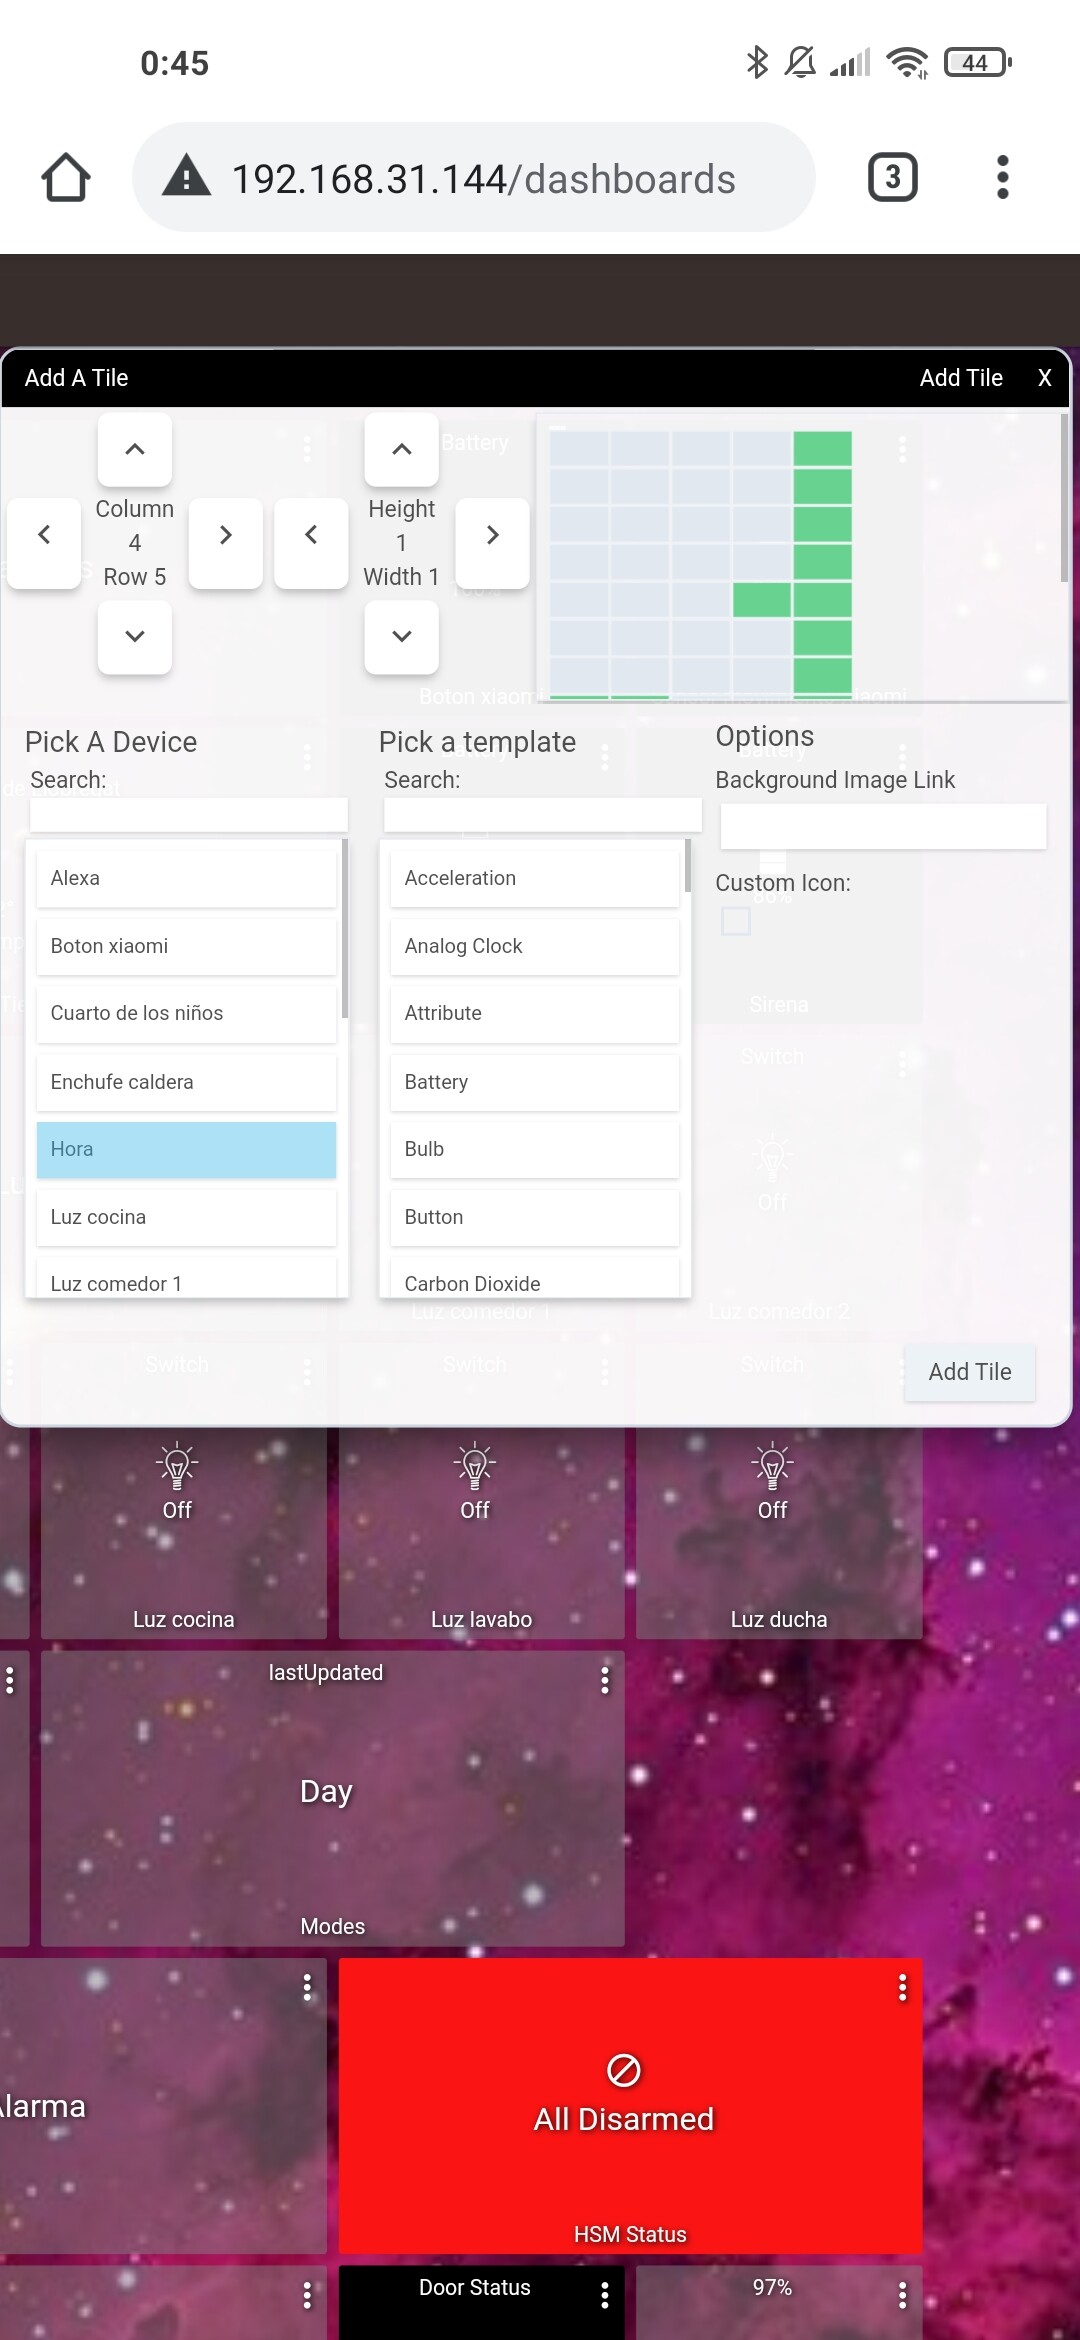
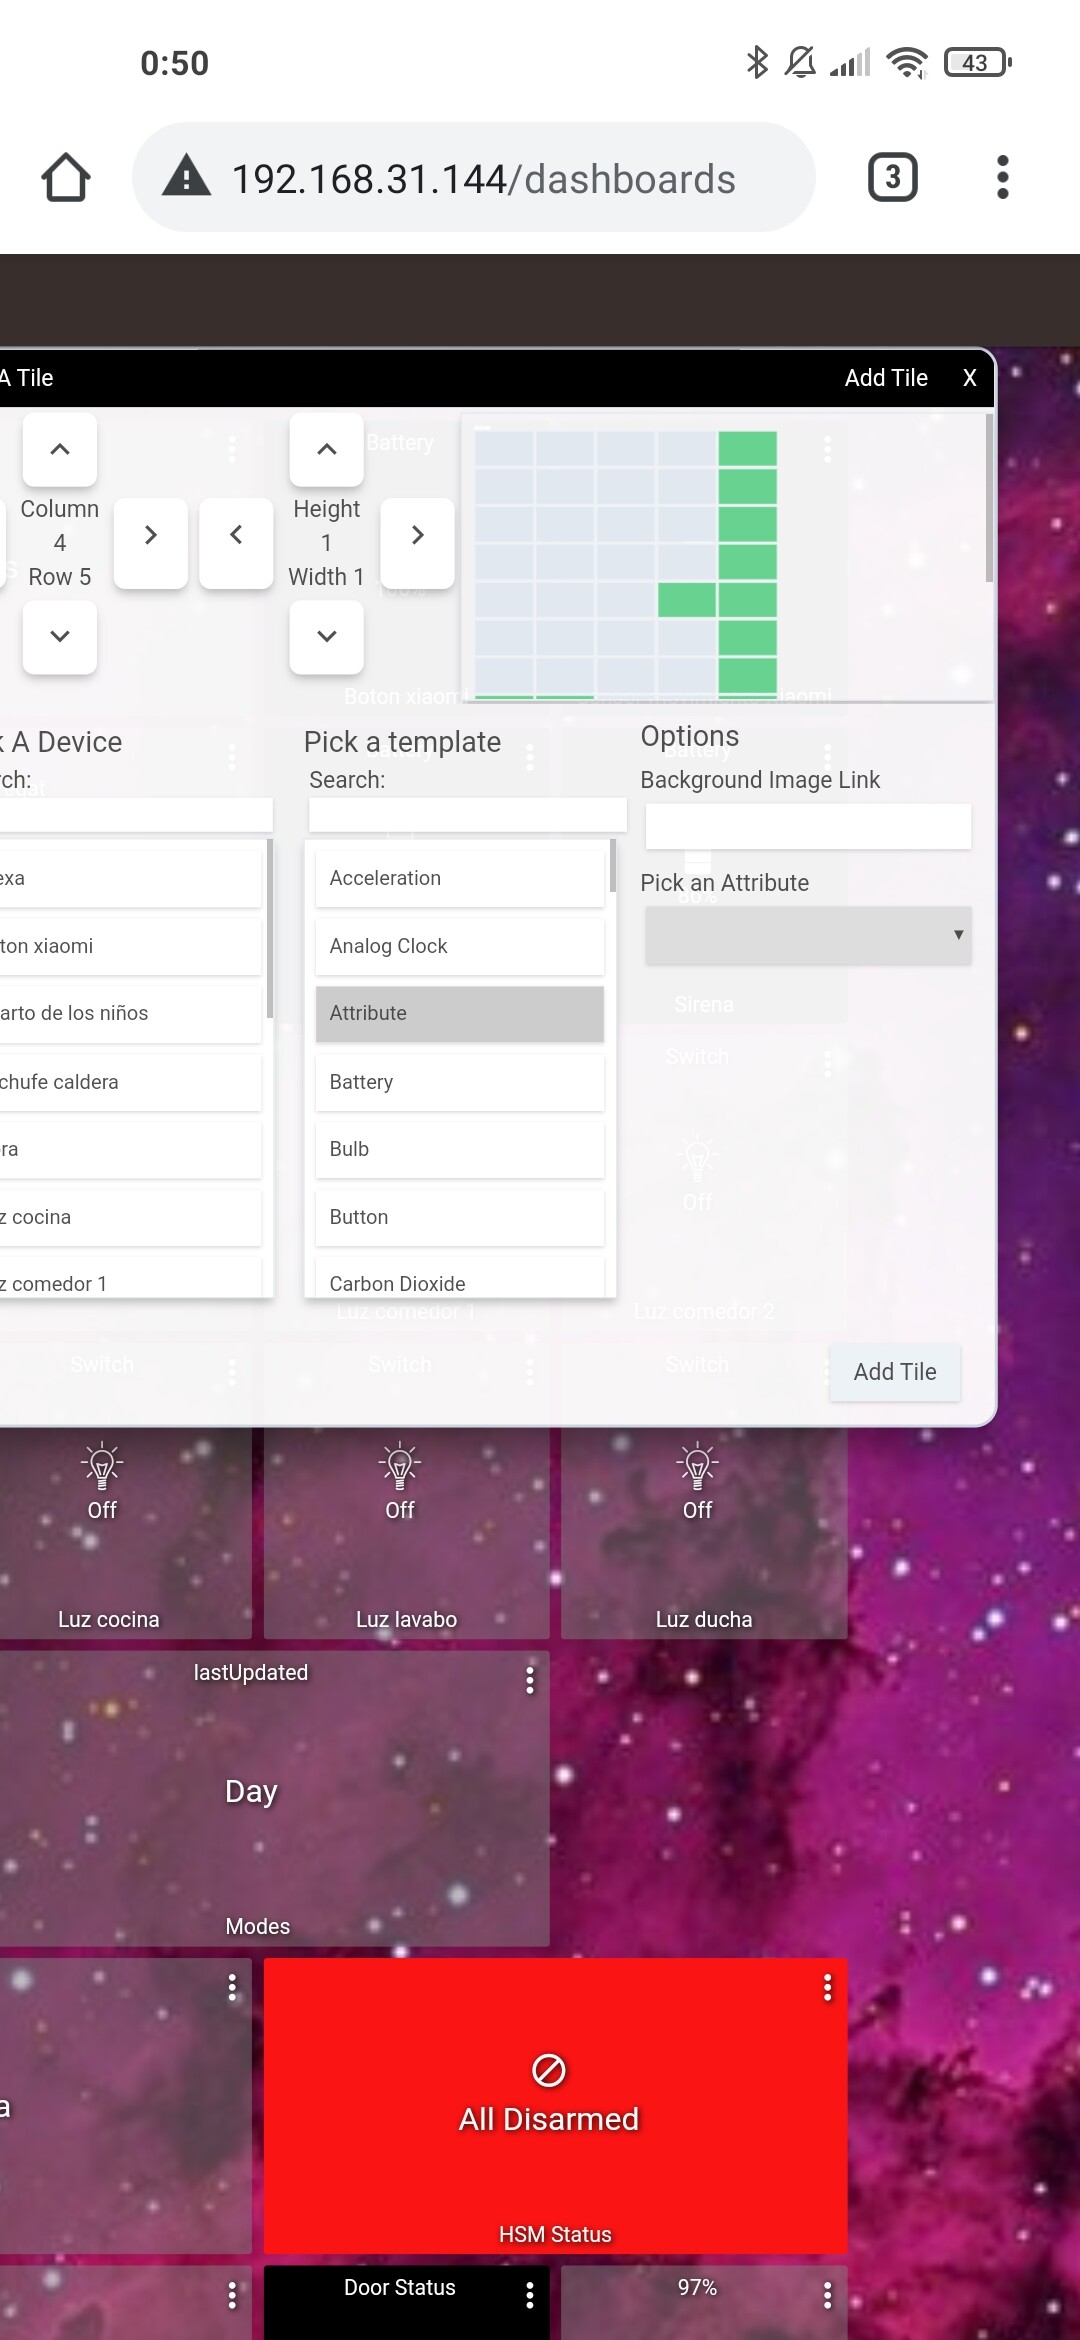
Add a tile, selecting the virtual device from the Devices listing, Attribute as the Template, then select the formattedDate or formattedTime or htmlFriendlyDateTime attribute from the drop-down list.
Change Log
2021-02-11
- Scheduling Device Updates - Added a scheduling option for refreshing the date and time attributes, rather than needing to setup an RM rule.
2021-02-27
- Date and Time attribute - @luarmr added a "html friendly" attribute that includes both the time and date as one value.
- Time Zone Support - @luarmr also added a time zone preference setting that is used when updating the date and time attributes. This means that different date/time virtual devices can be setup to show the current date/time in different locations. Make sure you click Save Preferences on any device using the driver when this update is applied.
2022-08-27
- Less Chatty Device - Thanks to @luarmr again for finding an improvement to reduce chattiness of the driver for the websocket, introducing additional code to detect changes in the date / time and only sending updates to the attributes when a change has actually occurred.
2023-04-10
- Is Daylight Saving Active - Added new attribute isDSTActive to record a true/false value for whether the time zone selected is currently in daylight savings time. Note, this is updated each time the formatted date/time values are updated.