Z-Wave repair re-creates routes for nodes on your mesh. There is no magic behind this process, and it will not revive failed devices.
Most of this process is for legacy devices, but it can help to occasionally run repair on a Z-Wave plus network as well. Z-Wave Plus was designed to not need repairs and will self-heal.
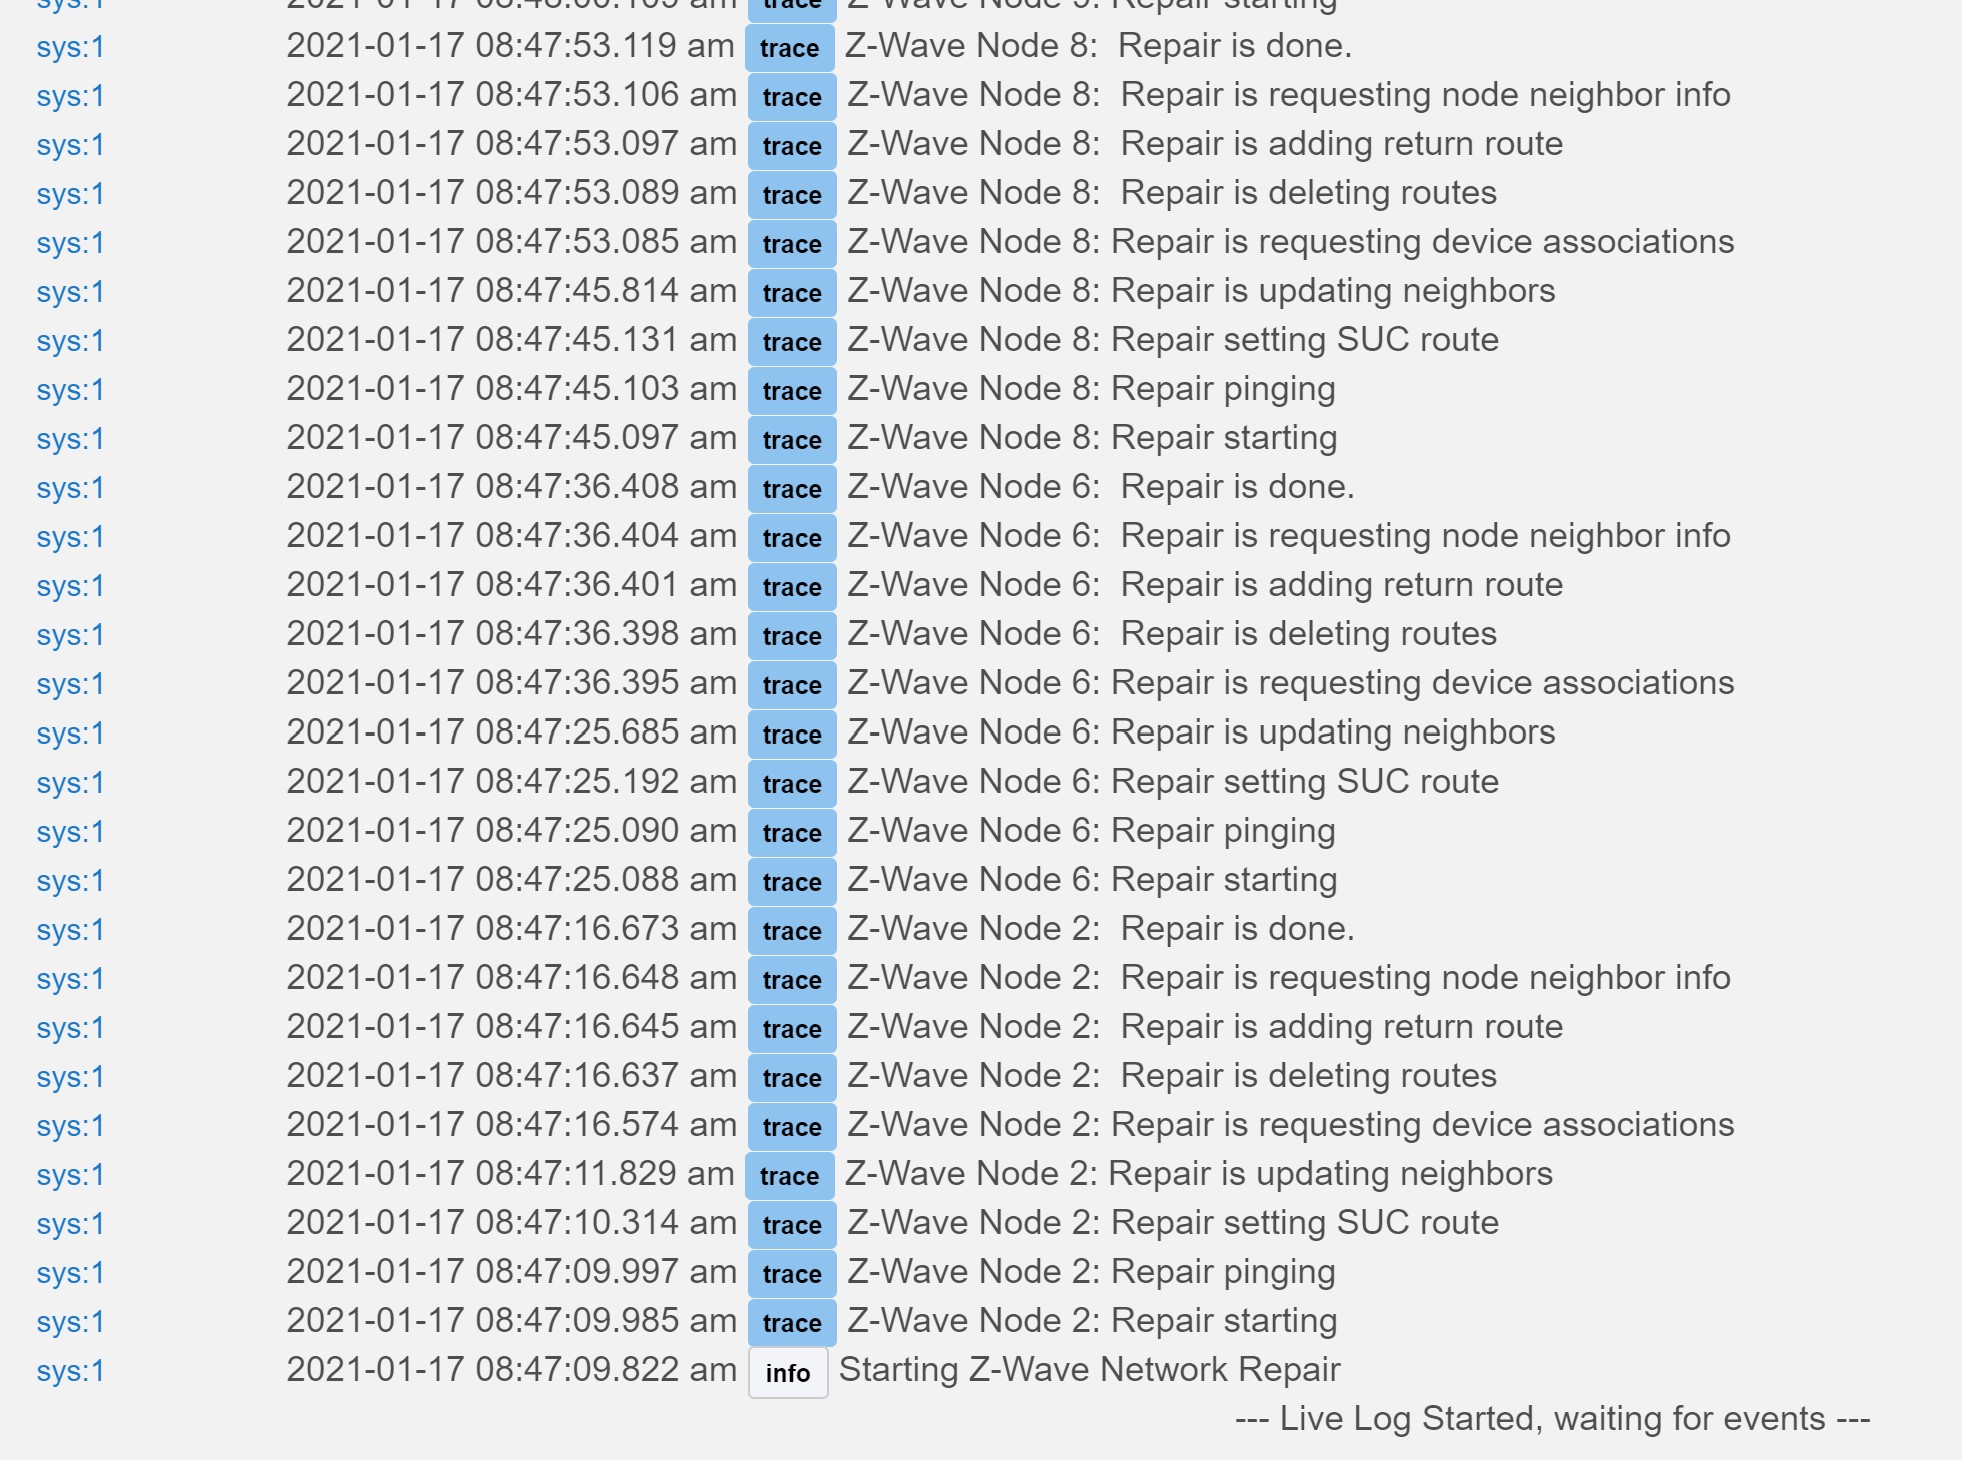
What happens during a Z-Wave repair:
The Hubitat Hub will do a quick assessment of your network and create a repair plan that organizes the nodes to repair. It does this to maximize efficiency and reduce potential failures that can come from having no routes available to reach a node. It will repair nodes closest to the hub first and then move out hop, by hop. Only mains powered devices can currently be repaired.
Once a node is selected for the start of repair, the hub will ping the node (NOP) to determine if the node is reachable. If the node is reachable it will go on the next step, if the node is not reachable it is marked as failed and will retry in the last step.
The hub will request the node look for new neighbors. During this process, the node will ping all nodes in its range and report back to the hub.
The hub will then assign new SUC return routes, route back to the hub, based on the updated internal routing table the hub maintains.
The hub then requests additional routes assigned to the node for each of the virtual node ids assigned to the hub to maximize request and reporting efficiency.
Z-Wave repair is very network intensive as every device is re-routed. If you are not currently experiencing delays or problems, I would not run it.
For more details on mesh performance expectations, check out this training module by Silicon Labs.
@bcopeland, you mention in step one that the hub starts closest and moves out... with every zwave repair I do it always runs in node number order from lowest to highest and not related to location/distance, is that b/c I'm on a C-3 (cough, cough)?
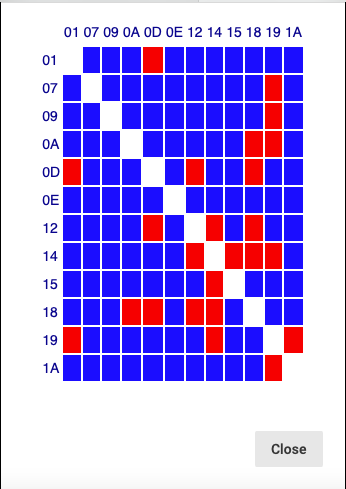
You can't see the routing table for non-C7 hubs. Well, not in the hub anyway - you would need an external controller and other software to see the routing (zwave stick paired to hub + the free SiLabs PC Controller software).
The "in clusters" is really the supported ZWave Command Classes for the device, and has zero to do with routing.
I have a C-5 (my primary hub right now) and a C-7 on the network that I have only currently setup for testing of Hub Mesh (works great).
I know that the Hubitat team is still working on the Hub Protection piece, and I don't want to interrupt them doing that, as, frankly, I can't put my family through the removal and re-addition of close to 120 Z-wave Plus devices from the C-5 to the C-7. Backup/restore of radio data in addition to the rest of the DB can't get here soon enough.
Once it does get here, my plan is to have the C-7 do only Z-wave and the associated automations that involve Z-Wave, with the C-5 remaining to handle Zigbee (primarily my door locks), plus function as the Dashboard 'server' (thanks Hub Mesh!) and integration point to my Philips Hue hub.
I'm looking forward to the series 7 Z-wave radio with hopefully better range to my 500 series devices (though I do have several of the 700 series Aeotec repeaters in place) because despite all my best efforts at Z-wave repair and tuning, I still occasionally get huge lags in my Z-wave network caused by multiple retransmission requests from Z-wave devices.
I do tend to run Z-wave repairs overnight on the C-5 when the network is relatively quiet, and find that performance generally improves for a day or so afterward, but then gets bad again. I often wonder if the 'self-heal' of Z-Wave plus (all my devices are Plus) is causing sub-optimal routes to resurface after a manual repair?
Insightful and helpful. Still seeing some glitchiness on my C7 with legacy Z-Wave (non plus) devices that worked for years with a Micasa Verde then 2+ years with SmartThings flawlessly. It’s almost like my 700 z-wave chip on the HE hangs up every now and then and the shutdown, remove power, hard reset brings it back to life for a few days.
The z-wave repair I’ve seen in the current C-7 firmware can actually seem to induce this freeze-up on my hub, so I’ve learned once it’s stable, let the network run until the hub/commands get laggy/frozen.
It never seems to be the hub hanging up, just the z-wave chip. You can always tell, because the hub is responsive, but if you disable then re-enable the z-wave network (chip) it doesn’t come back and re-populate the device list (approx. 45-50 devices in a pretty strong mesh).
Just wanted to pass along that feedback. Loving the speed of my locally controlled network, just know there’s some growing pains to get through as the hub evolves and gets better.
Can someone explain what having a node repair that never finished, but only ends in x4 "Repair is requesting device associations" is doing? I have many of these, all varying distance from the hub - some very close and some much further. I have devices - some models - in the same gangboxes that I get different results for (repair done vs no done).
As far as the repair plan, my hub chooses a Node to start at then simply goes in sequential order of the Node ID. There is no other logic seemingly applied to how it chooses to repair the network. I think this is causing some of the issues too since it doesn't seem to be following any existing mesh topology for repairs.
I have a C7 running 2.2.7.126 (latest version) and all devices are either Z-Wave Plus (Inovelli Red Dimmers and Black switches and their Red series fan/lights) or Plus S2 (i.e. 700 series) Which are 2 Aeotec 7 Plugs and 2 Aeotec 7 series range extenders.
But every now and then some seemingly random device device (Inovelli Red Seres dimmers) can take a good 30 seconds or more to turn on. If I then turn it on and off a few times it starts acting virtually instantly. I added Aeotec Smart Switch 7’s weeks ago after all the other switches were in place in the hopes of curing this. But despite being in place for weeks virtually nothing is running through them. I thought being self-healing I thought I would see some/most switches that needed at least one hop to be going through them. I’ve got a few devices that are at 9.6, a few at 40, and most at 100. Everything has zero security. Should I repair the whole mesh or just those slow devices? Anything else I should do? From reading this thread this seems a common problem.
BTW, I don’t see any correlation between those “slow” devices and any particular switch taking a longtime to come on. Of corse, I should also mention that the slowness is only for a rule running through the hub, and not turning on a light directly connected to a switch.
Are these switches included with S2 security? If so then this is most likely S2 synchronization issues. However if you are seeing the node’s route changes increment then it is routing issues.
Some have, some haven't. Some are as low as 0 (mostly 700 series devices - though I have at least one 700 series, an Inovelli Fan+Light that has over 50 changes. But, on the other hand I have some devices (virtually all are Inovelli Red Series dimmers) that have well over 200 changes - up to the 250 change range.
I also have a Inovelli Red Series dimmer (device OD) that changes alot. Shows 63 changes since 5/16. It's about 8 feet away from hub, but seems to toggle between a couple of leviton plug in dimmers two rooms away. Don't think it's a mesh issue, just the device normal mode.