I am unable to pair my Schlage lever lock. I've done a factory reset on it several times without success. I have it about a foot away from the Hub without success and I've also installed brand new batteries. I tried going into the Z-Wave and press exclude and then go back and try to add it without success. Any thoughts?
Start Live Logging [ right click on Logs in the left menu; Open in new Tab; It will be blank. ]
On your other tab, go to General Exclude: Settings ZWave Details:
Now, with both those tabs ready to go, click the ZWave Exclude button and start the Lock's ritual.
Switch to Live logs and you should see a message: Unknown device excluded
Repeat until you see that message.
THEN you can start an Include.
Follow this sequence EXACTLY.
Mount the lock on the door.
Move the hub VERY close to the lock.
Remove one battery.
Hold the Schlage button in and replace battery.
Lock will blink twice.
Enter a factory lock code.
Lock will reset.
Put hub in exclude mode.
Enter lock programming code.
Press Schlage button.
Press 0.
Put hub in Z-wave discovery mode.
Enter lock programming code.
Press Schlage button.
Press 0.
Lock should pair.
If not redo exclusion and discovery.
I tried following exactly with the only exception of the lock being right next to the hub. I don't have a 25ft ethernet cable handy. Still no luck after several attempts. Thanks again for all your help anyway. Maybe I'll try leaving the batteries out for a couple days and give it another try. I already have a conventional keyed lock installed for now.
Proximity is very important. It took me days to figure this out but using this technique I have had success. I tried on with the hub 10feet away and it did not work. It will seem to be paired but will not work properly. After moving the hub 2 feet away and going through the sequence (without the reset, just excluding and pairing) it is now functioning. They still are quirky with Hubitat, I migrated from Iris where they worked flawlessly (albeit after a major hassle pairing them) and hope to find a way to recreate the Iris experience with them. We'll see...
1 Like
On my older Schlage zwave locks, it wouldn't pair with the hub 5 feet away, but would work at ~2 feet away... Just a data point.
1 Like
I literally hung the hub off of the door handle
After a brief hiatus, I'm back to trying to get my Schlage FE599 to pair. I was able to get it to pair three times but it shows up as an unknown part number. Under the device, it says no commands available for this device.
Any thoughts?
Have you changed the device type in device settings? If it didn't initially detect that it was a lock, you will need to manually select the device type.
I think that may have done the trick. I use the drop-down and did not see Schlage but used generic Z-Wave lock. It seems like it might be working right now before I mount it back to the door. I may give it a couple of days before I install it after I learn the app and try adding it to my dashboard withSharp Tools. Once I get this one perfected, I still have a Kwikset deadbolt to tackle.
As someone on The Forum mentioned, Iris by Lowe's spoonfed us over the years. There's been a lot of Hoops to jump through with this new system. Albeit, there has been a lot of frustration.
1 Like
Read srwhite's post about using the SmartThings driver to configure the FE599 and then switching back to the generic Z-Wave driver. It dramatically improves performance of this lock.
I'm 61 years old and have no clue on how to change drivers. Would you happen to have a link for the driver I need and is there a video showing exactly how I accomplished loading the driver?
Thanks in advance.
Read through the complete thread for some background.
The driver code is at Schlage FE599 Lock Ignoring Keypad Events - #33 by srwhite
Installing custom drivers
https://docs.hubitat.com/index.php?title=How_to_Install_Custom_Drivers
Not sure what your age has to do with anything. There are likely lots of people here at least your age. I am 71.
3 Likes
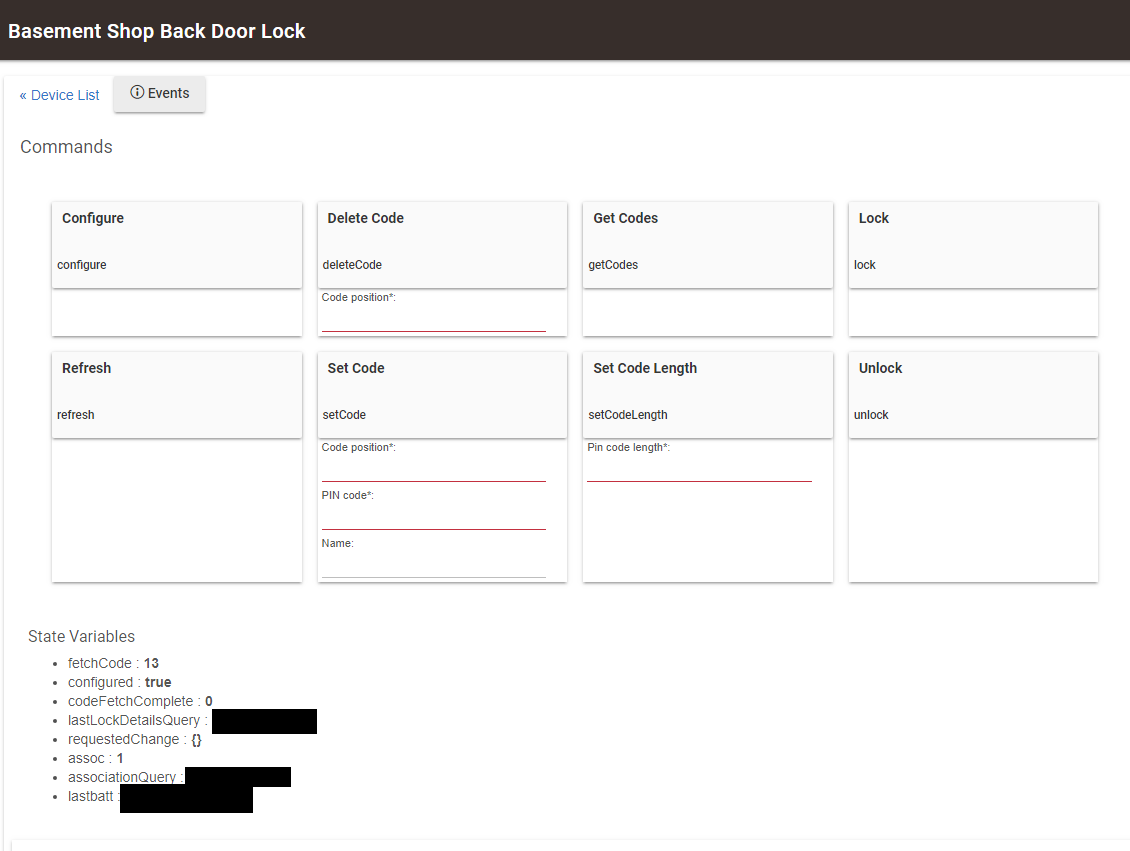
You will want to go to the device page for the lock.
I can't fit the whole thing in a screenshot but it looks like this:
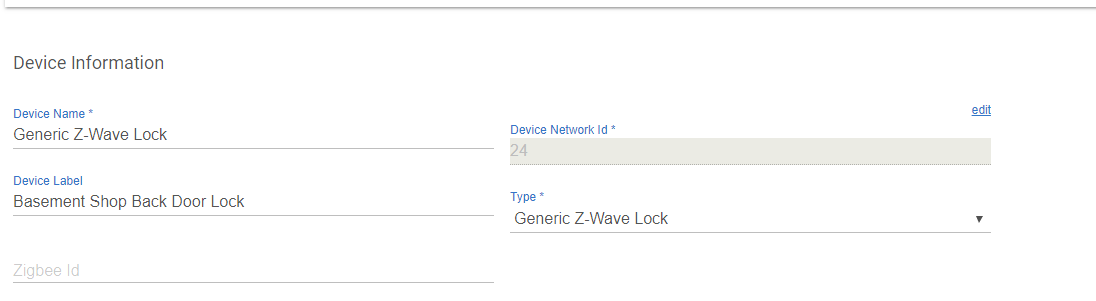
Right now your lock should be using the Generic Z-Wave Lock Driver - you will see that in the middle of the page - here's another screen shot:
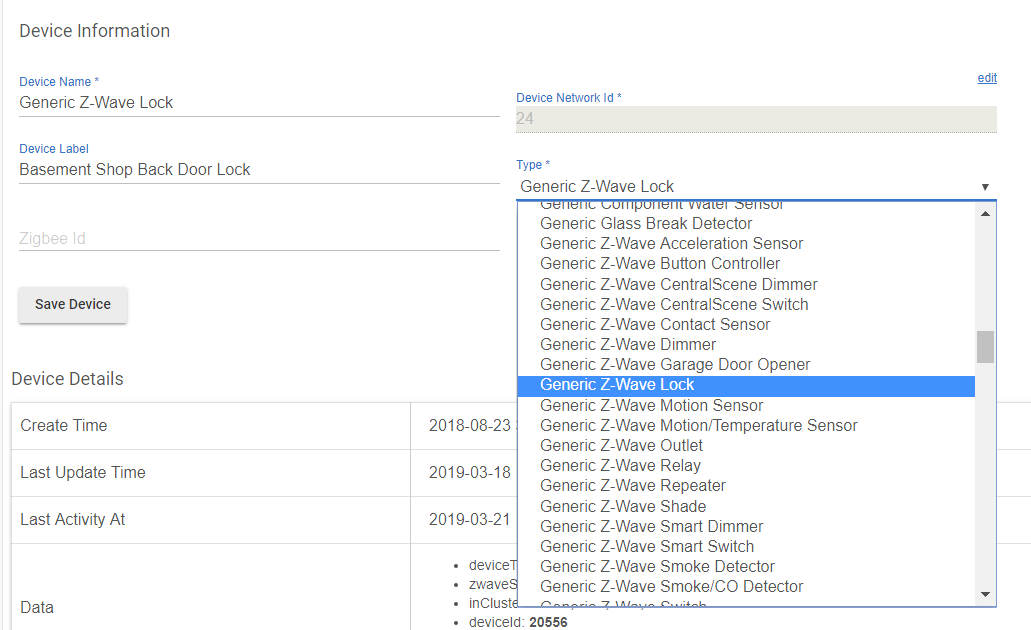
The driver is in the field called Type*. If you put your cursor on that field you will find that a selection list will pop up. That's how you can select a driver (other than the one the system chose for you automagically when you joined the device to the system). Here's what that looks like:
I've got to go look at the other posts to see if they explain what is needed to create the alternate driver . . .
OK, I'm back. I don't see detailed instructions on creating the driver in srwhite's posting. It's really easy to do.
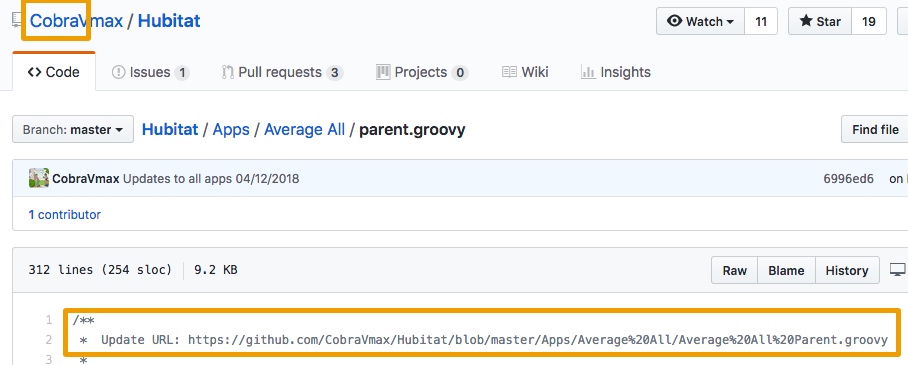
From srwhite's post, go to the show original link with the driver code (or just click on it here - I have copied it: Hubitat/ST-ZWave_Lock.groovy at master · shackrat/Hubitat · GitHub
Here is the only tricky part - you must copy all the code within the box starting with line 1 /**
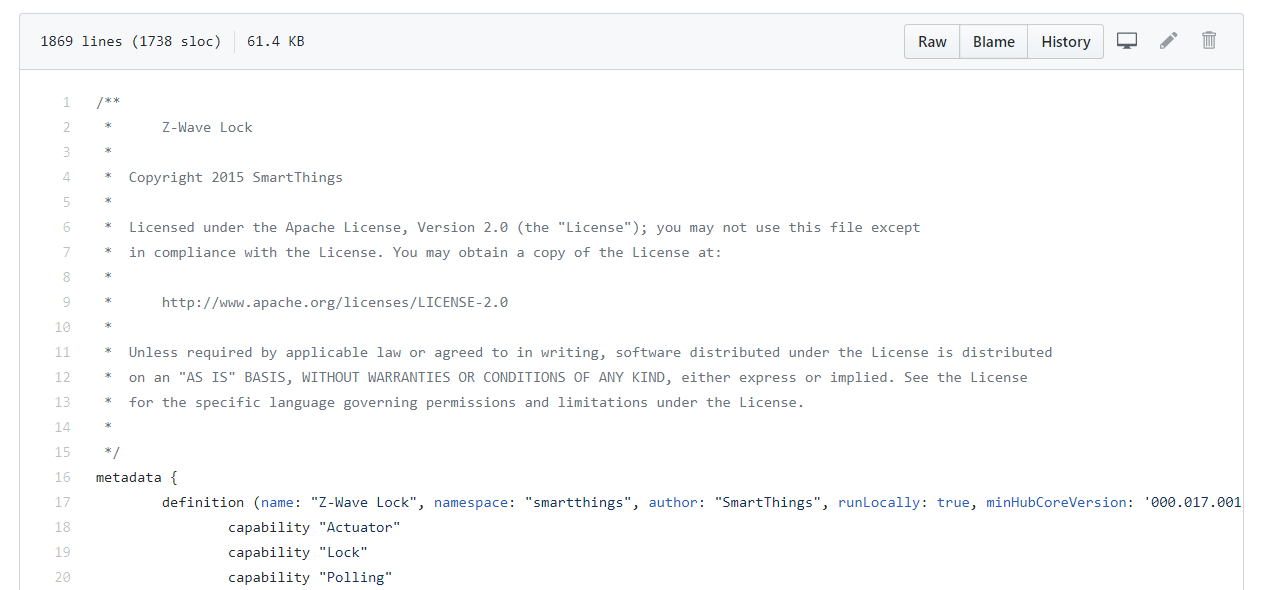
through and including line 1868 }
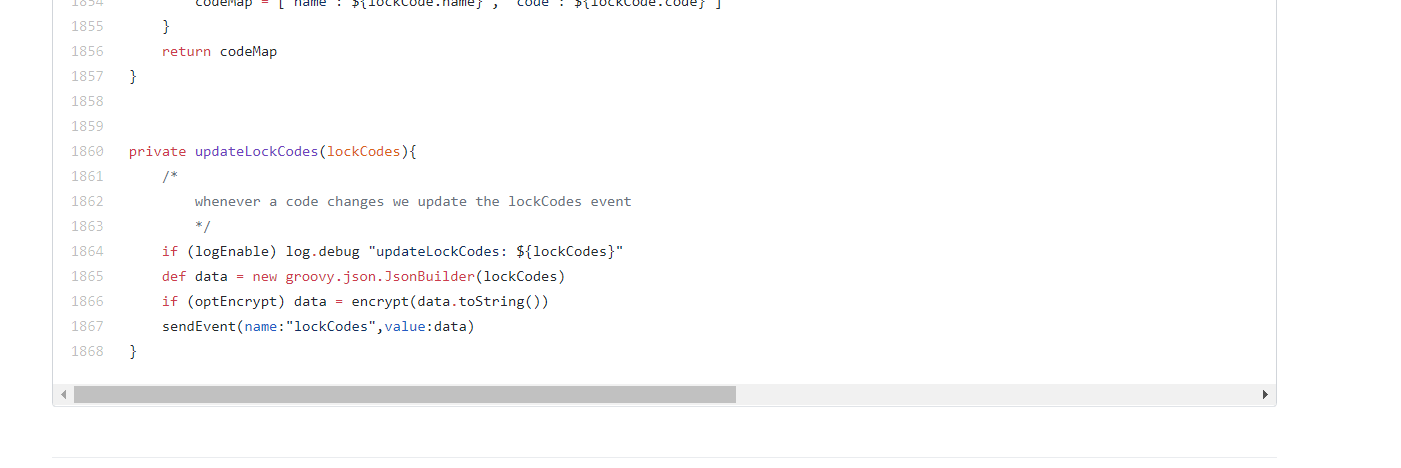
- so you need to highlight all those lines, right click with your mouse, select COPY and click. This puts those 1868 lines of code into the paste buffer of your web browser.
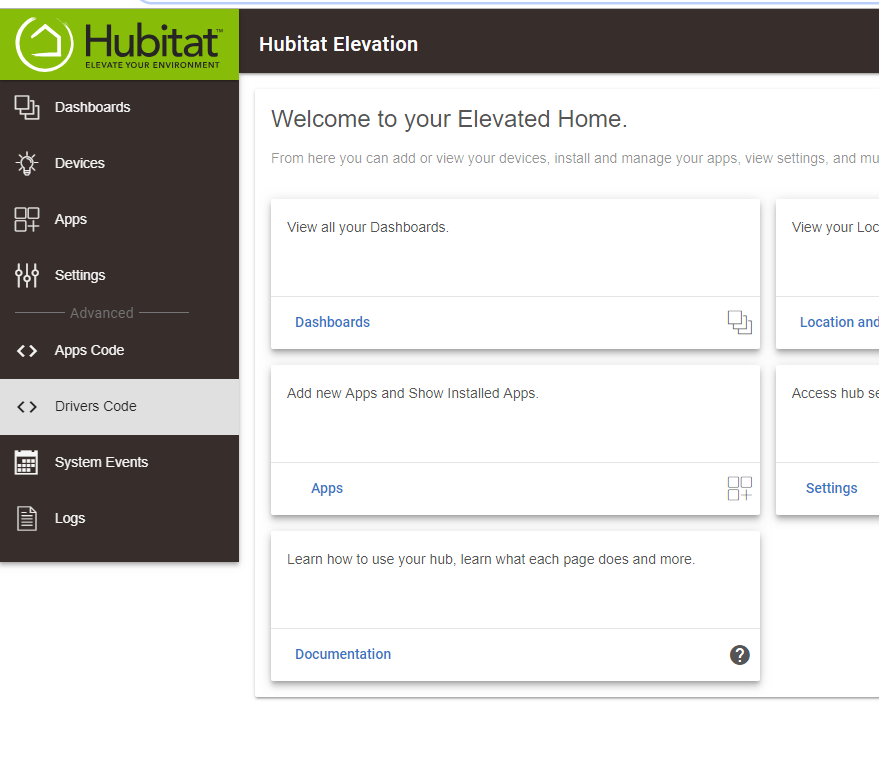
Now open a tab to your Hubitat console and click on Drivers Code.
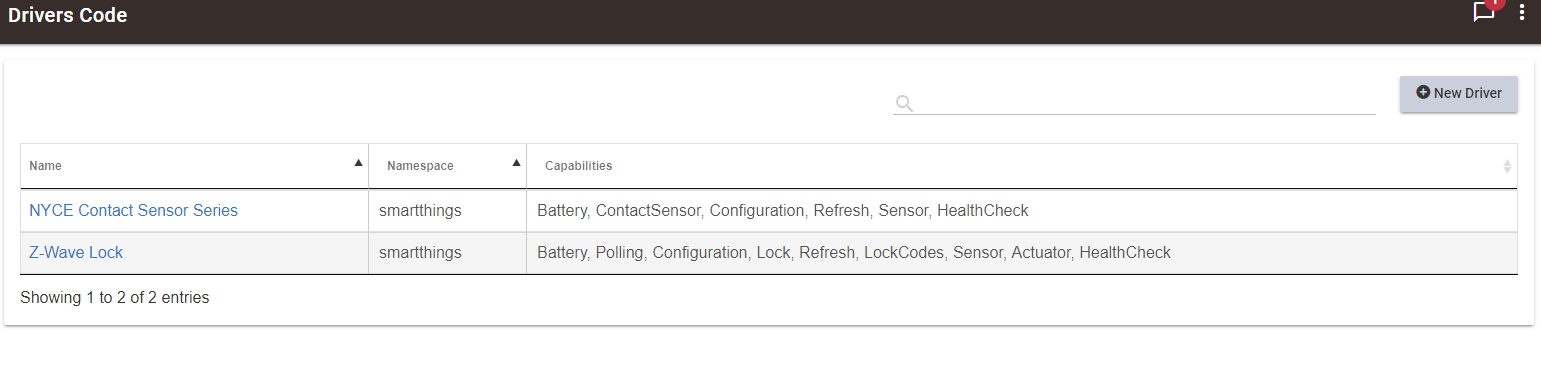
In the upper right corner, click on +New Driver. My screen shows a couple of drivers, yours will likely be blank.
When you click on +New Driver you will get a nice clean, nearly empty screen. It will have a line number 1 up in the upper left corner. Just put your cursor in the nice clean white area and ric right click - the cursor will position itself next to line number one. Select paste from the right click menu to drop the lines of code in from the paste buffer.
With any luck it should look something like this:
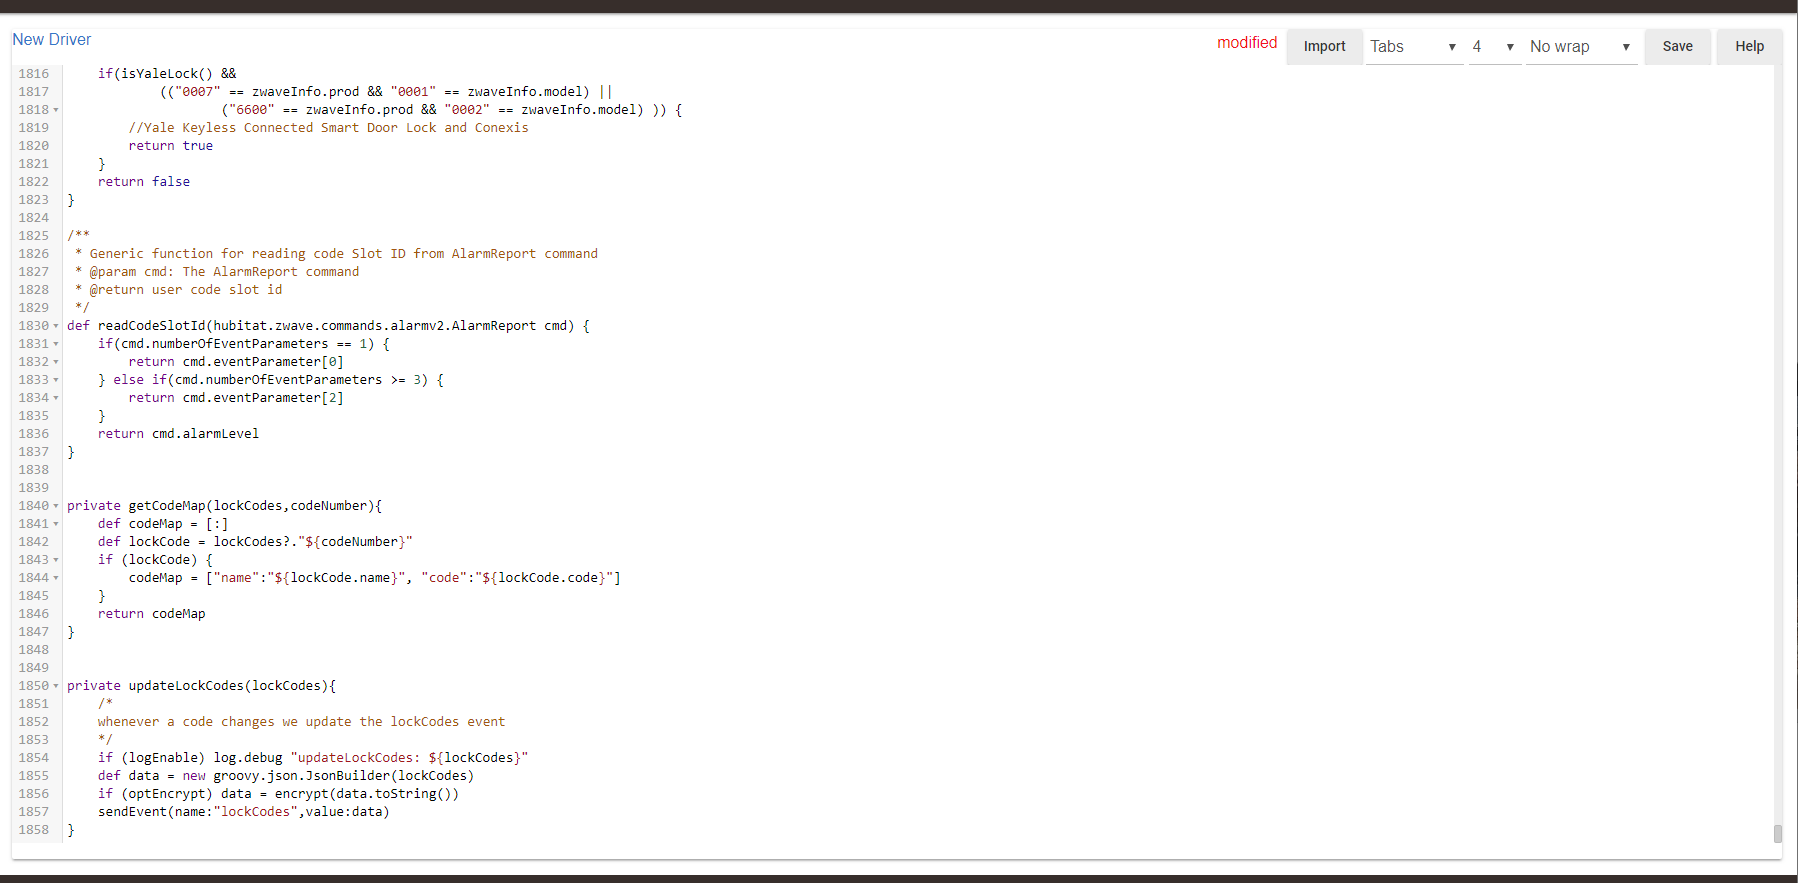
Click on the Save button in the upper right corner. You just created a driver!
So what did you just create? This is the SmartThings driver for the Schlage Z-Wave FE599 lock. We want this for one thing - we want to use the settings that this driver will send to the lock to configure the lock. Once we have accomplished that, we will switch back to the Generic Z-Wave Lock driver that you should be using now.
On your drivers page you should now see the driver named Z-Wave Lock in the list.
I will break here. If you get this far the next step is a piece of cake. Honestly, the hardest part is selecting all the lines of code and not including any extraneous stuff.
2 Likes
Eric, thank you for the very detailed info. One of my problems is that I only use my phone or a tablet at the house. Looks like I'm going to have to dig out the laptop which will make it easier to copy and paste and so forth. It might be a couple of days before I can get in and accomplish this. Once again thank you and everyone on the forum for all of your support. It's actually awesome to get a very quick reply.
I'll keep everyone posted in a few days to a week.
I agree, I don't think this is something to try on a small screen. I'm just a youngster (62) but I can't use a phone for much more than making a phone call. I prefer a real keyboard and a nice big monitor when I actually have to do real work.
The last step will be just to switch the drivers briefly. I can give you a step-by-step for that but first you need to have created that driver. So, I will give my fingers a rest while you work through that part.
I think the community knows enough that this will get fixed and the necessary changes will end up in one of the "official" Hubitat drivers - it just may take a while because (a) they have been really busy with Lowes Iris users who were forced to make an unscheduled migration and (b) they need to get one of the locks on loan for a while so they can watch the traffic and make sure they are using the optimal settings for best performance. Srwhite identified that the locks seemed to work better on SmartThings and came up with the Band Aid temporary fix using the two drivers. It works surprisingly well so I have been recommending it.
FYI..
Importing is a simpler solution to explain... go to the Github page and then click that RAW button you show. Grab the URL (copy) and then on Hubitat, click the Import button and replace (paste over) whatever URL is there with the new one. Click Import, yes, and then click Save
Don't have to worry about missing the 2nd half of the code 
as in: Paste this URL into the Import field and click Import:
https://raw.githubusercontent.com/shackrat/Hubitat/master/Drivers/ST-ZWave_Lock.groovy
Awesome! Thank you!