This post represents a concise set of instructions for updating (removing/re-add as LR) devices. The main post will be updated with new findings, hints and tips.
Note that LR support is available with the C8/C8 pro or later hardware with at least 2.3.9 firmware
Best Practice: It's never a bad idea to take a backup before doing major lift and shift work...
Pre-work:
- Ensure that Z-Wave is enabled in the hub
- Region Setting shows US-LR (presumably other LR choices will be introduced as they are approved for non US regions.)
- Your Hub and Z-Wave Firmware have been upgraded -- on the ZWave Details page, if there's a button prompting the upgrade please do so, and post upgrade, be sure you do a graceful hub shut down, remove the power for a minute, and power it back up.
- Upon restart, be sure your old devices are still showing up (early LR beta firmware had a bug, long since fixed, but make sure things look normal before you start) in Z-Wave details.
Requirements for LR:
- Your LR Device has been scanned and it shows security information in App - SmartStart as it must be set up to join securely. Use the app to scan the QR code if it's not already present in your hub.
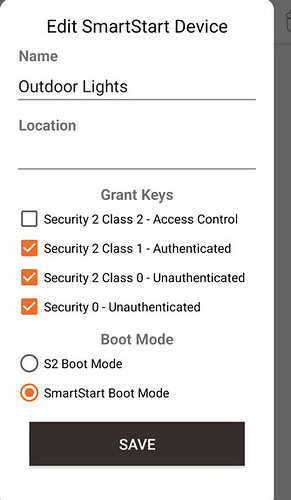
- Right now, I recommend that you not use the Hubitat app to edit any of the devices values as not all values are exposed properly in the apps yet -- the beta versions are adding in LR support. Unless you have a recently updated beta app version, don't edit via the apps.
-
YOU MUST do one of two things to adjust old entries from SmartStart:
a) remove the old entry via smartstart in app if you already had an entry as the boot mode type is set at add time. An old entry scanned in prior to 2.3.9 will never join as LR. (Note that the applications are still being updated, so consider editing via the below app. Scanning to add a new device is just fine)
OR
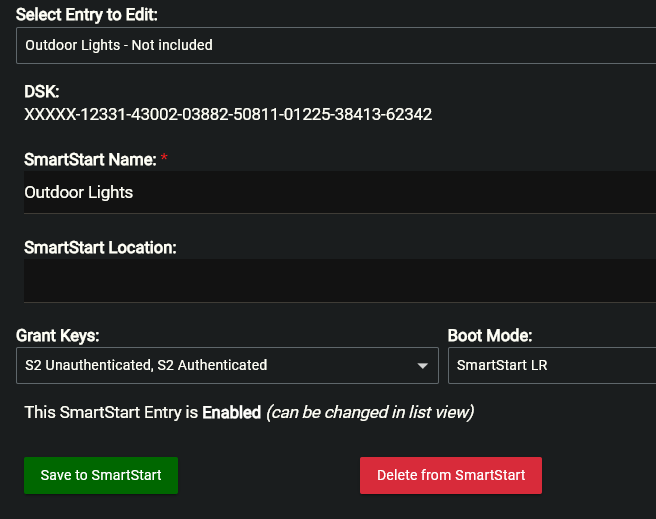
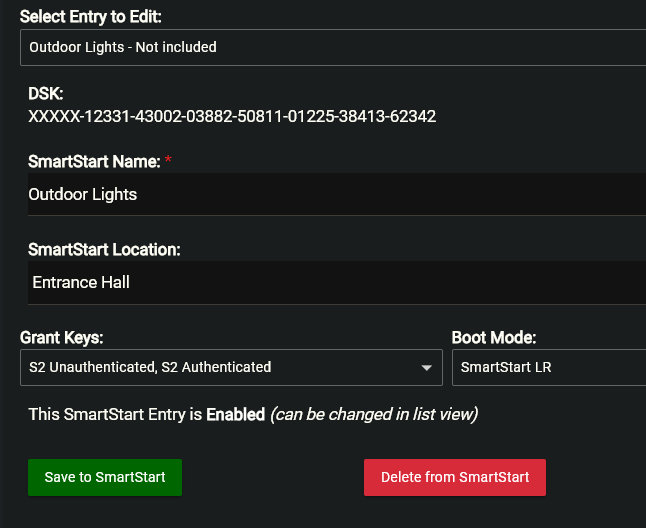
b) Be sure that your device really has LR support and check out @jtp10181's smart-start-manager-app and use it to EDIT the SmartStart device, moving the Boot Mode from SmartStart Mesh to SmartStart LR. Here's what it appears as before making the change:
-
In any event, note that the QR code should scan correct values for your device. Don't override what is populated by the scan unless you know otherwise as an expert -- the values all come from the QR code and reflect the device's needs. Please leave the "Grant Keys" items alone - for the purposes of LR adjustments, it's all about the SmartStart Boot Mode being set properly. (In particular, the device needs to be listed as SmartStart Boot Mode - you need that vs S2 Boot Mode.)
You can tell if SmartStart worked and Secure Paring was done right by looking for something like this on the device - the S2 value will vary as it represents the rights granted per the table below:
- S2: 3
- zwaveSecurePairingComplete: true
The S2 values are built (and are cumulative based on the presence of one or more bits) as follows:
0:"No Security",
128:"S0 Unauthenticated",
1:"S2 Unauthenticated",
2:"S2 Authenticated",
4:"S2 Access Control"
For New devices (or those totally removed, and factory reset)
- Add to SmartStart with a FW version after 2.3.9.111
- Power up device - it should join automagically in a few minutes and be listed in Devices.
- Be patient if it's not instant.
For existing devices that WERE in the hub that you wish to re-join as LR and later "replace": (credit to @jtp10181 for this suggestion)
You cannot use "Replace" in zwave details as the old device (which still may have been added via SmartStart/secure) does not have correct bootstrap information. That's why prior entries had to be removed/readded in SmartStart, or edited as described above.
- Remove old SmartStart information and re-add the device in SmartStart. (Optionally, edit as described above)
- Edit device DNI information by appending _OLD to the DNI-- and rename the device name to OLD so you can find it later. This will detatch the device from the node so you can avoid a ghost node by excluding it properly but without removing the device entry (which you'll need for the Swap Devices step)
- Verify in Z-Wave details the node is listed with no device attached (looks like a ghost)
- Z-Wave exclude the old device using the button on the z-wave details page -- you'll see something like excluded unknown device when it's done.
- Refresh Z-Wave details and verify the node entry is gone.
- The device should smartstart and show up again on its own if you already added it to SmartStart.
- Update the information on the device with the right name etc.
- Settings - Swap Apps Device -- specify the OLD to New named device and you'll retain your app references
- Remove the old device (devices, remove button down at the bottom)
How you know it's now LR (credit to @bertabcd1234 from another post )
Short answer, you can tell by looking at the included device's DNI value.
Regular Z-Wave uses hex node IDs between 0x01 and OxFF, or 1-255 in decimal (normally the hub is 0x01 and the first few reserved on 700/800 networks, and the top few also reserved on any network, but that's the general format). So a device with a node ID of, say 0x0F (or 15 in decimal) will have a DNI of 0F.
In Device or Room Details:
Example - DNI is A7 so it's NOT added as LR:
Z-Wave Long Range uses 4-digit hex node IDs that all start at 0x0100 (or 256 in decimal). So if you have a node ID or DNI equal to or greater than that, that's an easy way to tell it's LR. ![]()
Example (the two YELLOW highlights are LR devices, and the other is joined as mesh as it doesn't support LR)
In 2.3.9.139(ish) or later releases, the Z-Wave Details Table nicely shows a highlighted LR icon. Earlier 2.3.9 builds did not have this identifier, so again you can always tell if the node ID is greater than or equal to 0x0100 (or 256 if you look at it in decimal).


