PurpleAir Air Quality Station v1.1.01, updated on March 28, 2019
This DTH provides continuously updated Air Quality Index based on the PM2.5 data supplied by a Purple Air air quality sensor (see www.purpleair.com for more information).
Now automatically supports both SmartThings and Hubitat - no edits required
Now supports PurpleAir "Inside" sensors (with a single laser)!
Simple Setup
To use this Air Quality Station in SmartThings, you will need to:
Create a new SmartThings/Hubitat device handler using the supplied source code
Create the actual device: log into the IDE, select your Location, select Devices and then select Create New Device
Specify your preference for update frequency
Specify the desired PurpleAir Station ID you want to monitor
1.1.01 - Automatic support for both SmartThings and Hubitat|
Donations
As always, my contributions to the SmartThings community are entirely free, but should you feel compelled to make a donation, you can do so here: PayPal.Me
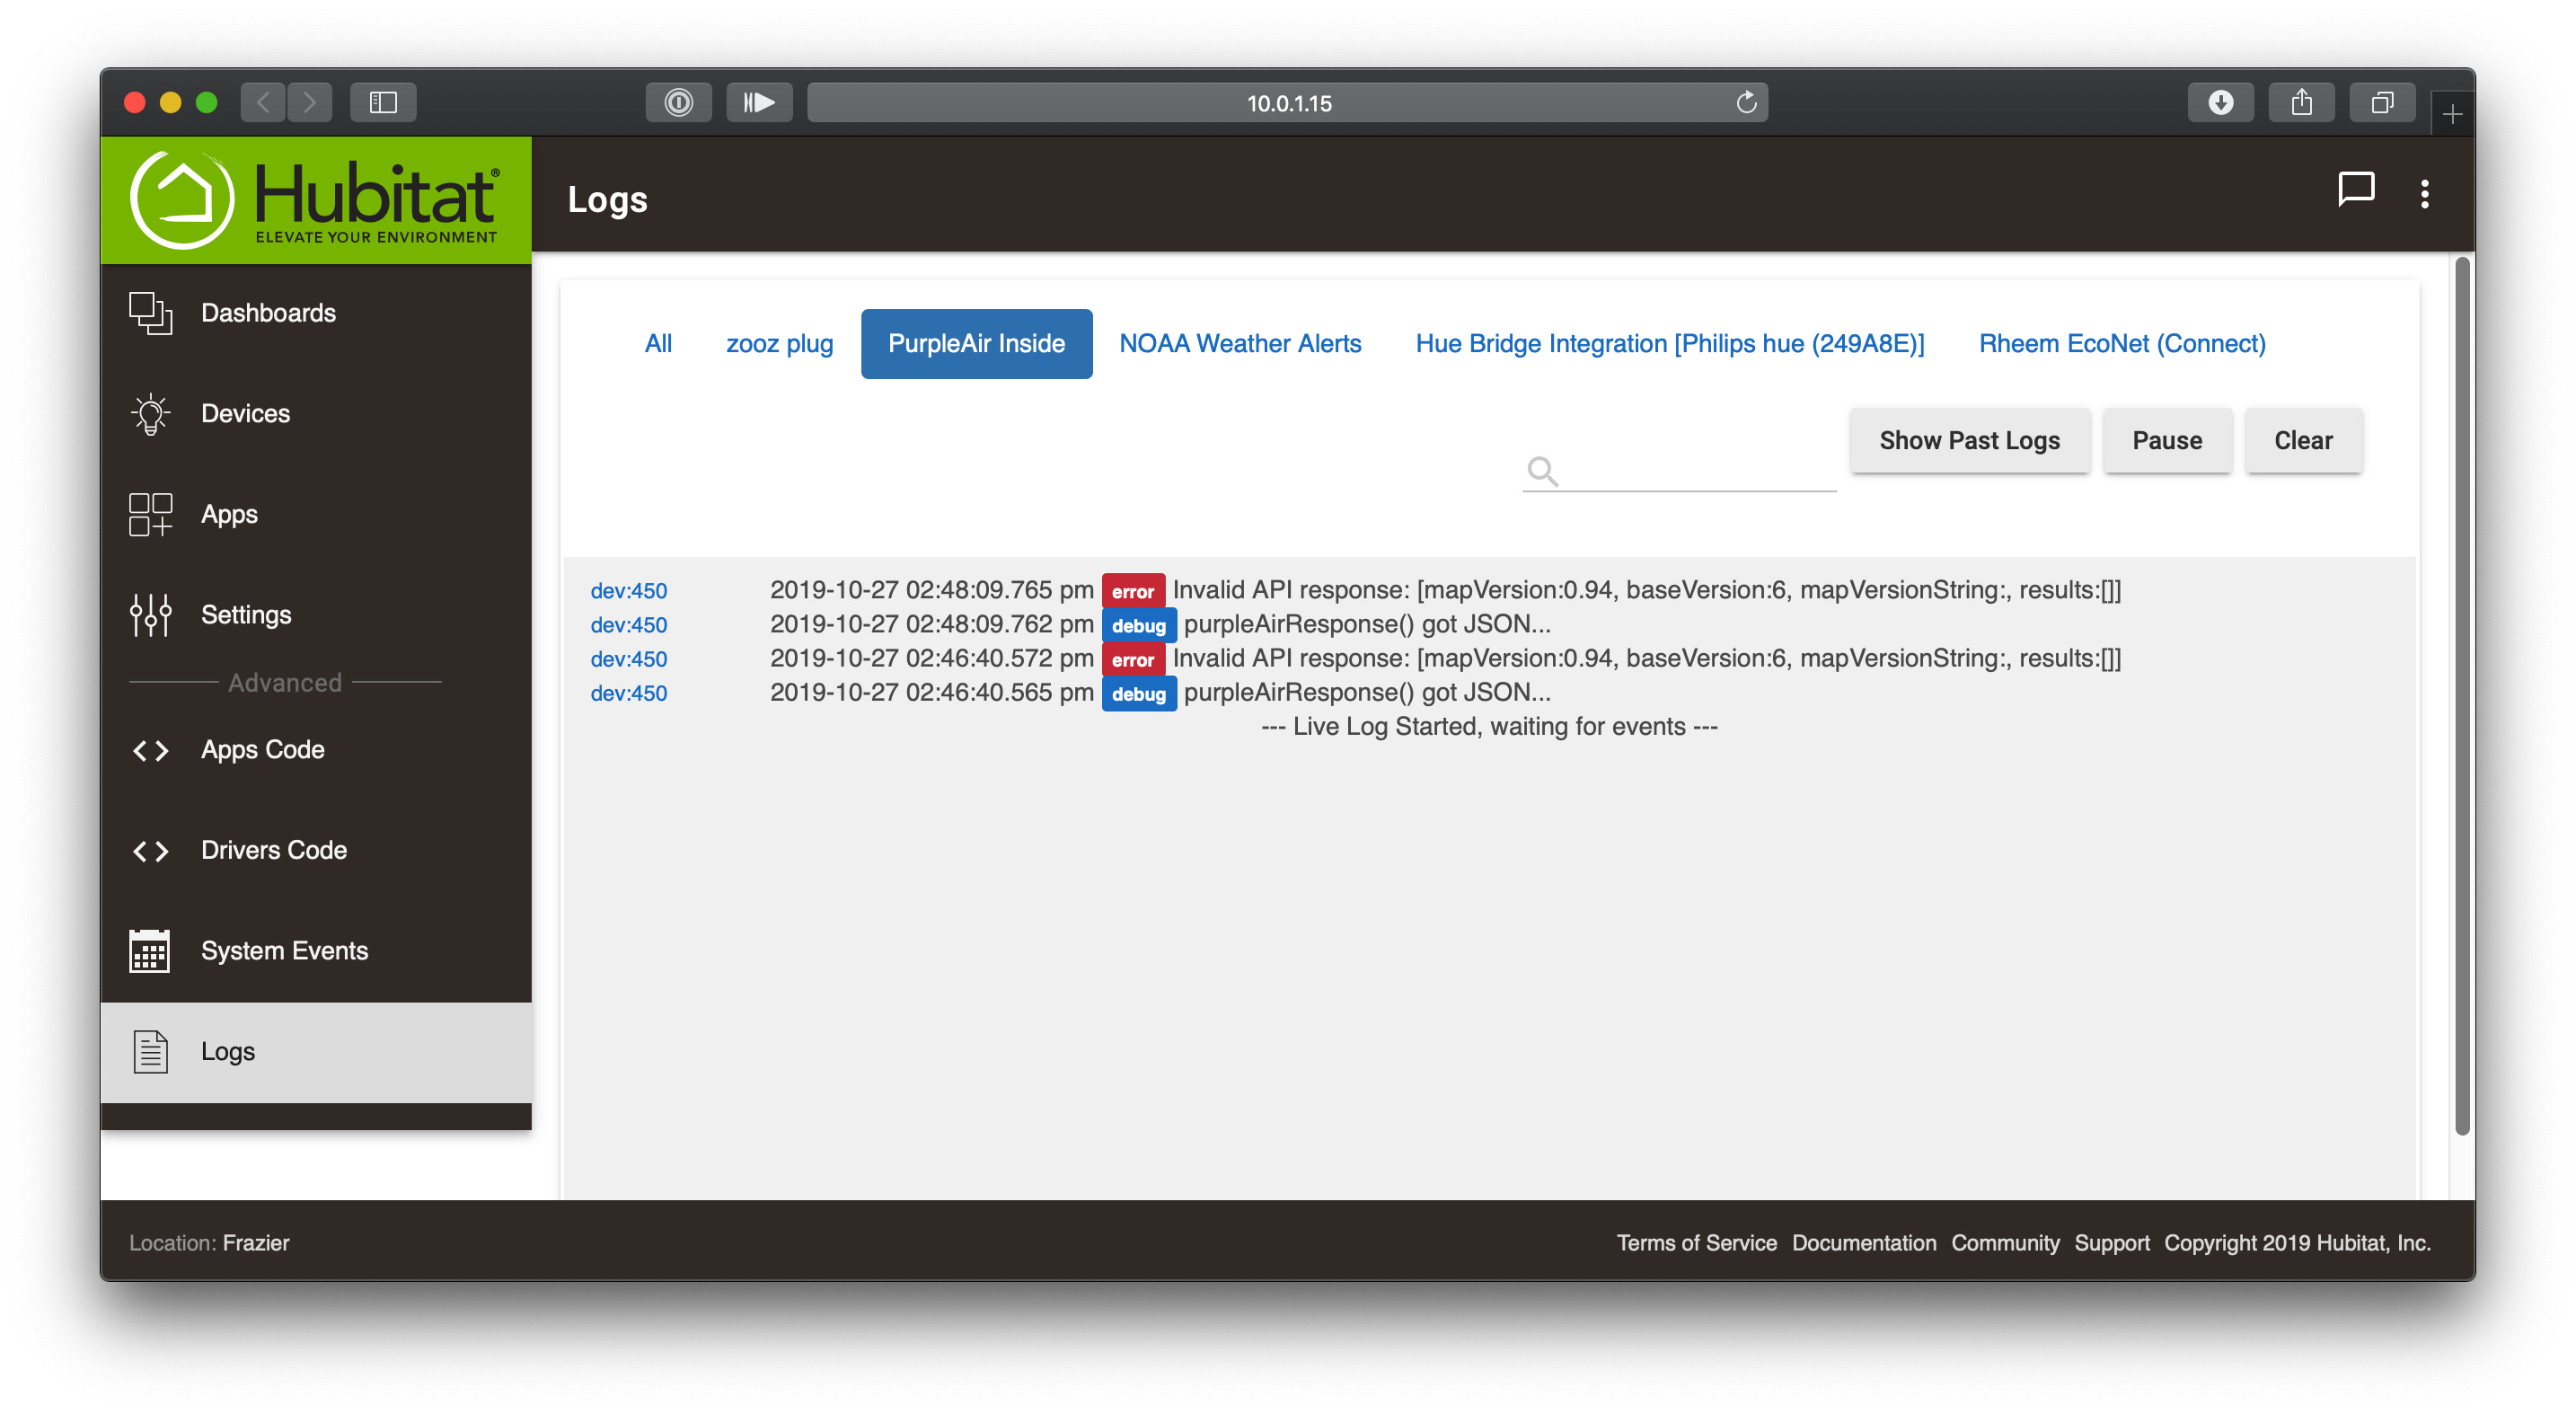
looks like your repo has a problem!! the code looks to have been pasted into the previous version of code. the first few lines need to be deleted and then from around line 600 on deleted. I have done so and have it running in my hubitat..
I was joking using the word unnnumerable, of course
Neverthless I cannot understand the differences between the air quality indexes: airquality, airqualityindex, aqi, aqi1, aqi?...
I suppose the aqi7/pmi7 refers to 7 micrometer particles and similarly the others value pairs. Are there same guidelines how to "use" them, particularly the pmis for values other than 2.5, 10 ?
Sorry for bother you. I'm not an expert in this field.
PurpleAir Air Quality Station update 1.1.05 posted on 9 October 2019
Updates include:
New optional preference to disable debug logging. There wasn't much being logged before, but now you'll only get an info message when the AQI is updated.
I am having trouble understanding the setup instructions provided here and on Github for a couple reasons and would appreciate some clarification.
Confusion #1:
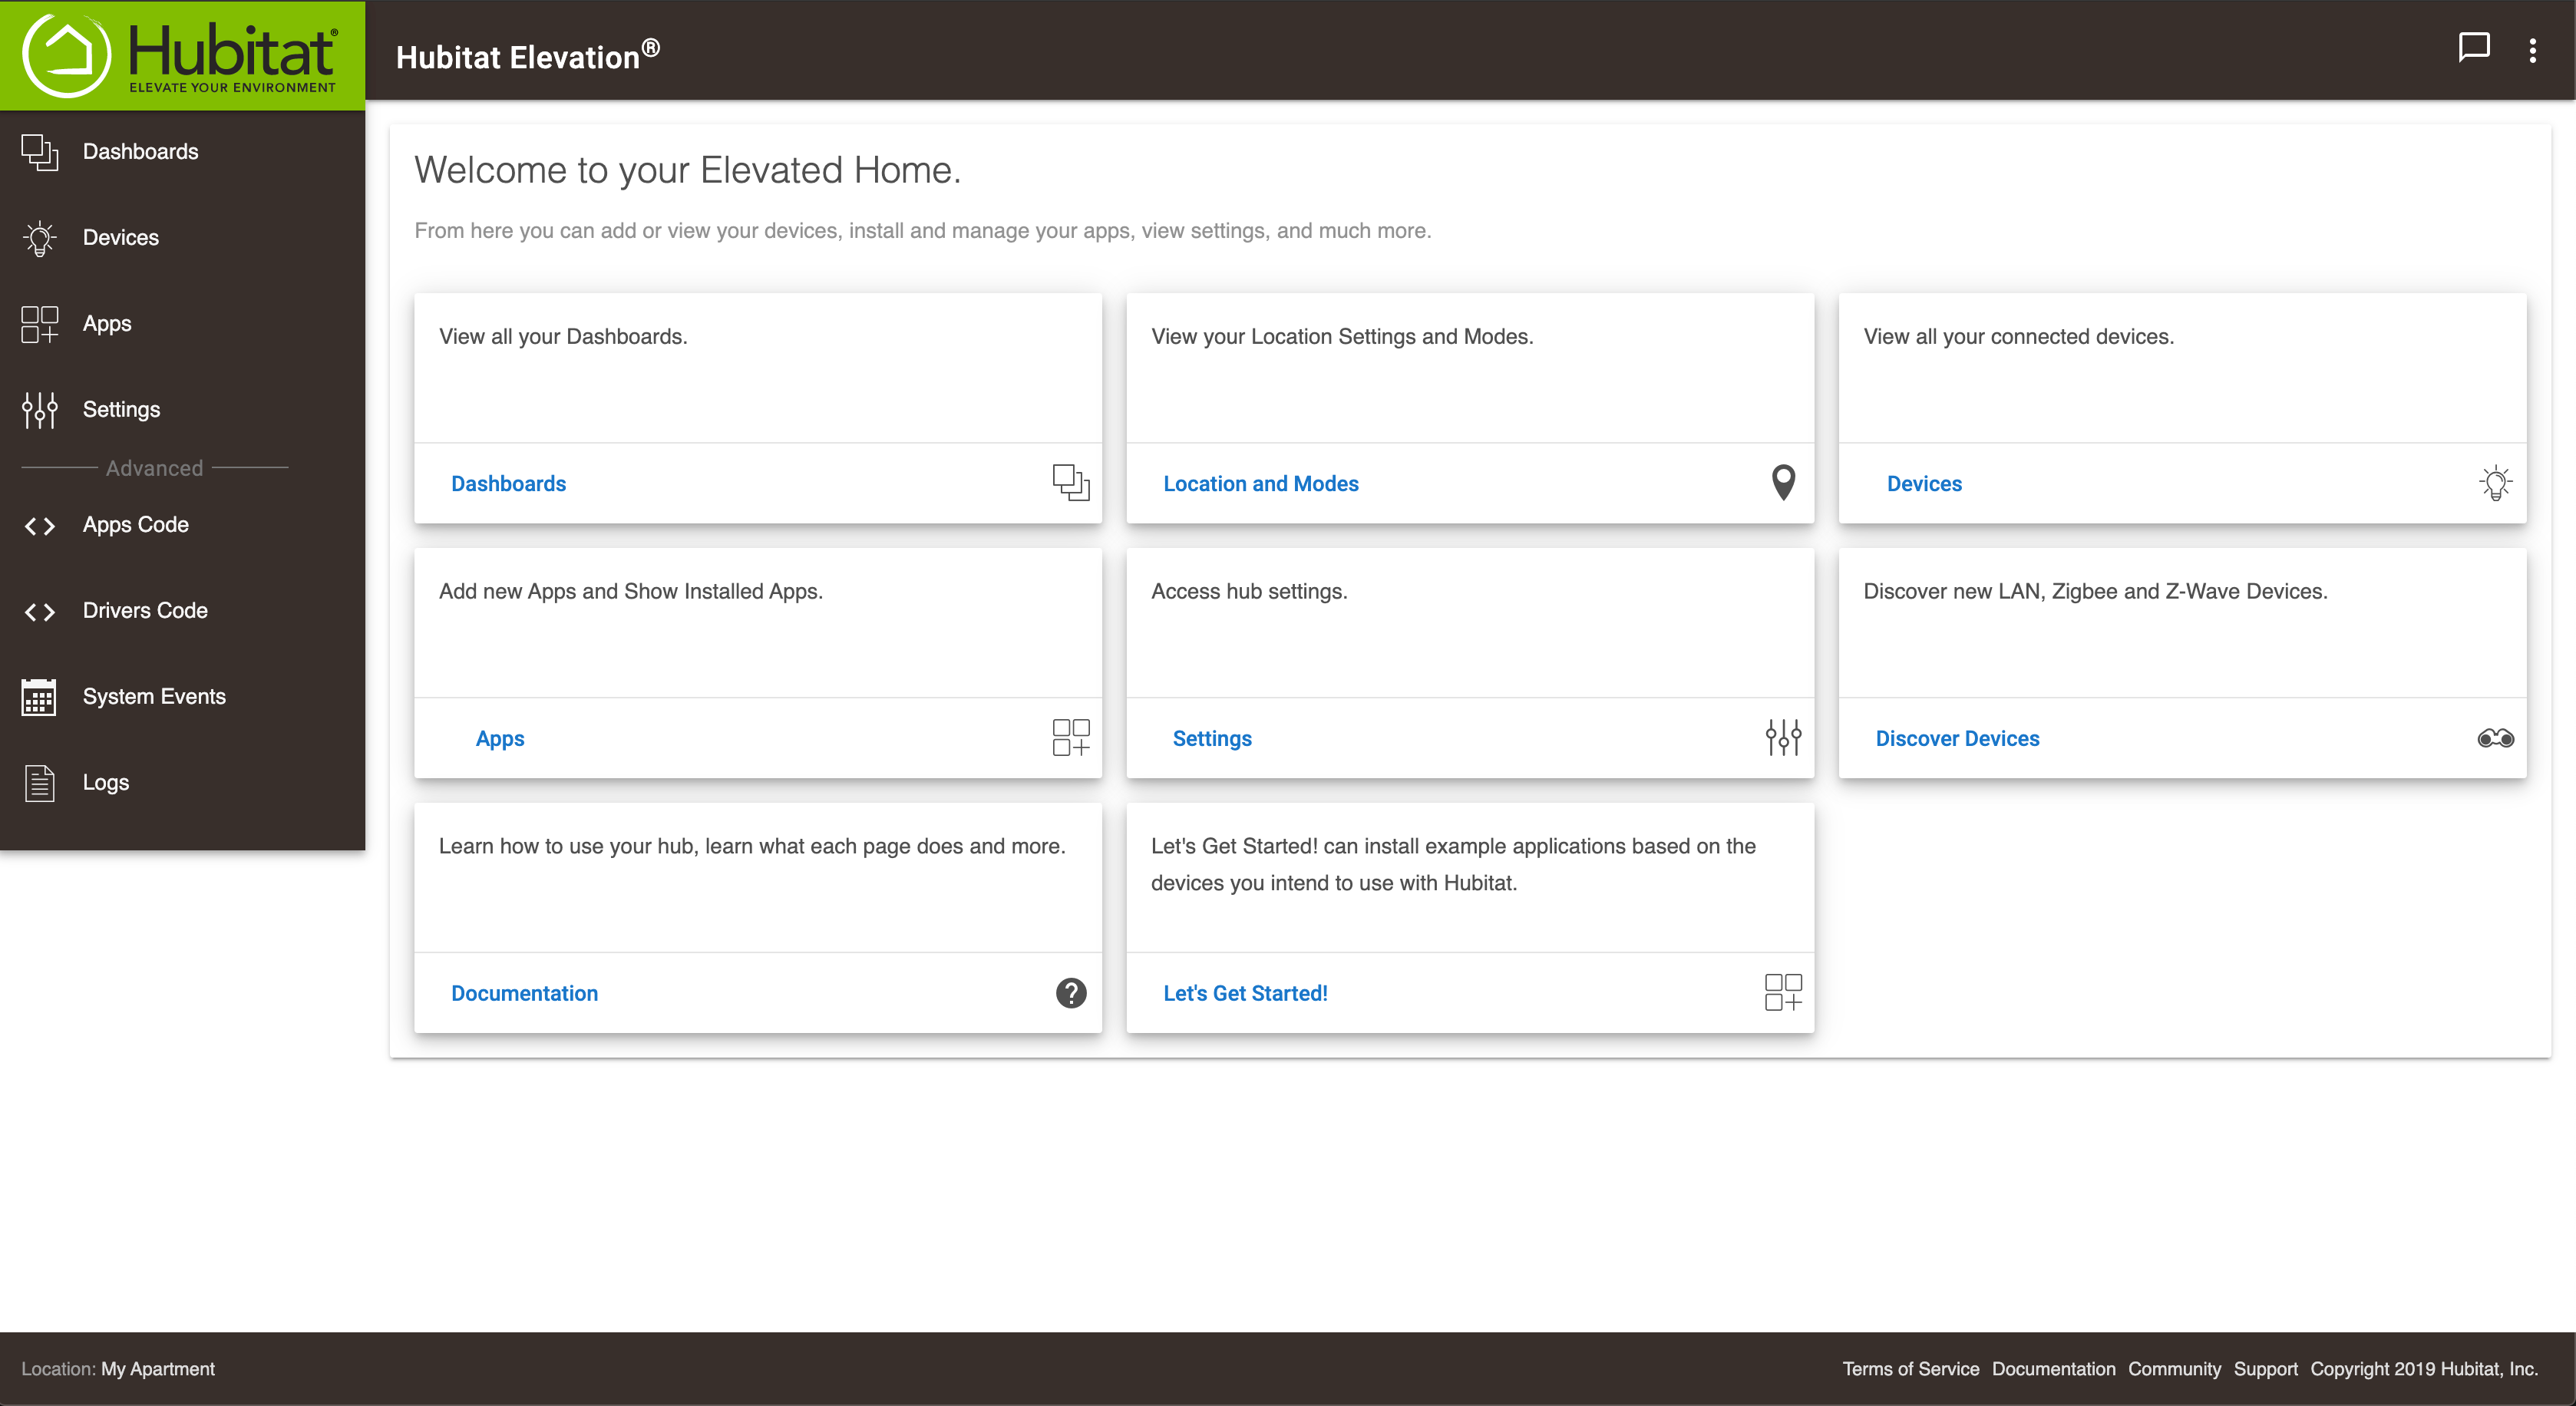
Step 1 on this page instructs the user to create a new Hubitat device handler. What is a "device handler"? I was unable to figure out what a device handler might be until I headed over to the setup instructions on Github and saw that Step 1 over there instructed the user to create a new driver. So a device handler is a driver?
It would be helpful to have the word "driver" used in the instructions on this page instead of "device handler" since I don't think "device handler" appears anywhere in the Hubitat interface.
After sorting out the Step 1 confusion, I successfully installed the driver code for the "PurpleAir Air Quality Station":
Confusion #2:
Step 2 on this page instructs the user to create the actual device by first logging into the IDE. What is an IDE and where would I go to find that?
Again heading over to Github to clarify these instructions, it appears that an IDE only applies to SmartThings and instead the Github instructions for Hubitat state that the user should create a new driver from the main menu. However, when I go to my Hubitat hub's main menu I don't see any option that would allow me to create a new driver:
I already installed the driver code on my hub as noted above, so I am not sure what it means to create a new driver from the main menu. Can you clarify the Step 2 instruction?
Has the Hubitat interface changed since these instructions were first written? I have not had any trouble installing other custom code on my hub, but this one turned out to be remarkably tough to understand.
Smartthings device handlers are equivalent to hubitat drivers.
You’re correct that the IDE only applies to smartthings as well.
To add a new device with the custom driver, click on devices, and then from that page you can click on the add virtual device button. Give it a name, use the drop down menu to find the driver you want to assign and save the new device.
This page of the official hubitat documentation explains how to add new driver code and create a new virtual device:
Excellent, thank you @marktheknife! Your tip pushed me over the finish line.
Boy, these instructions would greatly benefit from a rewrite. I'm going to rewrite them here in a way that I understand them so that anyone who encounters this confusion in the future has information to help them:
Setup: Step 1 - Install the driver on your hub: Open a web browser window and navigate to your Hubitat hub. From there, click on the 'Drivers Code' option in the left sidebar. On the Drivers Code page, click on the 'New Driver' button. Once the blank New Driver page appears, head to Github and open the purpleair-air-quality-station.groovy page. Copy the raw code from the .groovy file and paste it into the New Driver window in Hubitat. Click on the Save button on the New Driver page. The title of the driver will appear in the upper left once the driver has been successfully saved. Step 2 - Add the device to your hub: Navigate to the 'Devices' page on your Hubitat hub. From the Devices page, click on the 'Add Virtual Device' button. On the New Device page, find the 'Type' menu and scroll to the very bottom of that menu where you will find a section titled 'User'. Select the 'PurpleAir Air Quality Station' option from within that section. Proceed to give your device a name and a label, and then use the Save Device button to finish adding the device to your hub. Step 3 - Connect the virtual device to your air quality station: Once you have successfully added the device to your hub, you will be shown the device details page. The 'PurpleAir Station ID' field will be blank and must be filled in with your station's ID number (a 1-5 digit number). To find this ID, perform the following steps: Step 3.1: Use the PurpleAir Map to locate your station and click on it. Step 3.2: At the bottom of the station details window that appears, hover your mouse over "Get This Widget", and then click on the JSON link. Step 3.3: At the top of the JSON code which appears in a new tab/window, look for the text which reads: "ID":{station ID number}. Copy this 1-5 digit number and paste it into the PurpleAir Station ID field on the device details page from Step 3. Step 3.4: Specify the update frequency for the device and click on the 'Save Preferences' button. Immediately upon saving the preferences, you will see a large quantity of values appear under 'Current States' on the device details page. Verify that this information matches the information of the station you intended to connect. If the information matches, you have successfully added the PurpleAir station to Hubitat!