This might get deleted but the mod is really easy to do. Here's a good video on soldering U.FL connectors. https://www.youtube.com/watch?v=62WiPscjh4Y
Here are some clips I recorded of the process. I'll add some more when I get some free time.
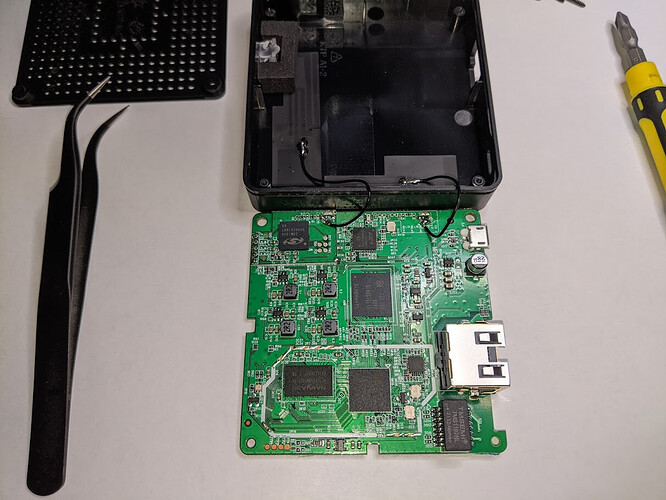
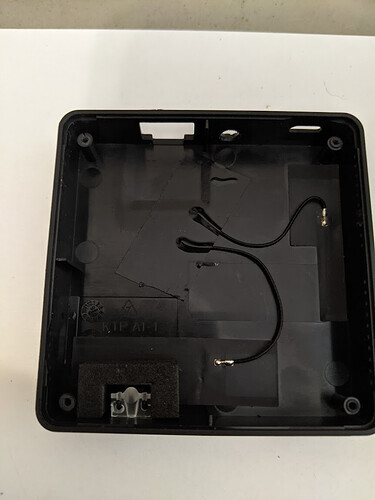
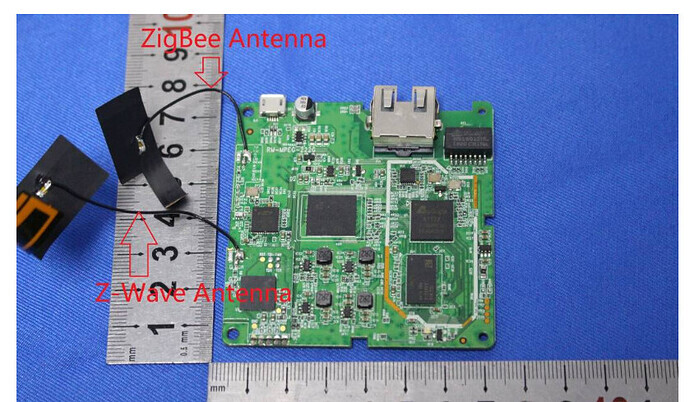
On the bottom of the hub, there are 4 sticky pad feet. Take those off and there will be a Phillips screw under each. Remove the screws and pop the top off. The antenna wires are soldered directly to the board so you'll need to use a soldering iron to heat up the connections to remove them. I just taped the leads to the lid so I could revert if necessary but not risk shorting out anything.
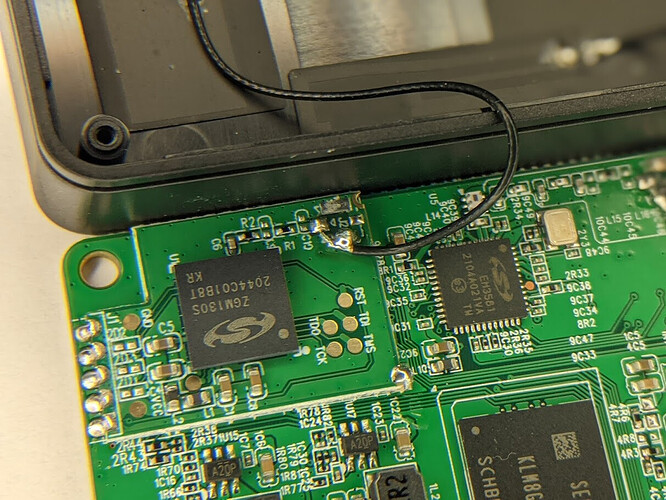
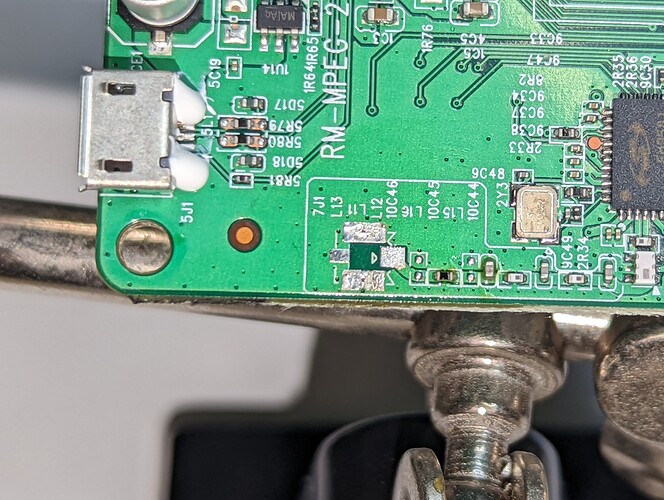
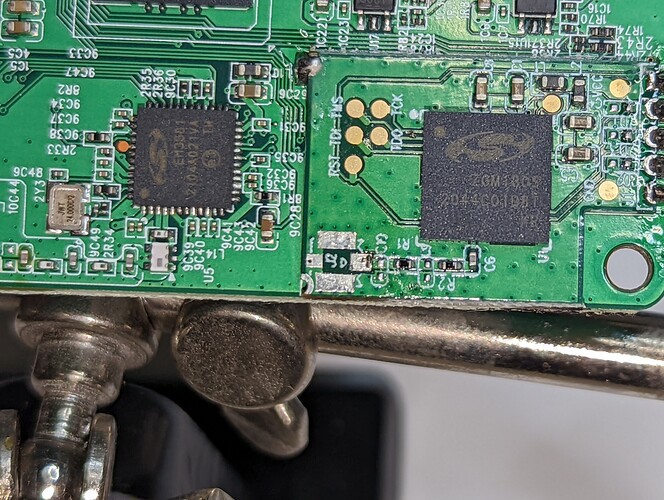
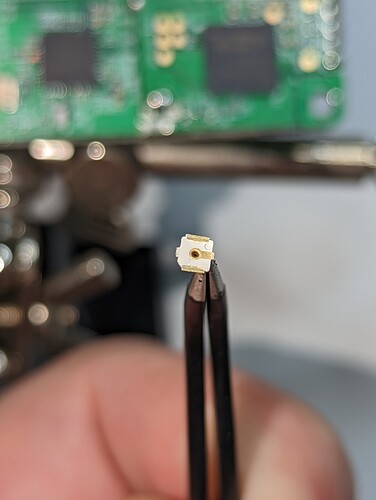
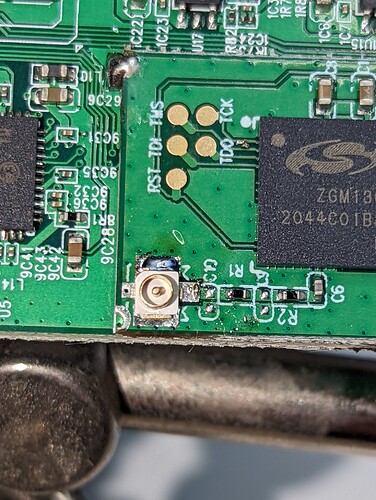
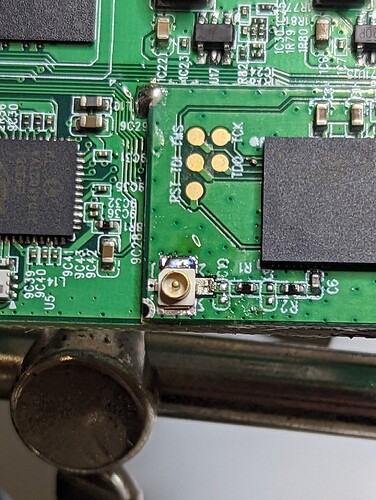
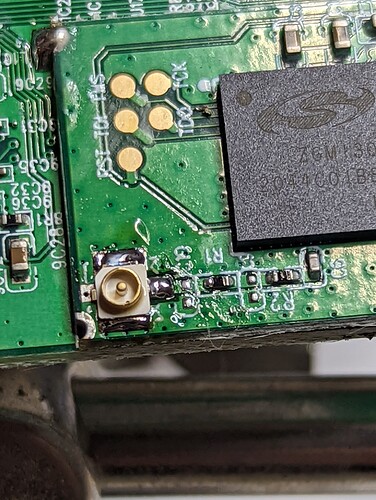
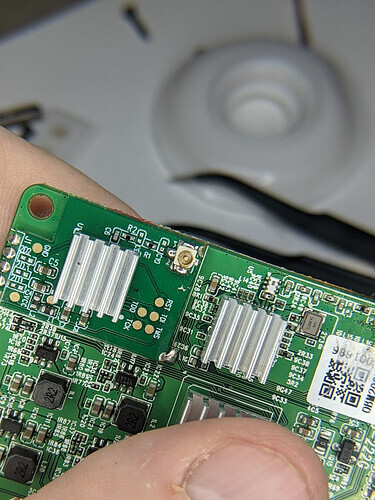
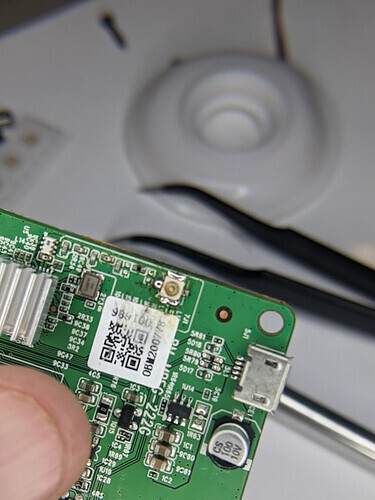
Next, you'll need some U.FL connectors to solder to the board. Links to everything I used are below but you can get from cheaper sources with a bit of searching. Particularly the antennas. Solder on the connections to each of the U.FL pads where the antennas were connected. The two larger pads are the ground pads and the one to the side where the center wire was soldered goes to the center pin of the connector. Depending on the brand you can identify the center pin by looking at the bottom of the connector.
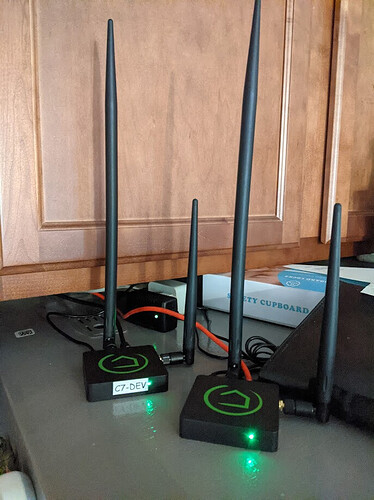
Drill some holes for the SMA plugs in the lid paying attention to where things line up on the board. A 6.5mm drill bit makes a perfect fit. If you use large antennas keep in mind their weight. Putting both on one side may cause the hub to tilt over which is why I went with one on the back and one on the side. If you use large antennas, be sure to tighten down the connector to the lid so the connector doesn't twist when you put the antennas on. Go ahead and connect the antennas at this point. Carefully align the U.FL plug to the connector and push it in place on the board and screw everything back together and stick the feet pads back on if you haven't completely mauled them taking them off.
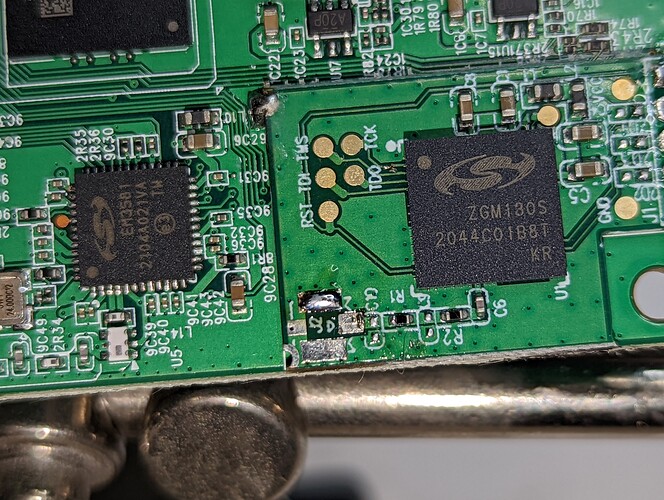
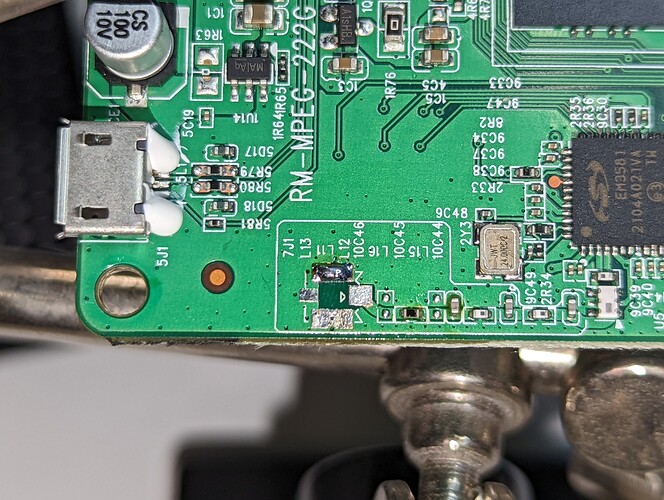
Here's a picture of the antenna wires before removing it:
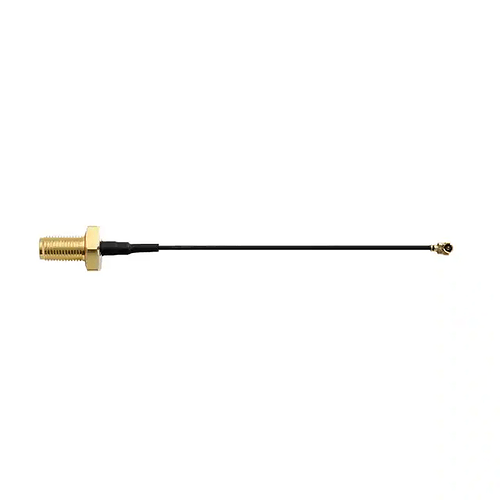
It took me longer to find what parts I wanted to buy than it did to do the mod. I went with a u.fl to rp-sma pigtail and rp-sma antennas so if the connector wears out from swapping antennas or whatever then it's the antenna that wears out and not the pigtail. If you have spare antennas laying around, you could save a little bit on the mod by using regular sma connectors.
The u.fl traces/pads are already there they just opted to not solder on a connector and just wired the antenna straight to the board. Due to the size of the connector, I highly recommend a good set of fine-point tweezers and a dab of flux, even if you're using rosin core solder.
10pcs IPX.UFL Male Connector Antenna Element Base Straight Goldplated New USA Shipping
Amazon.com: 10pcs IPX.UFL Male Connector Antenna Element Base Straight...
Buy 10pcs IPX.UFL Male Connector Antenna Element Base Straight Goldplated New USA Shipping: Connectors & Adapters - Amazon.com ✓ FREE DELIVERY possible on eligible purchases
UFL to SMA Mini PCI U.FL to RP-SMA Female Ipex Connector Pigtail WiFi Antenna Extension Cable (6 inch (2 Pcs))
Amazon.com: UFL to SMA Mini PCI U.FL to RP-SMA Female Ipex Connector Pigtail...
Amazon.com: UFL to SMA Mini PCI U.FL to RP-SMA Female Ipex Connector Pigtail WiFi Antenna Extension Cable (6 inch (2 Pcs)) : Electronics
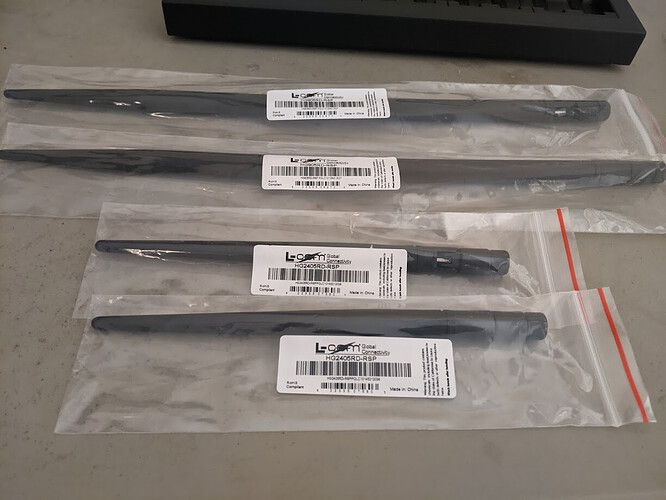
Any 900 MHz and 2.4 GHz antennas with 3-5db gain will do. Just make sure to get them with an RP-SMA connector if you use an RP-SMA pigtail.
I got mine from L-Com
L-Com 900 MHz Antennas
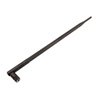 HG905RD-1-RSP 900 MHz 5 dBi Rubber Duck Antenna RP-SMA Plug Connector
L-Com 2.4 GHz Antennas
 HG2405RD-RSP 2.4 GHz 5 dBi Rubber Duck Antenna - RP-SMA Plug Connector


