You can see it here.
I’ll post pictures of both versions once I receive the paddle style today.
You can see it here.
I’ll post pictures of both versions once I receive the paddle style today.
FYI looks like there is a homebridge plugin for it..
I’m going to order one and see what can be done too.. I’m in the UK but the US amazon store will ship..
I also came across a similar device too: https://www.amazon.co.uk/SwitchBot-Smart-Switch-Button-Pusher/dp/B07B7NXV4R/ref=pd_sbs_60_1/261-5787361-0179205?_encoding=UTF8&pd_rd_i=B07B7NXV4R&pd_rd_r=09637d0b-c92a-44b9-8cb3-99e9c5328088&pd_rd_w=kenbI&pd_rd_wg=jKKIv&pf_rd_p=15756fbb-4ceb-4379-9d2c-7af36daab01e&pf_rd_r=PBE6MVCDA6MZCBRX7T8Z&psc=1&refRID=PBE6MVCDA6MZCBRX7T8Z
Great, If you can provide some hints on how I would wire up and where I can solder the wires to that would be great! I’ll have a play with this too..
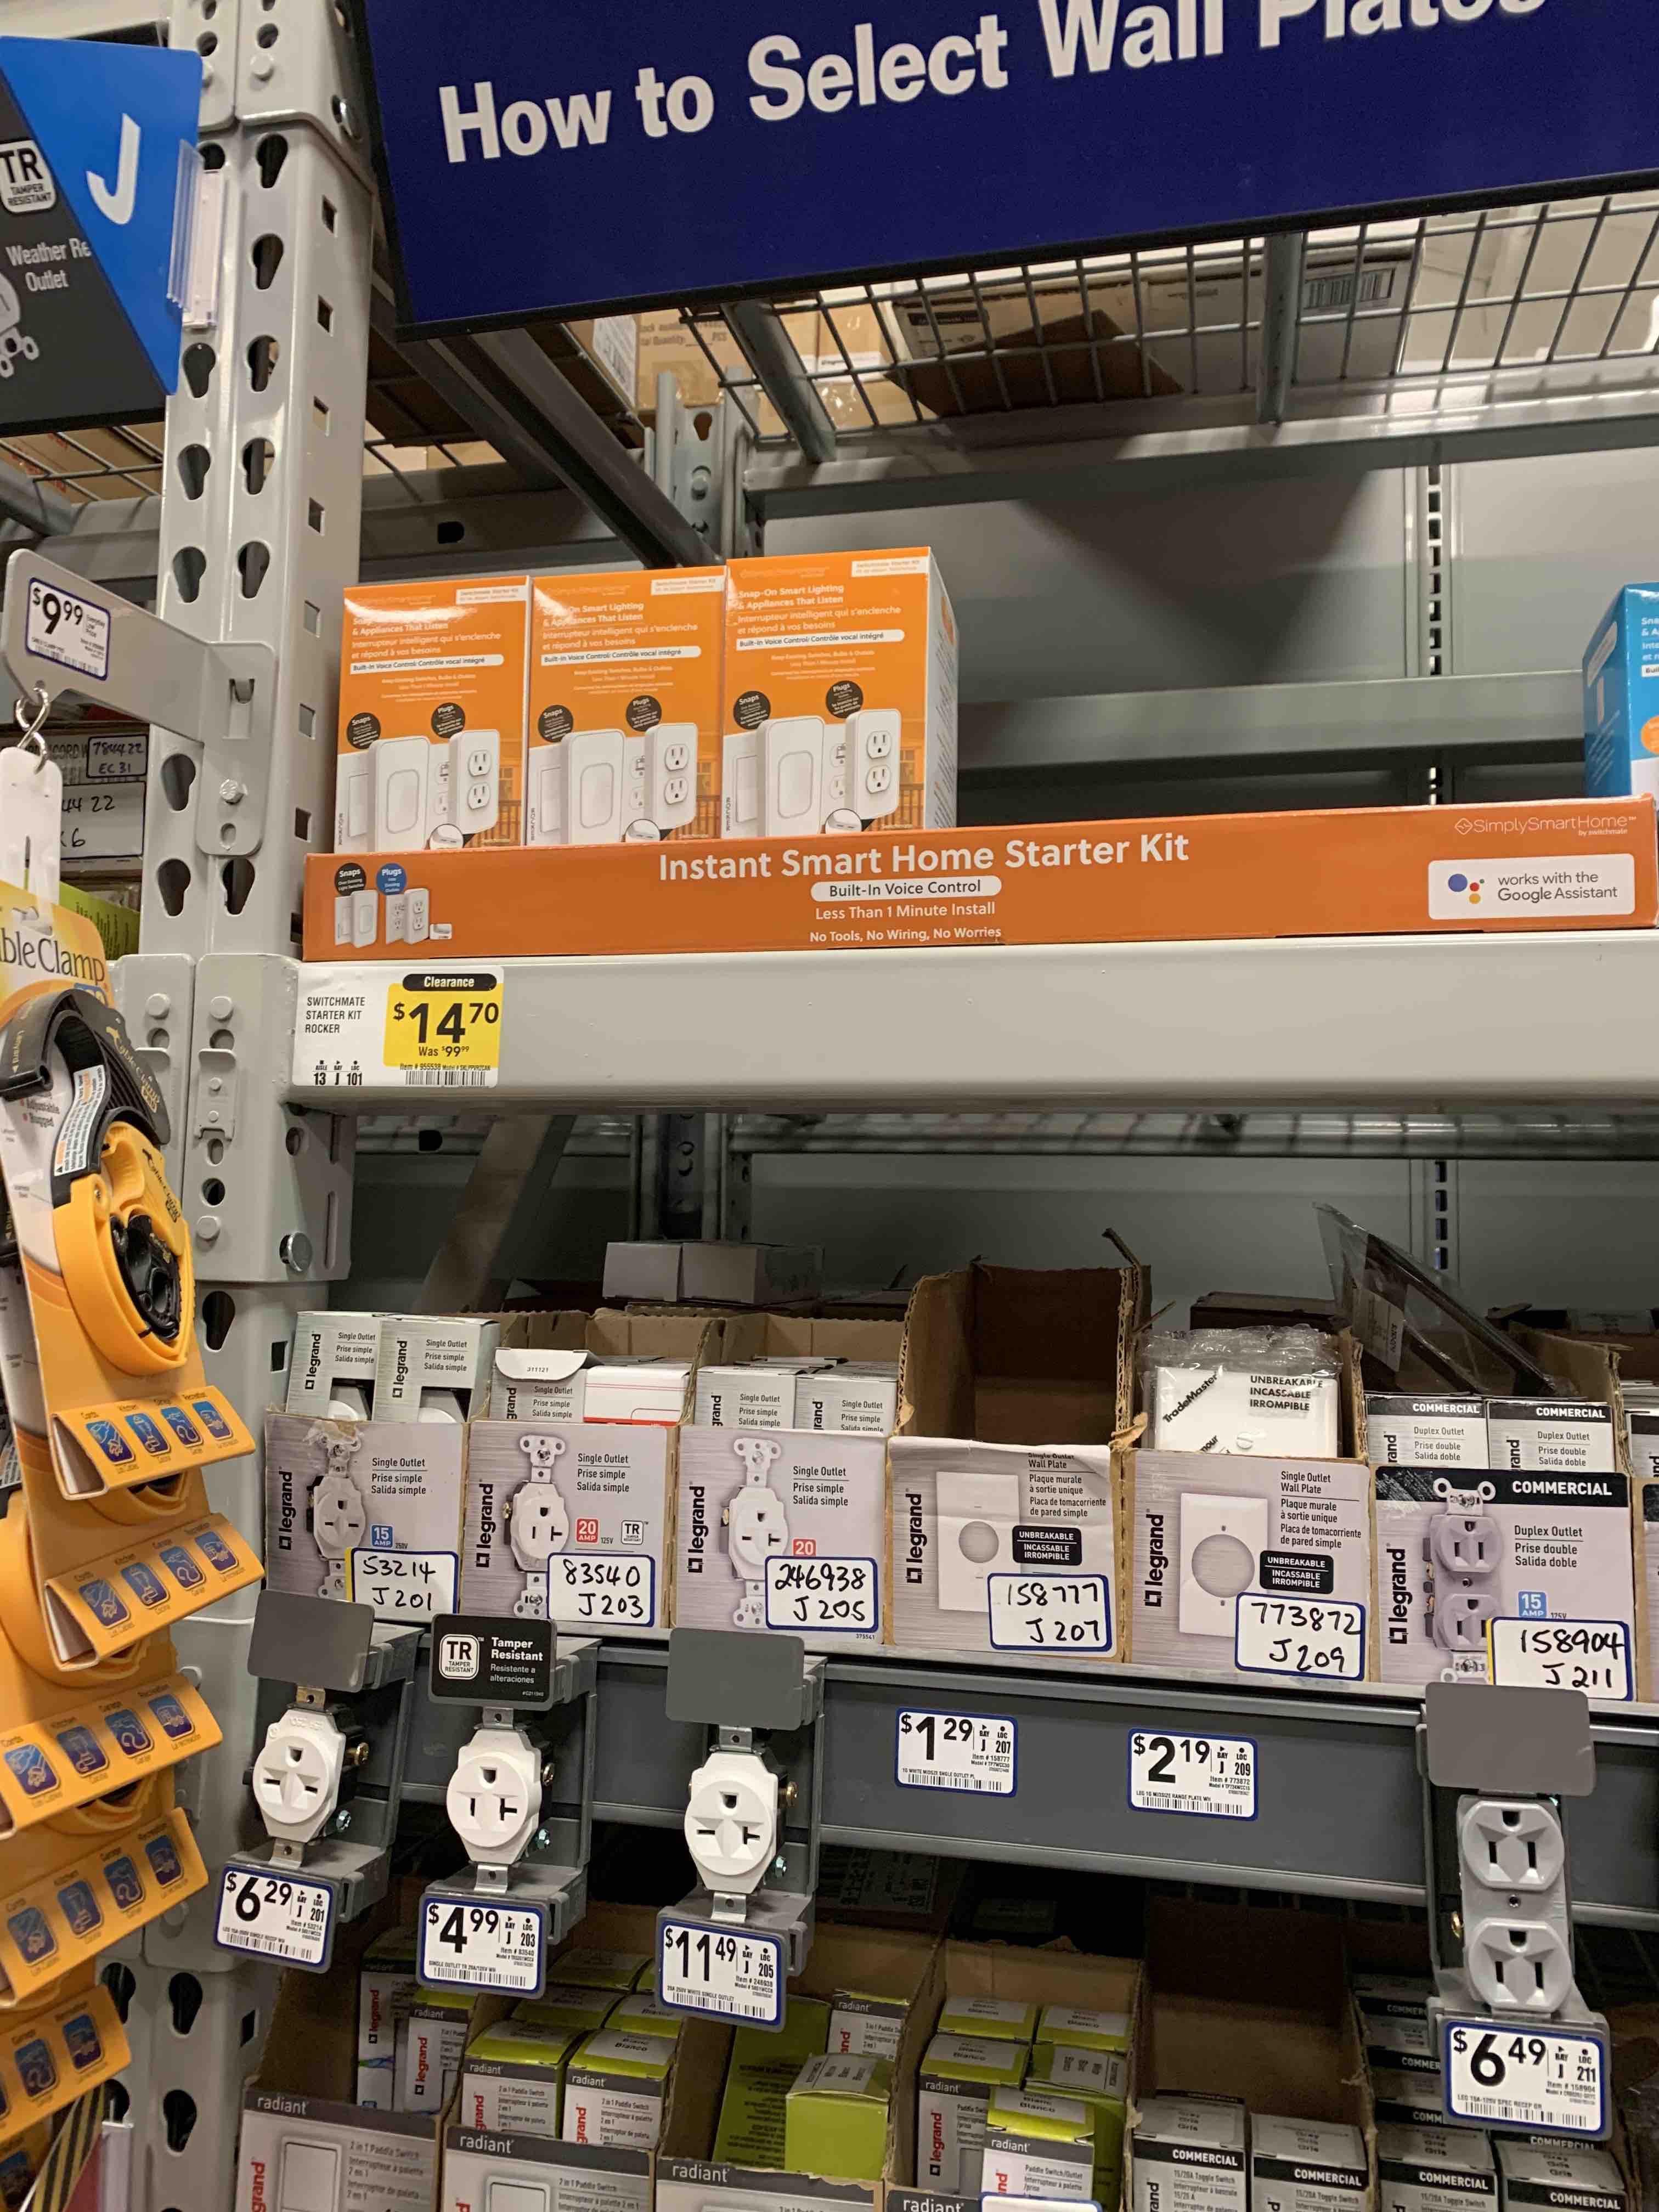
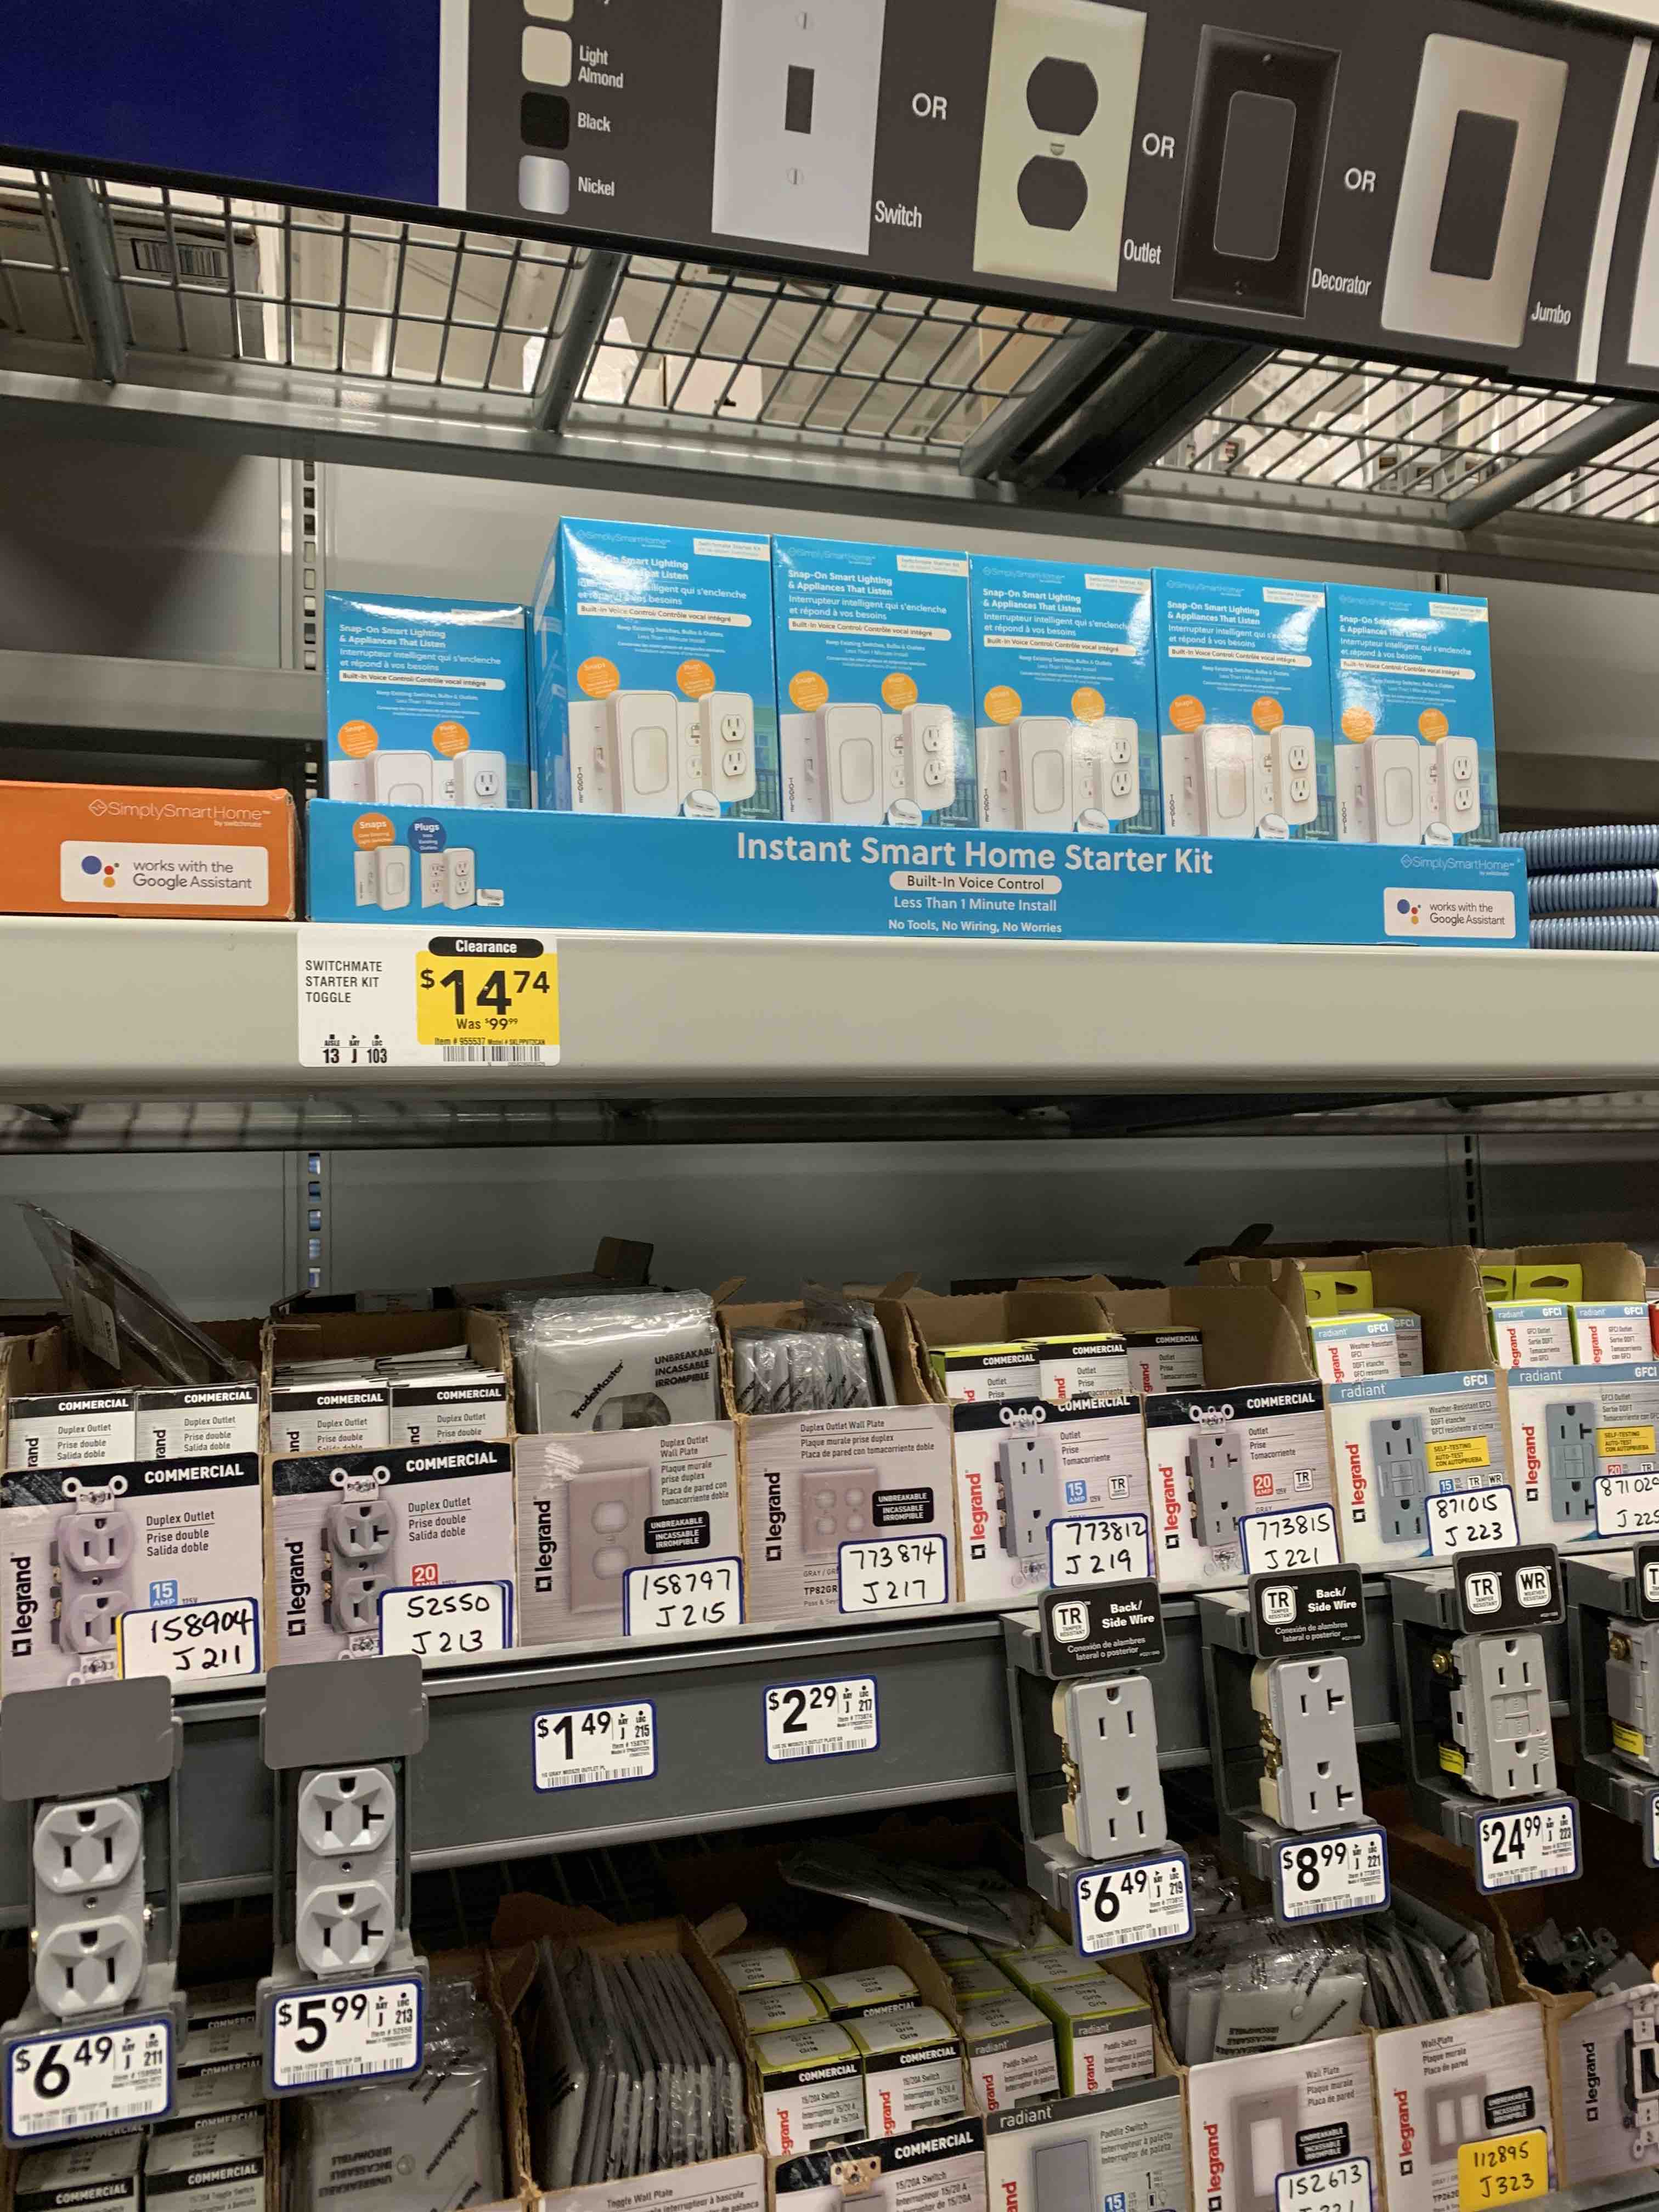
Will post soon. Just picked up two outlet and switch kits for a song at Lowes.
Couldn't a Zigbee lock module work. They can be found inexpensively and could be attached to a switch.
Yes, and would be bi-directional communications too. If you can get a reliable one that's inexpensive, then that would be better suited to conditions where the action MUST happen, and the state must be known at all times.
I picked one up on Amazon used for $25 with Prime shipping.
What was the model?
It was one of the Amazon Key Edition locks. Kwikset convert if I remember. You need to be lucky to grab them.
Here is what I got. More now but if you can take your time, the prices do change.
You got one of those for only $25?!? They are normally like $150. Even used they go for $75.
Have done some fairly exhaustive testing with both Google Home and Alexa, but not long term obviously. In the end, I've concluded that while this is a very viable, low cost solution for non-critical applications, it is not without its issues. With Alexa it's a non-starter unfortunately, but reliable (with one exception) on Google Home. YMMV.
Cost for me actually turned out to be very low. I was in Lowes and they had both the toggle type and paddle type kits on clearance for just under $15 CAD each, so I picked up two of them.
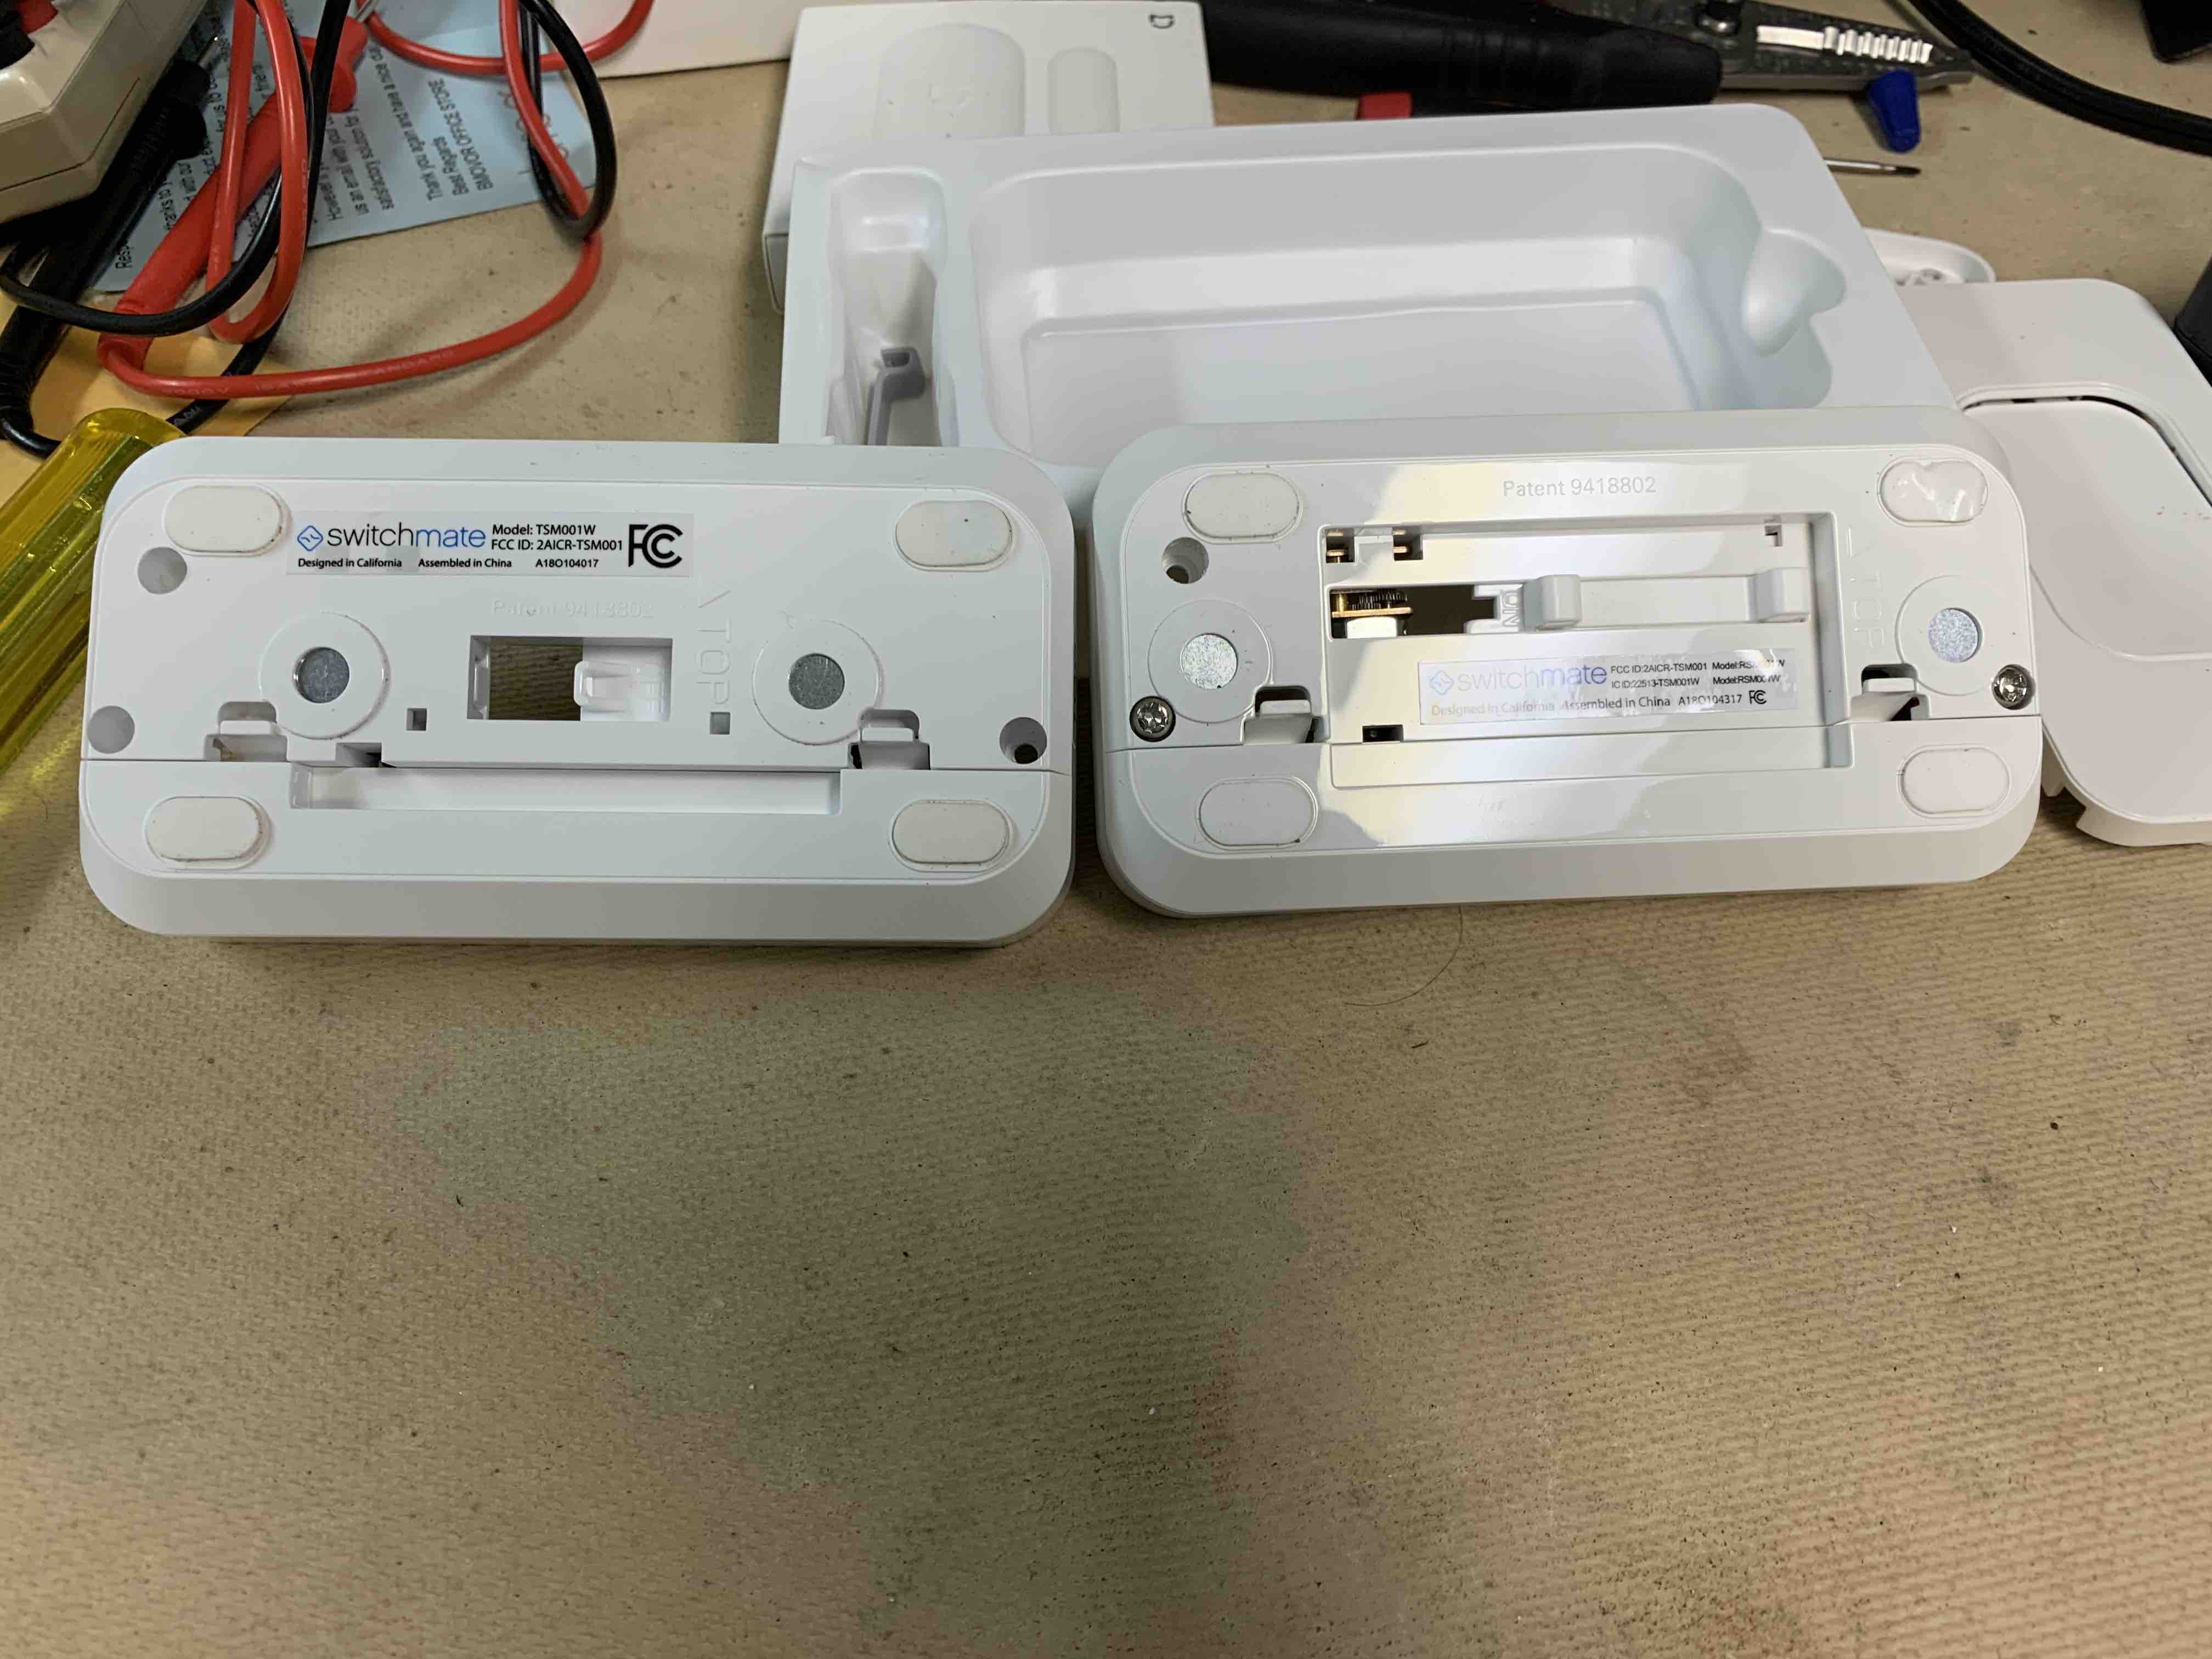
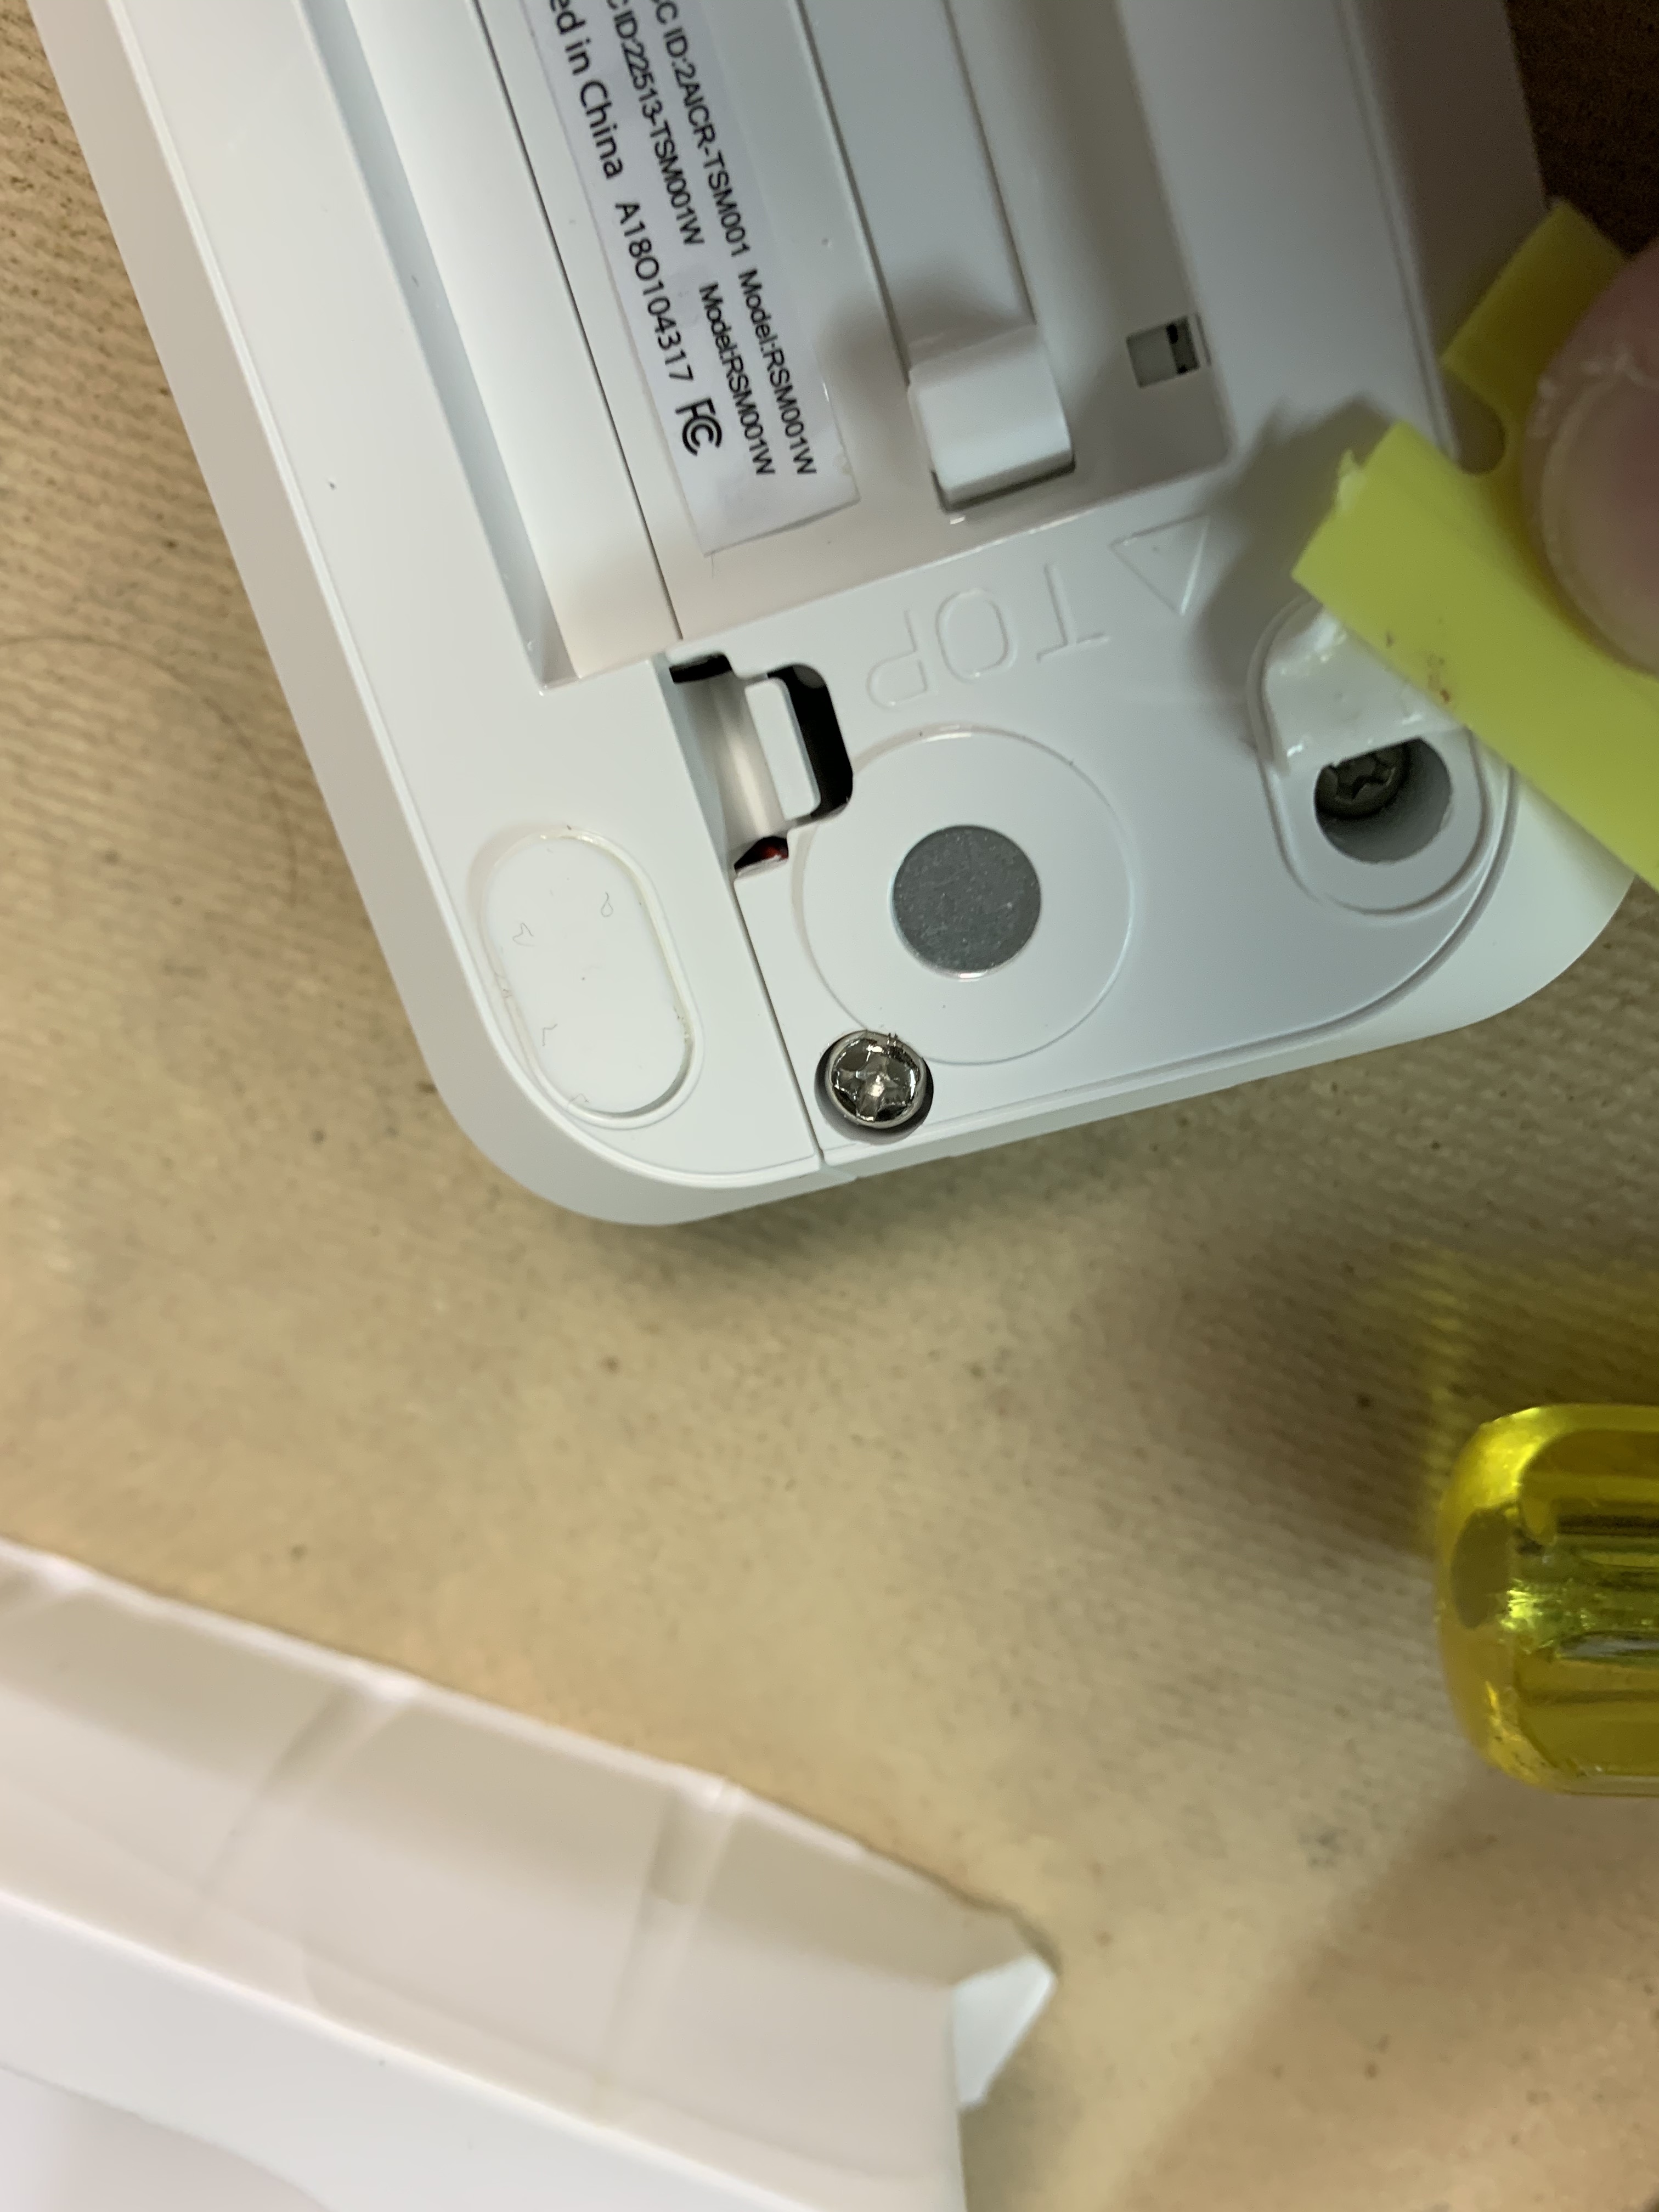
Here's the back of the two types. There's a difference on the back, but on the inside they're almost identical. The paddle type is slightly slower because of the longer travel distance of the linear gear required.
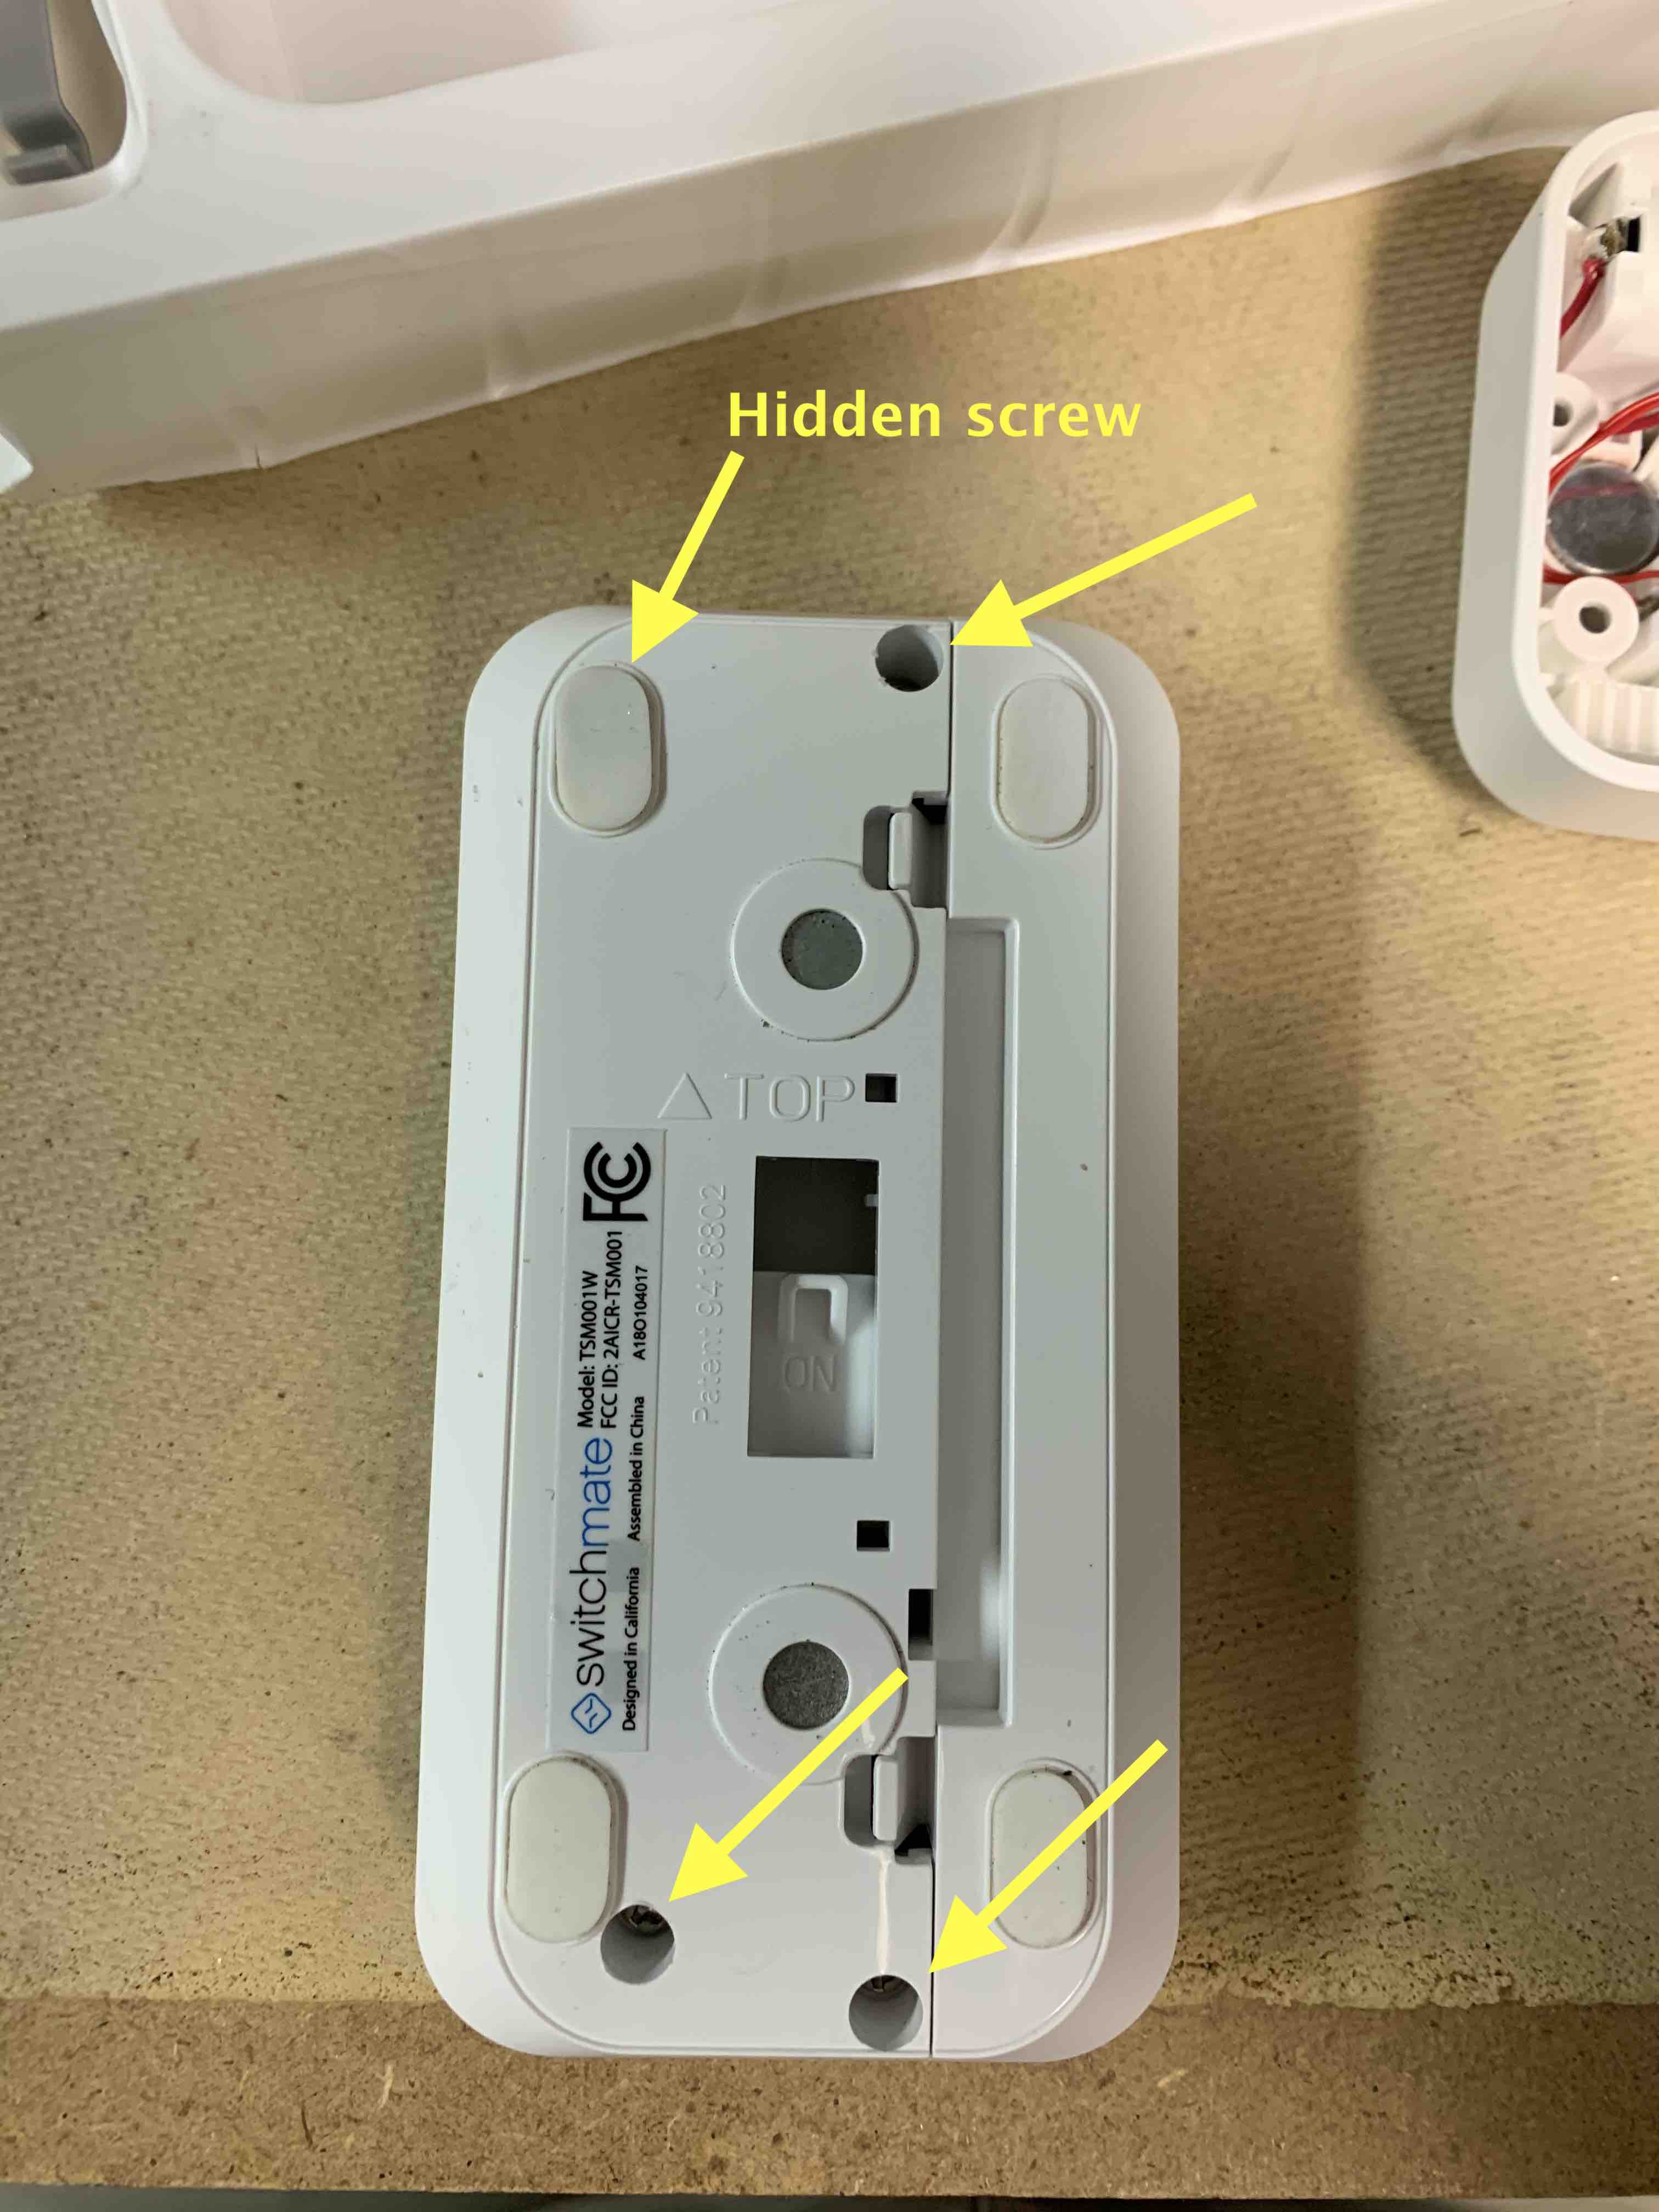
Removal is simple. Four screws and the front cover/button pops off. One of the screws is concealed under the anti-slip pads. Once all the screws are loosened, I just remove one of them completely and push a small screw driver in the hole. The front pops right off.
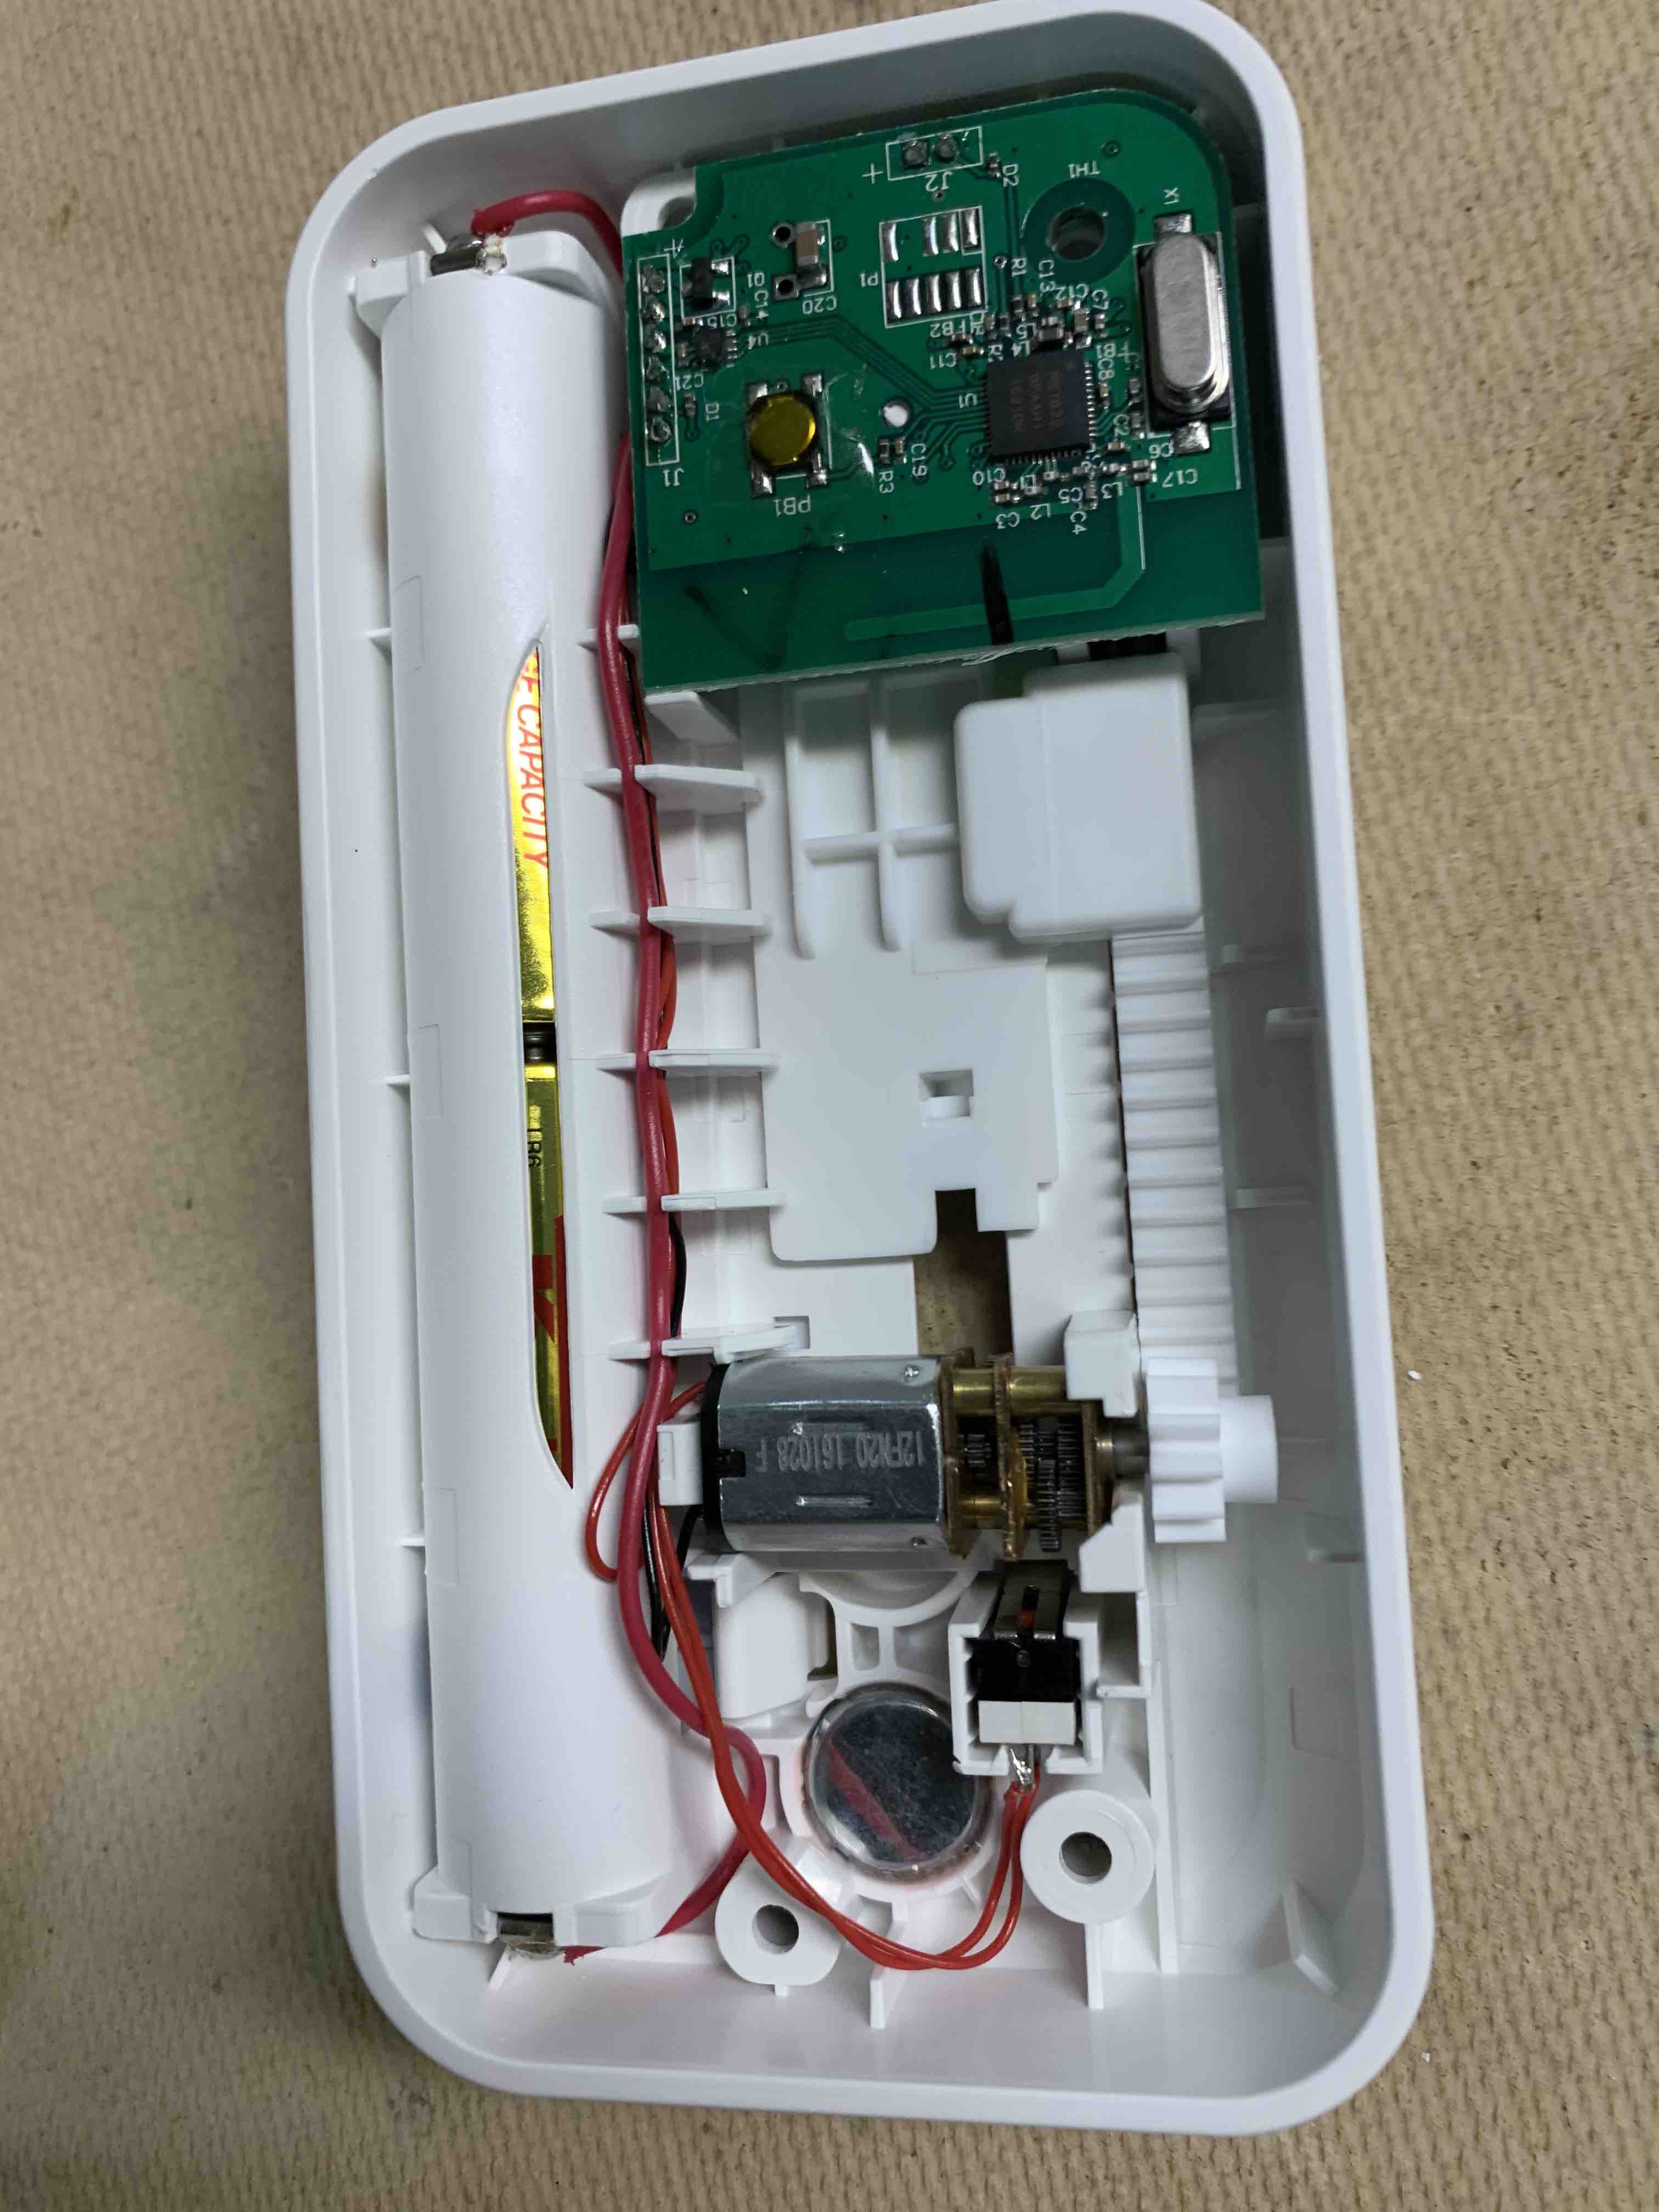
Here's the inside of the paddle type, One of the limit switches is hidden beneath the circuit board. They are just press-fit into the plastic and pry up easily. There are also two Neodymium magnets inside so if you want to combine this board with the latching relay build posted above, you’re set in that regard.
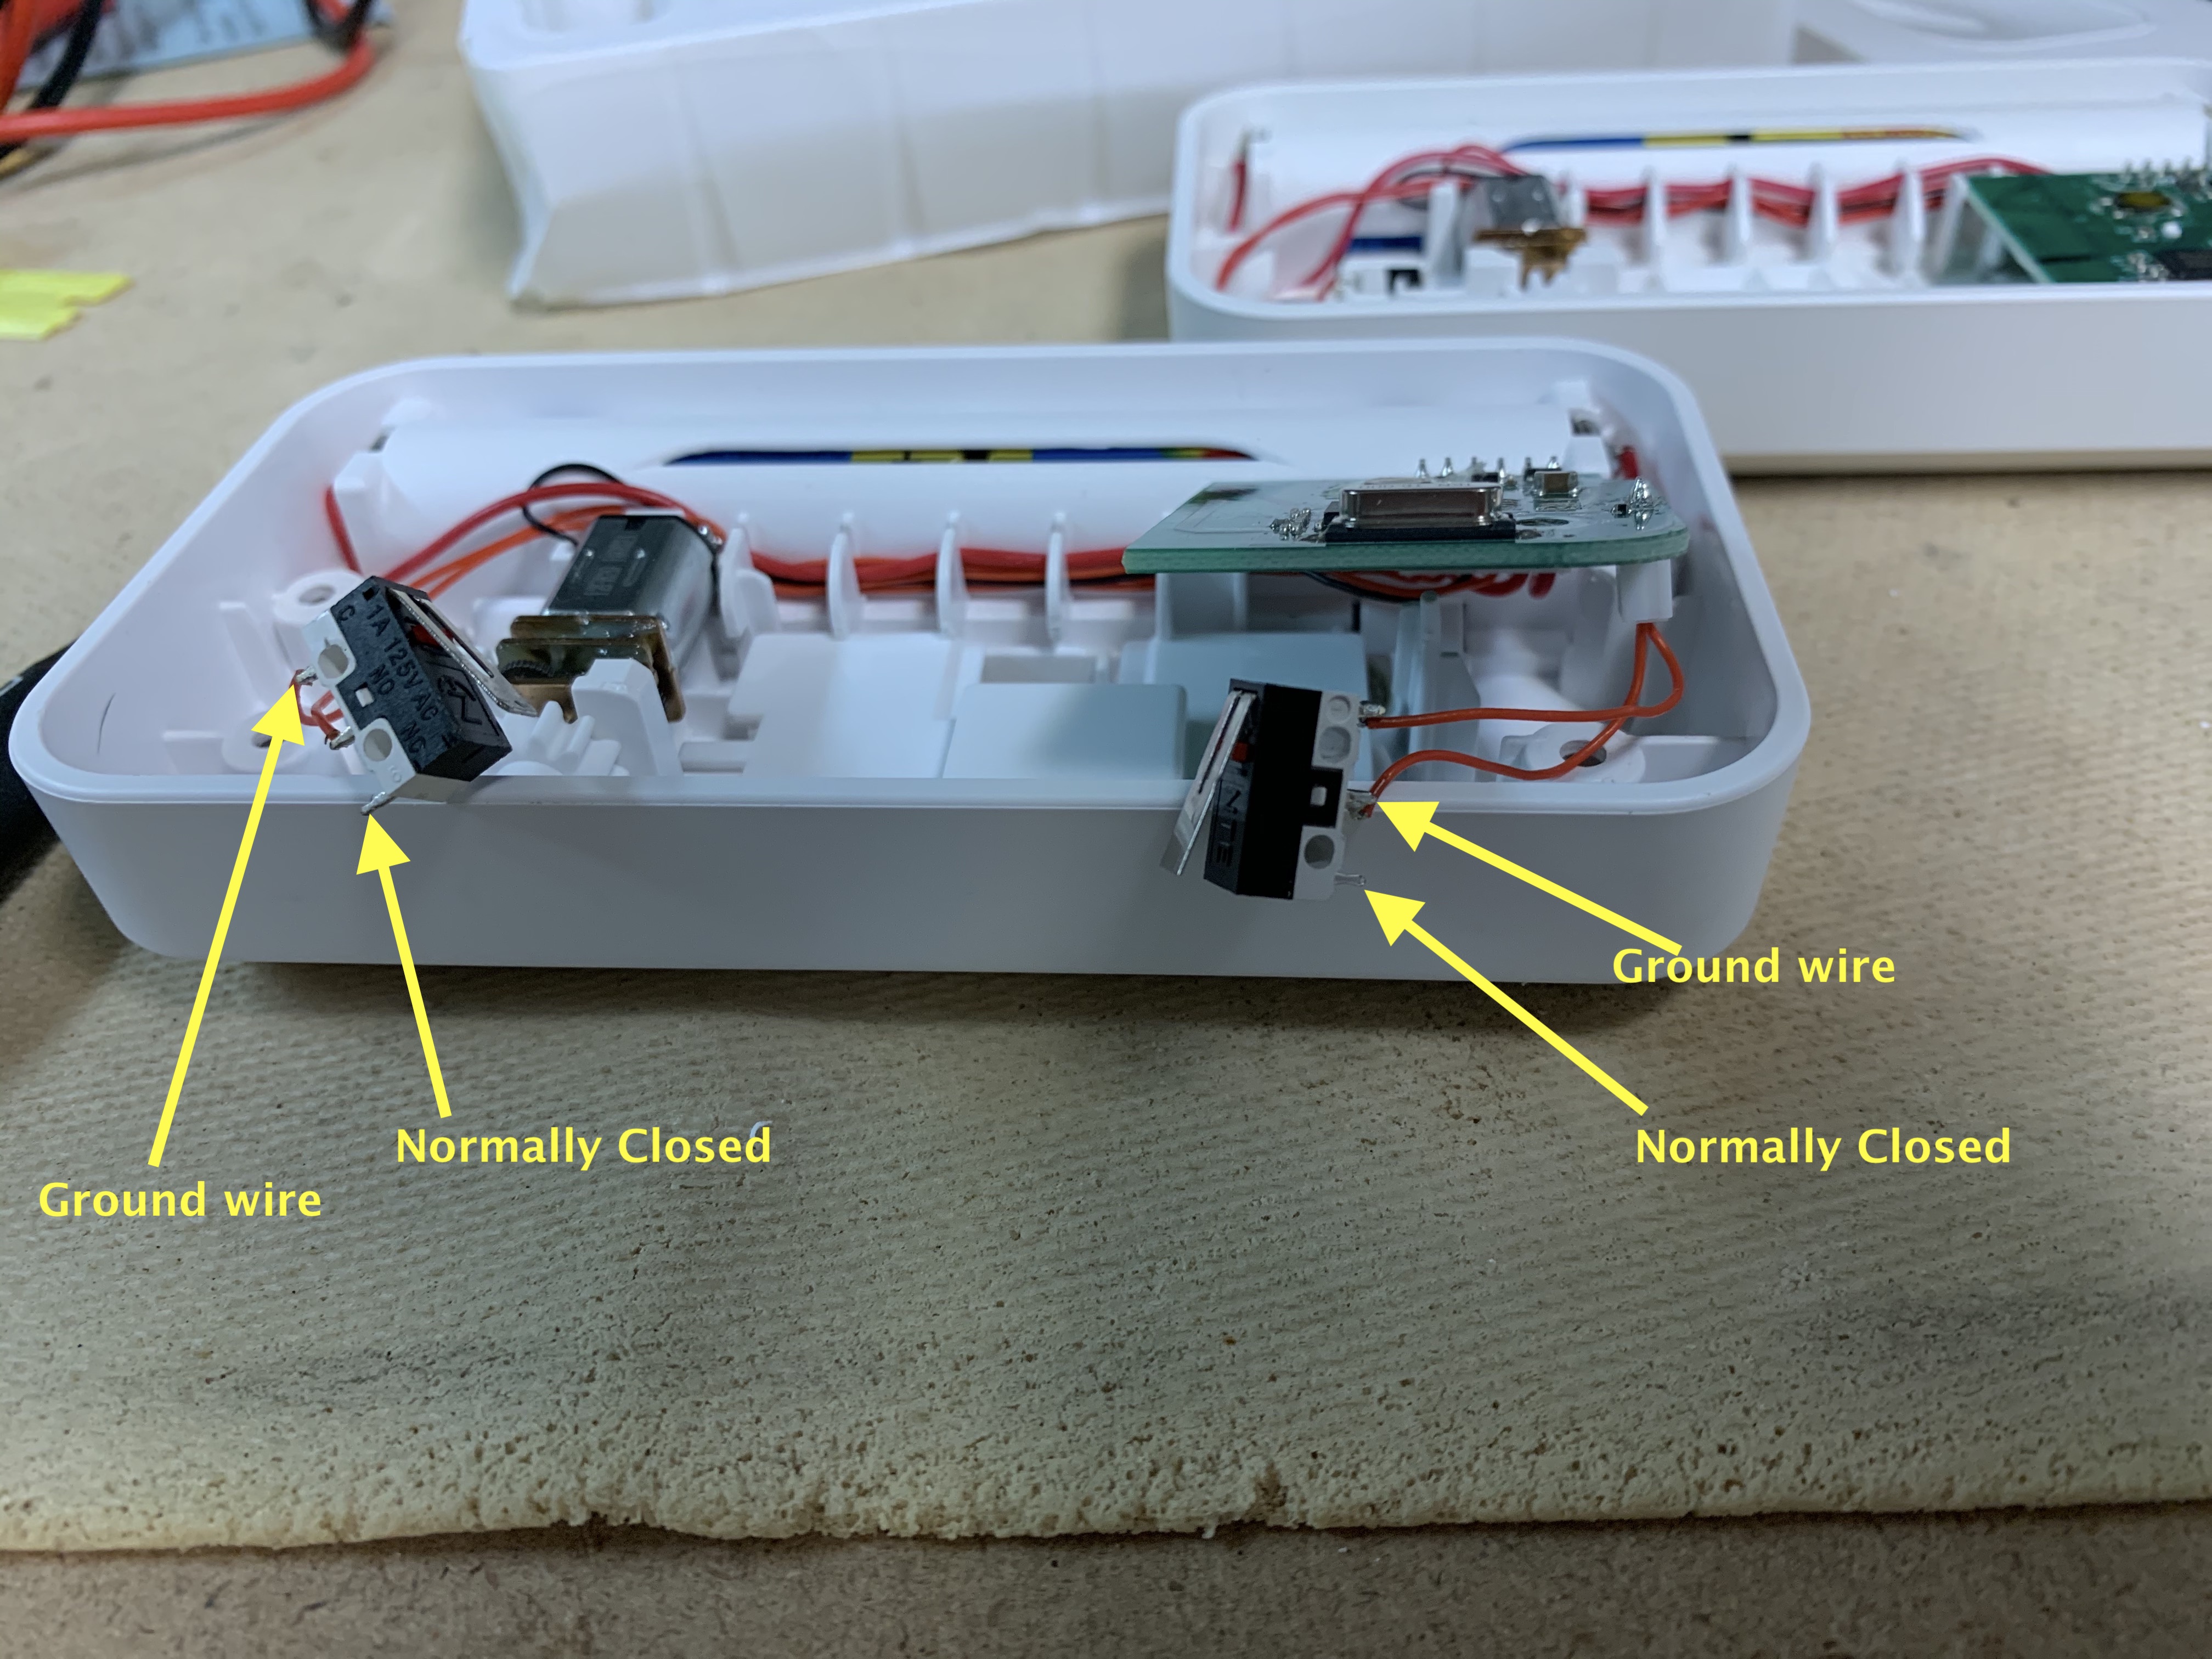
The limit switches provide nice contacts for low voltage circuits. You need to test to see which wire is the actual common on each limit switch. In a circuit where you were actually going to use both the NO and NC terminals of the switch, you would always make sure the ground wire was soldered to the Common terminal. However, the assemblers in the factory would have been instructed to take any of those two wires and solder them to either the NO or Common terminals. Which one wouldn't matter for this application, as long as it wasn't the NC terminal. For our application, it does matter. So if I'm using both switches to close a contact, I would move the ground wire of the limit switch on the right of this Switchmate so it is on the actual common terminal. That will prevent the circuit I'm closing from receiving any voltage (a true dry contact).
Soldering of our wires for closing (or opening) the contact will be to the top and bottom terminals of the switch (sharing the top terminal with the ground wire from the Switchmate.
Performance
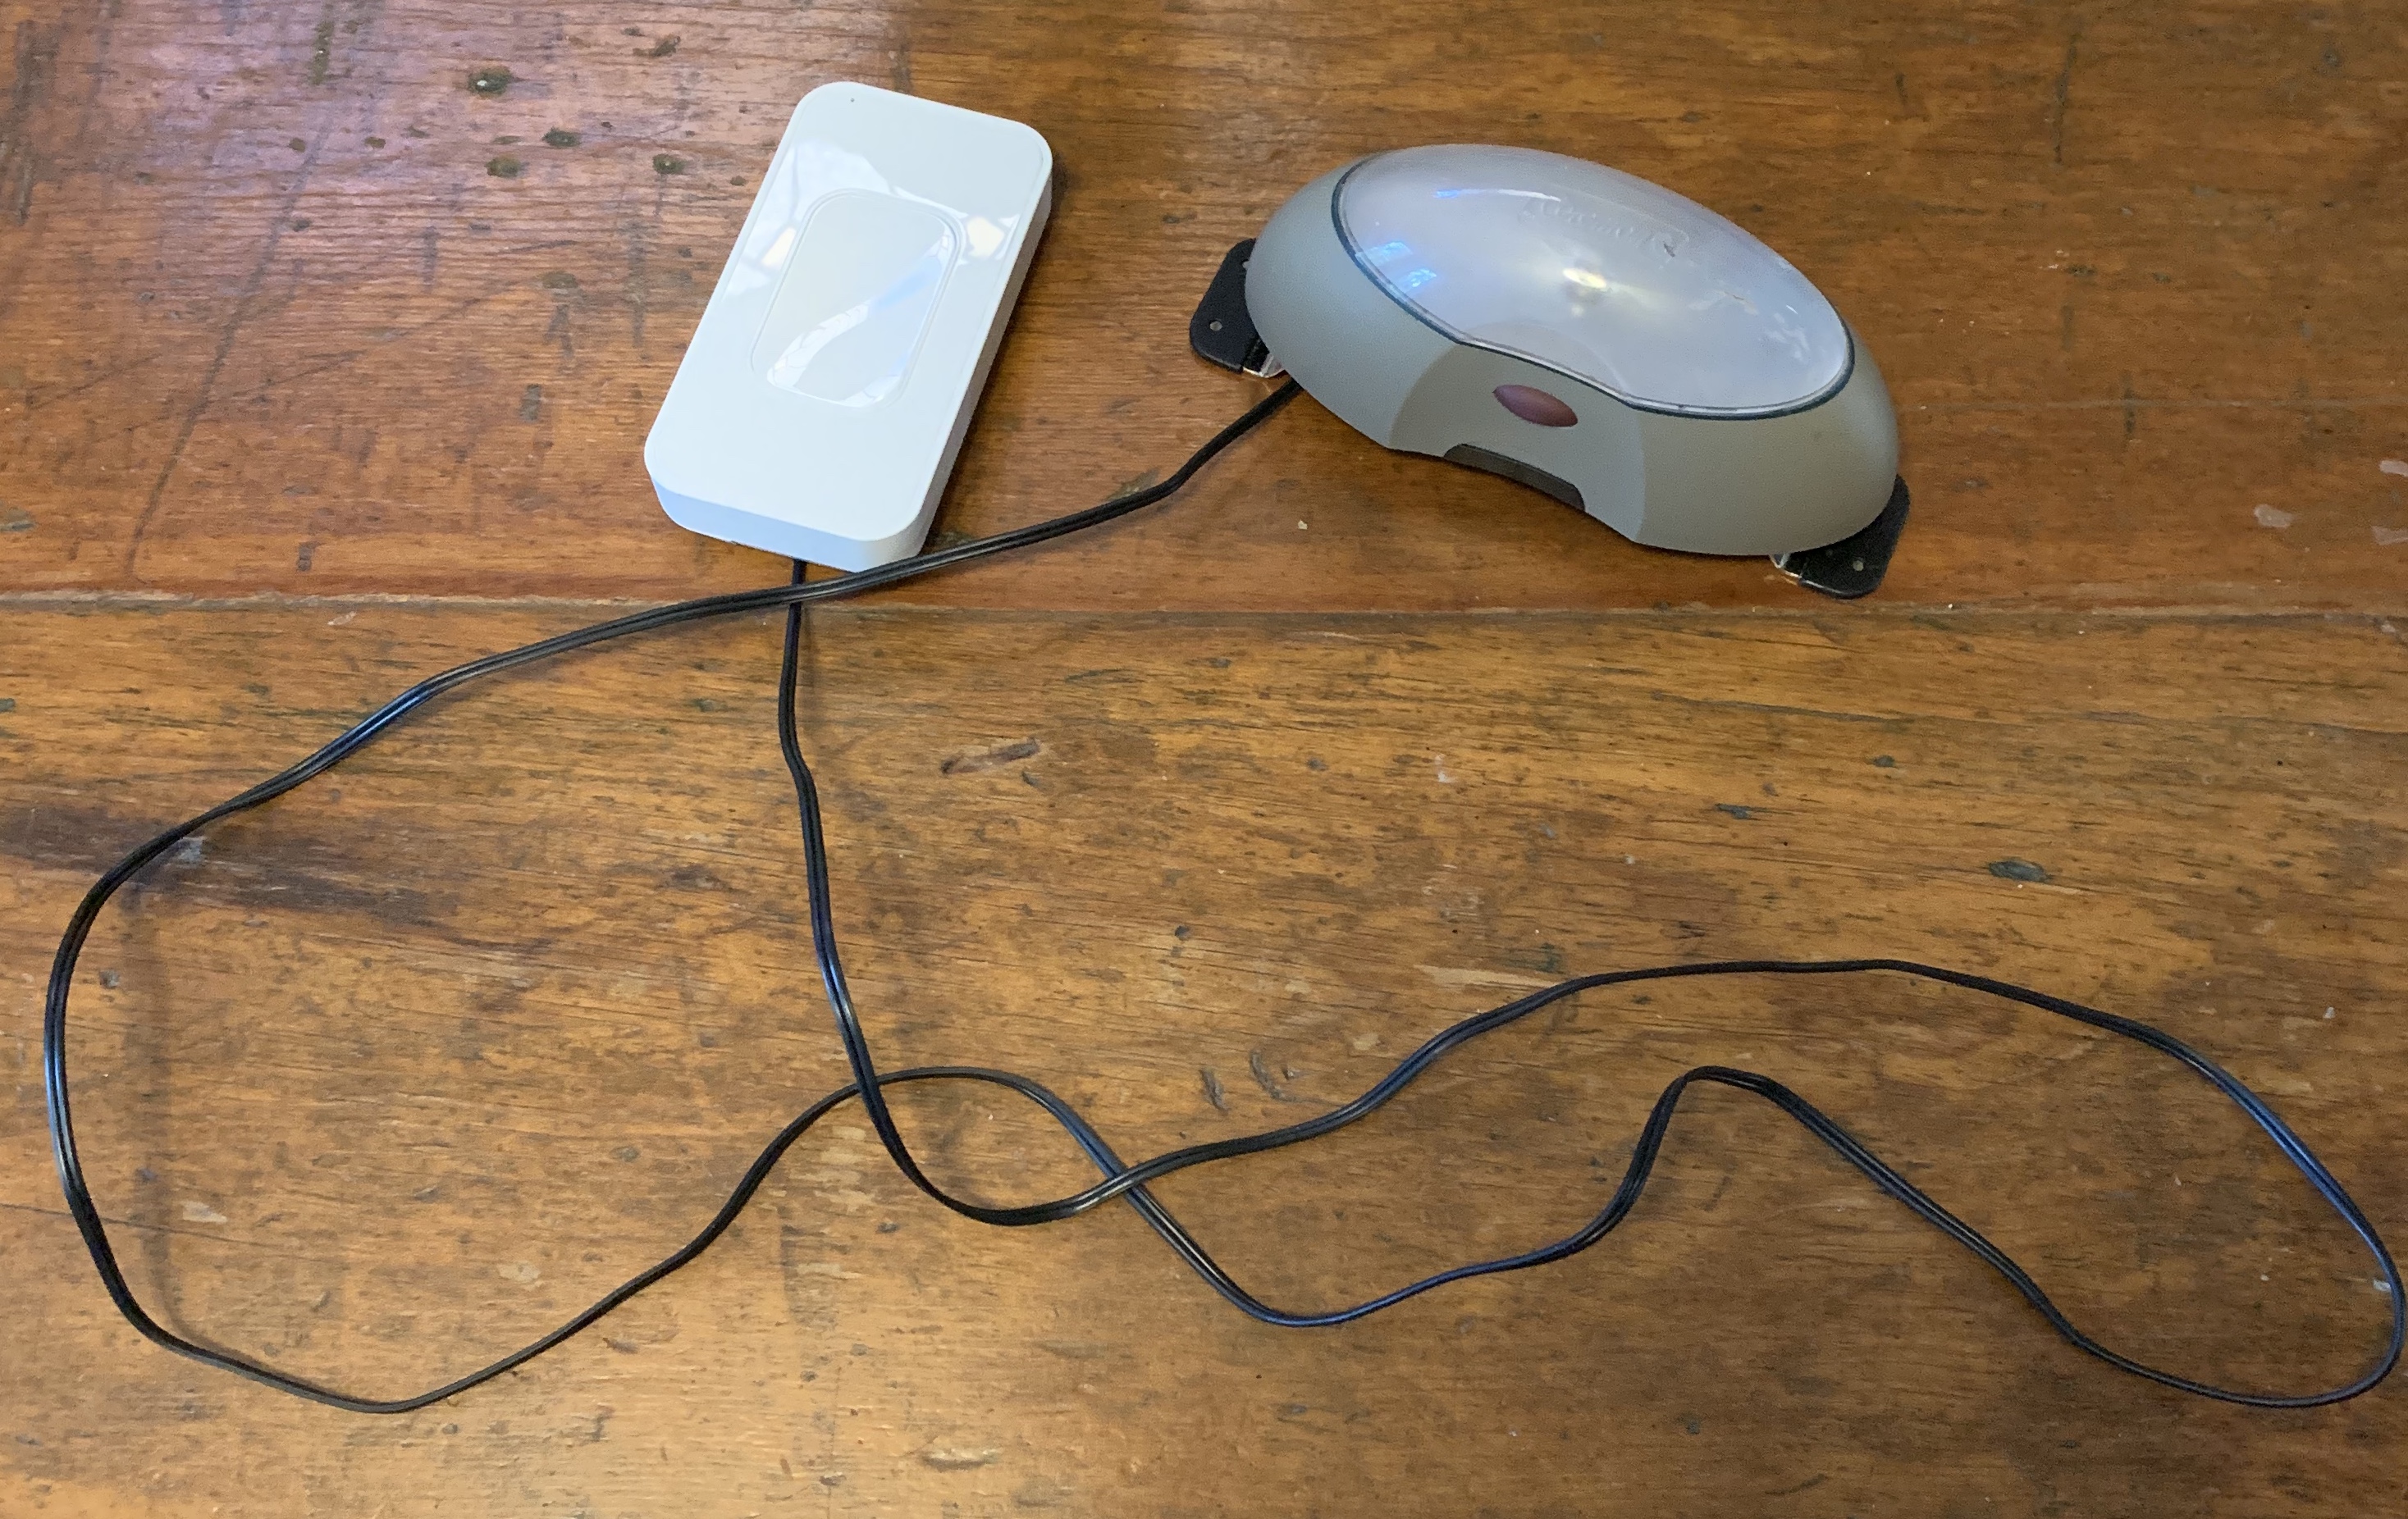
I tested the distance from the bridge (Outlet) to a Switchmate switch and had no problem 40 feet away, semi-clear line of site (some obstructions from the building, window, and brick). At 40 feet non-line of sight, it didn't work, but from 30 feet away, it worked even when the Switchmate switch was behind double-brick.
Integration
This part is a bit disappointing with Alexa. As long as you are using the Outlet for bridging the BLE connection to WiFi, the Alexa option will appear in the app. Connection is all done by code. No Switchmate cloud account required, which is a refreshing change from the norm. The connection to Alexa works, and the devices show up as an outlet and a switch, but the results are disappointing when you try to connect them to HE in an Alexa routine. The device turns ON, but the status turns OFF for a second, then back on. This is enough to really mess things up. The device state also seems to bounce on Alexa. I had a frequent problem, where even if I made two separate momentary Virtual Motion Sensors as Switch (one for ON and one for OFF), I still would get the device bouncing states. Turn it on and it would go ON, but then the device would turn off by itself roughly 30 seconds later. Same would happen with ON. Eventually, if I issued too many of one ON or OFF command, the device would get out of sync.
On Google Home, this did not happen, except for OFF. The issue was solved by turning the device off, then roughly 30 seconds later, send the command for OFF again. After the second time sending the OFF command, it didn't turn back on again. This only happened with Google Home in the OFF direction. Control of the switch from HE via Google Home was done with Google Assistant Relay.
Warning: Do not have the Alexa skill enabled at the same time as the Google Home integration, or you will get the unstable fluctuation between ON and OFF.
Conclusion:
Perfect solution? Absolutely not. There's no state feedback, but you could add one by wiring the read switch of a contact sensor to one of the NC and Common terminals of one of the limit switches, but that makes the whole thing more expensive unless you got some contact sensors for dirt cheap or free.
Another issue is that occasional bounce, where you've had Google Assistant Relay turn the device off, and around 30 seconds later, it suddenly turns itself back on. Easily solved I found by just issuing a second OFF command which could easily be built into a rule. Still, this should only be used for applications where that would not cause an issue, or that absolute state need not always be correct, lest a major problem would result when no external sensor was used to relay the current state back to HE.
Other than that, I'm actually pretty surprised at how versatile these are, and I already have some ideas of places I can use them where if the device state got out of sync, it wouldn't be the end of the world for me. The price was definitely right and the effort very minimal.
Wow! $310 CAD regularly. I know what you mean though, my YRD256 is regularly around $285 CAD, and I got mine on a warehouse deal for $175. Perfect condition.
I just looked it up, I paid $26.50. I obviously missed the cheap $25 ones.  They called it used, but it was in a sealed package with all the bits and pieces. Bryan @bptworld made a post somewhere about them back in March. I look every once in a while and see them for various prices.
Wow, that's crazy. I wonder if they just didn't know what they had or how much it was really worth.
Those locks are a part of the Amazon program where they deliver package and actually unlock your door and put the packages inside your home. I will guess that there are people who change their mind and return them. I think the prices just reflect how many extras they end up with. I have seen the used prices go way up and then way down again. I haven't seen them quite as low but lower that what they are currently. As I recall, the color I got was the least expensive. The Chrome or Brass were much higher; maybe $40.
But the original is $170. Even for $40 that's 75% off. Right now, the one you linked to has a used price of $72, not $40 and certainly not $25. You got 75% off the lowest used price that's available right now. That isn't normal.
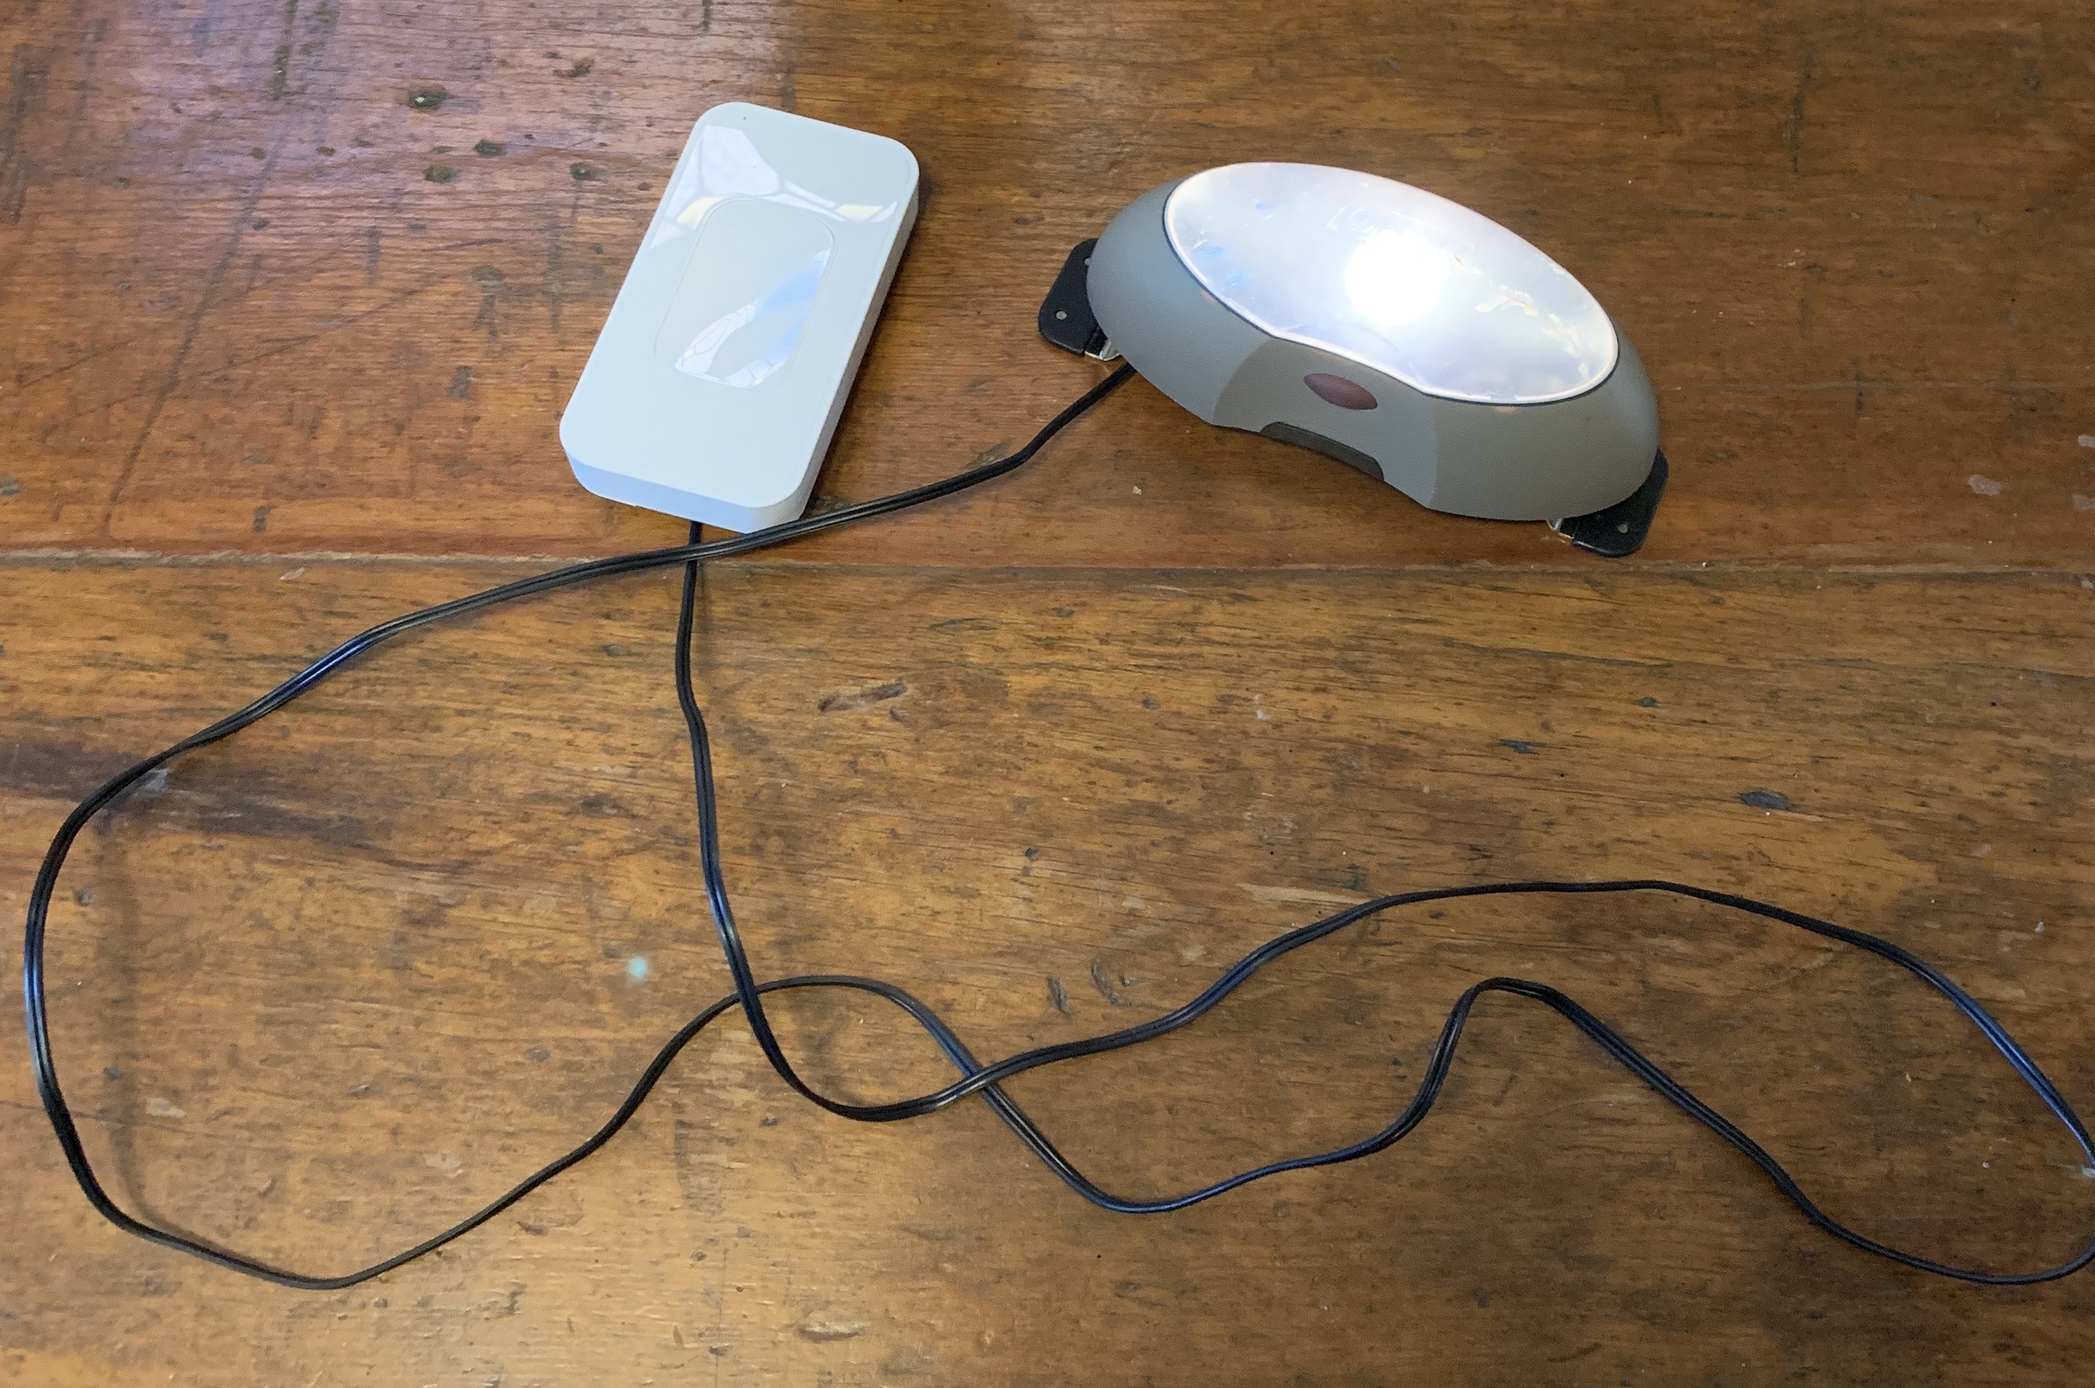
First Switchmate mod. All set for a brief family camping trip this weekend. No, I'm not taking my hub and Google Assistant Relay with me!  This will be simple Bluetooth control from my phone so we don't have to get out of our sleeping bags to turn off the tent light.
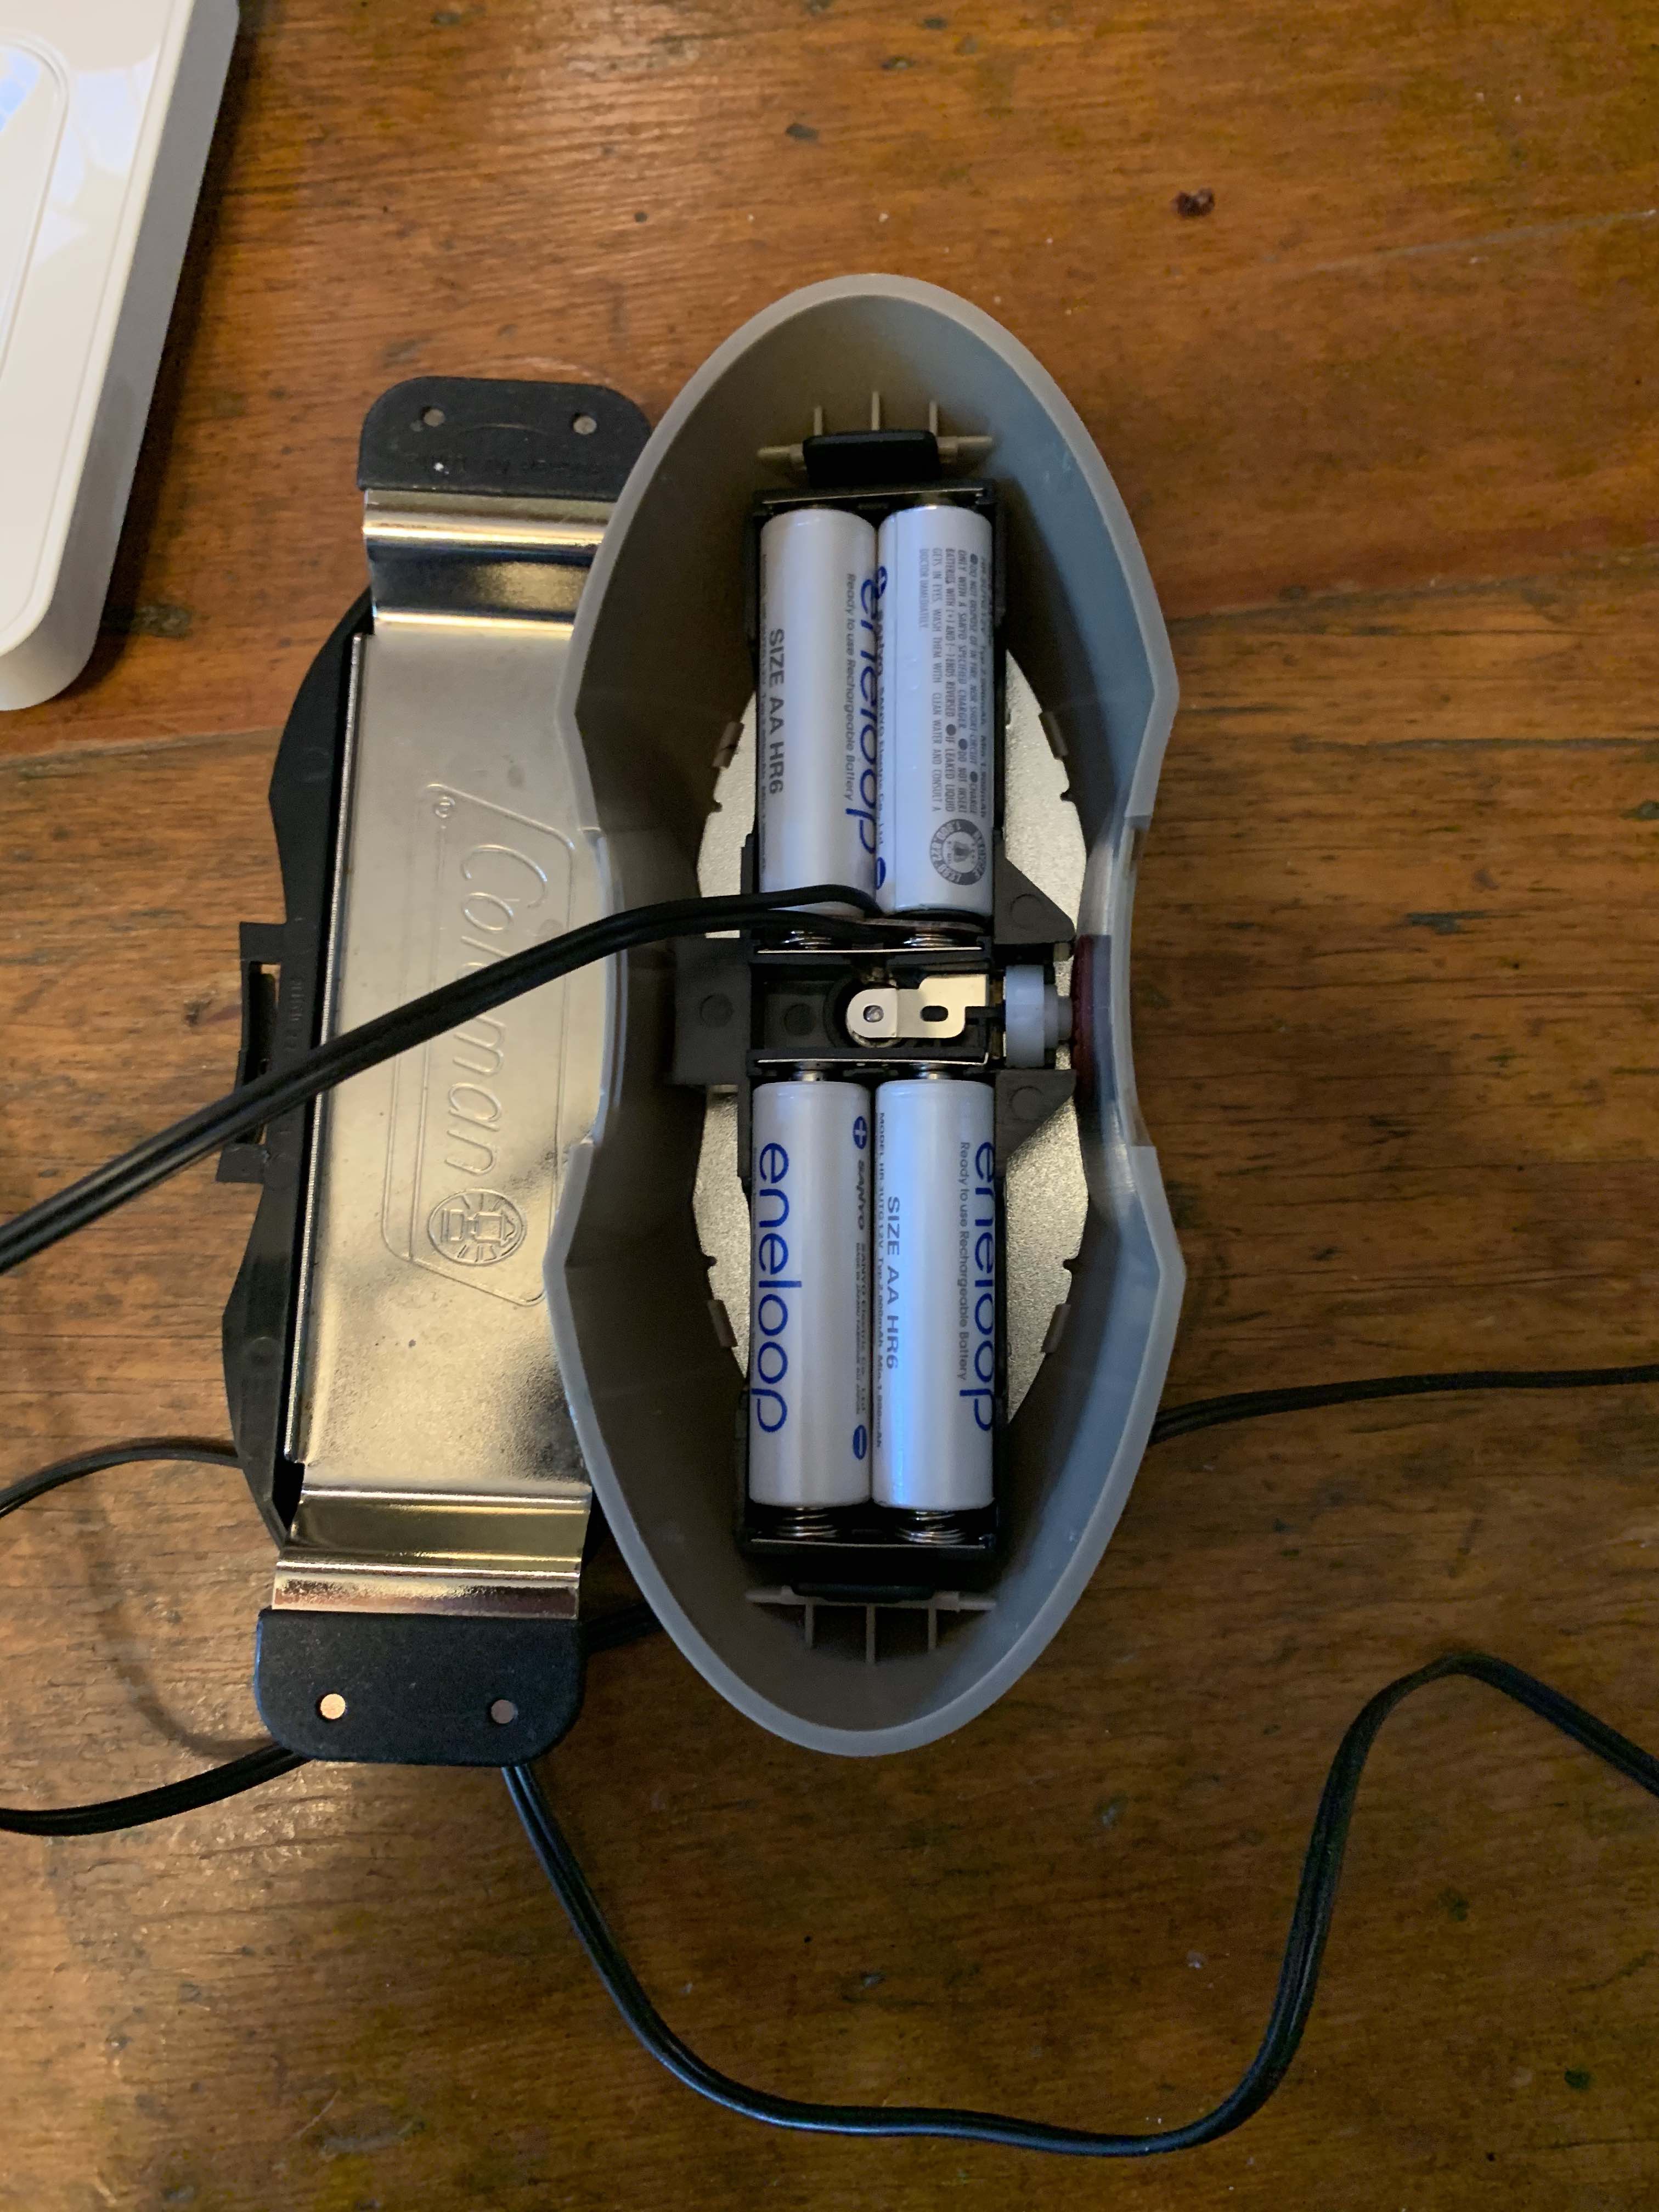
No need to permanently modify battery devices. This one required a specific adapter because the batteries are in parallel.
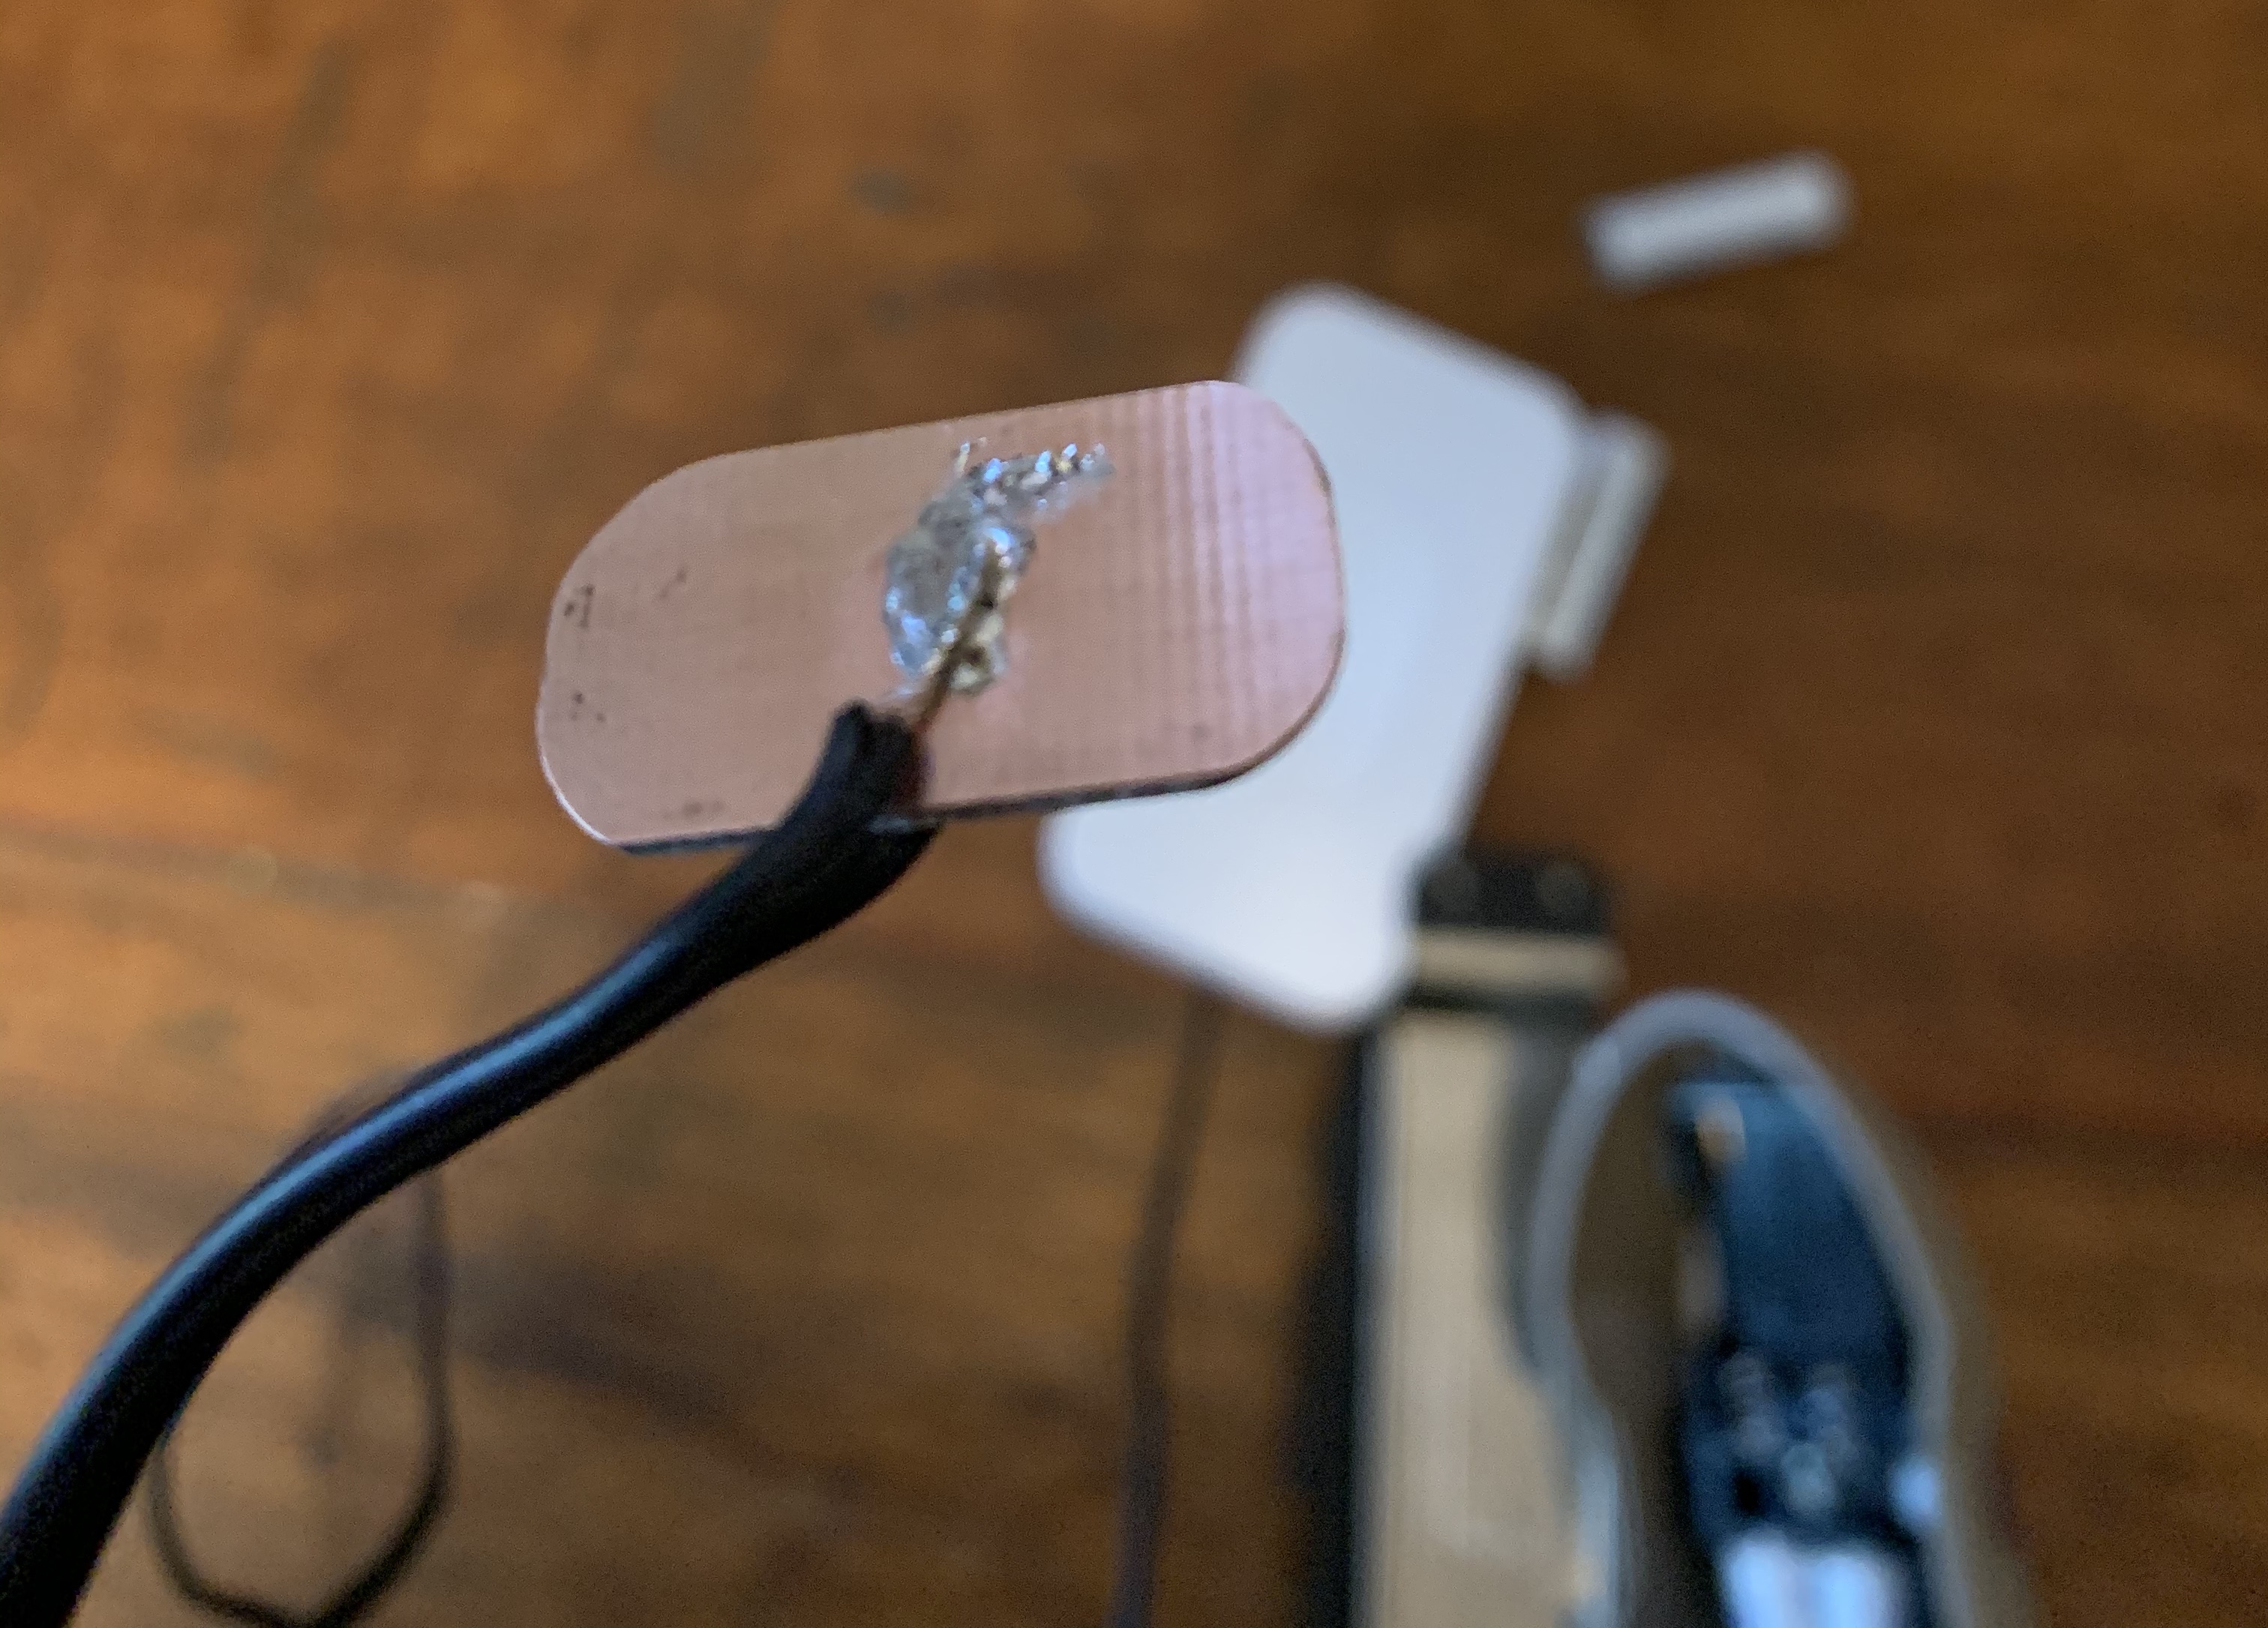
This is just a piece of doubled-side copper clad board with one of the wires soldered to each side.
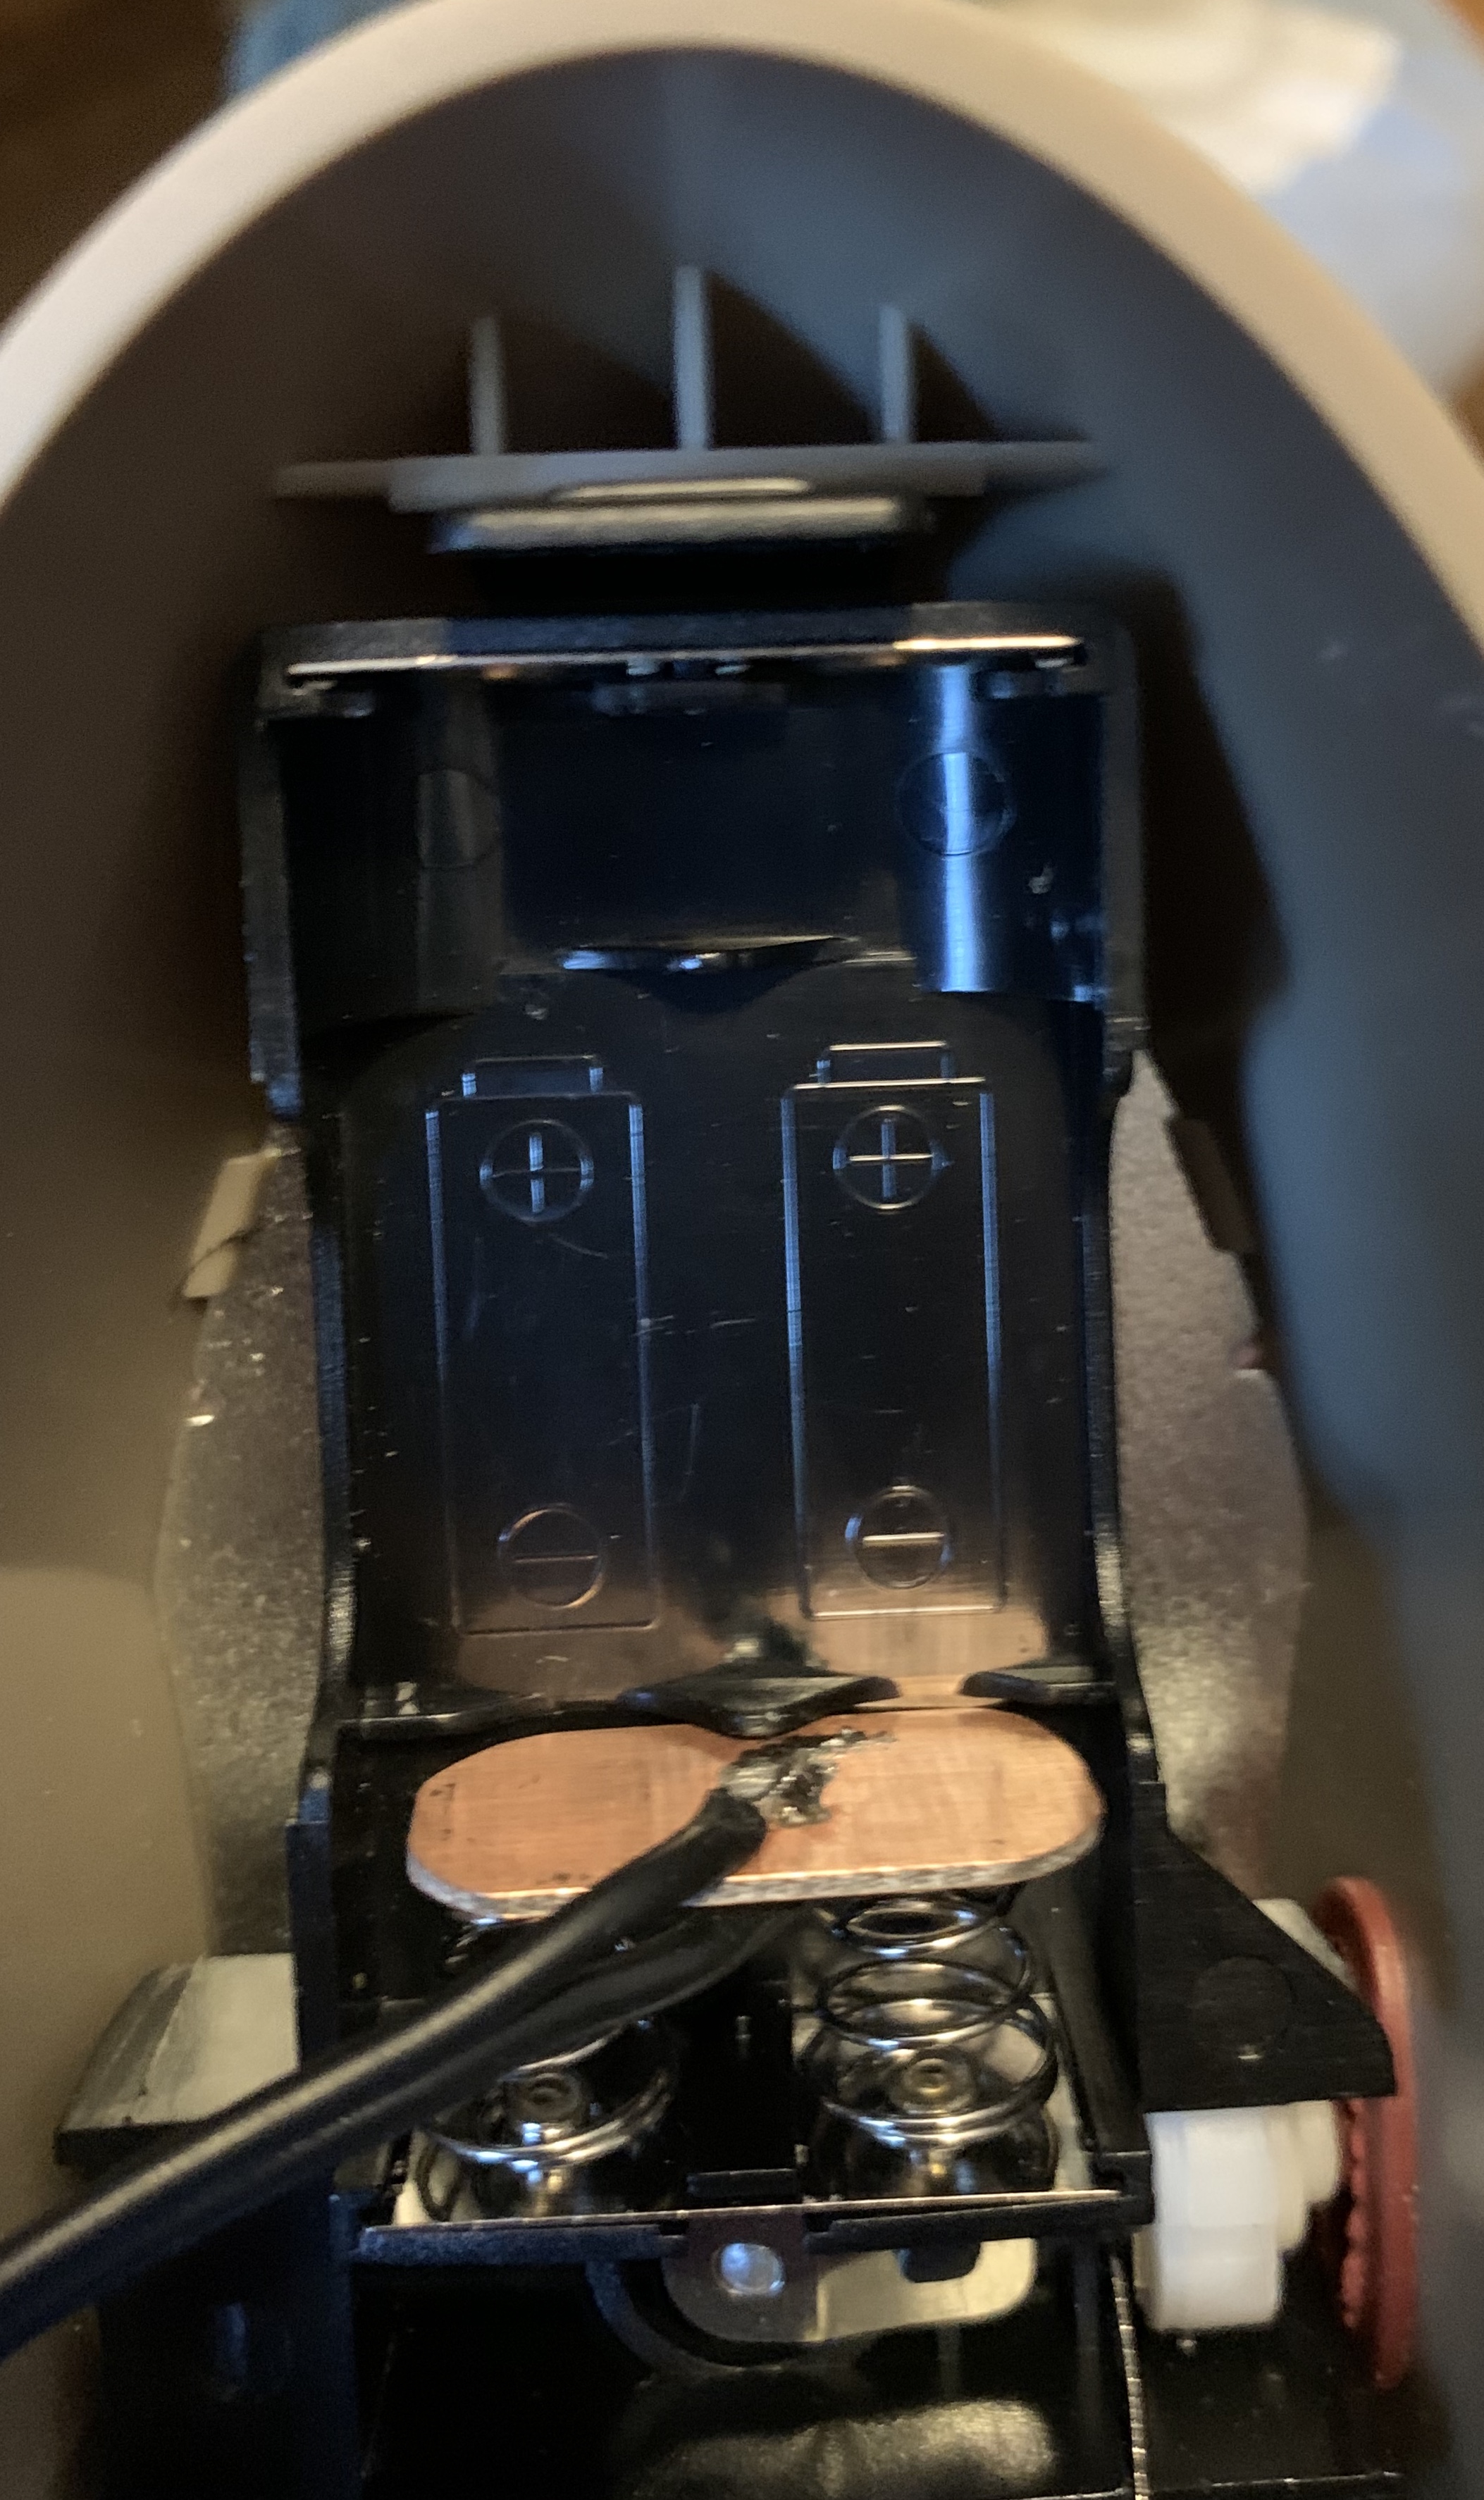
Simply sits between the negative springs and the batteries negative terminal, cutting off the circuit until the wires are connected by the Smitchmate limit switch terminals they are soldered on to.
This method should work for most battery devices, as long as there's room for the wires to exit the battery compartment.
Here is the post by @bptworld who paid 21.50
https://community.hubitat.com/t/kiwkset-lock-zwave-to-zigbee-conversion/9137/51?u=zarthan
That link doesn't work.
And all i said that it was crazy that it was that low. It doesn't matter how many people got it for that price it's still an insanely low price. You're getting it for less than the price of a keyed lock. That's nuts!
What an insane profit on those locks too! They are pulling in $125 profit per lock?! 
Download the Hubitat app