I have an idea.
I'm going to replace the device with another, perhaps that's the issue.
Well, that made no difference (using FRE02 instead of FRE01).
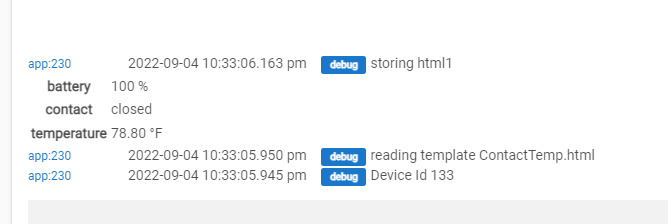
Here is the debug output:
OK. Back to the issue at hand.
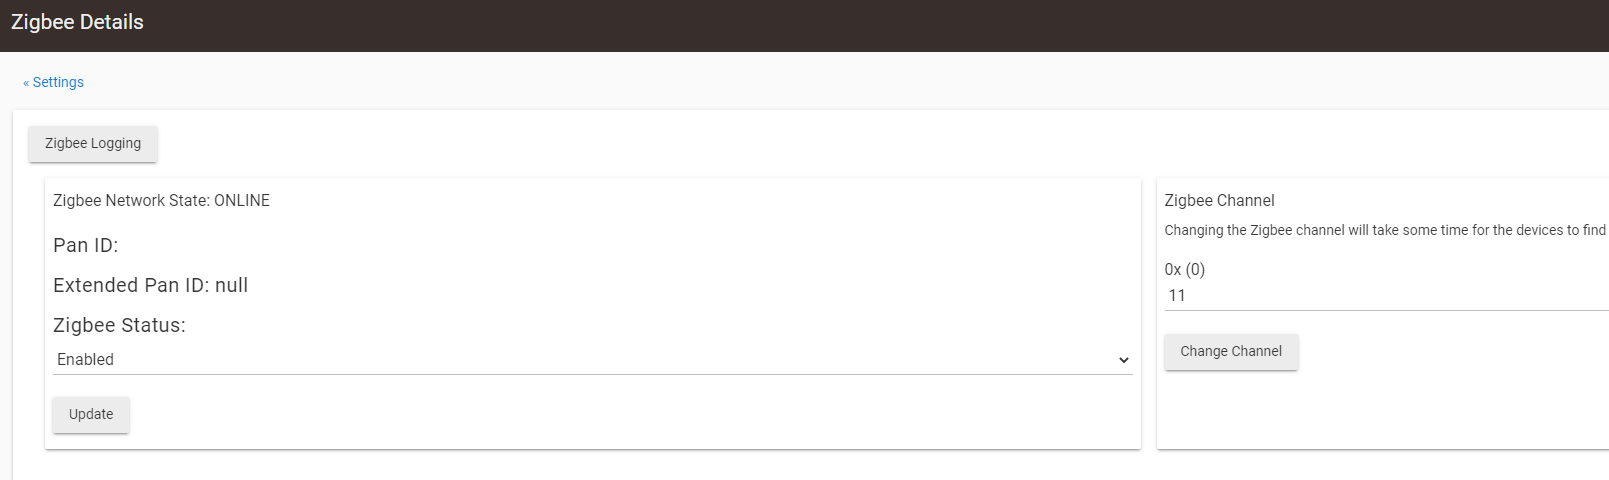
Pan ID has returned, and is now ok.
I have rerun steps 1-3 with the same result - i.e. nothing happening on the Tile device.
(But now we have Zigbee back and working).
Different device from earlier (133 vs 130), but the html was built and sent to HTML Tile Device230. Is it possible that you have multiple HTML Tile Device instances and are looking at the wrong one?
Mornin. Happy NY! I loaded Tile Generator (and it's brother, the manager). During template creation, files were not generated. My first mistake was having spaces in the file name. No errors gen in the logs so it was purely accident really (experienced accident?) that I found that.
So a space check (isn't it hex20?) of the file name string would be smart. I think that file manager doesn't log error that someone attempted an upload of a file with a space, it just goes bit bucket.
Previous file extensions for templates are '.res' but maybe '.tpl' would be a fair default?
" .tpl – Web template"
During my attempt to identify what was going sideways, I modded the app - Instead of using 127.0.0.1:8080, I replaced that line with my hub - I've a DNS entry and 127.0.0.1 is a dev post on my local machine - so that can't work for me. Can we add a config option for server location? Right now, the working code at line 220 is:
try {
		def params = [
//			uri: 'http://127.0.0.1:8080',
//          uri: 'http://hubitat:8080',   // This would actually be my ideal in case I change which hub I'm toying with
            uri: 'http://192.168.1.36:8080',
			path: '/hub/fileManager/upload',
			query: [
so I think a config that allows a user to set his server name or address url would be an valuable update! Add that to a default file type such as .tpl might lessen troubles for others!
- the brother app, the template manager, would then benefit from have the same default template type in its 'show available'. I currently have a boatload of icons, jpgs, pngs, and misc other crap in my hub and it's a long list to scroll through.
You make some good points.
- I usually run file names through a camel case method (removes spaces and special characters and adds capitalization in their place) not sure why I didn’t put it in these
- The .res extension was a hold over from early Windows development efforts where external files that were brought in as raw files were labelled as application resources, but you can use anything that makes sense to you (could look at adding a filter for the Tile Manager to help in narrowing things down)
- I used the loopback address to ensure that we were running on the hub (if hub security is being used it simplifies logging into the hub), but no reason you couldn’t use any valid hub - actually with a little more effort you could utilize an external server also
2 Likes
one of the best parts of your work is its Elegance. I actually enjoy looking at it.
2 Likes
@thebearmay
First of all man, thanks for this contribution! Now I finally feel I can customize my tiles and dashboards as I like 
I have a CSS / Template question for anyone that can help, my forte is more on the back-end that with the front-end stuff.
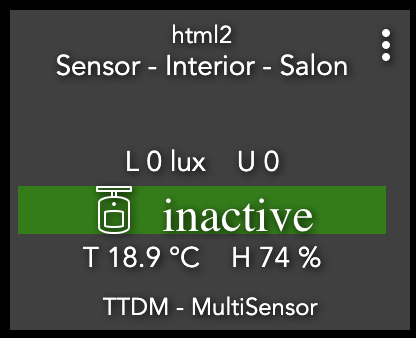
I have setup the below template to show some attributes on a multi-sensor device, I managed to change the color when the motion attribute is active.
But now I would also like to change the icon (he-motion-sensor) when its active.
<style>.sm{font-size:x-small}.mo-active{background-color:red}.mo-inactive{background-color:green}</style>
<div style='width:100%;'>
<div class='sm'><p style='display:block;width:100%;text-align:center'><%@name%></p></div>
<div><p style='display:block;width:100%;'> </p></div>
<div class='sm'><p style='display:block;width:100%;text-align:center'>L <%illuminance%> U <%ultravioletIndex%></p></div>
<div class='mo-<%motion%>'><p style='display:block;width:100%;text-align:center' class='material-icons he-motion-sensor'> <%motion%></p></div>
<div class='sm'><p style='display:block;width:100%;text-align:center'>T <%temperature%> H <%humidity%></p></div>
</div>
- Does someone know how this can be done in the CSS style block or in another way?
- Does someone know where I can find the official list of
he-xxxxsupported icons (material-icons)?
Thanks in advance for any help.
Seb
If you remove he-motion-sensor and set the background-image:url(addressOfTheImage) with the .mo-active/mo-inactive class definitions (or similar) at the top you may achieve your objective.
Posting the auto-response for others:
After some investigation I have the way of listing all the possible icons that are offered OOTB with HE to build by own dashboard without having to add custom stuff.
- Download the following file from your hub: http://HE-IP/ui2/fonts/hubitat.svg
- Open VSCode and install the following extension SVG Font Previewer
- Open the downloaded file
hubitat.svgwith VSCode - Click the upper right SVG icon or execute the command:
SVG Font Previewand voila1
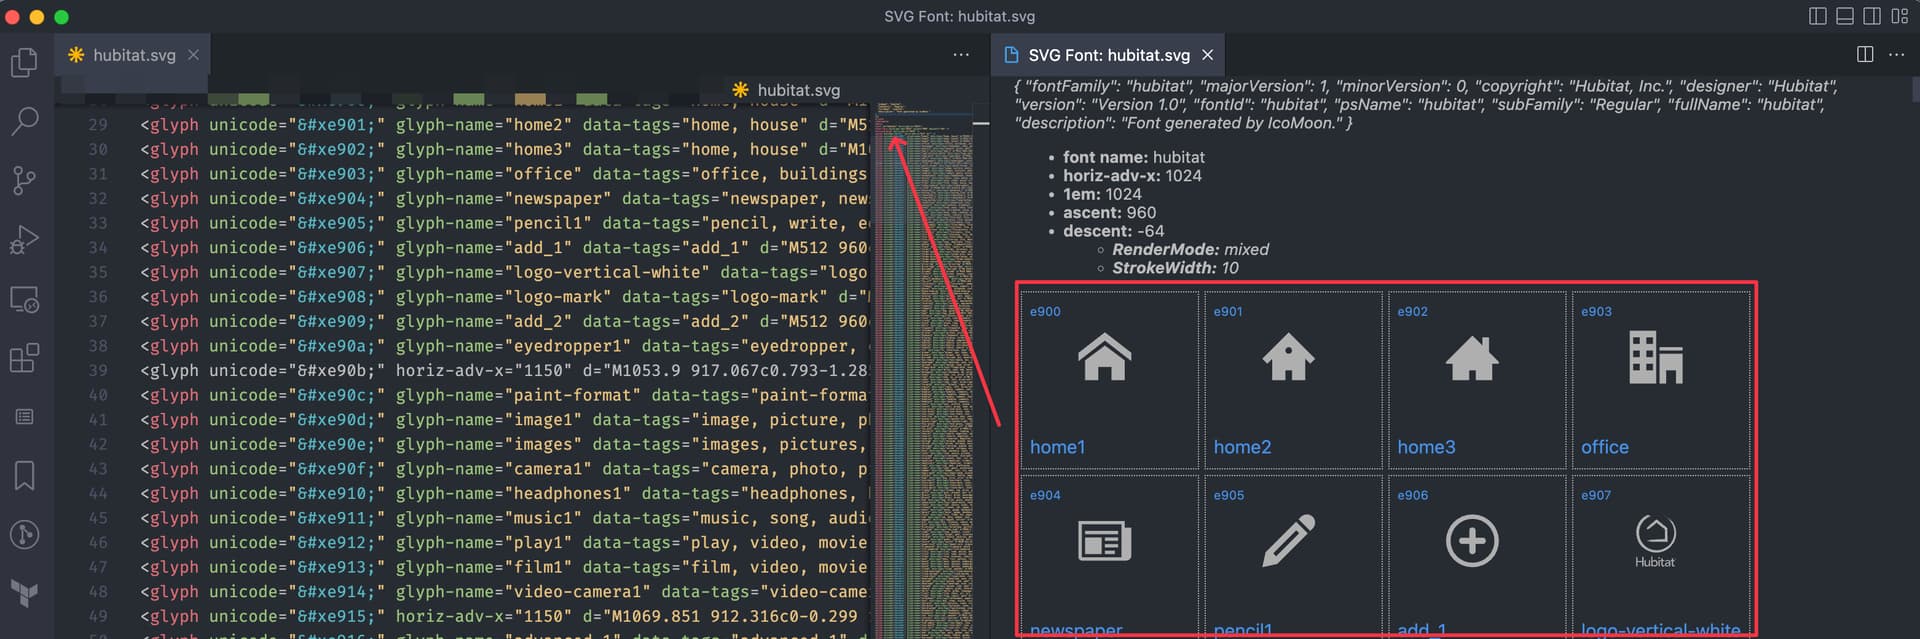
Now I need to see how to change the icons with the css ![]()
Below are the CSS definitions for the motion sensors/detector
.he-motion-sensor:before{content:"\ed64"}
.he-motion_detector_1:before{content:"\ec76"}
.he-motion_detector_2:before{content:"\ec82"}
.he-motion_detector_3:before{content:"\ecfb"}
.he-motion_detector_3_filled:before{content:"\ecfa"}
.he-motion_detector_4:before{content:"\ecfc"}
All your app/device needs to do is to have logic to change to the appropriate class, i.e. from
<p style="display:block;width:100%;" class="he-motion-sensor material-icons"> inactive</p>
to
<p style="display:block;width:100%;" class="he_motion_detector_1 material-icons"> inactive</p>
The main issue that I have is that the logic depends on the value of the attribute of the device.
So for example on the motion one it corresponds to the following icons:
- active > he-running
- inactive -> he-motion-sensor
So the logic would need to be depending on a predefined class name (ico-active / ico-inactive) that is based on the attribute value. It should be more os less the same as the mo-active/inactive code that works.
In this way I can change the icons or style independently.
This is more or less what I would like to make work:
<style>.sm{font-size:x-small}.mo-active{background-color:red; }.mo-inactive{background-color:green}.ico-active{content: "he-running"; }.ico-inactive{content:"he-motion-sensor"}</style>
<div style='width:100%;'>
<div class='sm'><p style='display:block;width:100%;text-align:center'><%@name%></p></div>
<div class='mo-<%motion%>'><p class='ico-<%motion%>'> <%motion%></p></div>
</div>
CSS
.ico-active:before{content: \xxxx}
.ico-inactive:before{content: \xxxx}
@thebearmay Thanks for the CSS pointers, I now have 95% of the stuff working.
I am sharing the below template snippet so that others can also enhance there tiles.
This templates shows how to change the background styling and icon depending on the device attribute value.
CSS Style:
You just need to create some dedicated CSS classes that match each of the device attribute values ico-bg-<%smoke%>, then on each class you can play with all CSS
Icons:
To change the icon is more of less the same, you also need to create dedicated classes for each value and then specify the icons you want using the content variable. (Example: ico-<%smoke%>)
You must use the unicode name of the icon. (Check my previous post for the full list of available icons)
<style>[class*=' ico-'], [class^=ico-] {font-family: hubitat!important;font-style: normal;font-weight: 400;}.ico-bg-detected{background-color:red; }.ico-bg-clear{background-color:green}.ico-detected:before{content:'\e9a9'}.ico-clear:before{content:'\ec23'}</style>
<div><i style='font-style:normal;width:100%;text-align:center;'><%@name%></i></div>
<br/>
<div class='ico-bg-<%smoke%>'><i class='material-icons ico-<%smoke%>'></i> <%smoke%></div>
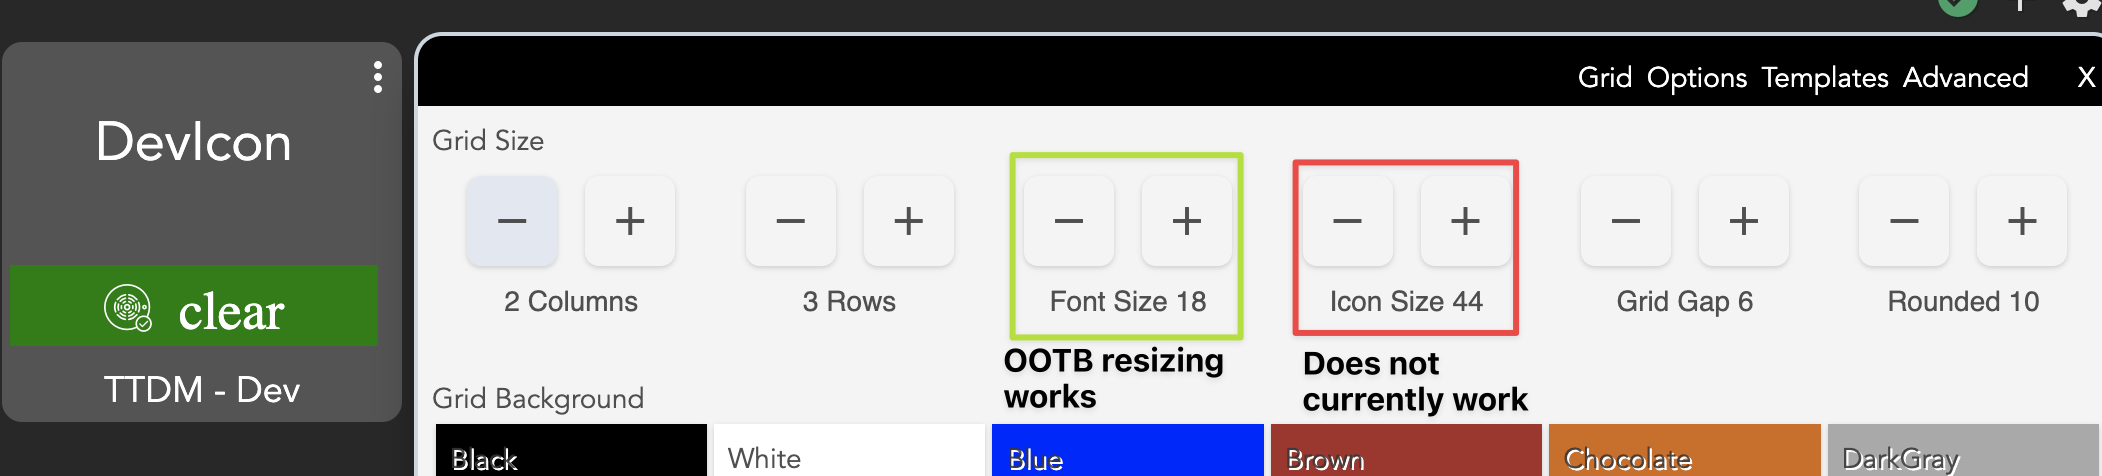
Font Size: With this current template all the texts can be resized with the default OOTB dashboard tools (no need for custom css, unless needed)
Icon Size: For the moment I have not manage to make this work with the OOTB tools, if you want to change the size of the Icons as of right now you will need to specify it in the dedicated class using the font-size variable.
If anyone has any idea on how to make this work, it would be greatly appreciated.
Man I don't know what I'm doing wrong.
Generator: made template and saved
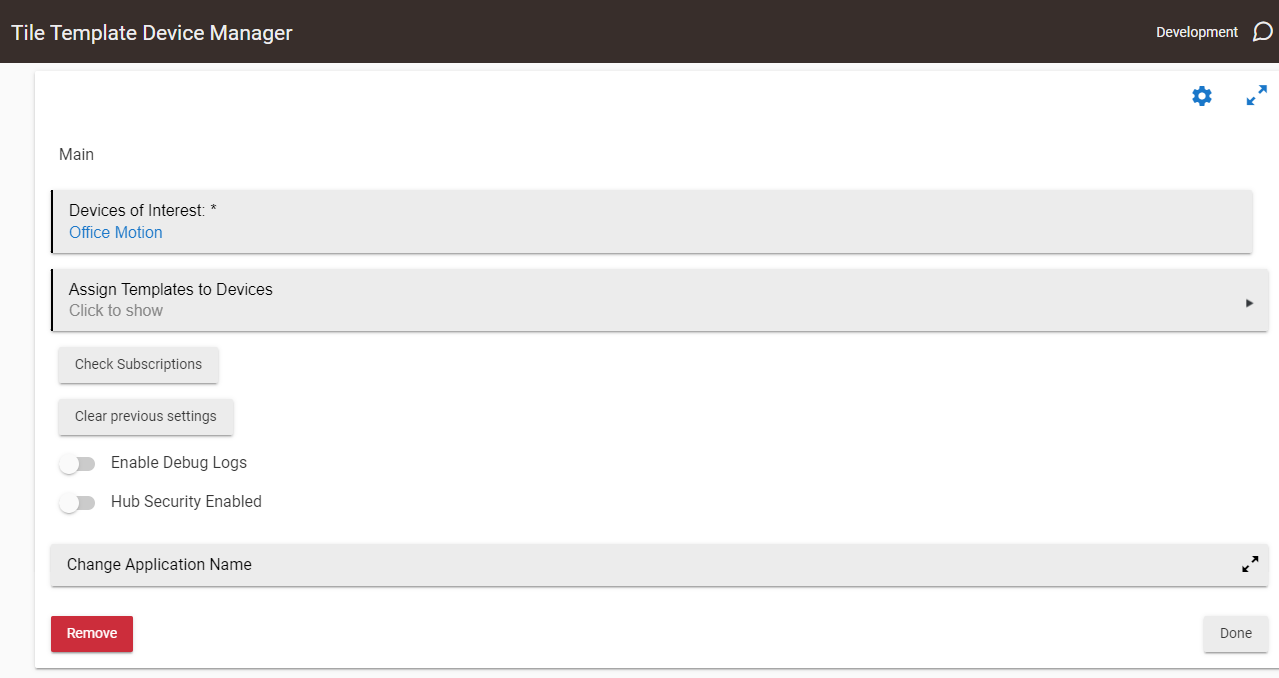
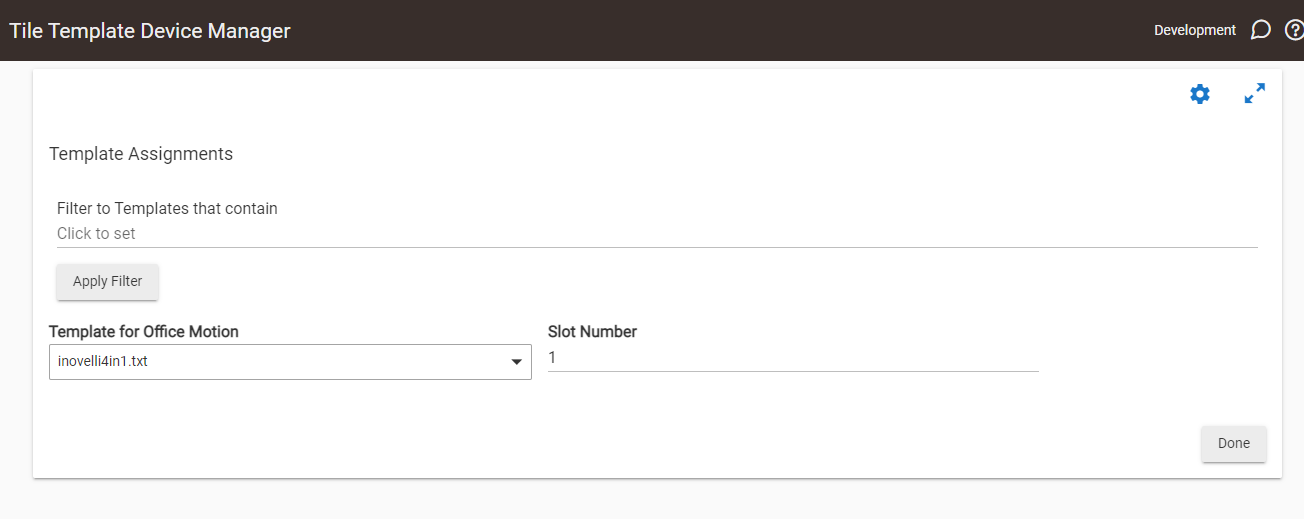
Manager: go to add template to device. Device gets made but I see nothing about slot info. I looked at the gear and nothing looks like the above stuff.
Random idea, but could the attributes you included not be updated since you created the tile? I am expecting the tile would subscribe to changes in the linked attributes, so would wait for changes before updating the tile.... Could you force a change in one attribute to test the theory?
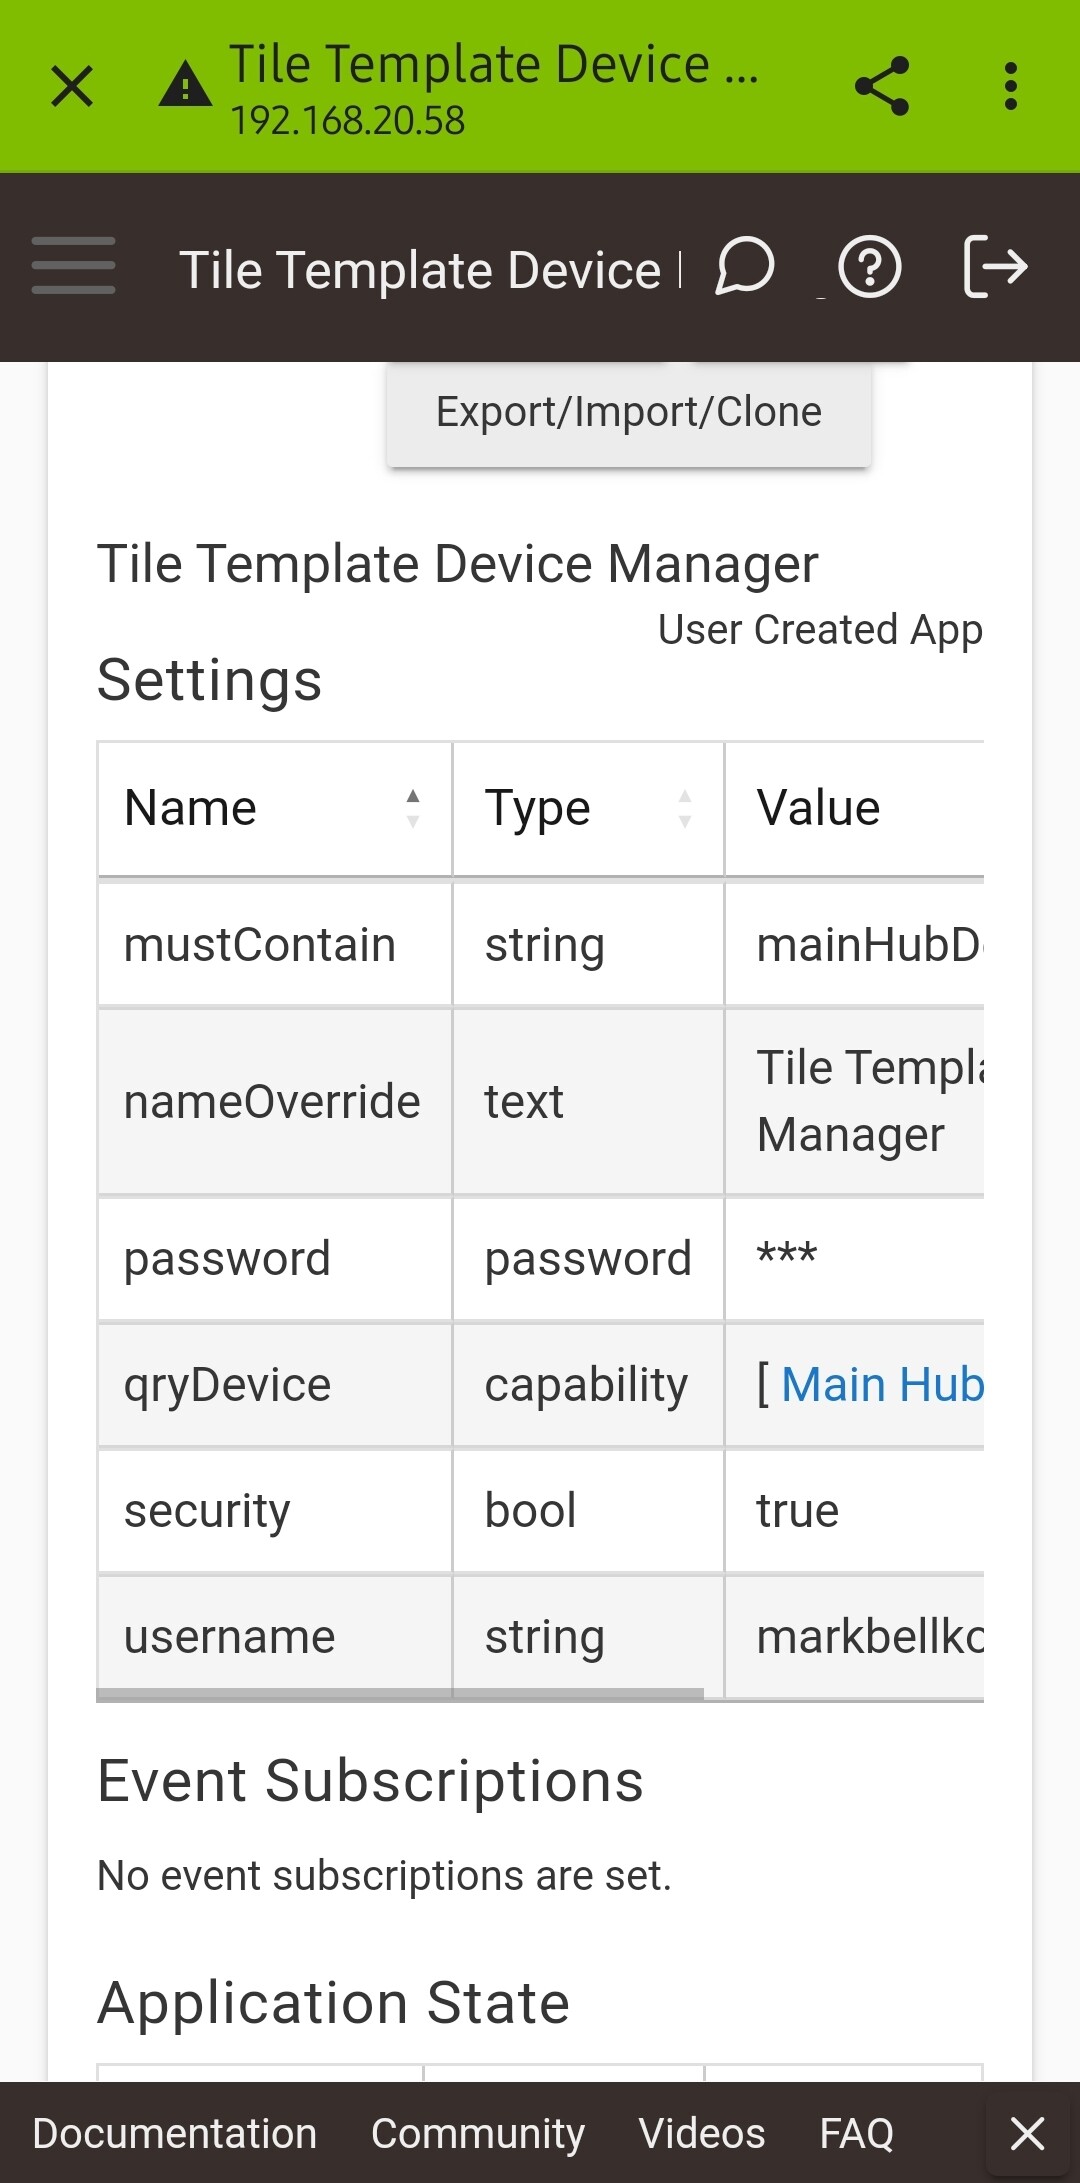
If you have the template properly registered in the app you'll see Event Subscriptions for the device.
Pretty sure it's NOT properly registered.
Shouldn't I see a drop down in "apply template"?
I saved template in the generator and checked File Manager to confirm it's there.

