[RELEASE] WET-IT 1.0.0.0 — Weather-Enhanced Time-Based Irrigation Tuning for Hubitat
After months of field testing and multiple pre-release builds, WET-IT 1.0.0.0 is now officially live on Hubitat Package Manager (HPM)
WET-IT provides local-first, hybrid evapotranspiration (ET) and seasonal water modeling for Hubitat. It brings Rachio/Orbit/Hydrawise-style intelligence entirely local — no cloud, no lag, no subscription, just physics-driven irrigation.
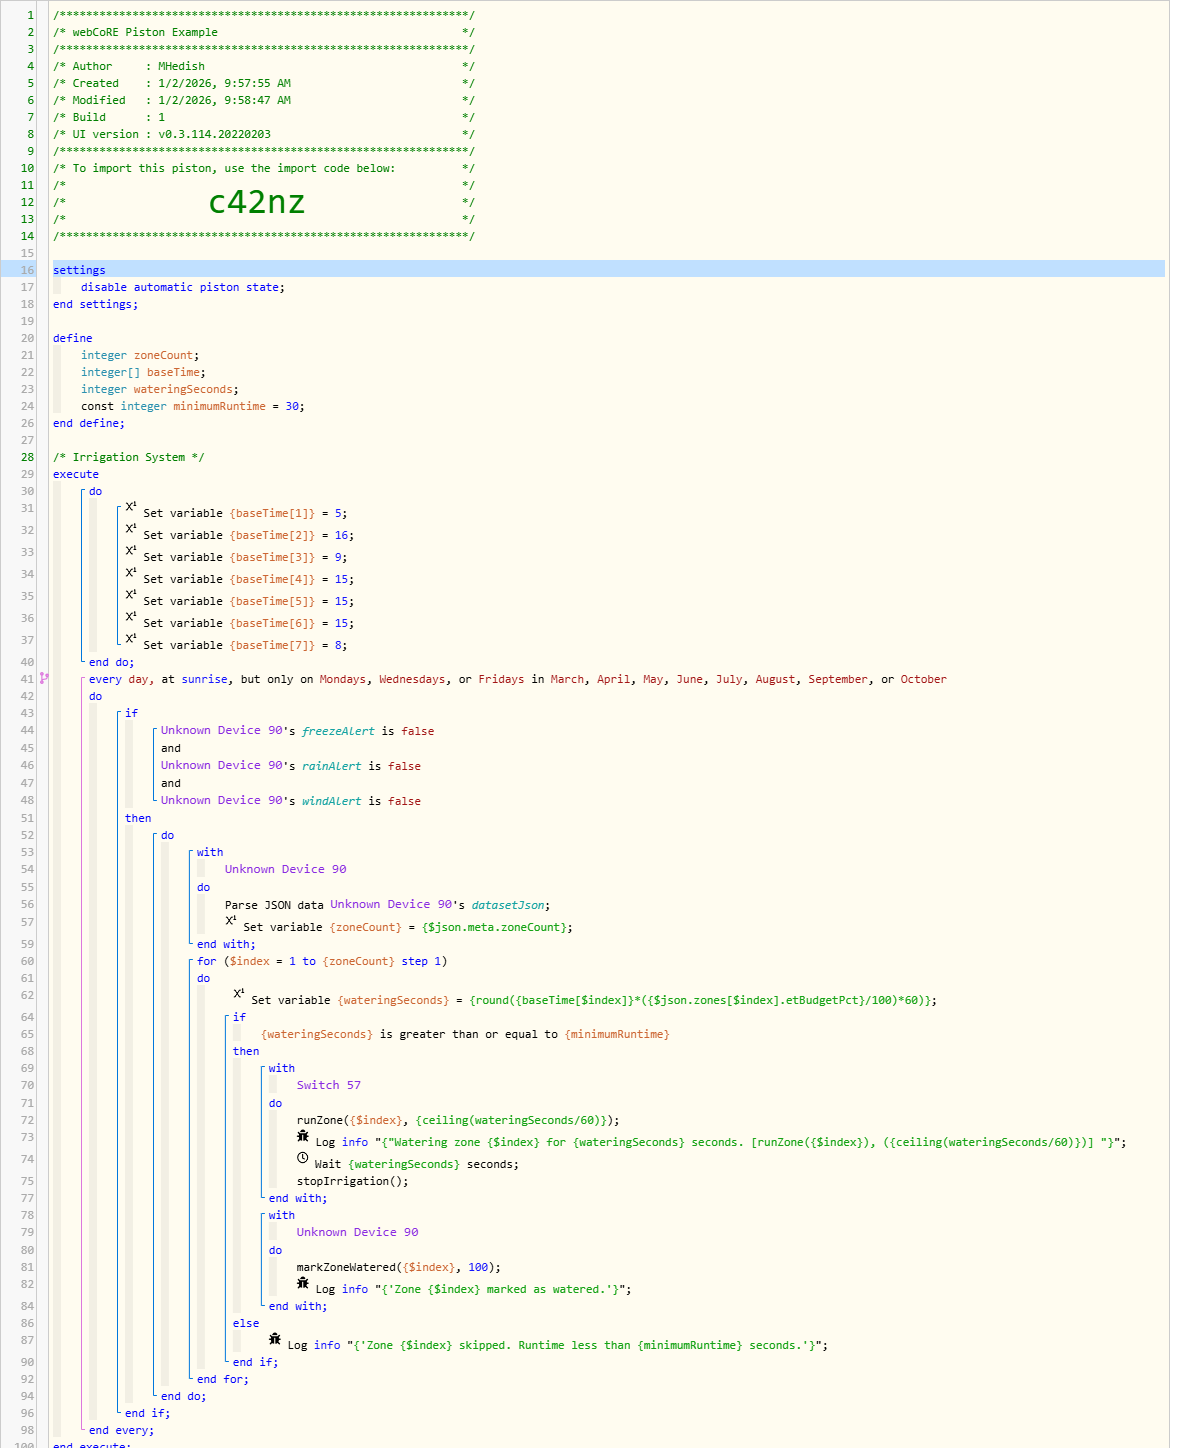
As a follow-up to my Rain Bird LNK/LNK2 device driver, I finished this Hubitat app which allows you to create an intelligent watering system and provides the “smarts” for that device driver and any other irrigation device.
Evapotranspiration (ET) is the combined water loss from soil evaporation and plant transpiration. It’s the foundation for precision irrigation, ensuring each zone receives just the water it needs.
| Approach | Basis | Result |
|---|---|---|
| Time + runtime | Over/under watering | |
| Calendar % | Better, but weather-blind | |
| Real weather + soil data | Adaptive precision |
Although there is a lot to this, the main idea is that the integration determines the precise amount of evapotranspiration based on your location, soil type, plant type, and weather. In other words, the entire brain of a Rachio, Orbit, or a more advanced Rain Bird.
The big difference between those cloud based controllers and WET-IT is all of these calculations are local to your hub, rather than the cloud, and thus enshittification free. No subscriptions, no cloud outages. ![]()
While I can't say for sure that this is where the big guys are going, it's interesting that one Rain Bird LNK driver user found that updating the firmware on their Wi-Fi module took away local control and authentication and stopped him from using the driver. That firmware update made the module he purchased 100% cloud-based only. Can a subscription really be that far behind?
 What WET-IT Does
WET-IT provides the brains for your irrigation system — not the brawn.
It calculates exactly how much water each zone needs based on local evapotranspiration (ET), seasonal coefficients, and forecast data from your choice of three weather sources.
If ET is more than you think you need, the driver also calculates the seasonal adjustment the same way Rain Bird and the others do. It's your choice.
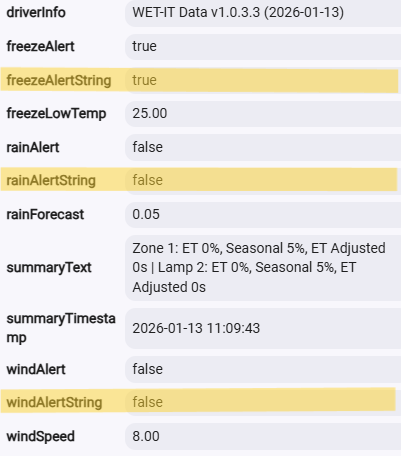
📊 Driver Attribute Reference
| Attribute | Type | Description |
|---|---|---|
appInfo |
string | App version / metadata |
datasetJson |
string | Comprehensive JSON for all zones |
driverInfo |
string | Driver version / metadata |
freezeAlert |
bool | True when forecast below threshold |
freezeLowTemp |
number | Freeze warning threshold |
rainAlert |
bool | True when 24 hour rain forecast above threshold |
rainForecast |
number | 24 hour rain forecast |
summaryText |
string | Human-readable ET summary |
summaryTimestamp |
string | Last hybrid ET calculation |
windAlert |
bool | True when wind forecast above threshold |
windSpeed |
number | Forecasted wind speed |
wxChecked |
string | Forecast poll/check time |
wxLocation |
string | City/State/Forecast Office/Radar Station (US Only) |
wxSource |
string | Active weather provider |
wxTimestamp |
string | Forecast origin time |
zone#Et |
number | ET adjustment (%) per zone |
zone#Name |
string | Friendly name for each zone |
zone#Seasonal |
number | Seasonal adjustment (%) per zone |
What it doesn’t do: directly control your valves or switches. This is intentional. The control side is left to Rule Machine, webCoRE, or Node-RED — whichever you prefer. I have examples in the documentation.
This keeps WET-IT compatible with any irrigation device or relay driver — from a Wi-Fi Rain Bird module to a $20 Zigbee outlet. More importantly, you can combine various controller types into a single, comprehensive system.
![]() Think of it as giving a $30 hose timer the smarts of a $250 Rachio — but better, because it’s all local.
Think of it as giving a $30 hose timer the smarts of a $250 Rachio — but better, because it’s all local.
 Background
Each day, WET-IT computes how much moisture was lost vs. gained (ET − precipitation).
If the balance is positive, it tells your automations how long to water to bring it back to zero.
If rainfall exceeded loss, it carries that surplus forward — just like nature does.


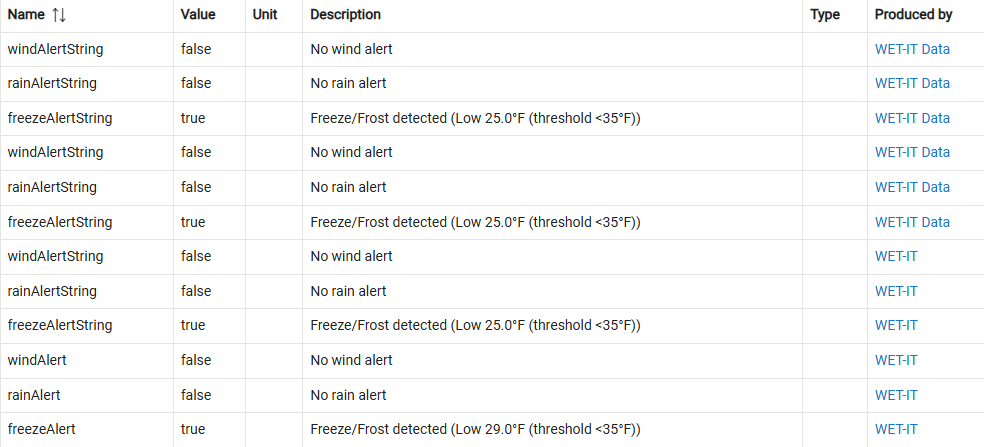
 Active Weather Alerts
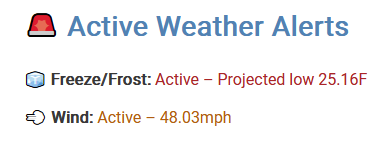
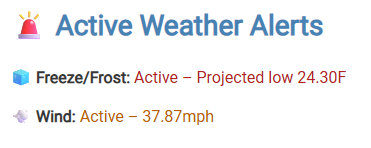
The Active Weather Alerts panel inside the app shows live risk conditions derived from your forecast data:
-
Freeze/Frost — Projected low below threshold
-
Rain — Forecast precipitation above skip threshold
-
Wind — Forecast wind speed above skip limit
Your automations can easily reference these attributes to skip watering under unsafe or wasteful conditions.
 Why This Matters
With WET-IT, even a $30 smart hose timer can act like a high-end Orbit or Rachio — and better yet, you can mix and match devices. Want to control your sprinklers, drip irrigation, and soaker hoses all at once? Now you can.
Zigbee, Z-Wave, Wi-Fi, custom relay boards — all unified under one local weather model.
 Key Features
-
Hybrid ET + Seasonal runtime model
-
Three weather providers with intelligent fallback and unit normalization:
Source Key Notes OpenWeather 3.0 
Hourly and forecast-based ET₀ Tomorrow.io High-resolution meteorological model NOAA NWS 
Built-in fallback -
Active Weather Alerts (Freeze, Rain, Wind) All user configurable.
-
Soil Moisture Memory for per-zone depletion tracking
-
Deterministic bi-hour scheduler with
Verify,Refresh, andTestdiagnostics -
Unified JSON publishing (
datasetJson) and/or individual attribute-based outputs for dashboards/integrations -
Discrete attribute publishing — If you prefer individual zone by zone and alert attributes, instead of parsing JSON, you get that as well... or both.
-
All-local execution — no vendor dependency, no subscriptions.
 How It Works with Automations
WET-IT emits daily correction data for each zone.
Your automations use these values to drive actual watering.
Example flow:
-
WET-IT calculates Zone 1 ET = 0.12 in and outputs a runtime multiplier.
-
Your Rule Machine/webCoRE/Node-RED rule converts that into valve run-time.
-
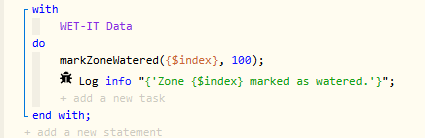
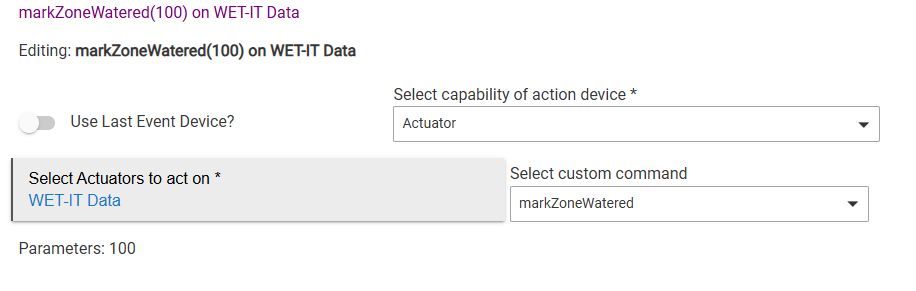
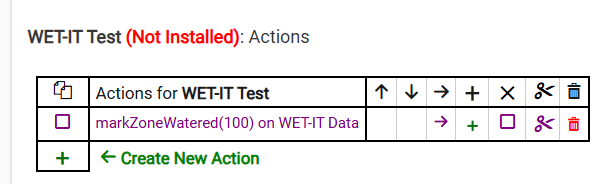
When watering completes, the automation calls back to WET-IT (
markZoneWatered) so soil memory resets.
It’s modular by design — allowing integration with any irrigation hardware and letting you build logic as advanced as you like.
 Data Precision & Reliability
-
All data is localized to your longitude/latitude, including seasonal awareness.
-
ET and depletion data retain full precision for modeling accuracy
-
All alert states and weather data persist through hub reboots
-
Supports up to 48 individual zones.
 Installation
Option 1 — Hubitat Package Manager (Recommended)
Apps → Hubitat Package Manager → Search → “WET-IT”
Option 2 — Manual Import
-
Driver: WET-IT_Data_v1.0.0.0.groovy
Once installed, open the app, configure your weather source, define your zones, and run Verify System.
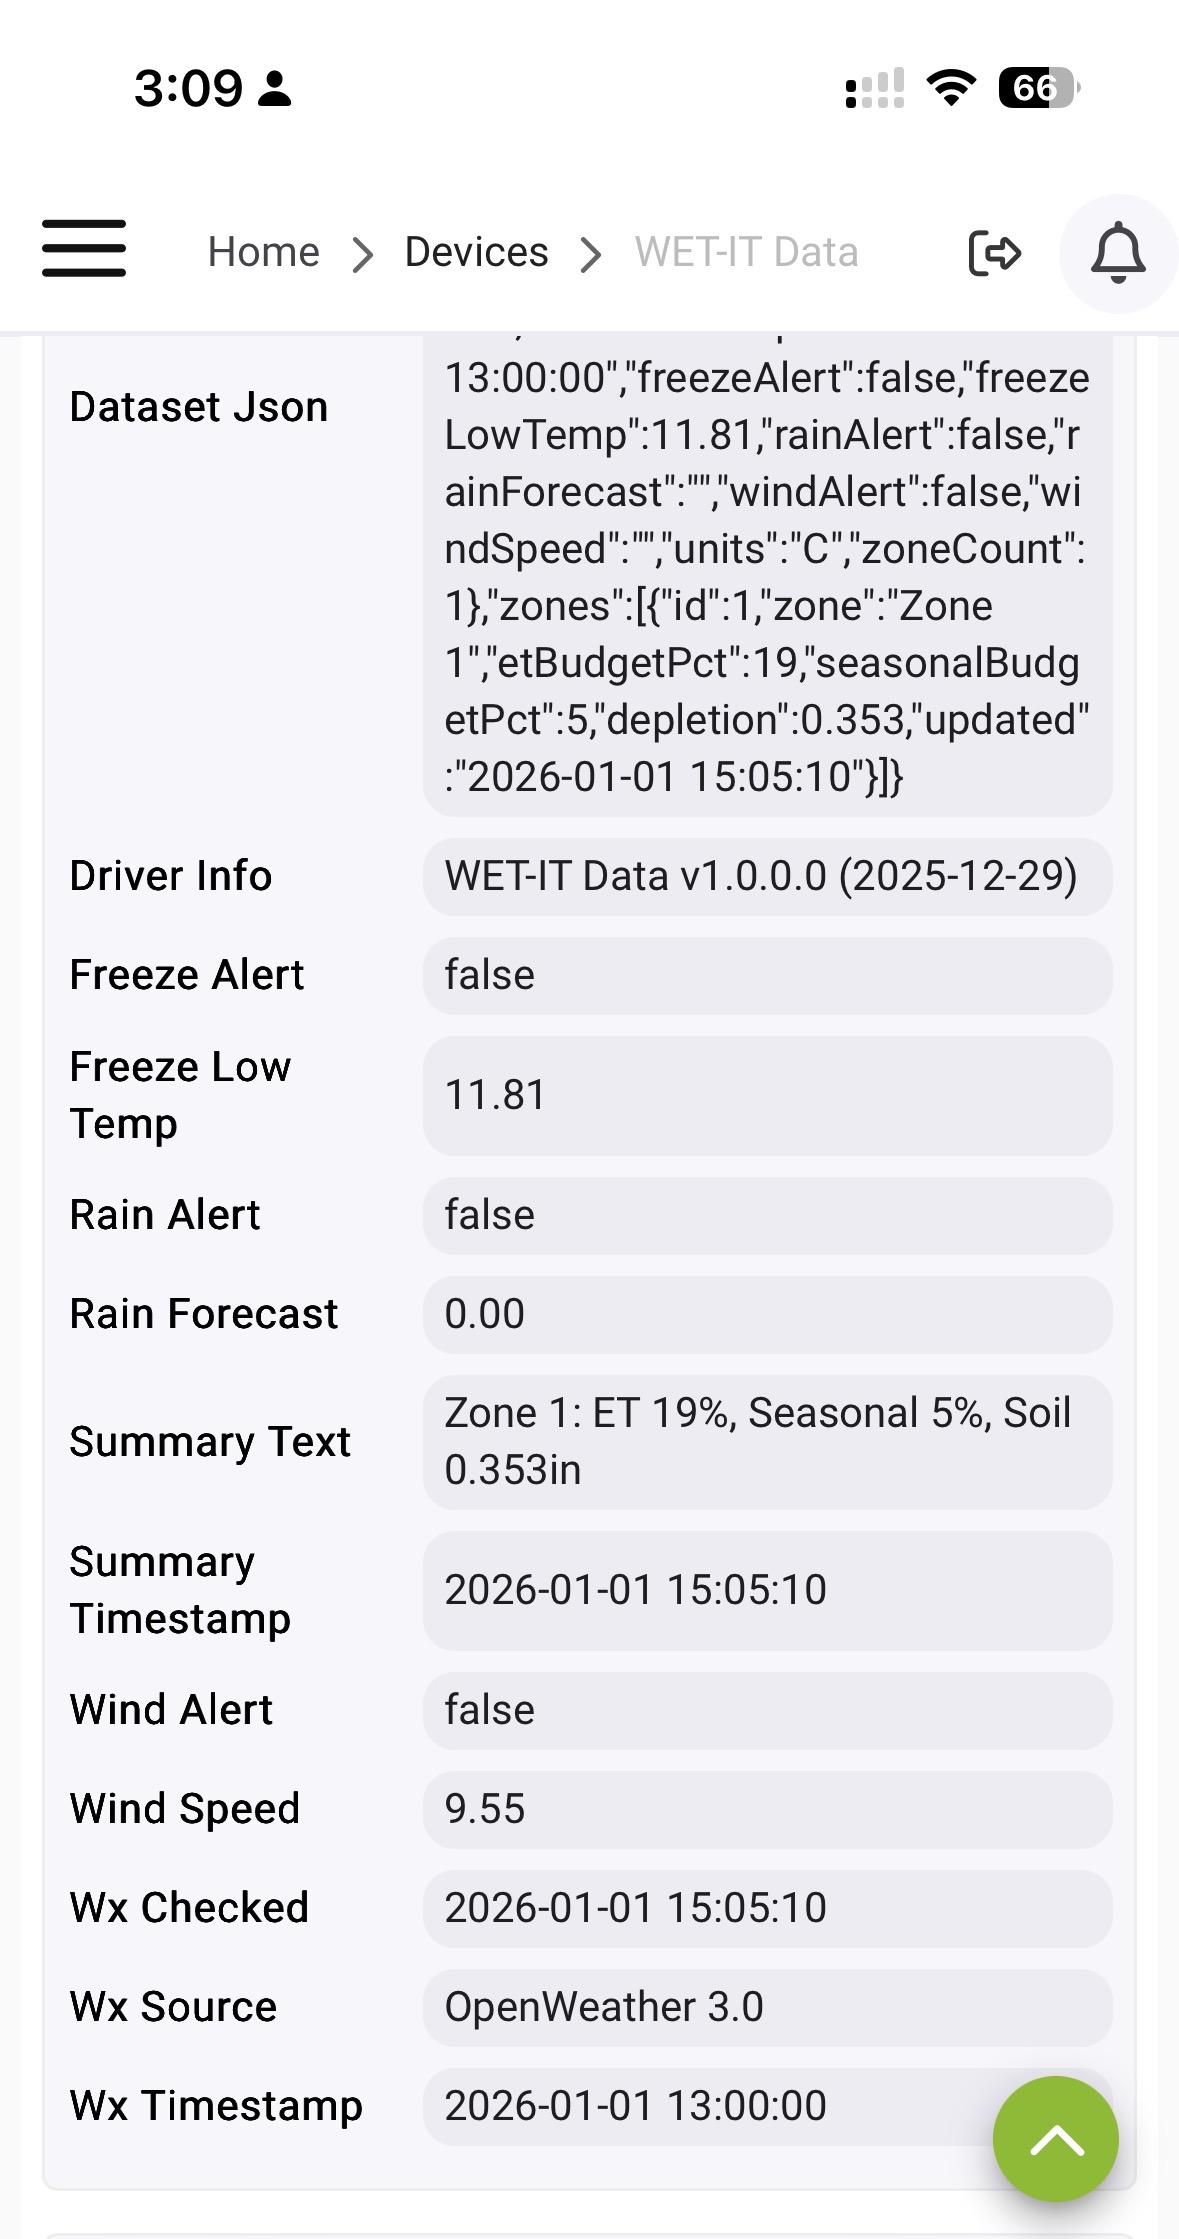
A child device (WET-IT Data) will appear after you run the app for the first time which houses all calculated attributes, zone information, and alerts. This is the data driver that powers your Rule Machine, webCoRE, and Node-RED scheduler.
 Documentation
Full technical documentation, including equations, schema diagrams, and integration notes:
 Credits
Testing & Feedback: Hubitat community early adopters who fearlessly ignored instructions ![]()
 TL;DR
TL;DR
WET-IT 1.0.0.0 — a locally-computed, weather-smart irrigation model for Hubitat.