Just bought some of the new SmartThings multi sensors on sale, so I thought I'd share how to open them and hack them to be dry contact sensors.
You can probably use thicker wire than I did, but it might be very difficult to work with and not get any loose strands contacting other points. Plus routing it under the board and out the top would almost be out of the question if you use wire that is too thick. I use wire-wrapping wire that comes in a dispenser with a cutter and insulation stripper built-in. The dispenser is great. You pull some wire out and press a button to trim off a piece. It has a little stripper built in too. Just lay the wire in it and pull, and it nicely strips off a bit of the very thin and flexible insulation.
[WARNING] Seems just 24 hours after hacking this sensor, the battery is dead. This could have been a defective battery or it could have been dead on the store shelf, but this is unlikely since they use a pull tab on the batteries and this was a sealed unit with the battery pull tab installed. Unfortunately, I did not test the battery before installing, and didn't pay attention to what the driver in HE was showing for the battery level.
Not sure why this is happening. there is no contact on the points normally, but I was testing a door open rule on my Microwave, but then forgot about it for about an hour with the door left open (obviously there was a problem with my door open reminder  ). So these contact points shown here had been engaged for an hour straight. That obviously wouldn't be an issue for the internal hall effect sender when the magnet is engaged, but it may be an issue if shorting the contact point shown below to ground.
I'm going to change mine over to using a power adapter so I don't have to worry about it, but I just wanted to give a heads up that this might not be an appropriate hack of this sensor if you're running on battery power. If anyone does this modification and wants to sacrifice a CR2450 to test, please post your results here.
Opening
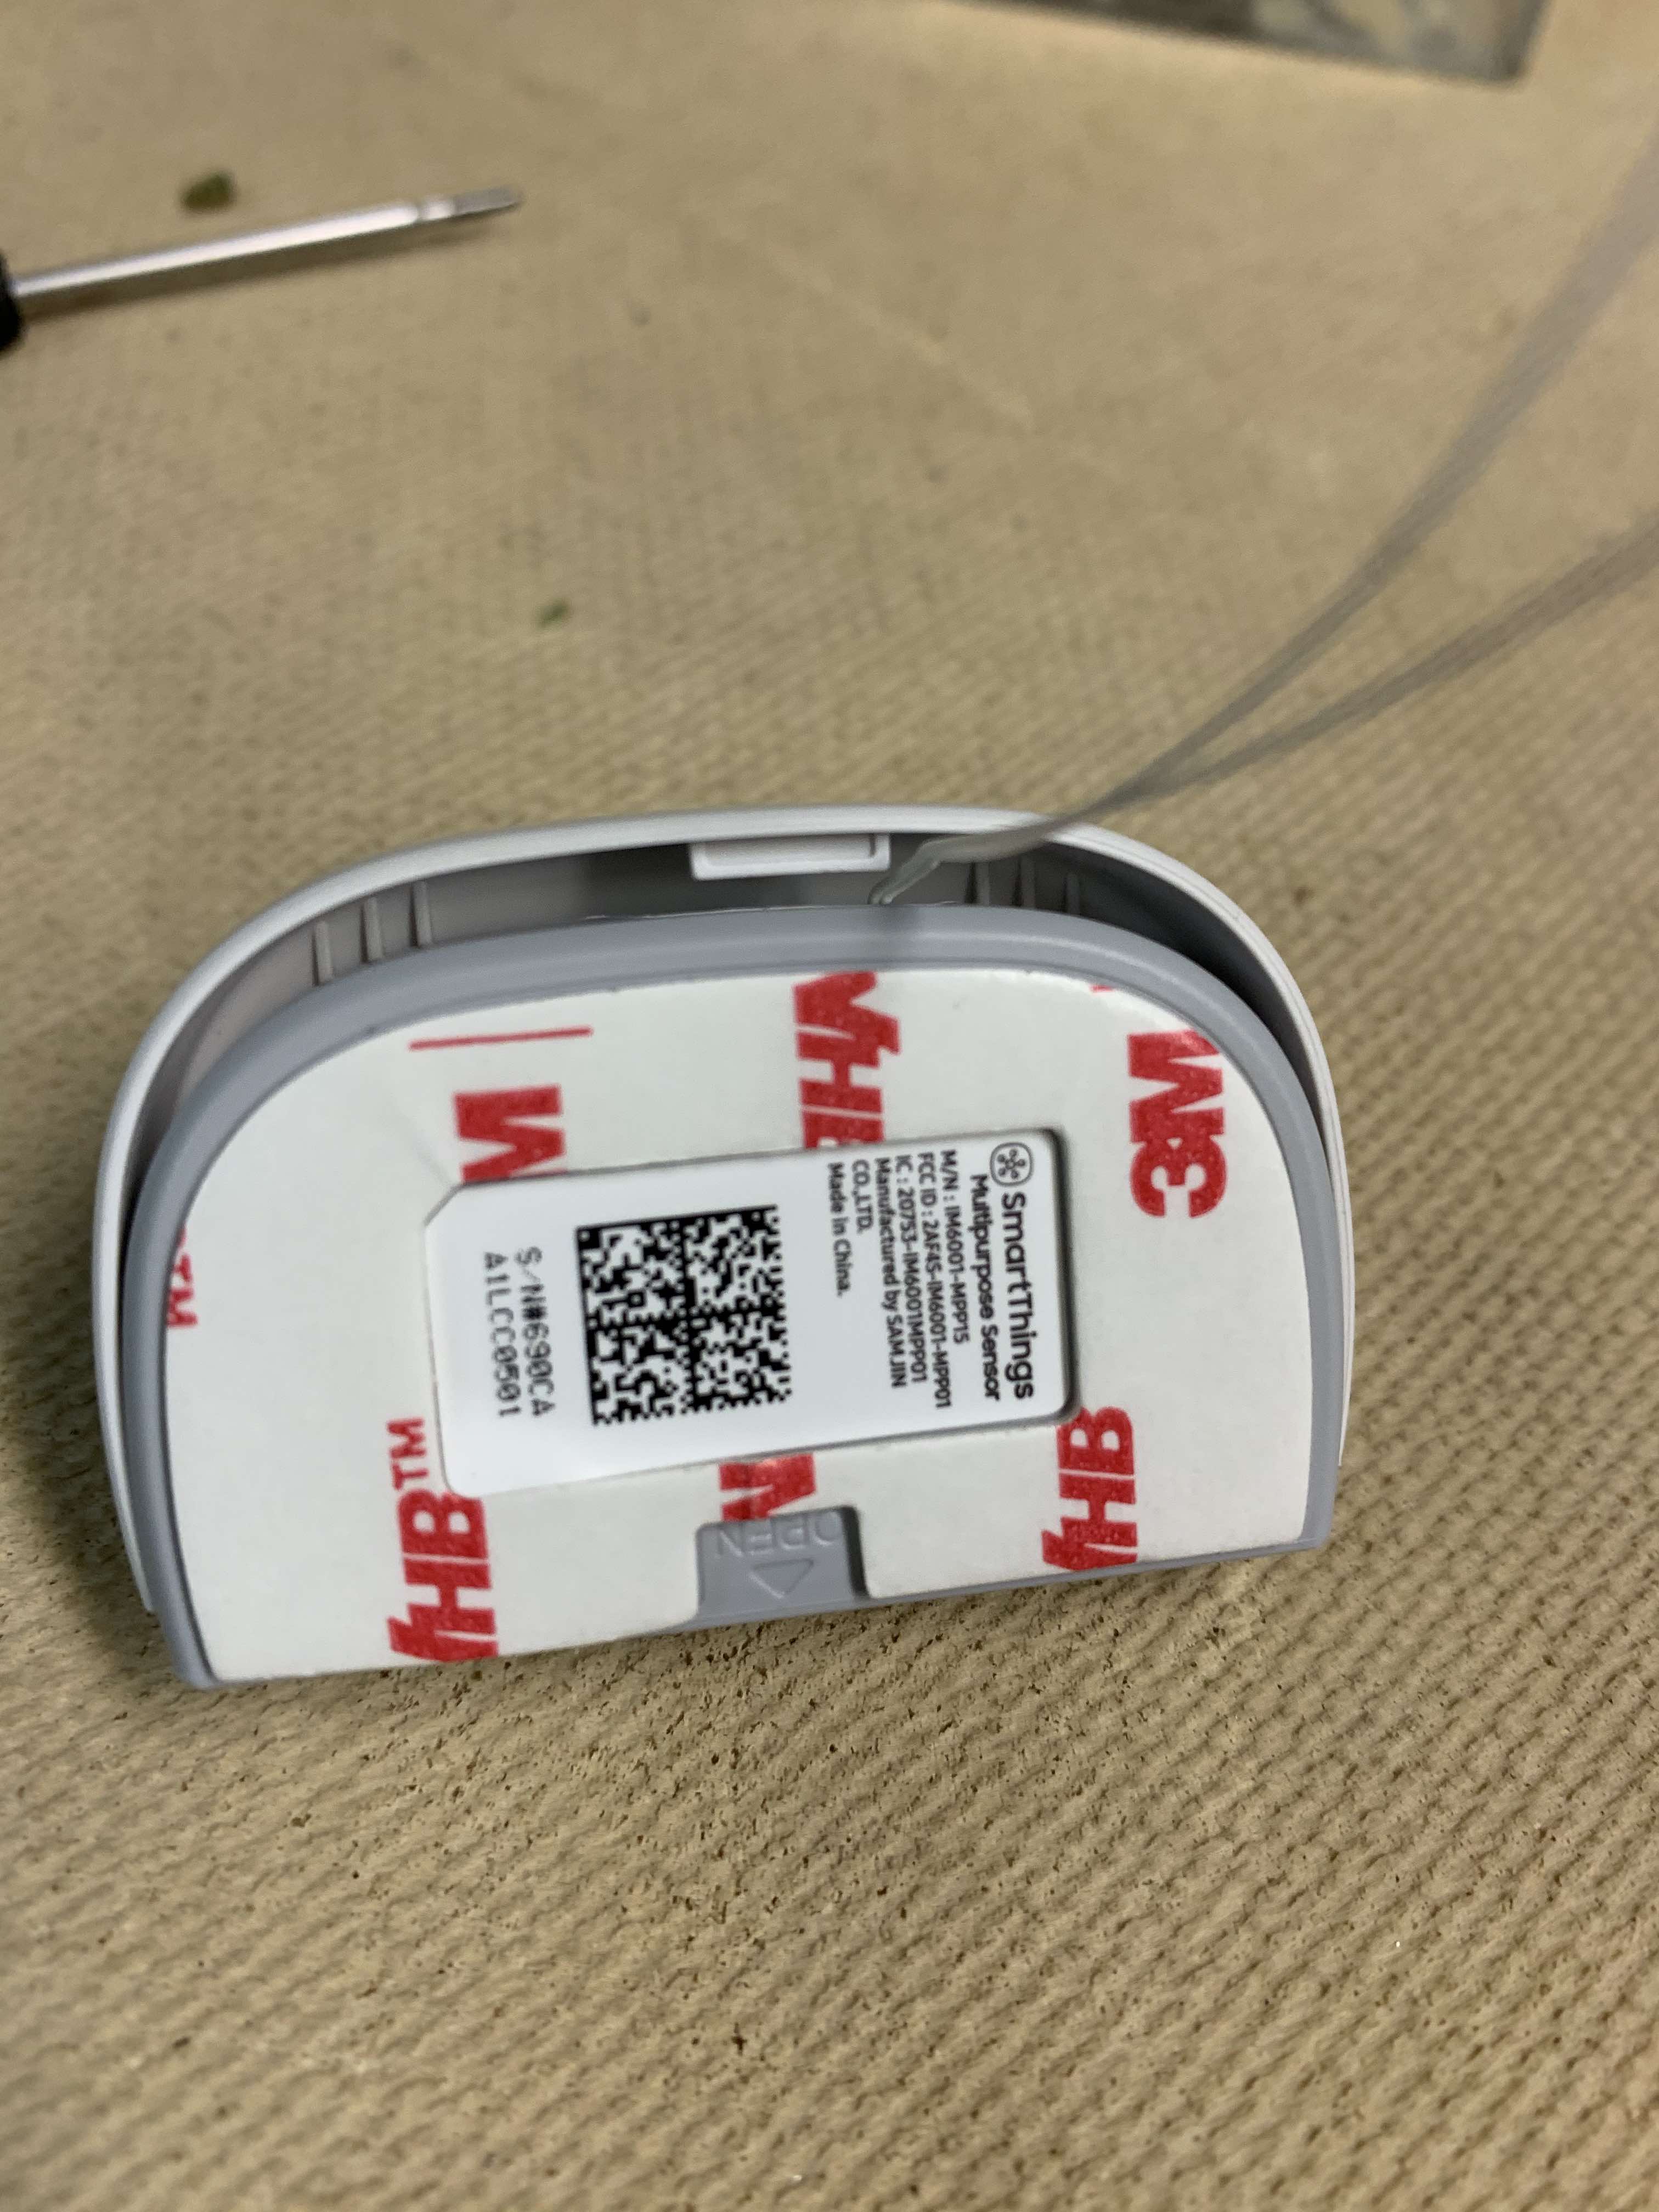
Slide the battery cover off and using a nylon spudger, push it into the space between the grey bottom and white top of the sensor.
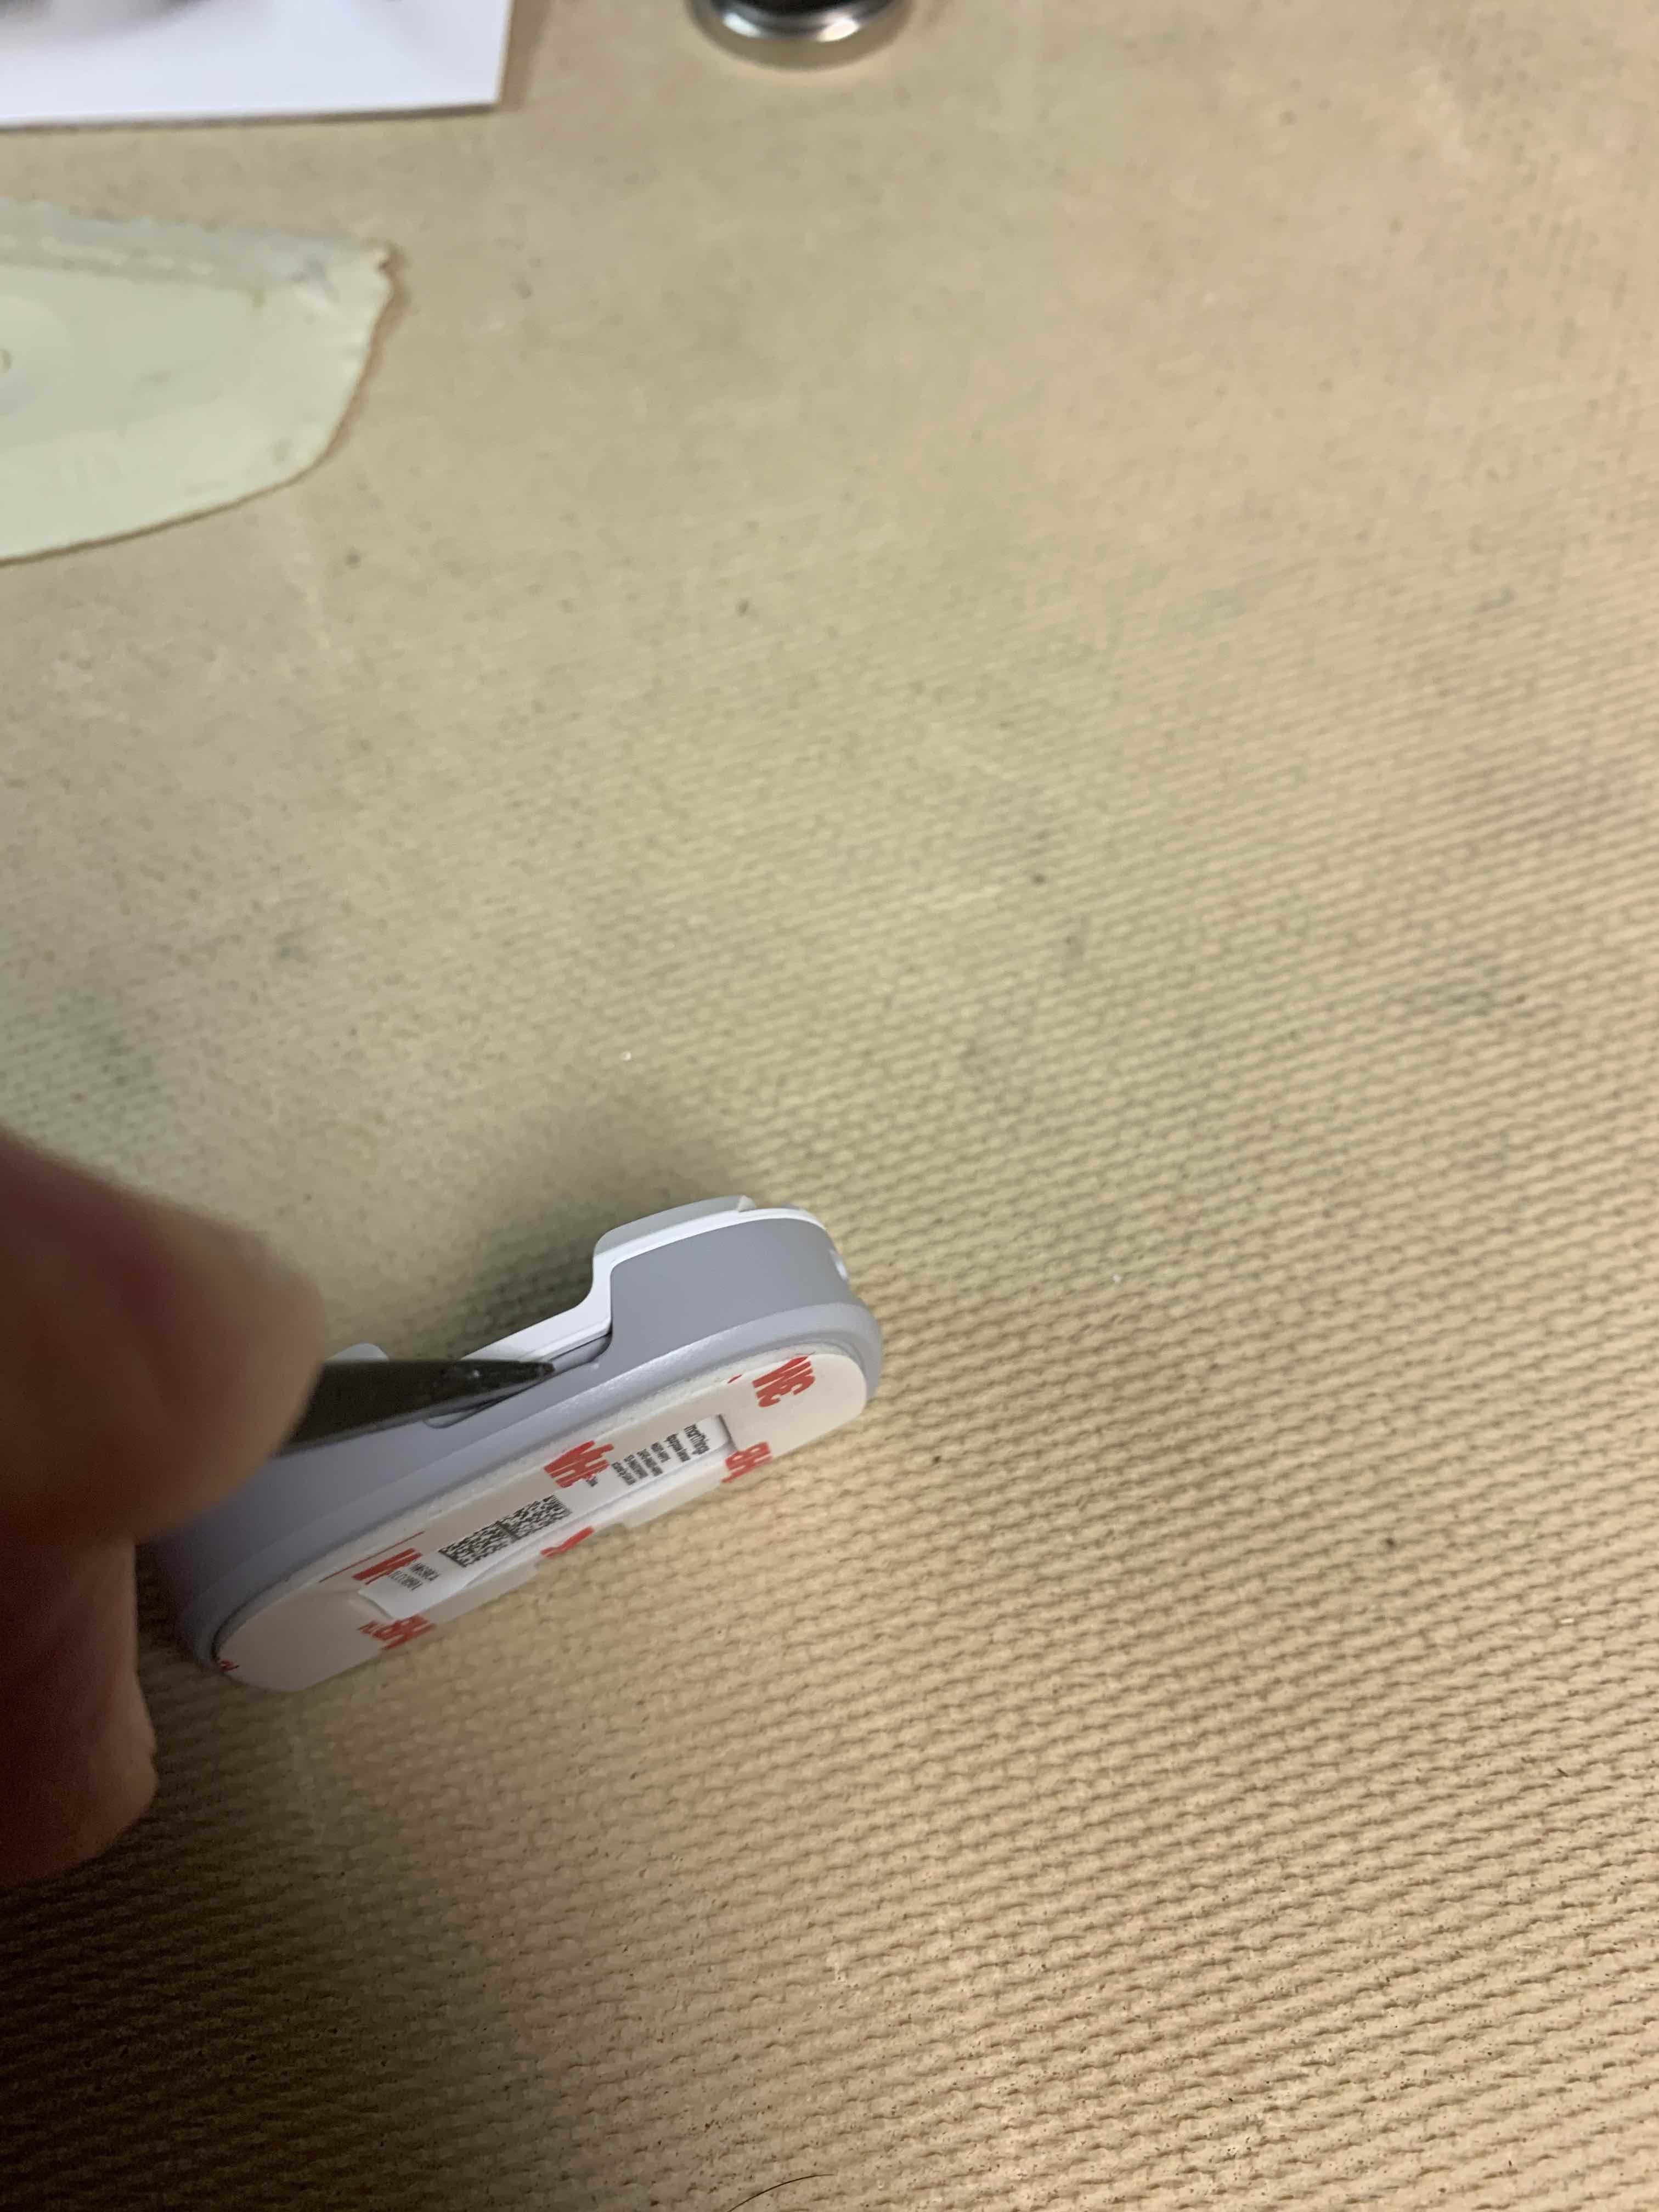
Push straight down with the spudger. As the taper of the spudger widens, it will force the top cover/battery holder up and away from the bottom housing.
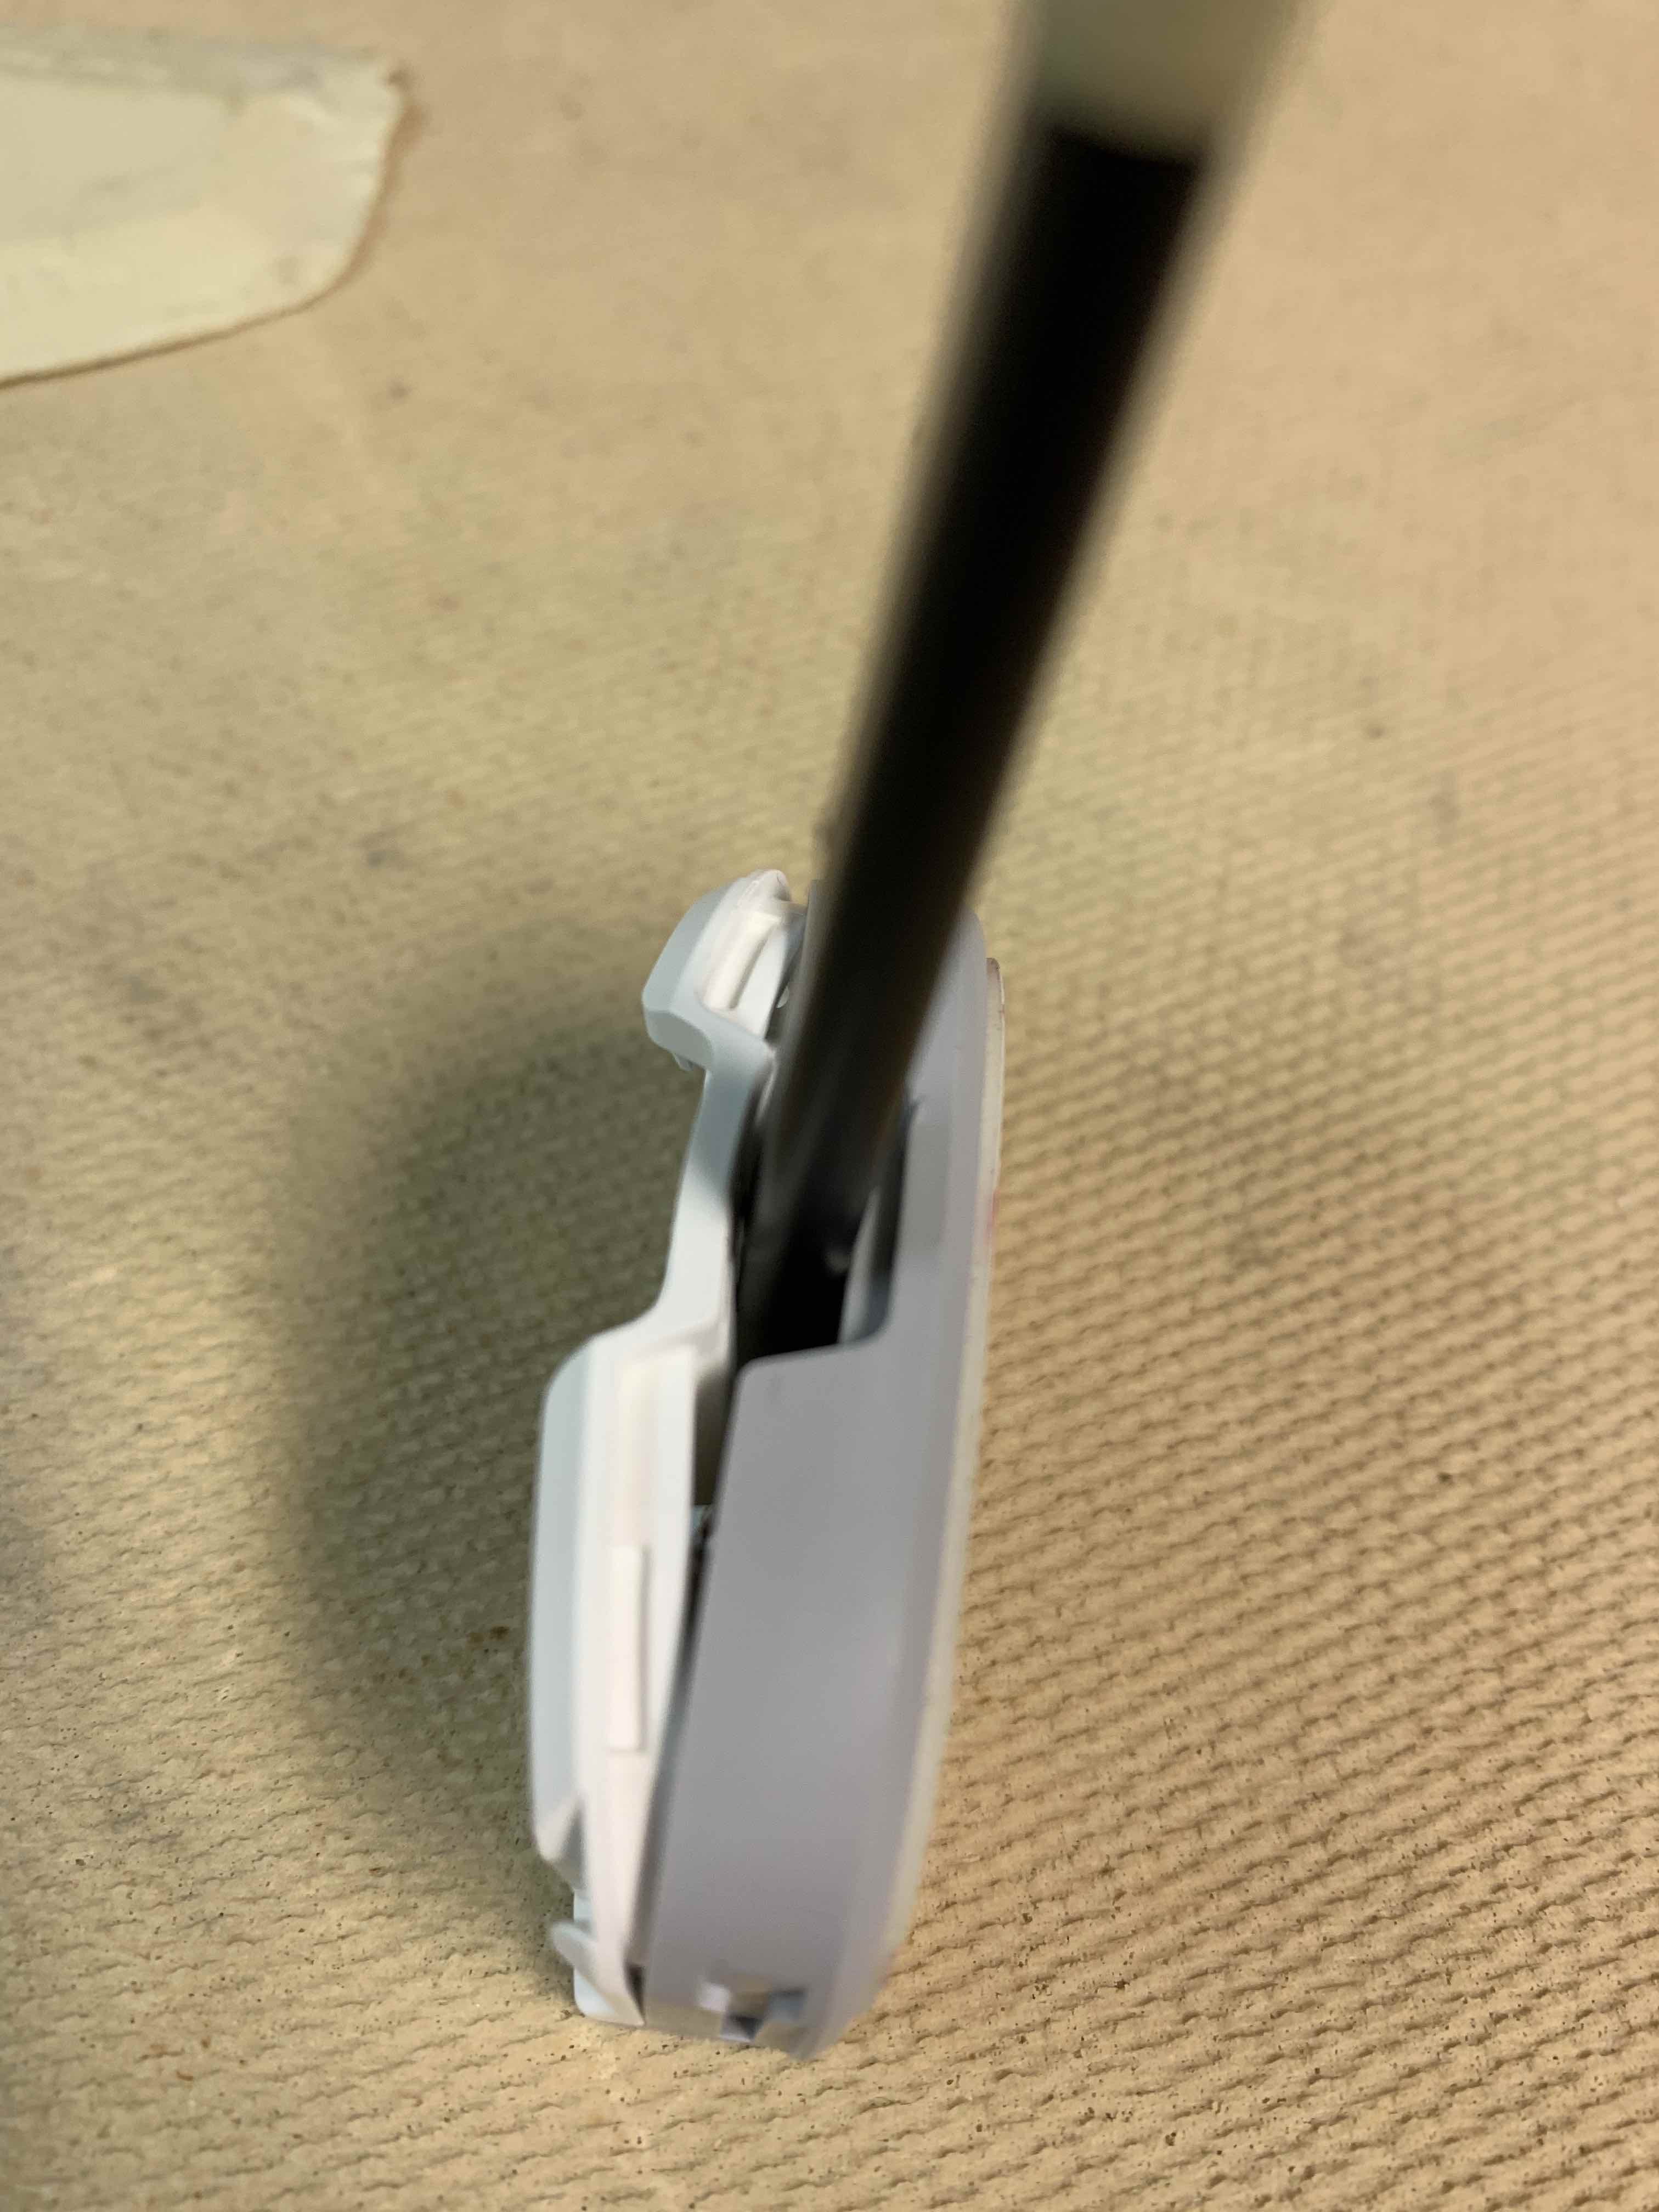
Don't pry up with your hands or you might break the case! Use the spudger to pry at one side and then the other until the clips on the sides are free too.

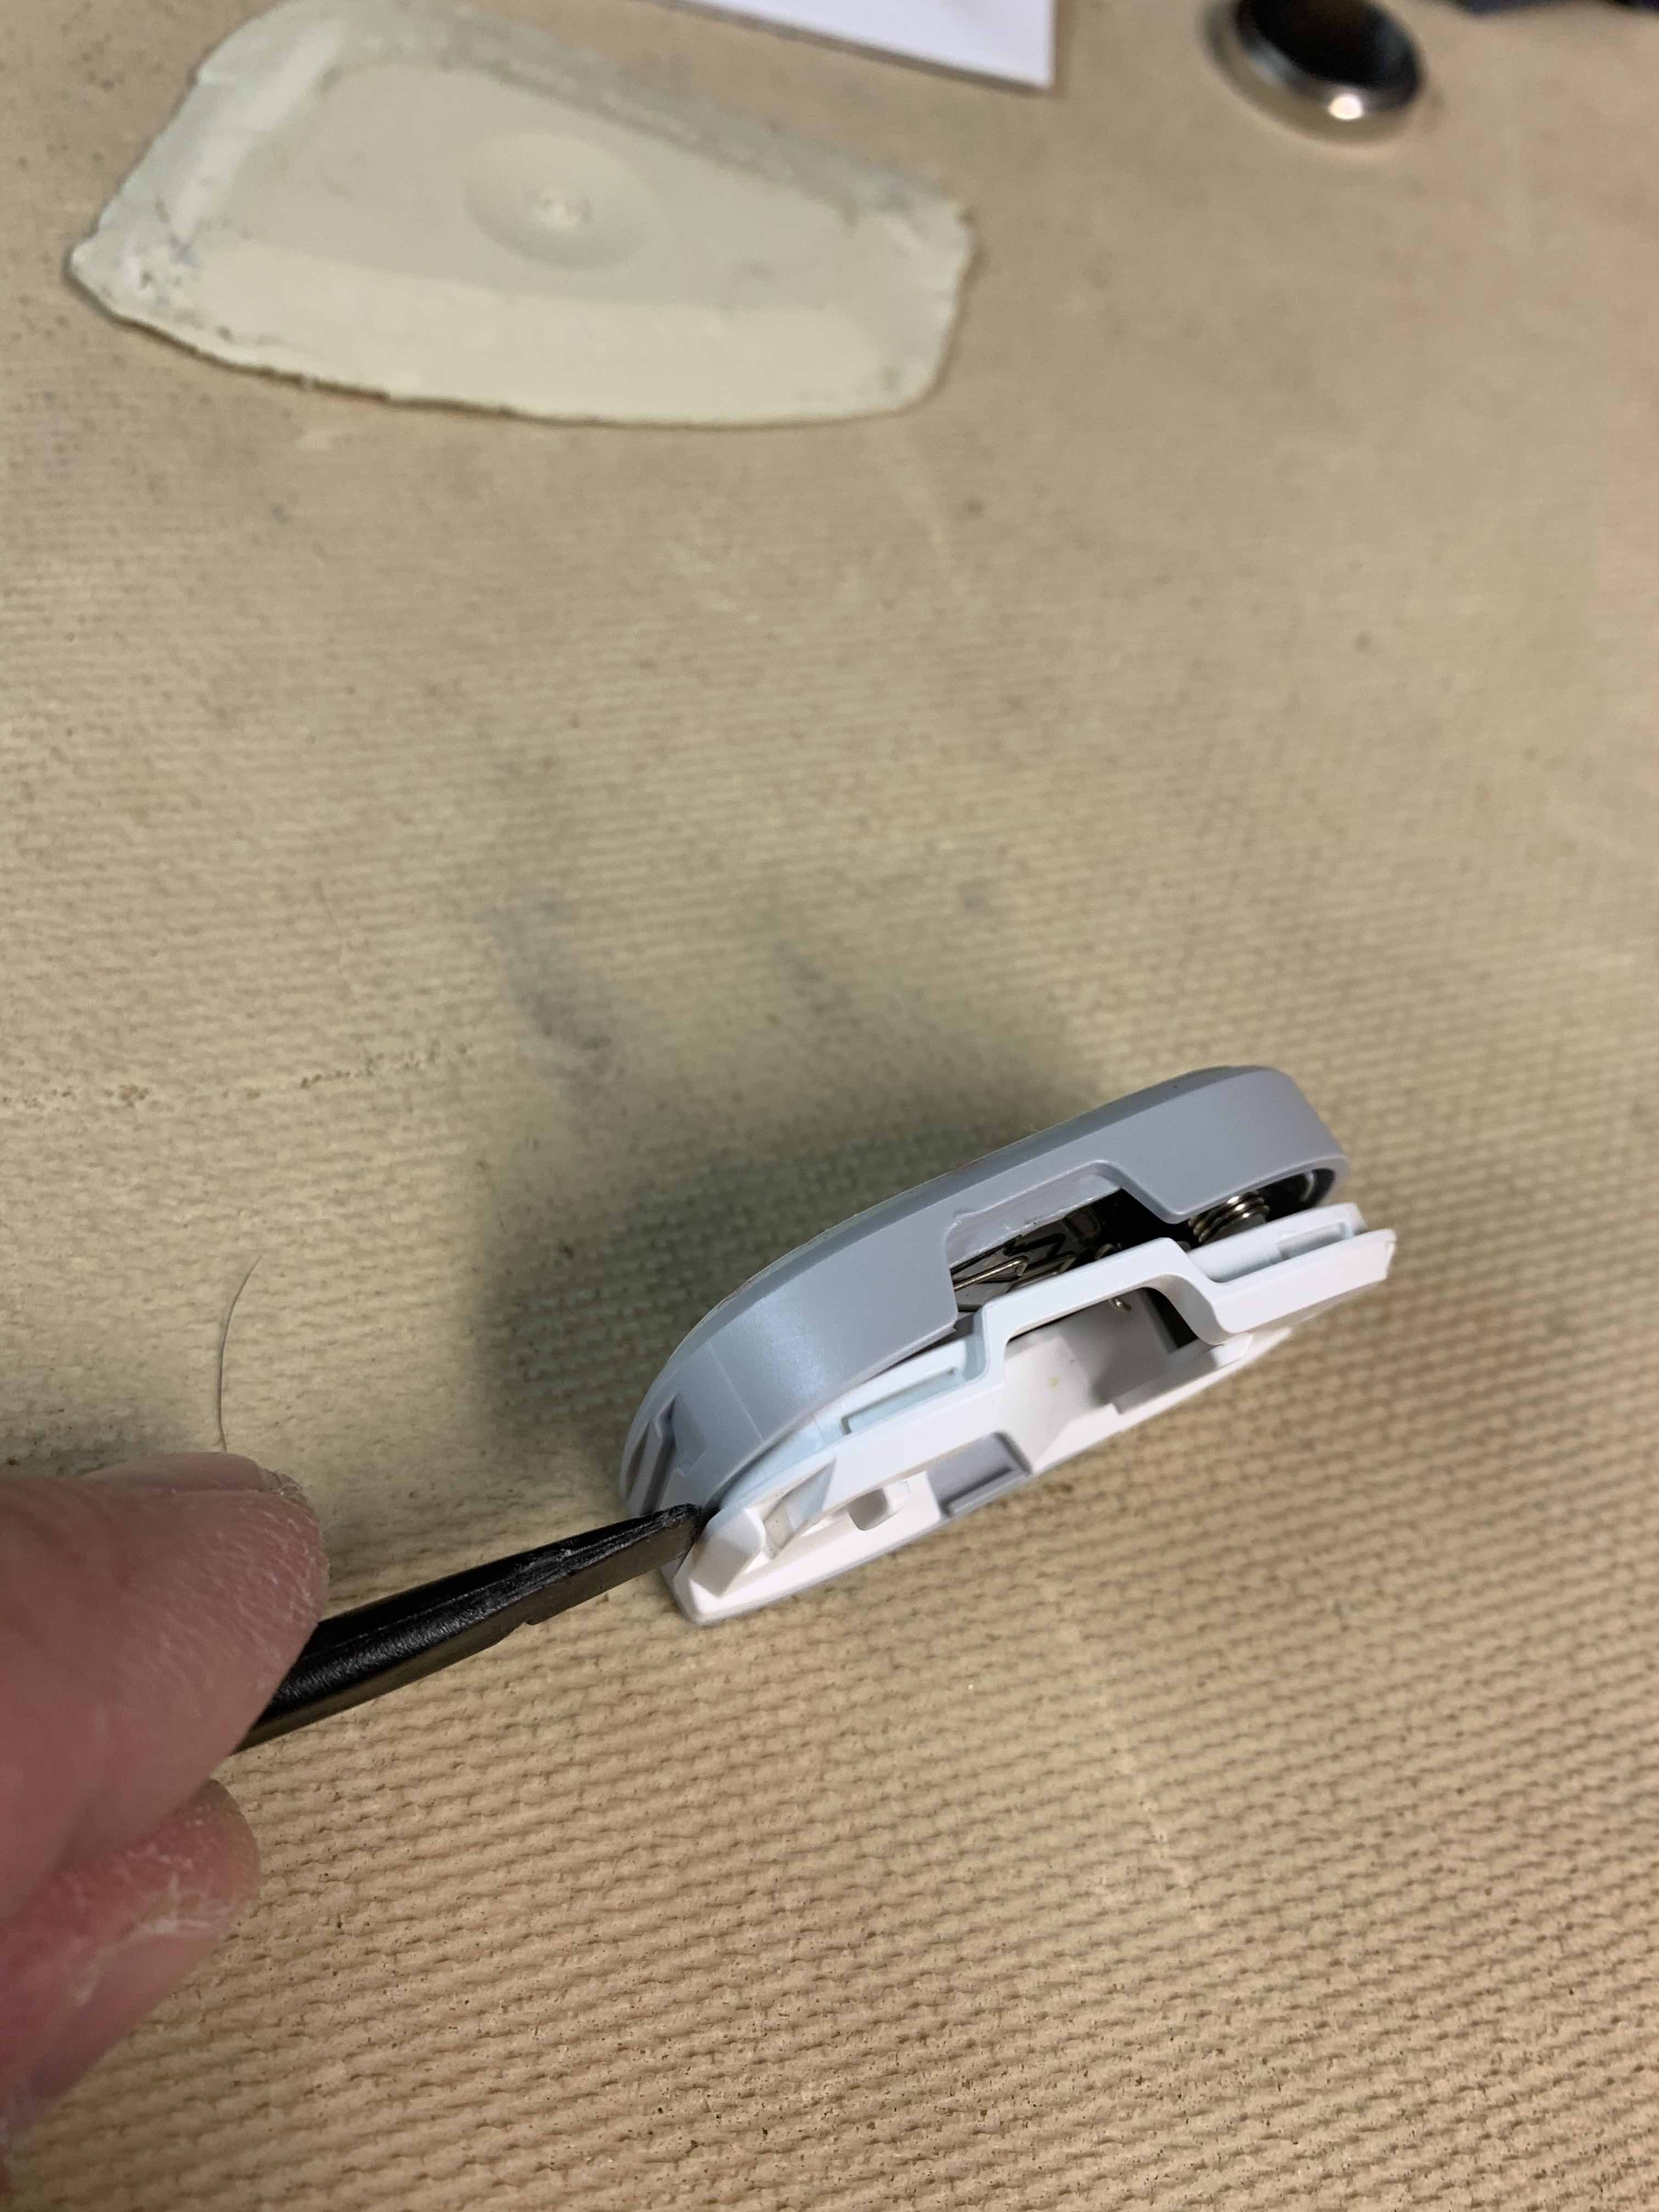
Now that the side are free, you need to pry gently at the flat side of the housing and the top will come off easily. There's a small indent you can insert the spudger into.


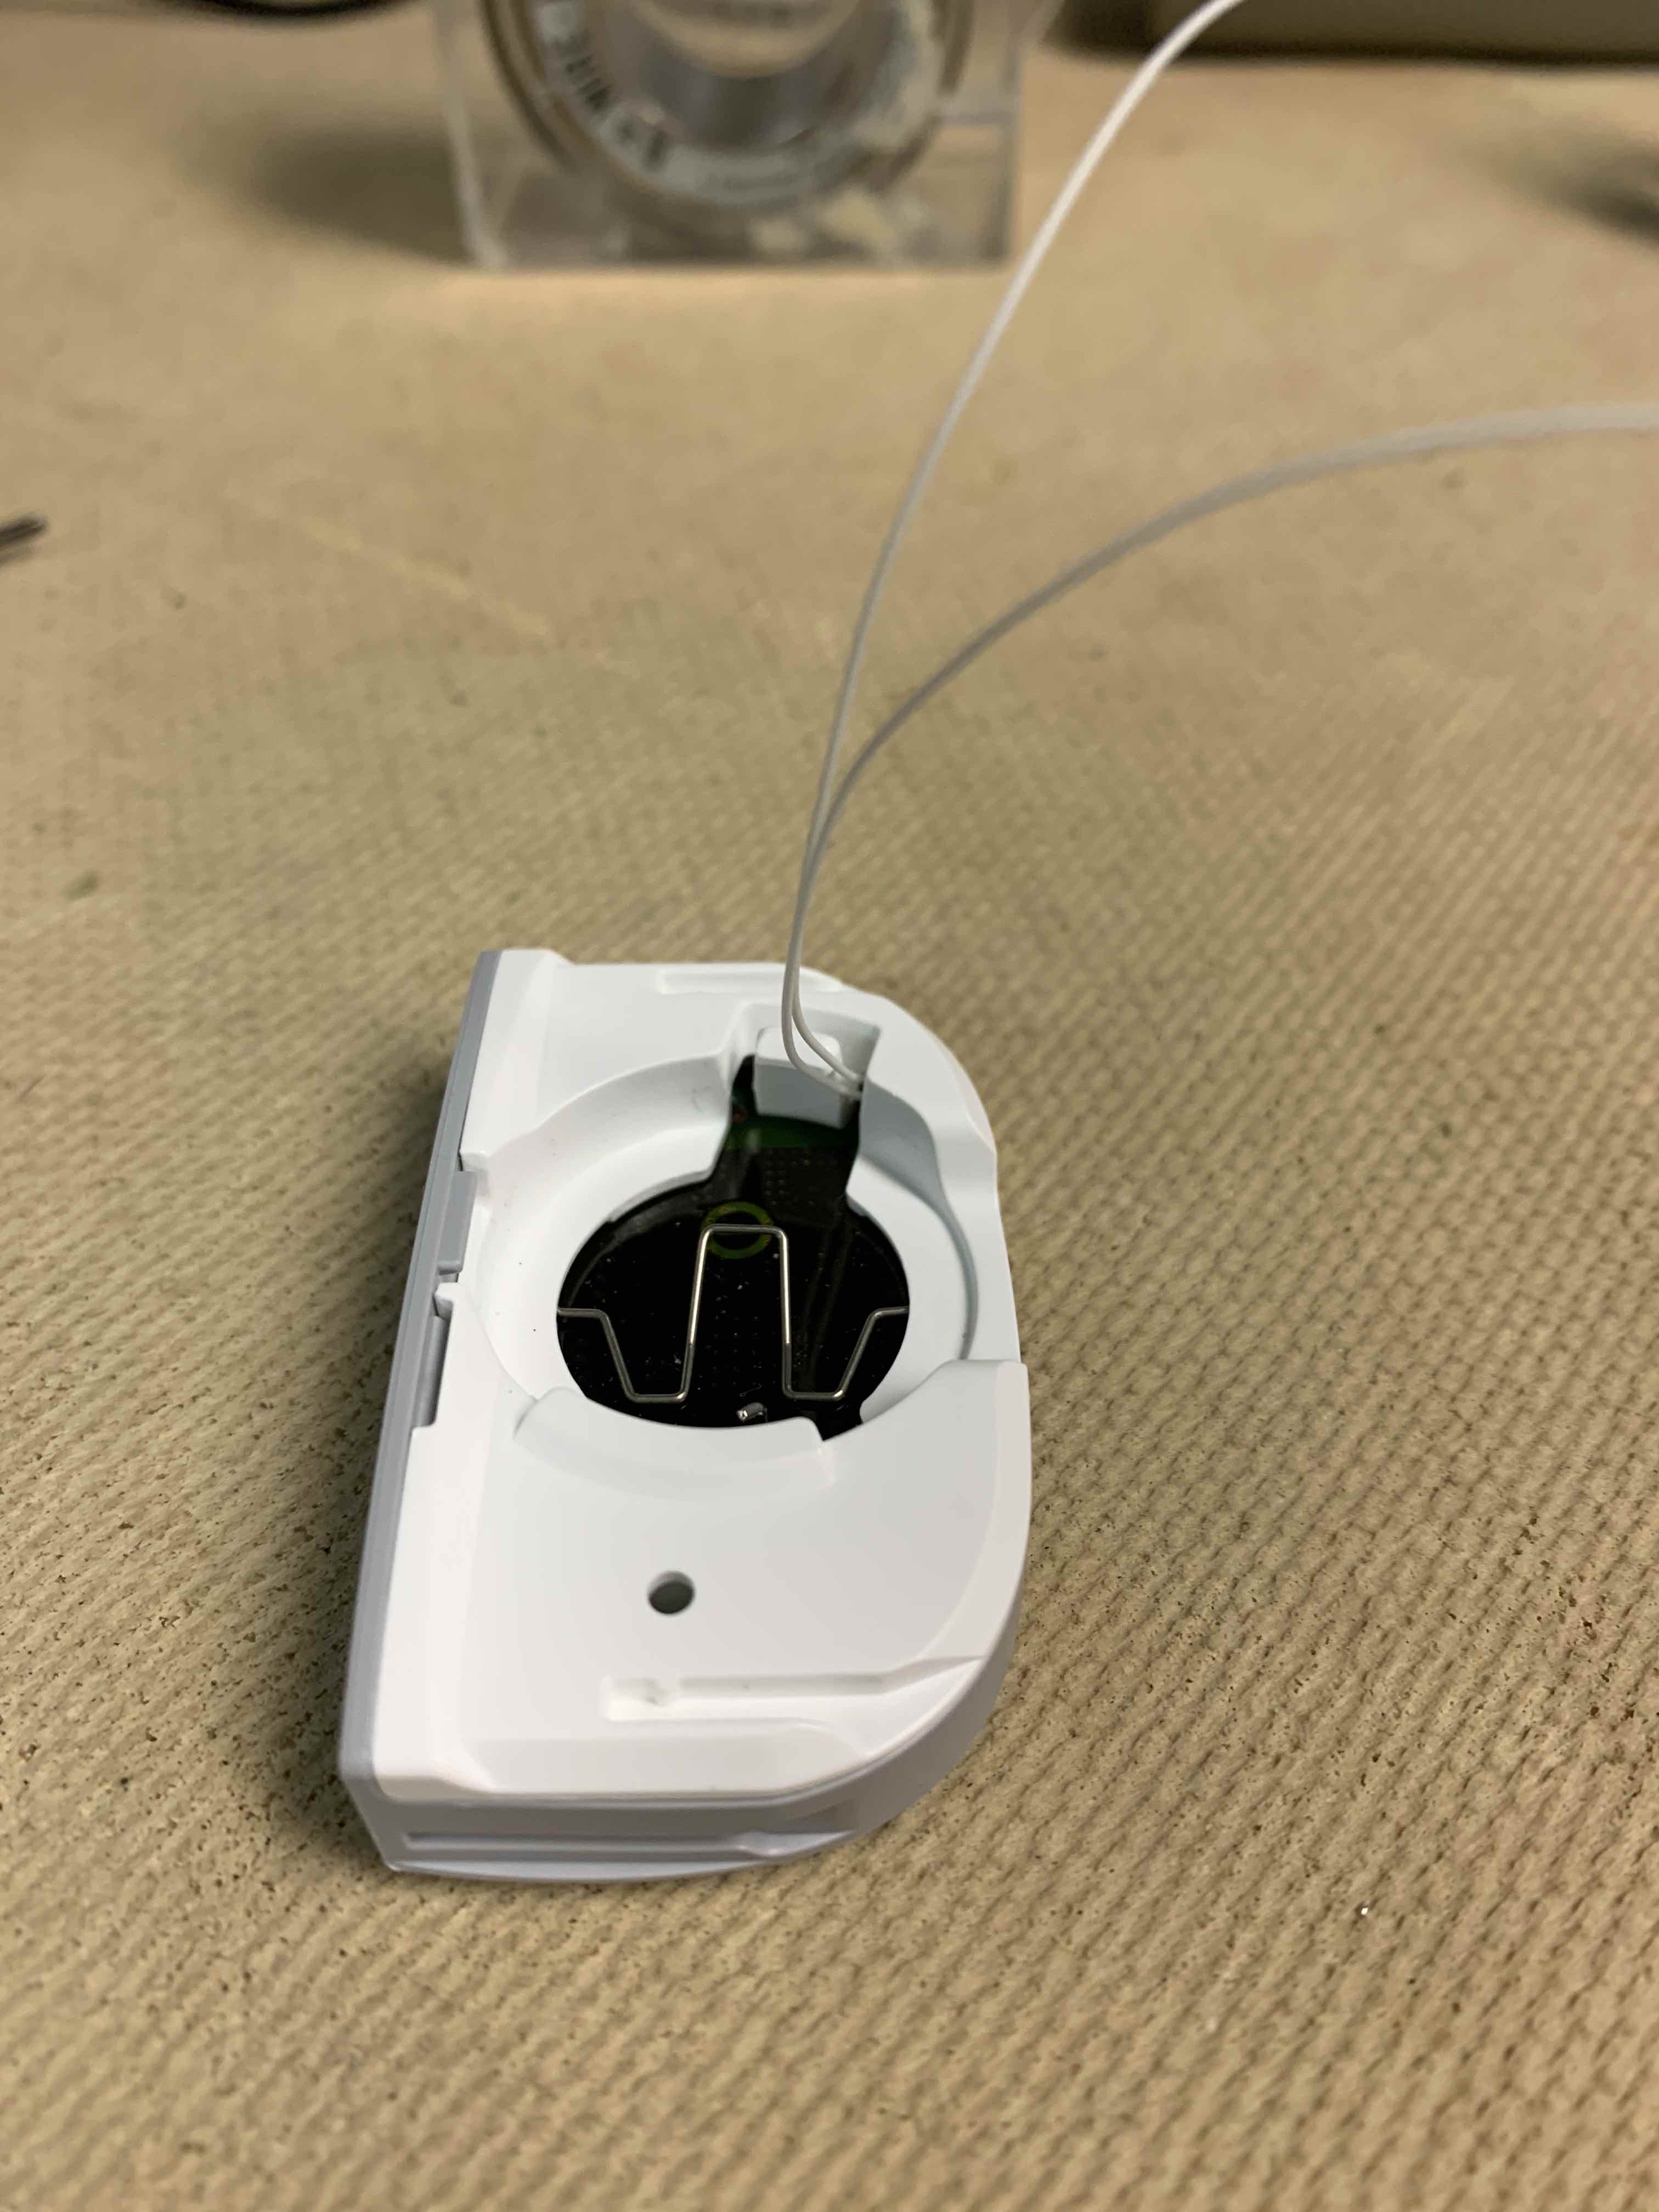
Once the cover it removed, just grab hold of the spring and lift the circuit board out of the housing.
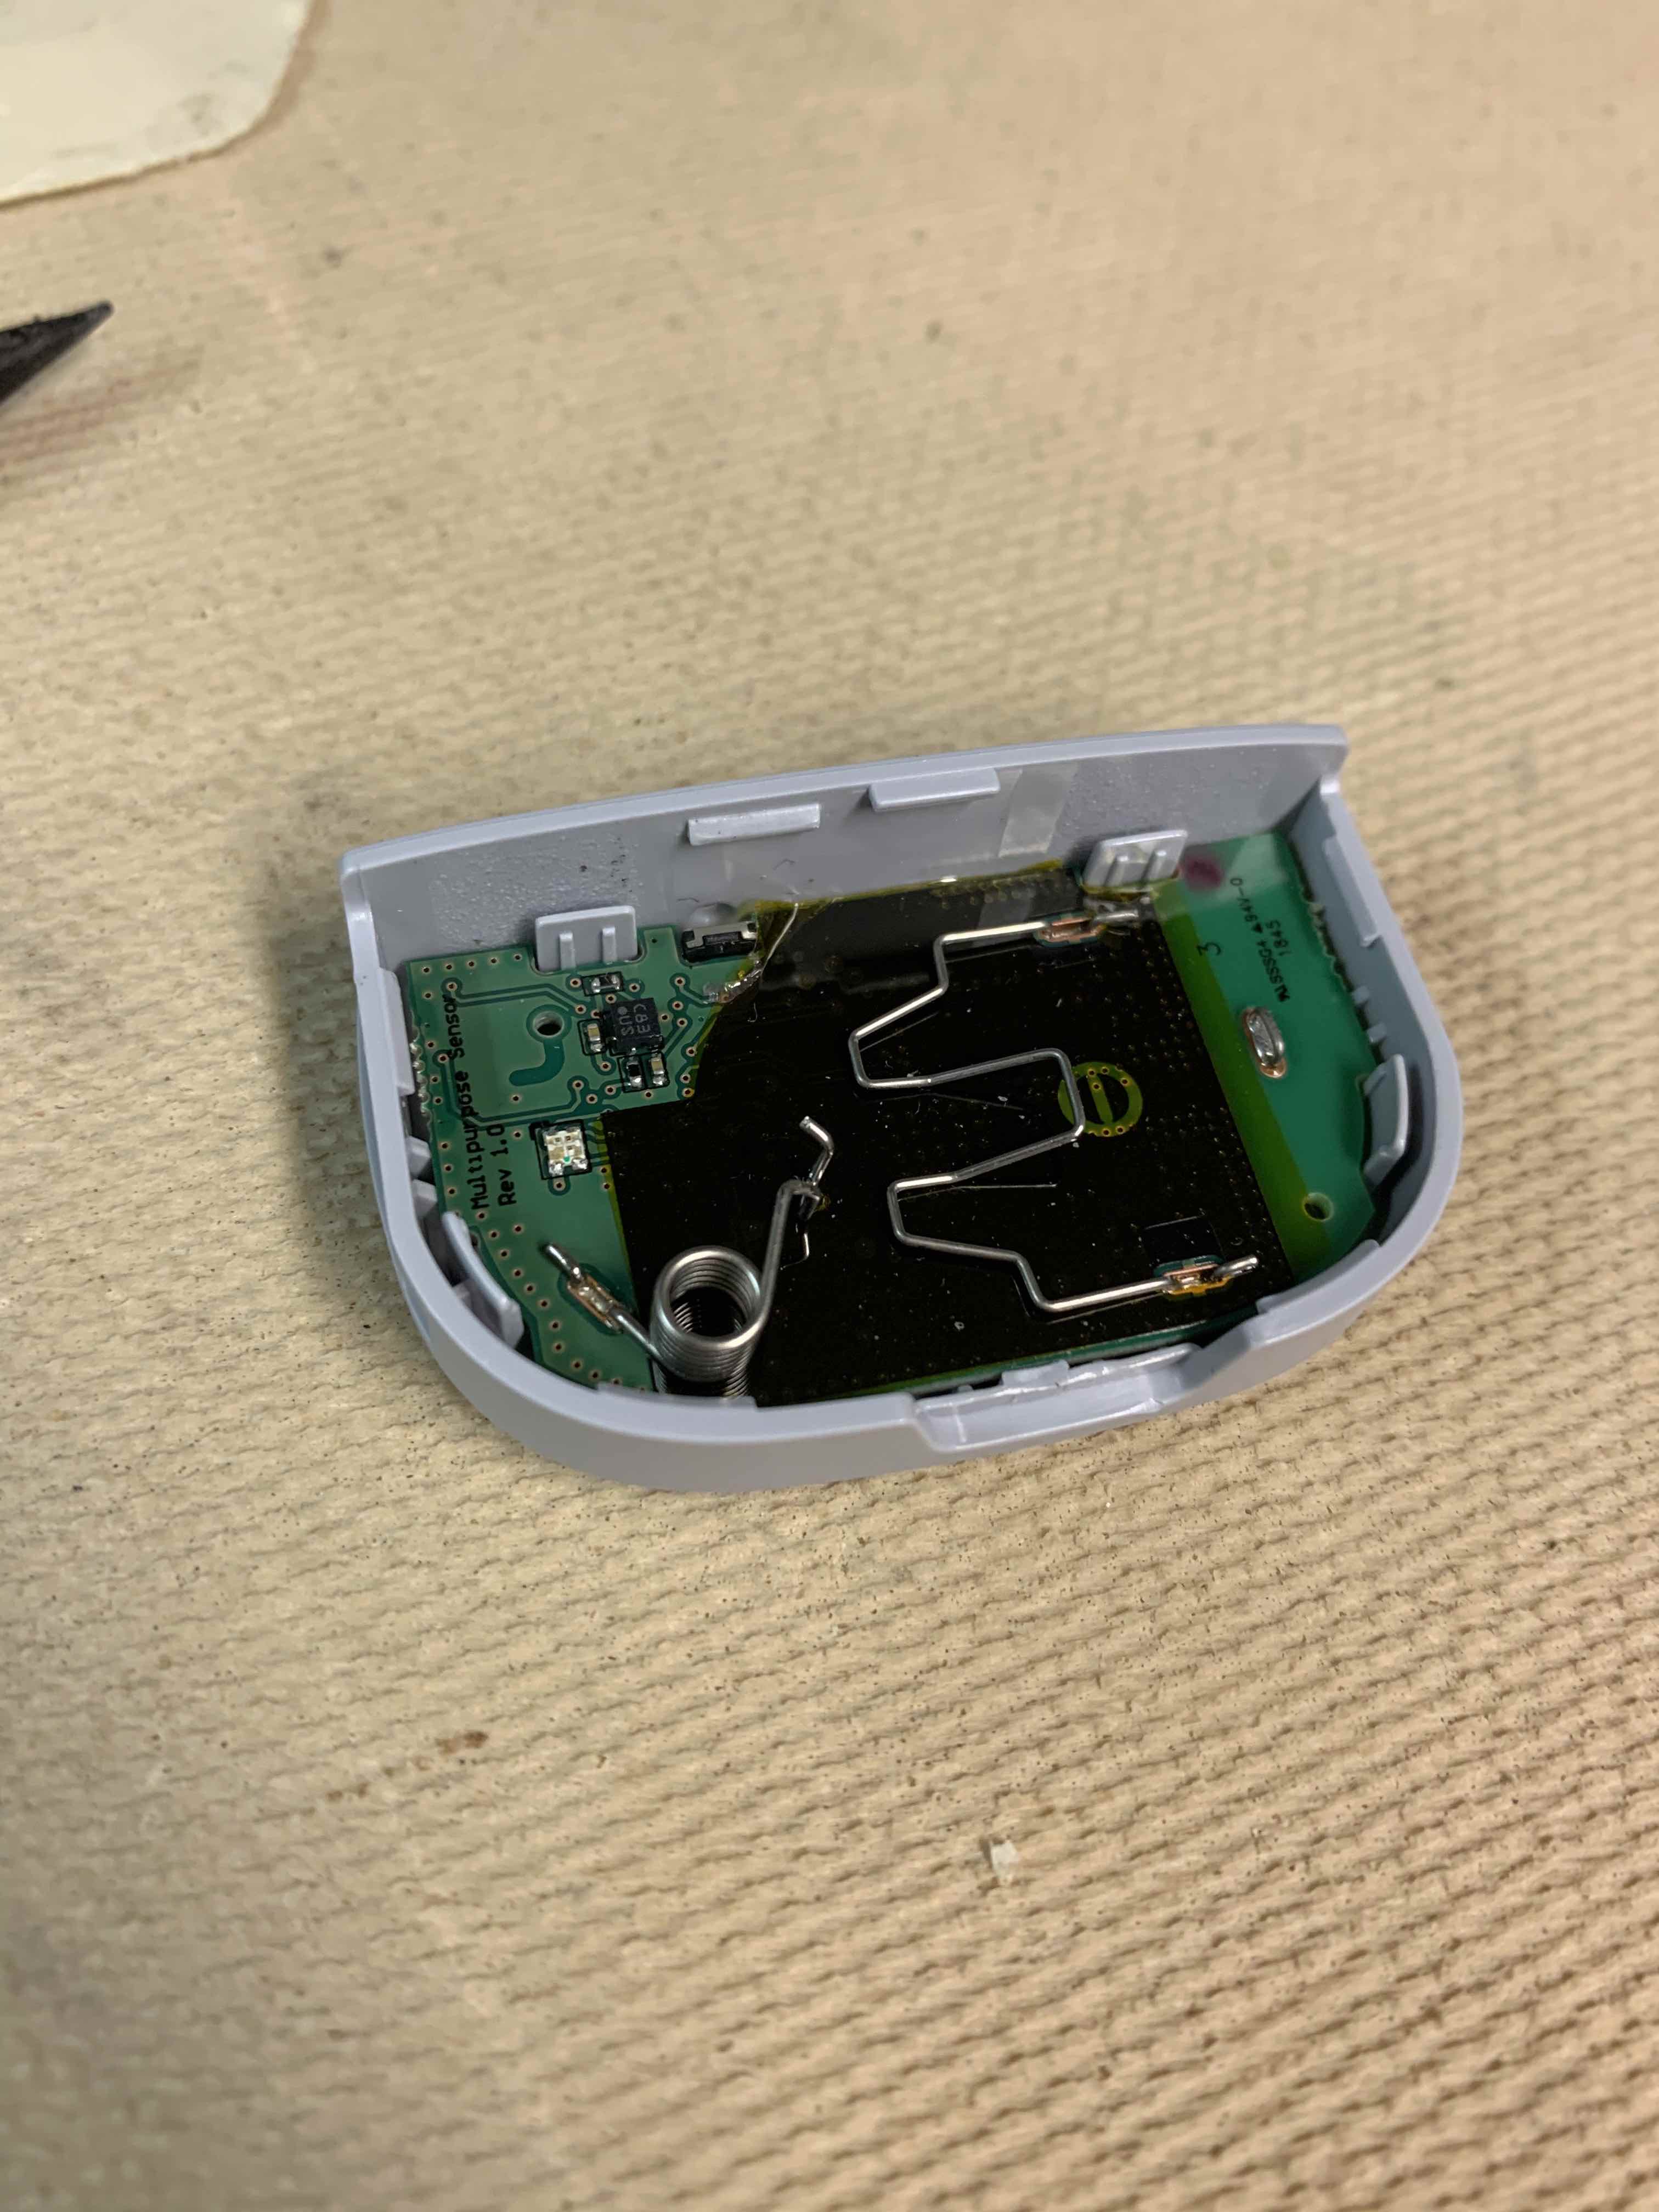
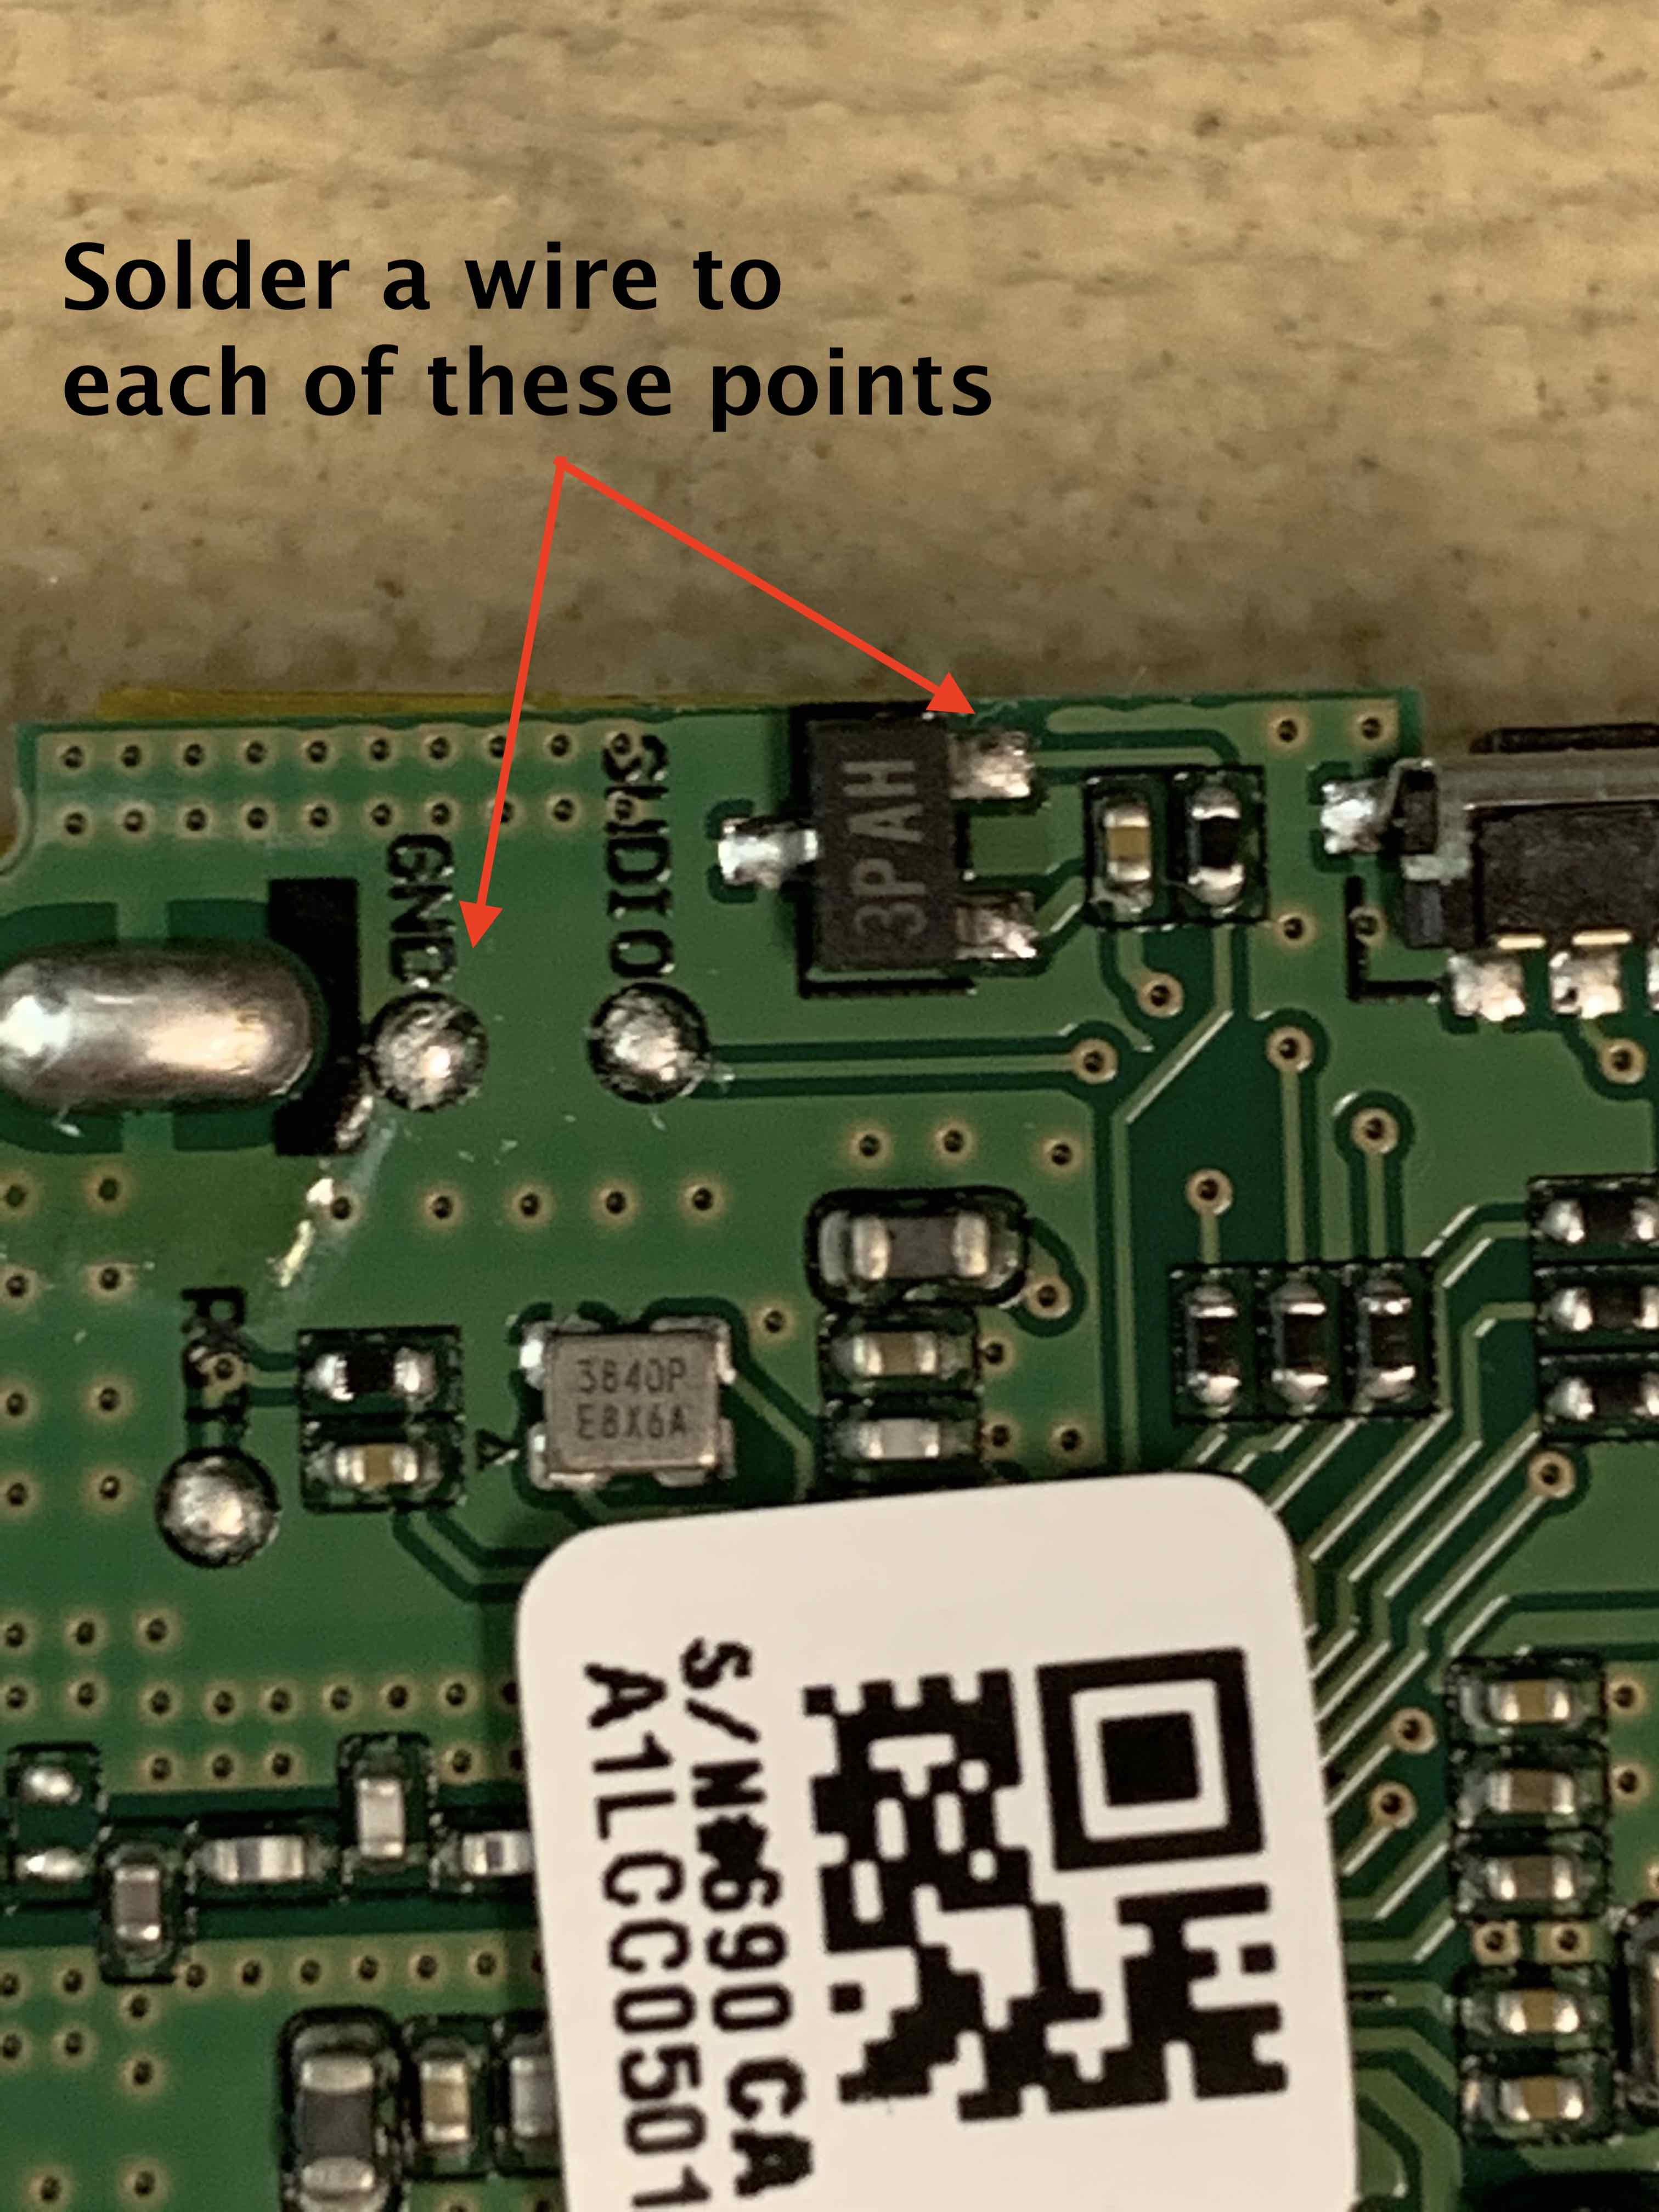
The Samsung SmartThings Multi Sensor v5 does not use a reed switch. Instead, they use a hall effect sensor. Solder one wire to the hall effect sensor and the other to the ground point as shown here.
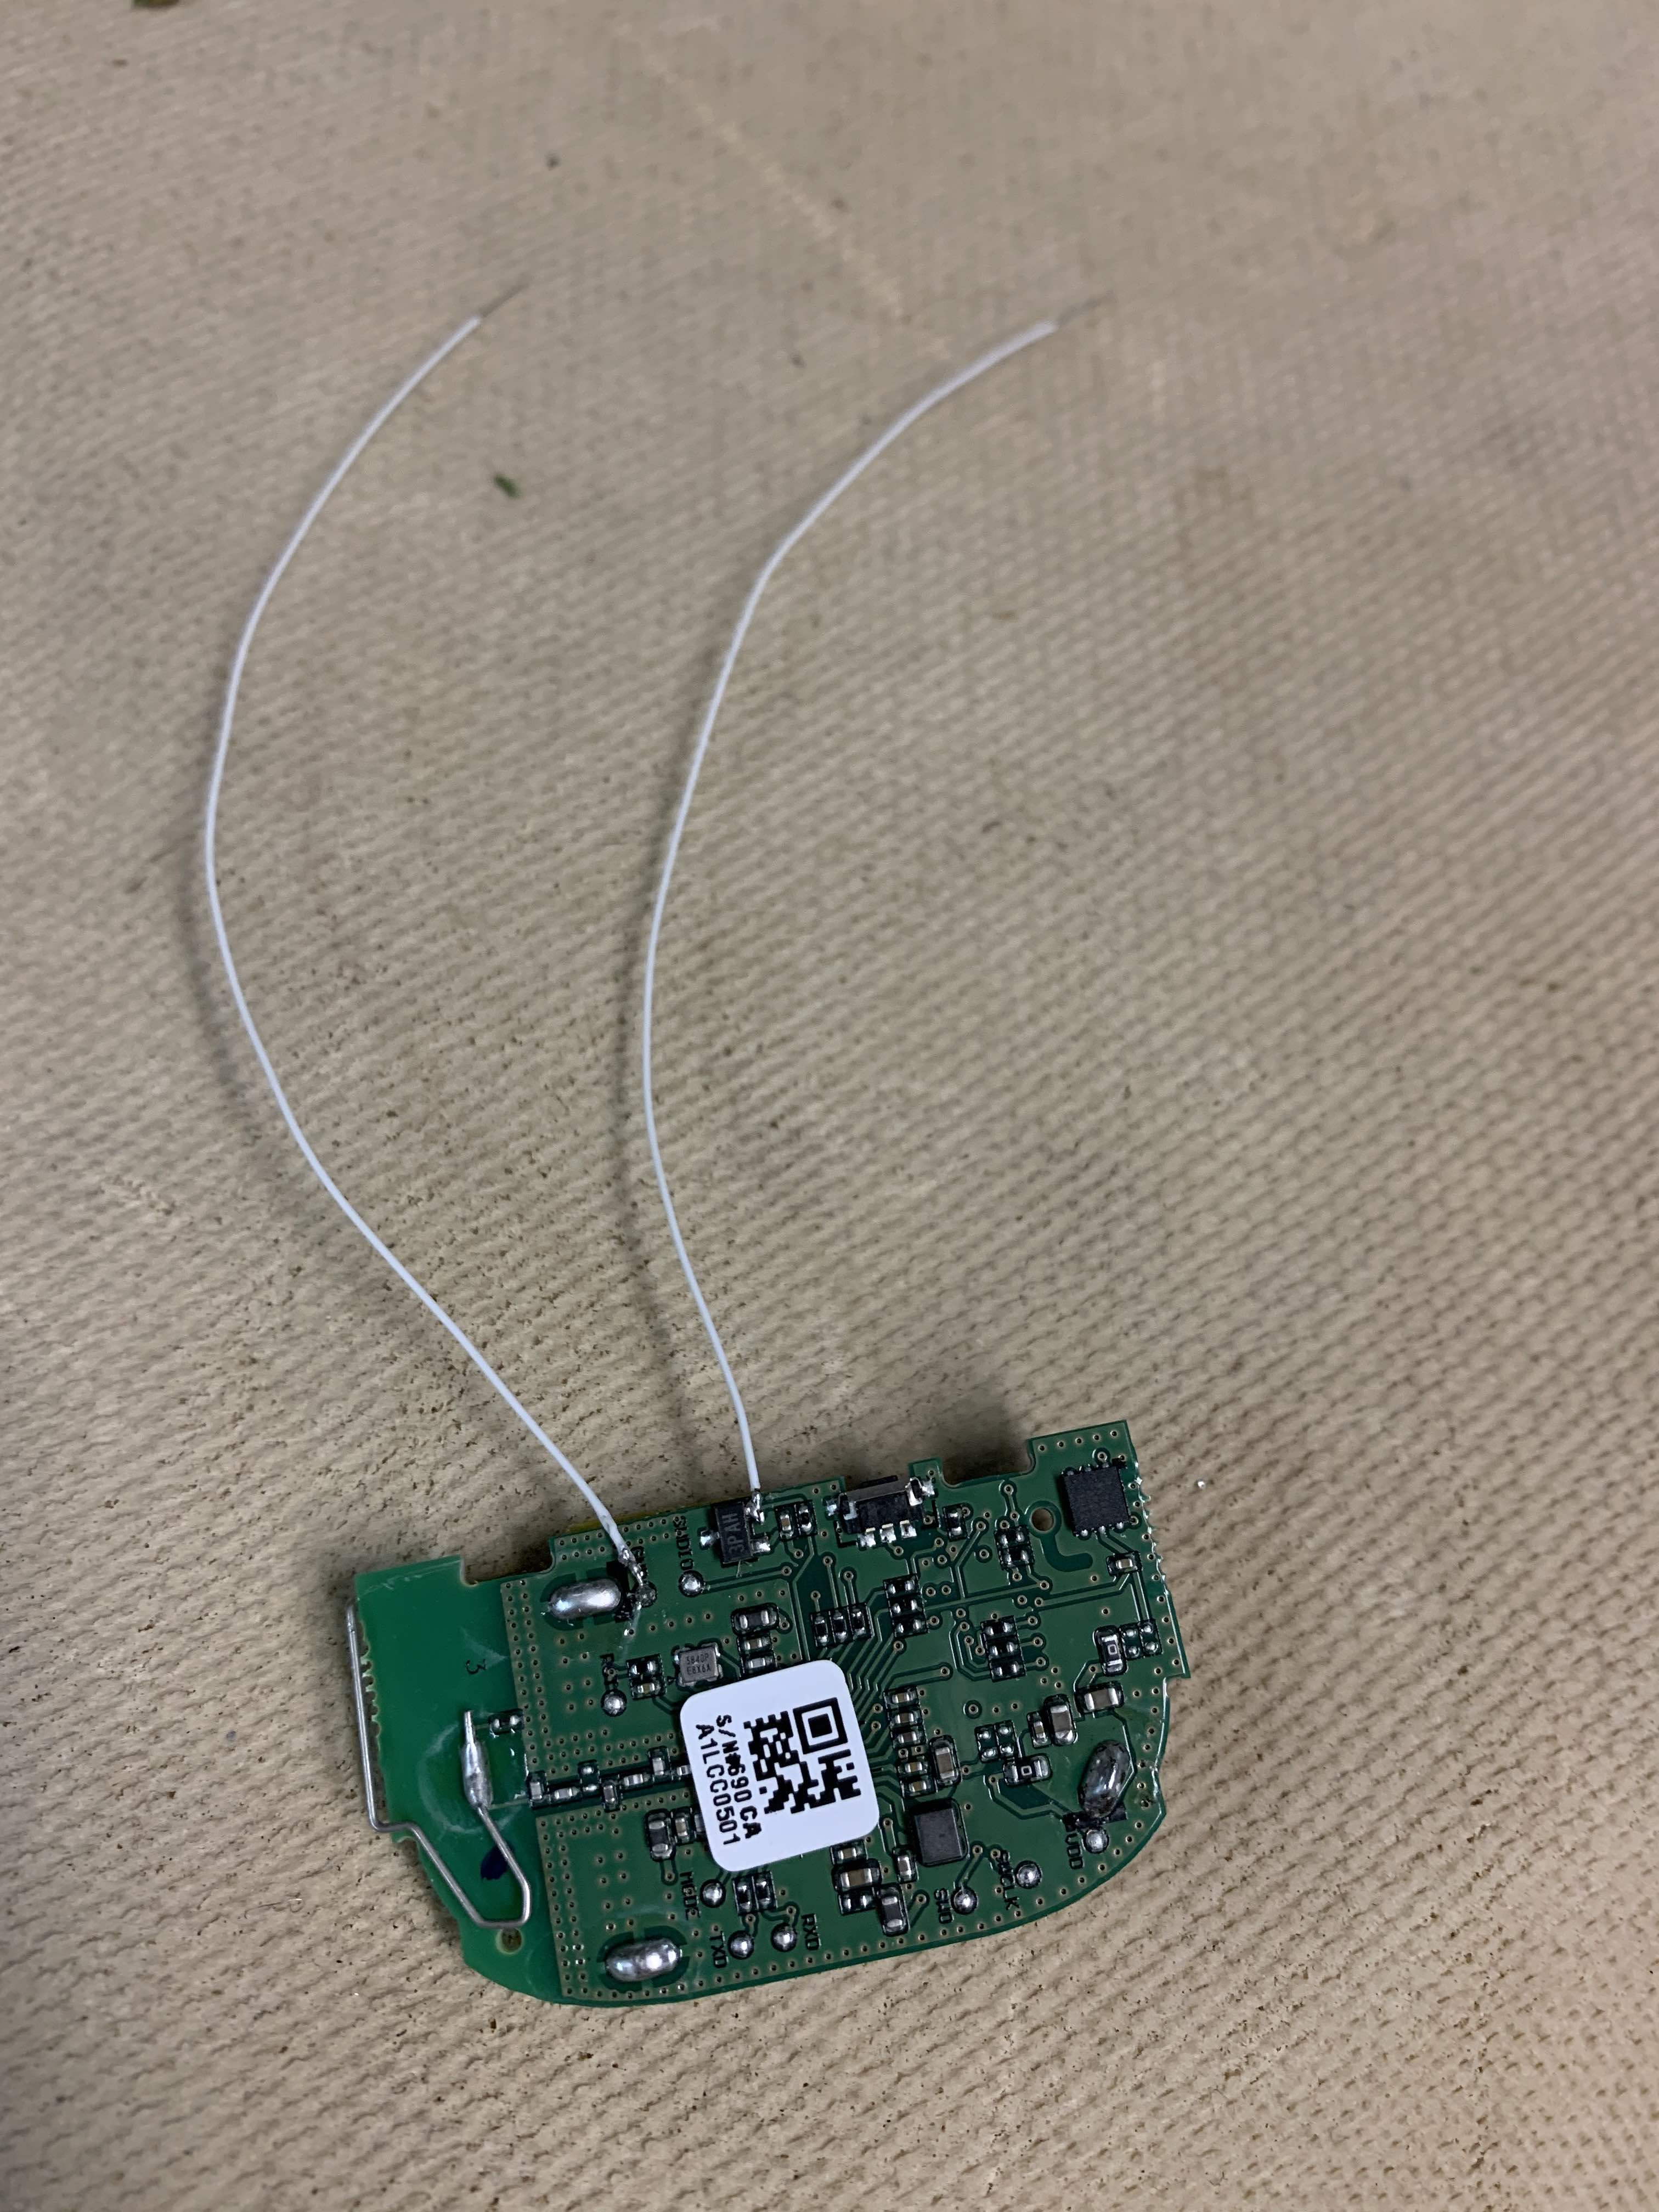
You can either choose to drill a small hold in the flat side of the grey bottom housing to route the wires out of the case, or you can carefully fold them backward, ensuring they are sitting as flat as possible. Be sure you are not shorting any other points on the circuit board if you choose to do this
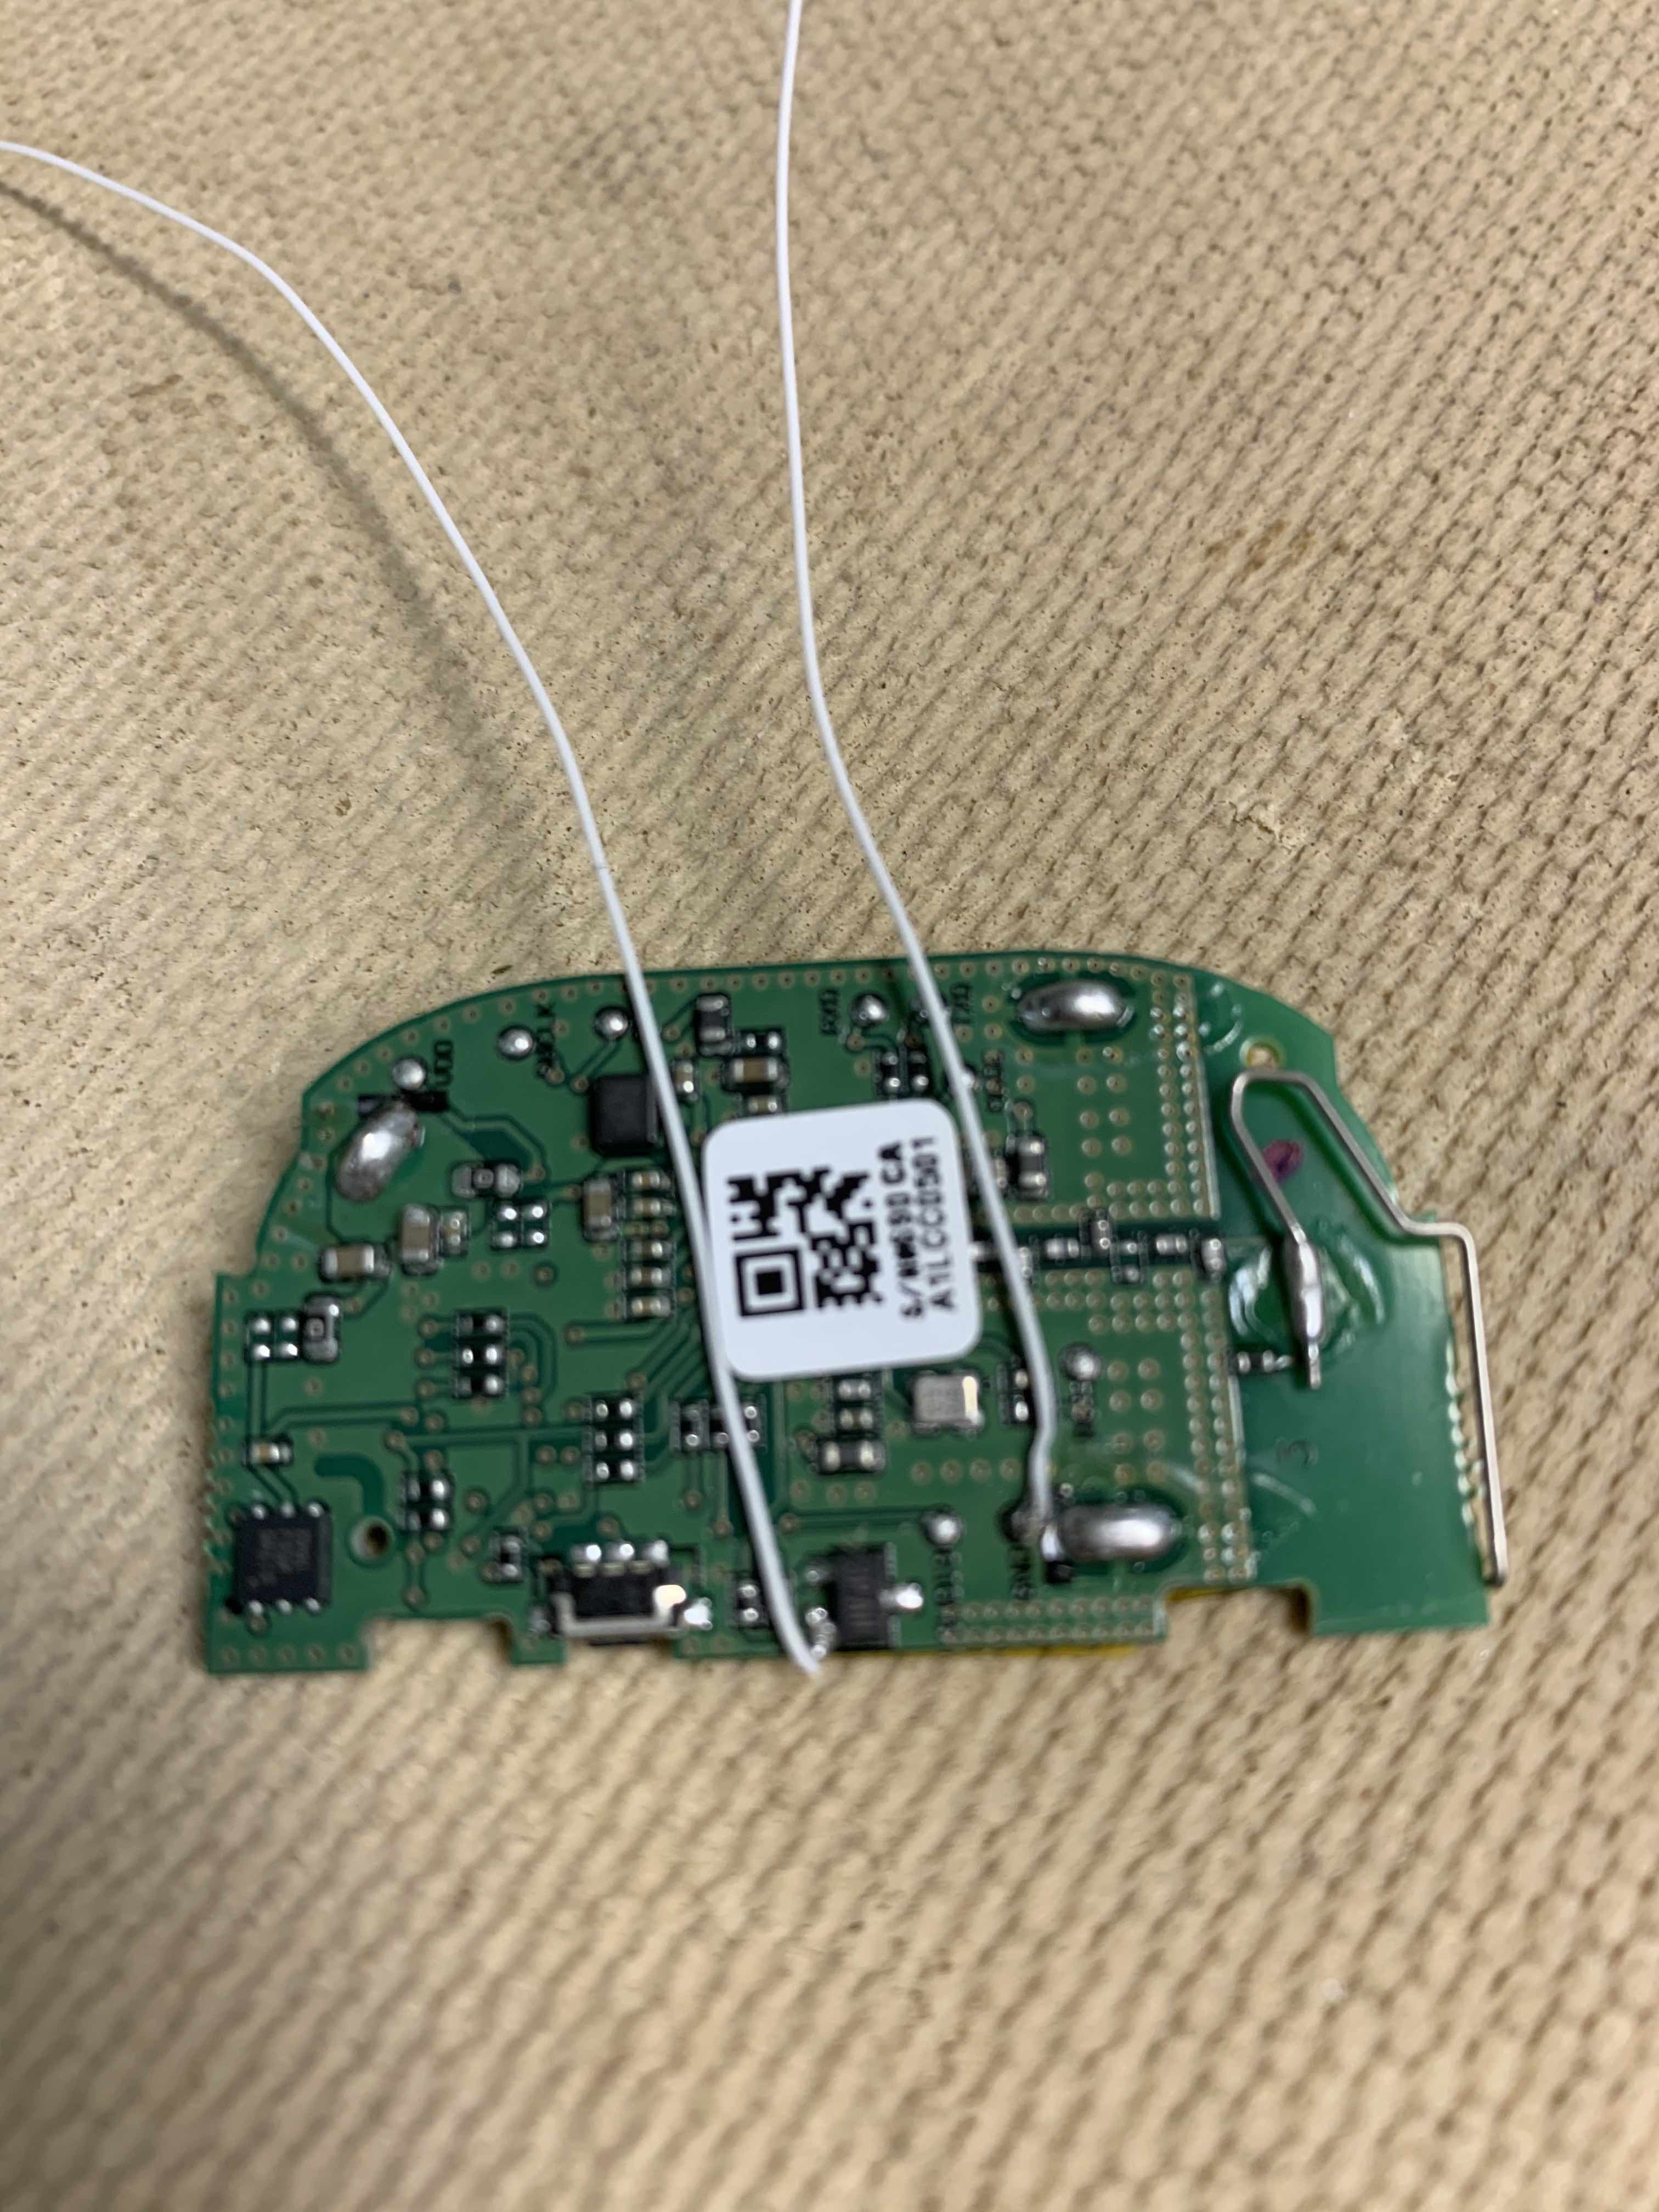
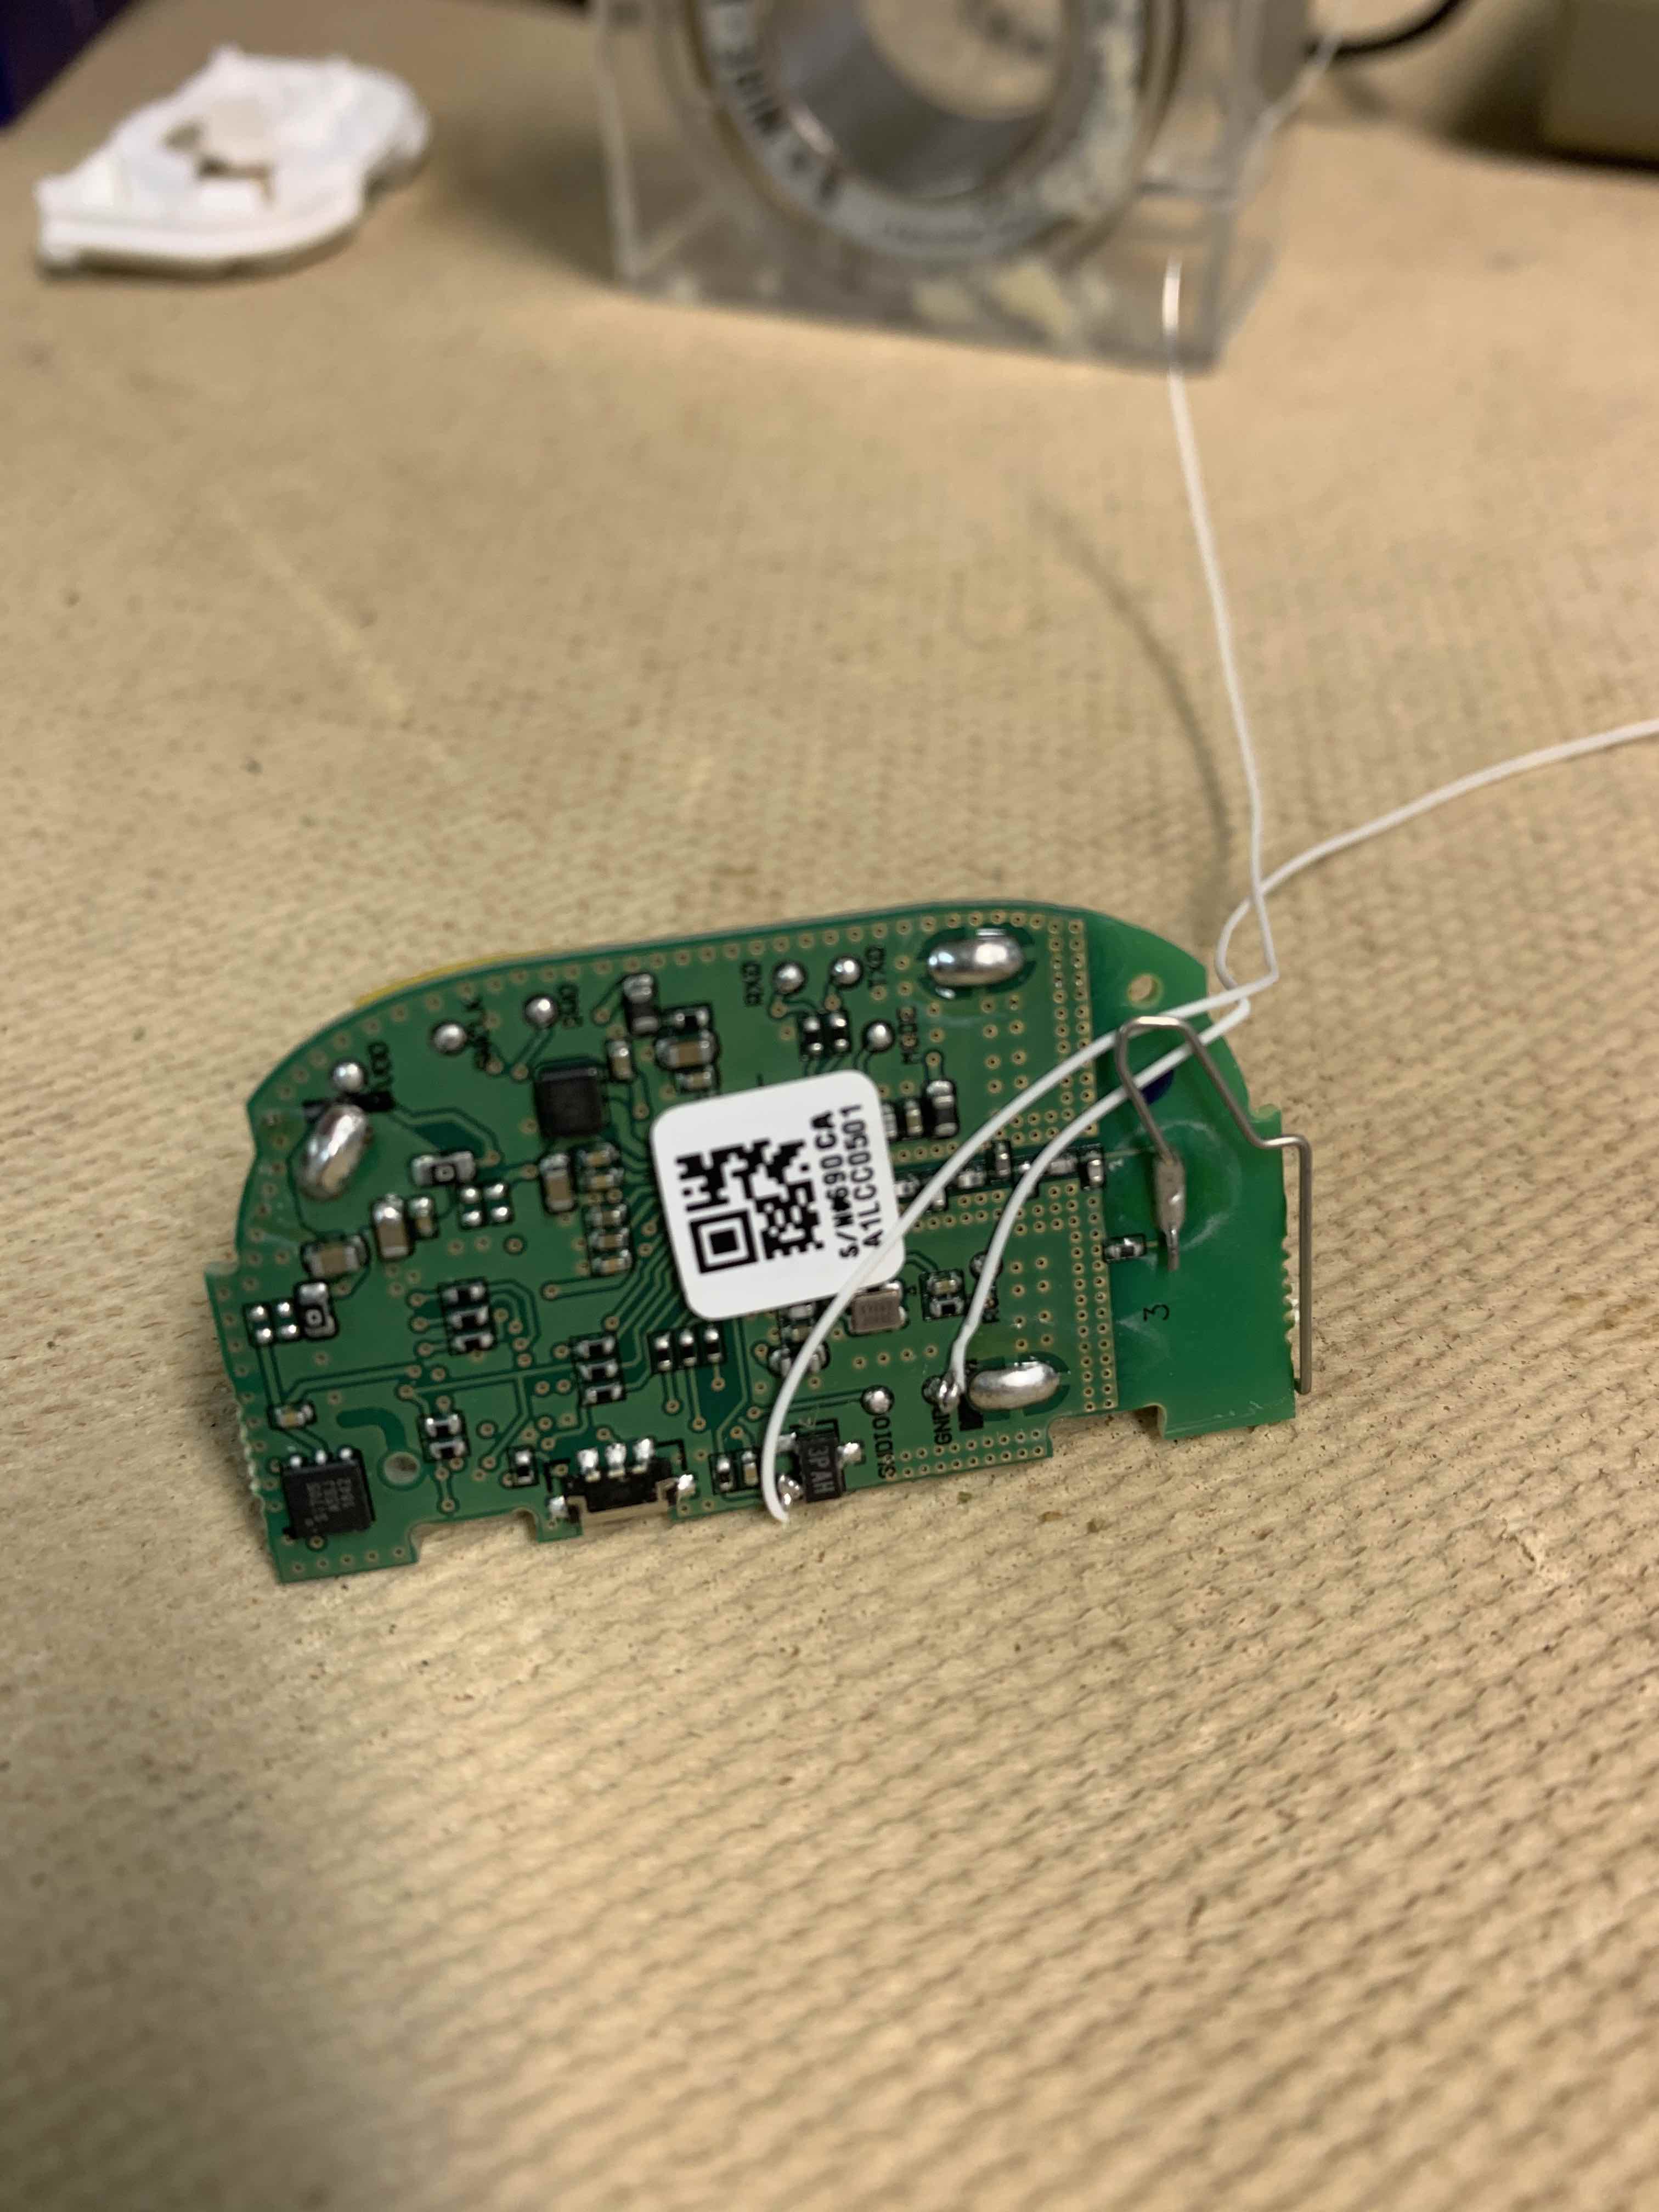
It's a tight fit between the circuit board and the housing, but there are gaps you can use to route the wire out of the case without drilling. Carefully shift the wires over toward the antenna and there is a gap you can use to bring the wires around to the top side of the board.
Reinsert the board into the bottom housing, ensuring that the wires stay within the gap between the circuit board edge and the housing so they are not crushed and severed. I found it best to first insert the board at a slight angle where the wires are emerging, rather than trying to insert the board straight down into the bottom case.

Now feed the wires up through the battery holder of the top housing and ensure the wires are within the gap as shown, then push down on the top cover until it clicks back into place. Then reinsert the battery
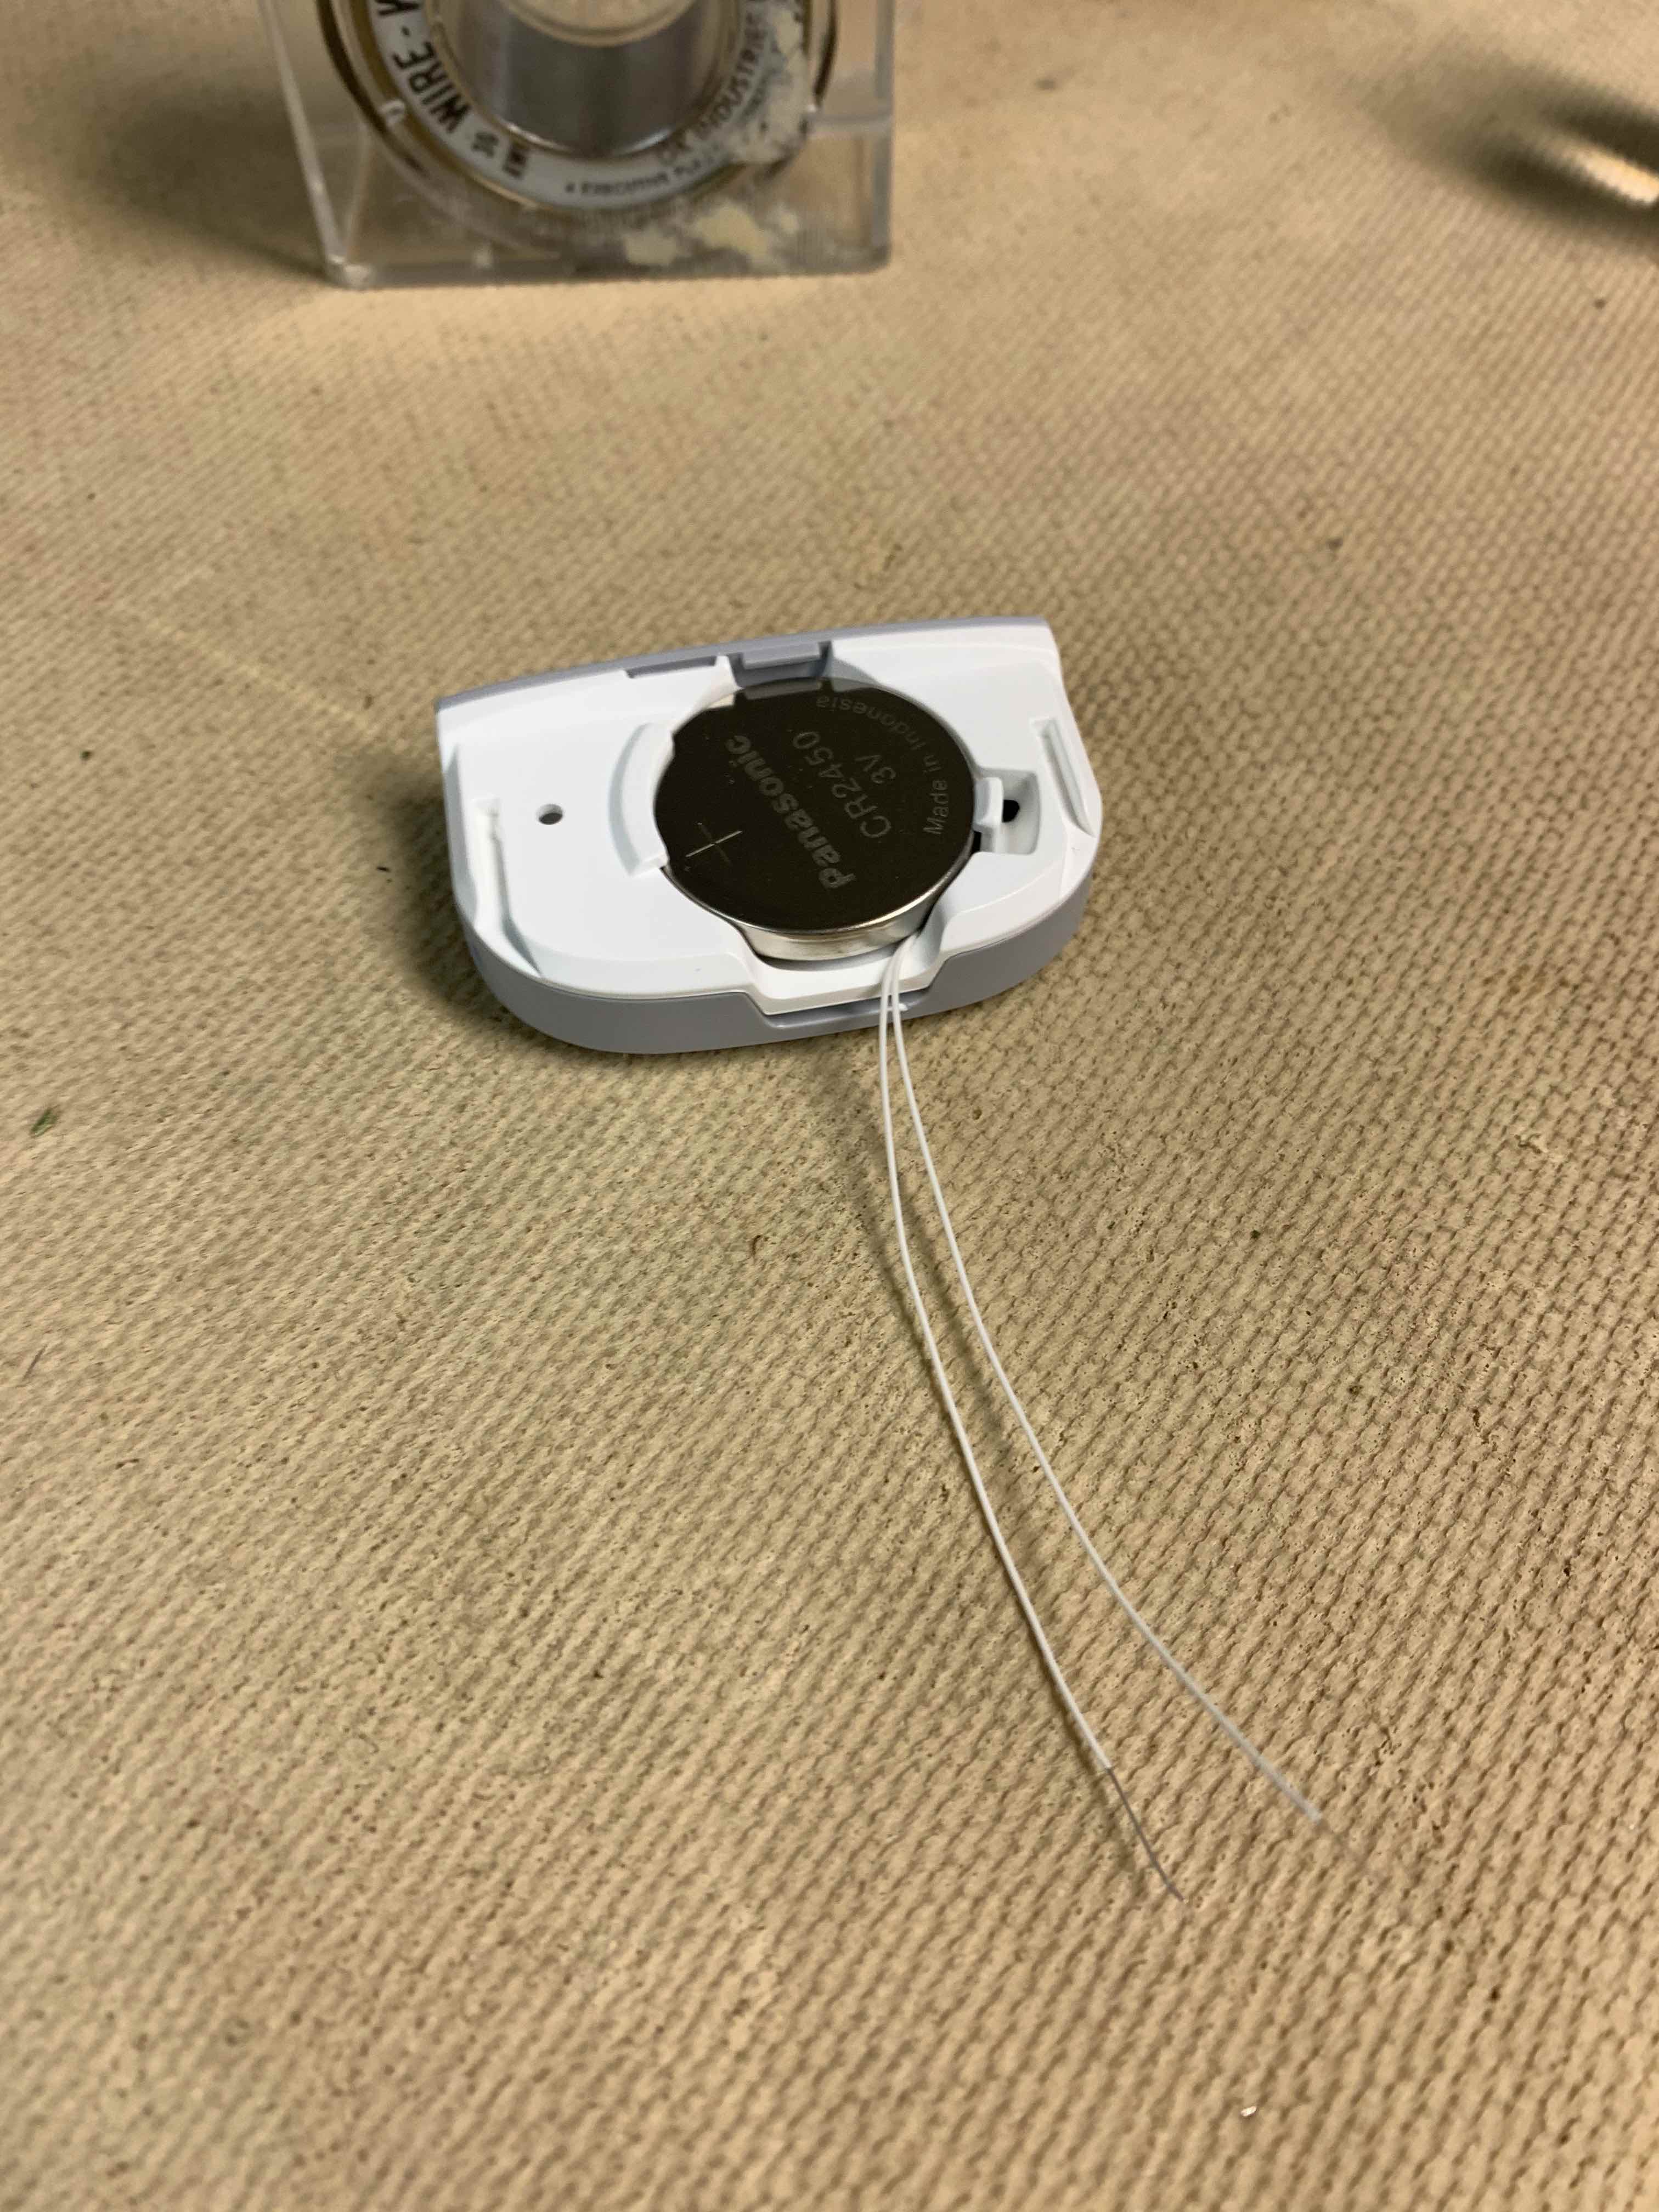
Feed the wires toward the dip in the top housing and reinstall the battery cover. Be careful that you do not crush the wires with the tab on the battery cover as shown here.
For now I chose not to convert this to battery-free, but while you're in there, you could easily do that too. I use these step-down buck boards for the job. Choose 3v output with pins or w/o, your choice of course. Use the 5v output from any phone charger and you'll get 3v output for the multi sensor.

