Ok, I've followed this thread closely but can't figure this out. Wish formatting in dashboard was much easier!
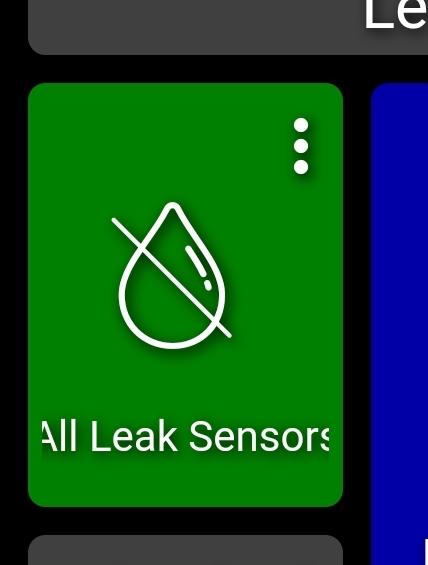
How do I get the title "All Leak Sensors" in the tile pictured below to wrap?
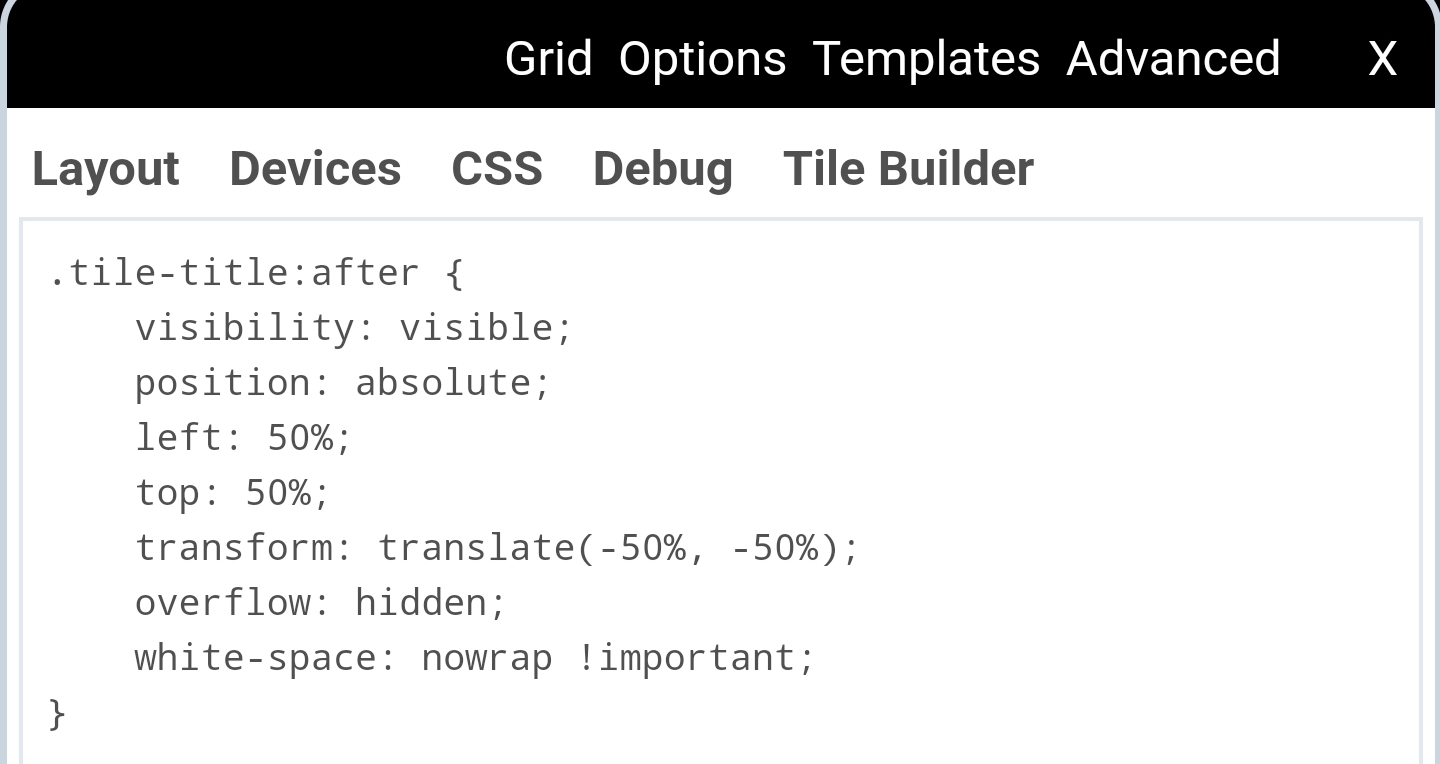
Here's the CSS I'm using:
Ok, I've followed this thread closely but can't figure this out. Wish formatting in dashboard was much easier!
How do I get the title "All Leak Sensors" in the tile pictured below to wrap?
Here's the CSS I'm using:
Is this a title you set with :after, like this:
#tile-3 .tile-title:after {
    content: 'All Leak Sensors';
}
If not and this is the title that is there without CSS replacement, then you shouldn't refer to :after in the CSS. Since I don't know what else you're doing in your CSS this may be wrong, but try changing "white-space: no-wrap !important" to "white-space: pre-wrap !important".
If it is a title replaced with content, my post above has the correct CSS:
I did use :after
Tried the CSS from the post you linked but that messed up the formatting even more. I think I'll just make the tile wider and call it a day lol! Thanks for posting all this info for everyone!
Sorry it doesn't work, if you post your whole CSS it would be easier to troubleshoot, but if you're just increasing width that works as well! 
Here is the rest of the CSS, does this help?:
#tile-57 .tile-title {
visibility: hidden;
}
#tile-57 .tile-title:after {
content: 'All Leak Sensors';
}
Replace all CSS with this:
.tile-title::after {
    visibility: visible;
    position: absolute;
    text-align: center;
    left: inherit;
    right: 0;
    bottom: 0;
    white-space: pre-wrap;
}

#tile-57 .tile-title {
    visibility: hidden;
    white-space: nowrap !important;
    overflow: unset;
}
#tile-57 .tile-title:after {
    content: 'All Leak Sensor';
}That worked! Thank you very much!!!
Thanks, that worked! Man it's crazy how complicated it is just to change the name of a tile!! Thanks for your help!
Should you have image tiles with large margins, and you are unconcerned about changing the image's perspective, here's how I changed it to fill the entire tile.
Using Firefox with Windows 10 (should be similar with Chrome)
display the dashboard
Place cursor over image tile element; right click to display a menu, click on Inspect Element
You should see something like this in the "pseudo elements" display
image[data-v-4784b085] {
    position: absolute;
    top: 0;
    left: 0;
    right: 0;
    bottom: 0;
    text-align: center;
    width: 100%;
    height: 100%;
    -o-object-fit: contain;
    object-fit: contain;}
Copy text image[data-v-4784b085] (your letter and numbers will vary) should you want to paste this information in the next step
Click on the dashboard's gear, click advanced, click CSS, then add the following: (note the leading period)
.image[data-v-4784b085] {object-fit:fill;}
Save. Image should fill the tile and does in Fully
Should you be using an app generating large tiles that may overflow the defined tile space, here's how to modify the tile's CSS so the information is scrolled.
@adamkempenich just posted this and I thought I would share it here. Very cool!
Is there a way to change the font globally on dashboard using CSS? I haven't seen it mentioned in this thread.
Nevermind, I found it will extensive Googling. This is the method I found:
I love that I can use a Condensed font so I can make a bigger font and take up same width.
I did find that that font doesn't get used when i open on my Android. The new font works when using the skin that mentioned within this thread:
Is there something that I am missing?
Bumping. Any suggestions on why my Android phone won't use the correct font? If I use the Barlow Condensed font (default font in the Smartly skin) on a dashboard I created, my phone doesn't use BC. However, if i open a dashboard that uses the Smartly Skin, my phone does use the BC font.
I am using Google Chrome on my phone.
@stephen_nutt Font changes in CSS needs to use "!important" in most cases, this is due to the fact they are defined in the element in the HE Dashboard, not in CSS.
Adding "!important" worked (sort of). Unfortunately it changed this:
 to this:
I will go back to the beginning of this thread figure out how change font on a section by section basis instead of trying to be lazy and do it all with one CSS setting.
@stephen_nutt ah, yes, global changes with !important can have some not so desired effects. This thread should help you define the right groups of elements to change.
Is there CSS to remove the "icon helper text" per tile rather than the entire dashboard?
Very likely, yes. With "icon helper text", what do you mean? For a switch it would be the text "on" and "off", right? In general it is just a matter of prepending your selector with something like this
#tile-57
for the tile-title:
#tile-57 .tile-title {
Per tile-type would be a different thing. That is a bit more complex.
Download the Hubitat app