I can't say I have ever looked at the source using View Source, but I can at least confirm I see a similar output in Chrome. I tend to look at the Elements in Chrome's developer tools (pressing F12), which I can still do and navigate down to individual tile details.
Ok thank you. Now I see the html source.
Have not played with this is a while.
1 Like
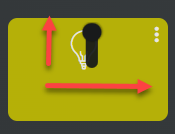
Has anyone else tried rotating the slider 90 degrees for a dimmer or something similar? Visually it looks ok (ignore the fact I haven't dealt with the icon yet  ), but the control seems to respond to movement in both the vertical and the horizontal plane. i.e. if you click and hold your mouse on the circle, then drag either up or to the right, both movements increase the value of the slider.
#tile-40 .tile-primary > div.dimmer
{
  position: relative;
  top: -40px;
  left: 50px;
  width: 70px;
  transform: rotate(270deg);
}
I have mine in the same orientation and haven't found a method that allows for vertical movement only. But if you find a solution please post.
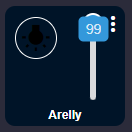
@sburke781 @william2 You can use the "level vertical" tile for a slider like that. If that's what your looking for.
1 Like
That worked. Thanks @chad.andrews.
1 Like
Well heck!!
I didn't even notice it until you pointed out, thank @chad.andrews !!
1 Like
Does anybody know how to hide the thumbnail on a image tile?
I tried display: none and visibility: hidden but they also disable the link.
So do you want an image tile that doesn't display the image, but brings up the image when clicked?
Maybe change the image to transparent.
Make sure you don't select the popUpImage class inside the modal div when making the element transparent. E.g.:
.tile.image div.inset-auto img.image {
    opacity 0.0
}
This is just a guess, but it should work I think. I think clicking the image tile would still bring up the modal.
Thank you very much. It works great.
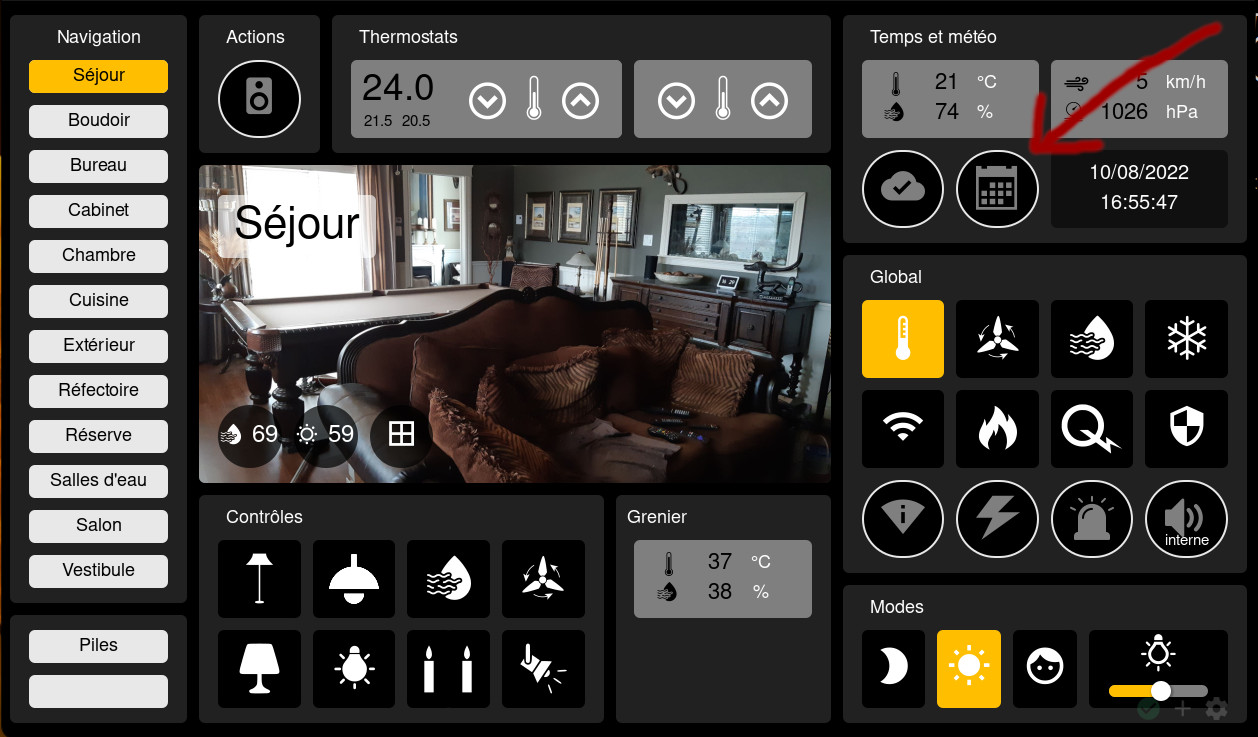
#tile-133 .inset-auto {opacity: 0.0;}Out of interest, can you post an example of what you are trying to achieve, i.e. the image(s)? Doesn't have to be the exact example you are working on, feel free to say no or to post other images to what you are ultimately using.
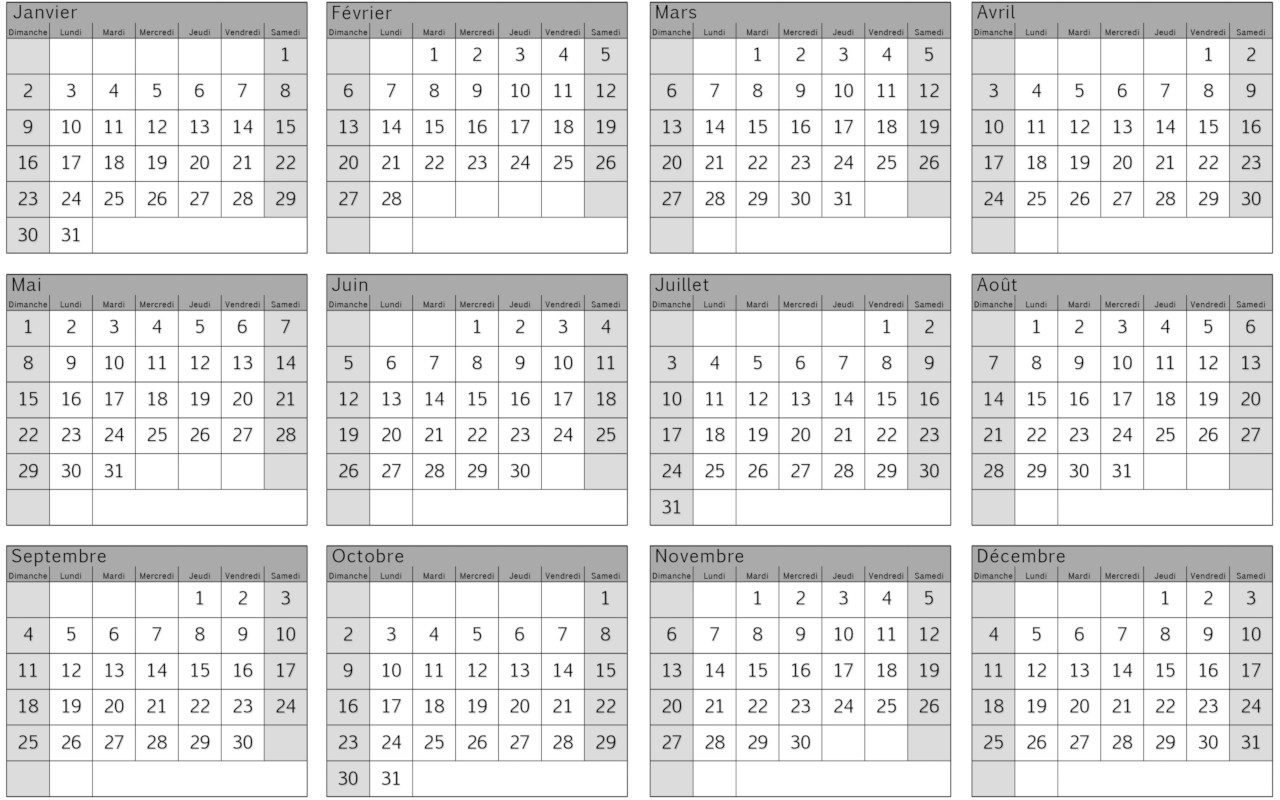
It's only for aesthetic. I wanted to replace the thumbnail with an icon. In this case, the tile simply open a year calendar image full screen.
To save space I could also set it totaly transparent and move it over the date/time tile so when touched it would open that calendar file.
1 Like
Sorry, missed this response for some reason. Nice looking dashboard.
Did you have any luck? Or am I misunderstanding what you posted, does that do what you want now? If not, I'd be going for some mix of z-index adjustments and overlaying tiles to achieve what you want.
On a separate topic... Has anyone ever played with dynamically adjusting the size / shape / location of tiles? I'm wondering if I dig into what smartly offers in the drag and drop feature, that may give me something....
Do you know what the CSS code would be to remove this for a specific tile/device instead of all thermostats? (i.e. so I can adjust a vThermostat for a smart vent to remove the mode/only leave the temperature setting, but have the actual mode options for the real thermostat)
Nvm, figured it out...
#tile-98 div.my-1 {display: none !important;}
3 Likes
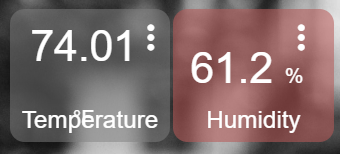
Okay, temperature and humidity tiles... I for the life of me can't figure out how to adjust the size of the temperature and humidity read outs on the tiles - I have the font overall for the dashboard increased, but that makes the temperature and humidity readouts wayyy too big, and it doesn't fit onto one line.
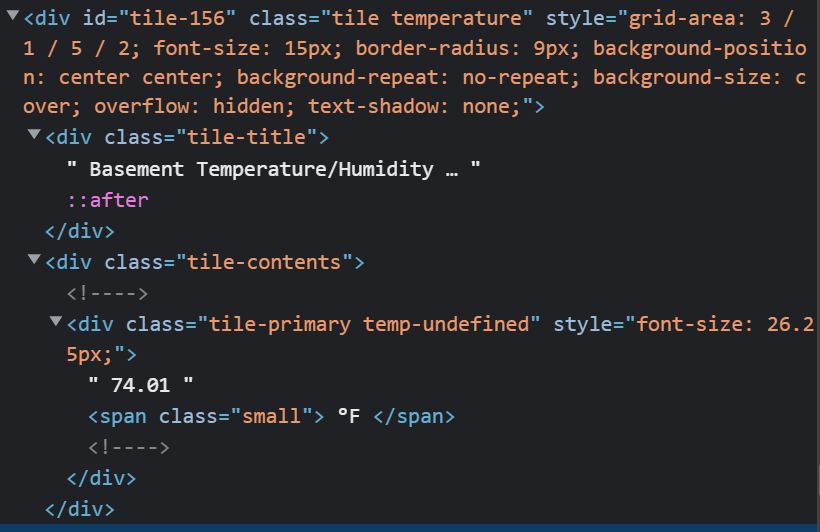
Here's the inspector code for the temp tile:
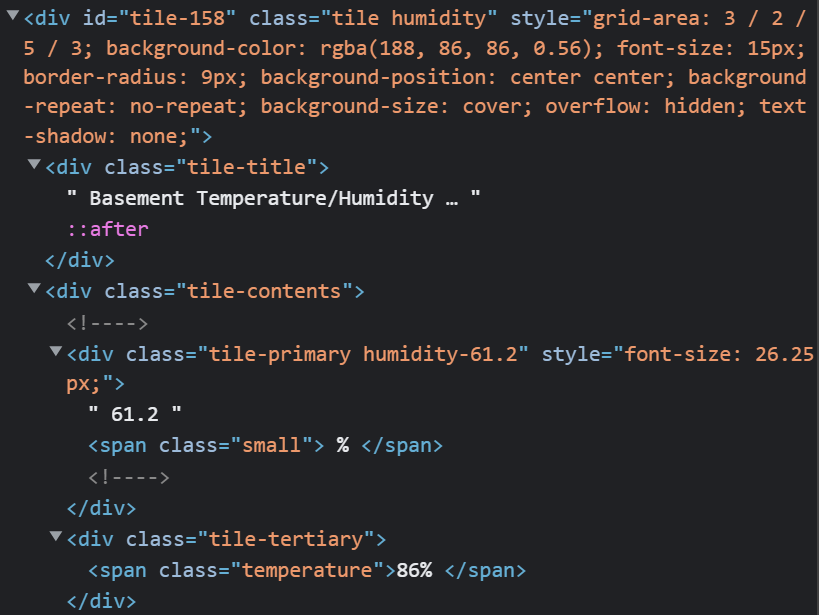
Here's the inspector code from the humidity tile:
I figured it'd be the tile-primary that's being edited, but when I try that (e.g. #tile-156 .tile-primary {font-size: 16px;}), I get nothing... Any help would be much appreciated!
How many times must one fail before figuring it out?
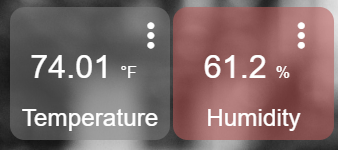
#tile-158 .tile-primary {font-size: 20px !important;}
Needed to include !important;

1 Like
You may be interested in my CSS Editor which allows some text adjustments like fonts and alignment.
In doing some CSS research, I actually came across your app... But I already have most of my dashboards setup how I would want them, so a bit late in finding it! Thanks for the tip though.
I do have one thing I'm still trying to work out though... Hiding unused fan speeds from the drop-down list. I have a whole house fan I'm controlling with a ZEN17 and have it configured as a virtual fan switch, and I only want Low, High, and Off for options. Does anyone know how to hide unused fan speeds from the drop down list? Or @sburke781, can this be accomplished with your Simple CSS Editor driver?
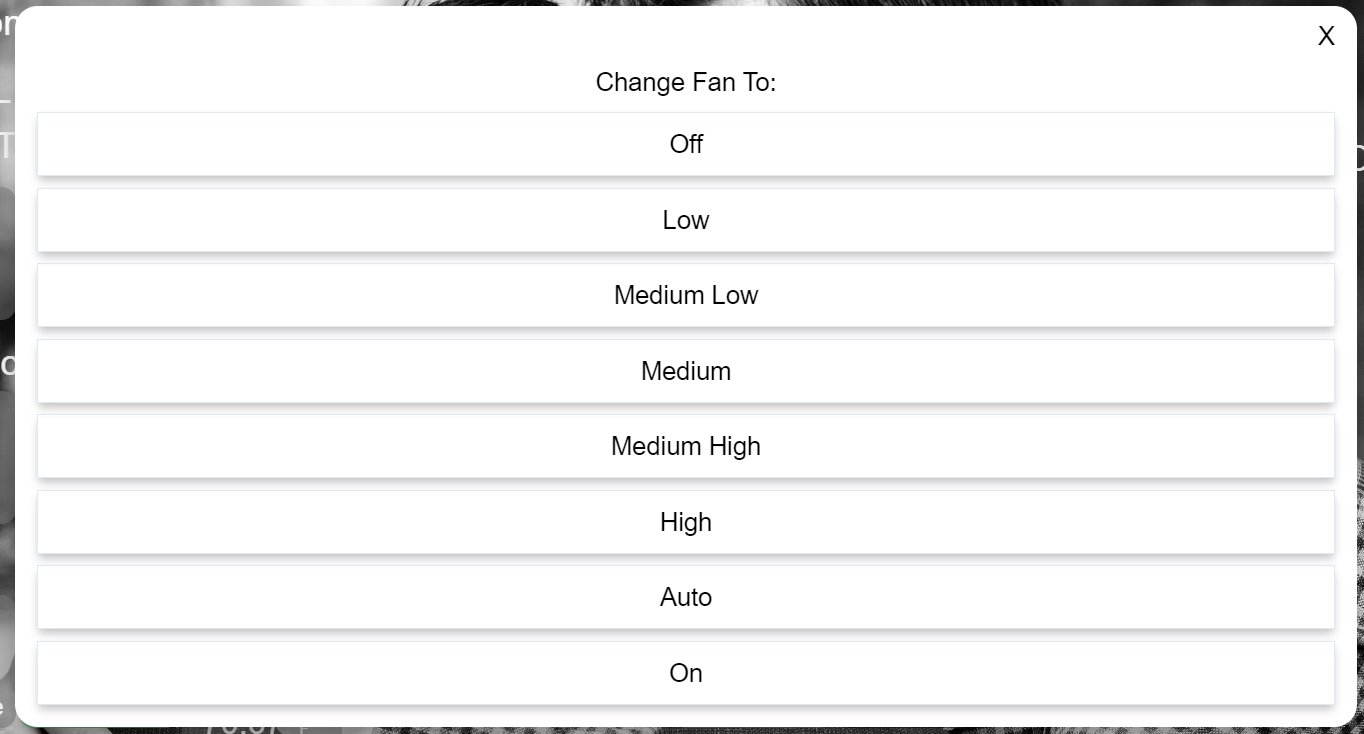
Here's the inspector code from the above drop-down list:
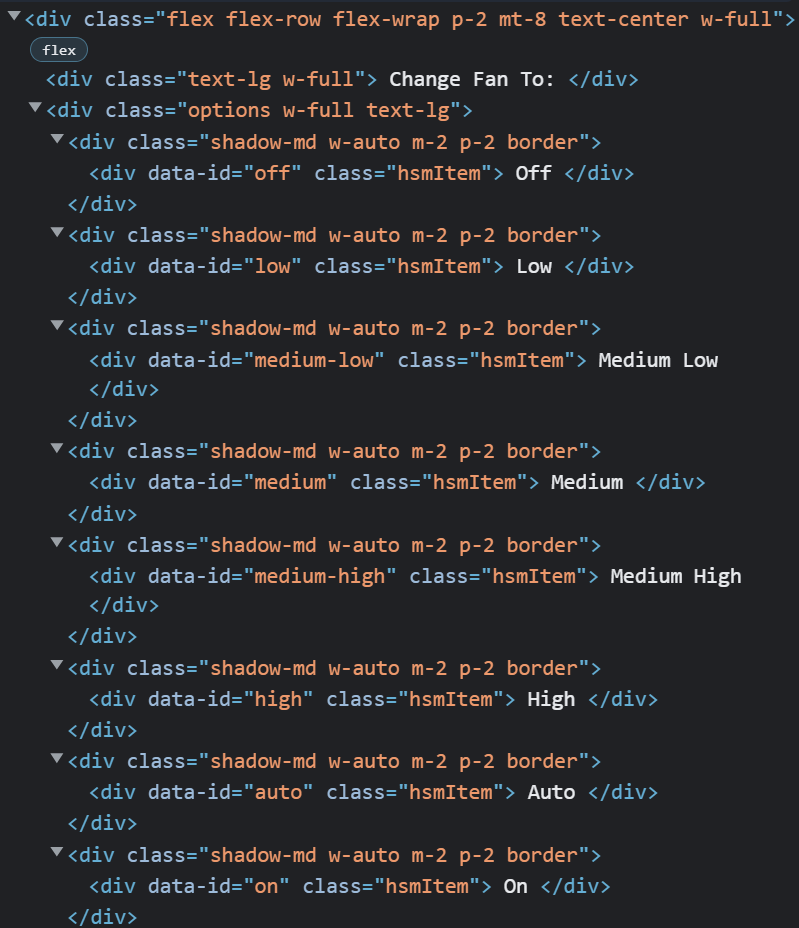
If we were able to [set supported fan modes like you can for virtual thermostats](https://community.hubitat.com/t/virtual-fan-controller/82203/4), that would be a way I could see just removing the options from populating in the dashboard tile's drop-down menu...
@FormosaWest - maybe what you were referencing in this thread would apply for virtual fan switches too? Any thoughts?

