The issue is that the on/off is down a level from where it could affect the whole tile.
1 Like
I think I may be able to accomplish this another way. If I have a simple rule that auto changes a different device type that has a template that I haven't used in that dashboard
Add the following in the layout section for your button
 "customeColors": [
        {
          "template": "switches",
          "bgColor": "rgb (255,4,4)",
          "iconColor": "rgb(255,255,255)",
          "state": "on"
        }
      ]
make sure to remove the template it is stating for that switch.
I should add, back up your original configuration prior to making the change in case something goes wrong.
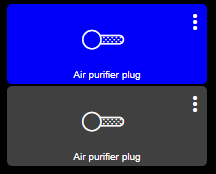
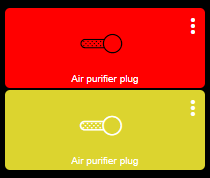
Update: the above change will apply to all switches. To modify just one switch, the following will work.
This basically targets one switch and changes the back ground color for off and on, in this case the background when off will be blue and when on it will be red, in addition it changes the flip icon to black when the switch is on.
#tile-14 {
    background-color: rgba(0,0,255,1) !important;
}

#tile-14 .on {
    he-switch_2_flipped; color: black;
}

#tile-14[style*="background-color"] {
    background-color: rgba(255, 0, 0, 1)!important;
}
OFF
ON
3 Likes
Another thought...
Maybe it's not in CSS
Having an icon (HE native) shown for a link tile or a Dashboard link
See my update above, to make the changes in CSS.
2 Likes
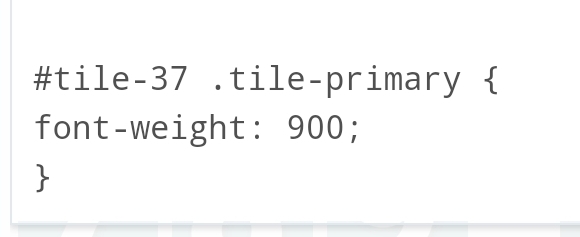
Why is this not working for a text tile?
Have you tried other values? Only thing I can think of would be not all fonts support every weight.... Also, try some other text manipulation to make sure you are accessing the right element in tile primary.
Try adding the !important tag
font-weight: 900 !important;
Did that and no change.
Hey Folks,
Having a little trouble understand a couple things trying to insert an image into my Presence Tile...
1, Where do I file my image for CSS to use?
2, Can I store the file in the hubs File Manager?
3, Is it only a specific type of image that can be used?
4, Does this CSS look right (disregard the http address I was experimenting with)?
#tile-45 .tile-primary {display: none;}
#tile-45 .tile-primary.present {background-url("http://ntv.ca/weather/forecast/5_DAY_NF_EAST.jpg?1637608099643");}
Is there a way in html to center a frame
Try
#tile-37 div div{
    font-weight: 900 !important;
}
Before
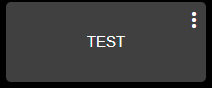
After
1 Like
That did it! Thank you sooooo much!
I had a similarly simple view of the world.... then Friday night turned into Monday morning.... WHAT!!!
But to be fair, I learned a lot about CSS and HTML along the way.... so hey... what else is a weekend for....
1 Like
How would someone manipulate the layering of tiles? I know it has to do with the id but is it as simple as changing the numbers around. I have a contact sensor that I want to make a background of a dashboard so the whole background changes with it's state.
I've had that issue before. The larger tile ID number will overlay the smaller tile ID number. If you want to make the a contact sensor the whole background, then probably use tile ID 0 and change the one currently using 0 to the next available highest one. IIRC you have to do this in the advance section, under the layout JSON, just edit the tile ID's.
You want to change the z-index of the tile, from memory, the higher the number the closer tile is to the top.
2 Likes
Yeah, I'm gonna need some guidance on that I think.
Hi Mark, @markbellkosel84
I did it a different way then using the z-index (actually I didn't know that existed, lol) Learning everyday!
First, delete whatever tile / device on your dashboard is using tile id 0, you can add it back afterwards and it will get assigned a new number automatically later.
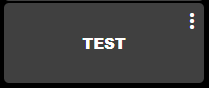
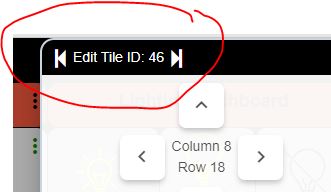
So lets say I want tile my original tile ID 46 to be under everything else. Click the 3 dots on the tile to find out tile ID
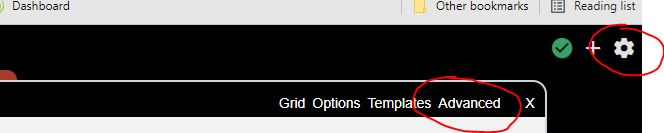
Once tile ID is confirmed, then you need to find it in the Advanced settings Layout JSON, click the gear icon then click Advanced,
then scroll down the code to find the tile id, in this case 46,
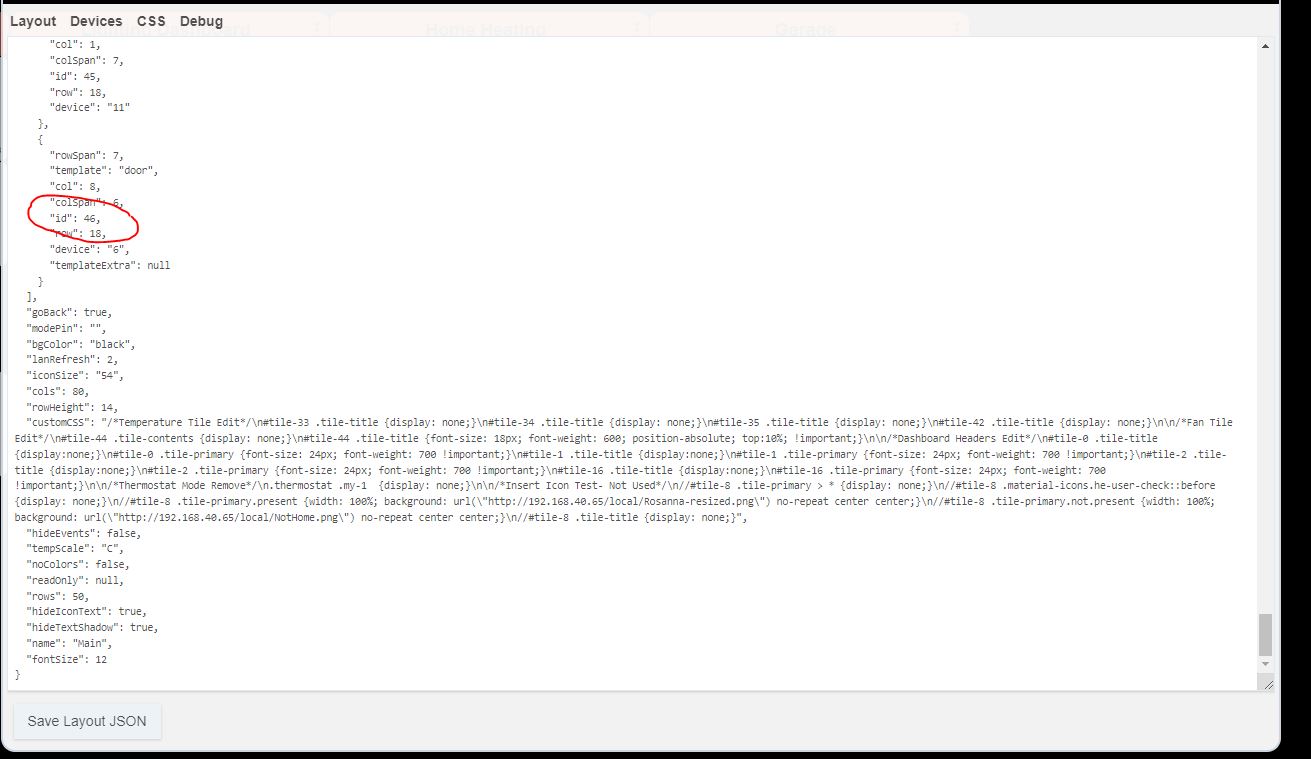
Now, change the number to 0, in my case the 46 circled above gets deleted and I will replace it with just 0. Hit Save JSON Layout in the bottom left of the window. I usually tap it a few times, lol. That tile is now at the first level of the dashboard, everything else is on top of it.
Now add back the tile / device you deleted in the first step as you would normally add it to the dashboard.
Try it out, let me know if it worked for you as it did me.
To change the z-index, open the custom CSS section (click the cog icon in the top right, select Advanced, CSS), then paste in something like the example below. I have shown an example of applying this to two tiles in one line, but you can reference just one if you want. The z-index value of 1 I have used was for tiles displaying images on my dashboard. Other tiles that I wanted to appear on top of the image tiles had a higher z-index value, e.g. 10.
#tile-38, #tile-40 {z-index: 1; !important;}

