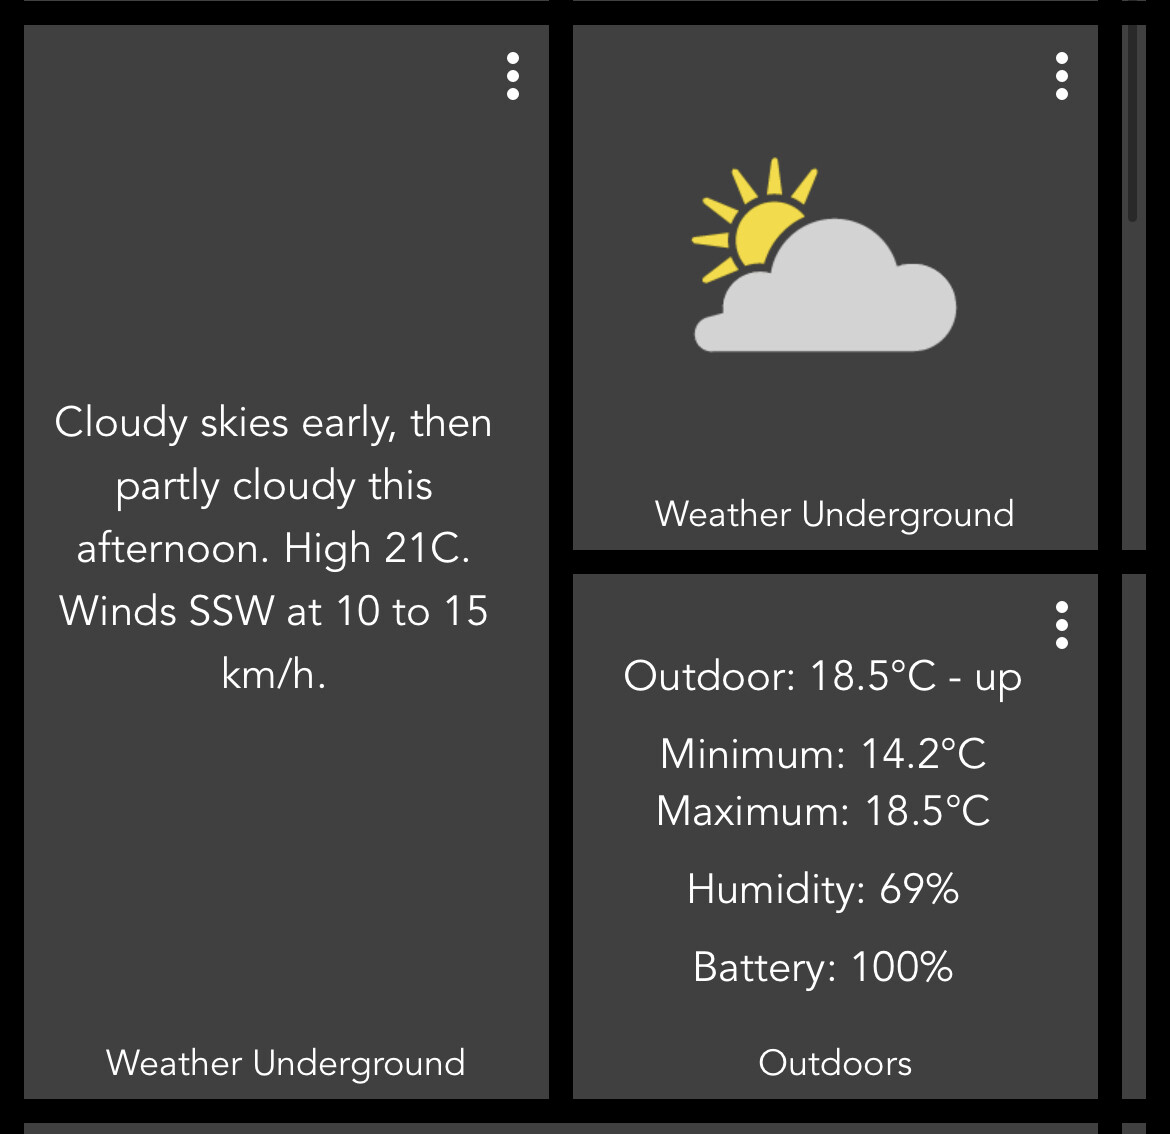
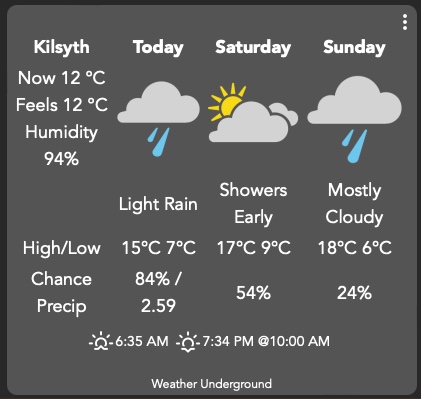
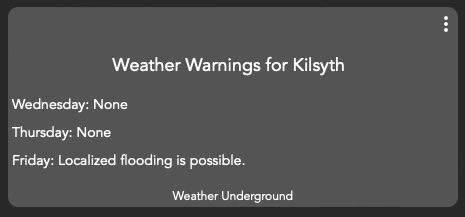
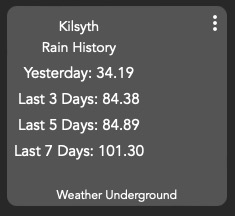
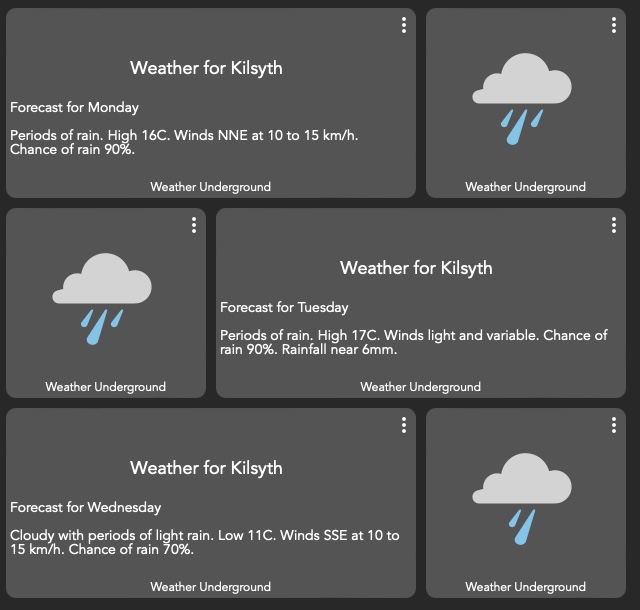
I am a little late to the party but started using dashboards recently. I have a Weather Underground API key and decided to try to build a weather tile in Dashboards. There may be an easier way to do this by now, but I couldn’t find it. I see on the forums that there were several requests for a step-by-step guide on how to set this up. I finally was able to get some tiles that looked like this and wanted to explain my steps to achieving this.
Here are the steps: (Using Hubitat version 2.3.0.120)
1. Create a new Driver
a. Click DRIVERS CODE on left main menu
b. Click NEW DRIVER on top right screen
c. Click IMPORT top right screen
d. Insert this URL: (driver compliments of @dJOS, @mattw01 and @Cobra) [https://raw.githubusercontent.com/dJOS1475/Hubitat_WU_Driver/main/WU_Driver.groovy]
e. Save the work.
f. You should now have a new driver called “Wunderground Driver”
2. Create a new virtual device.
a. Click DEVICES on left main menu
b. Click ADD DEVICE on top right screen
c. Select </>VIRTUAL
d. Select TYPE* on right middle screen
e. Scroll ALLLLL the way to the bottom to find the Wunderground Driver
f. Name the device something clever like “WeatherUnderground”
g. I gave mine the Device Label of “Weather”
h. Under the PREFERENCES section, you can add your Wunderground API Key, your Station ID, etc. I left what I could as the default.
3. Make your new device available to your Dashboard.
a. If you have not done so, enable your “Hubitat Dashboard” by clicking on APPS on left menu, then Add Built-In App on top right of the screen. Click on “Hubitat Dashboard” and then “Create a New Dashboard”
b. Click on APPS left main menu.
c. Find the Dashboard your are working with and open that
d. Choose the devices that you wish to have on your Dashboard being sure to select the “Weather” (or whatever your named it) Device. Update and Done
4. Add the device to your dashboard.
a. Click on DASHBOARDS on left main menu, then select your working Dashboard from the right portion of the screen
b. Click the + in the top right to add a tile
c. On the left screen, select your WeatherUnderground Device
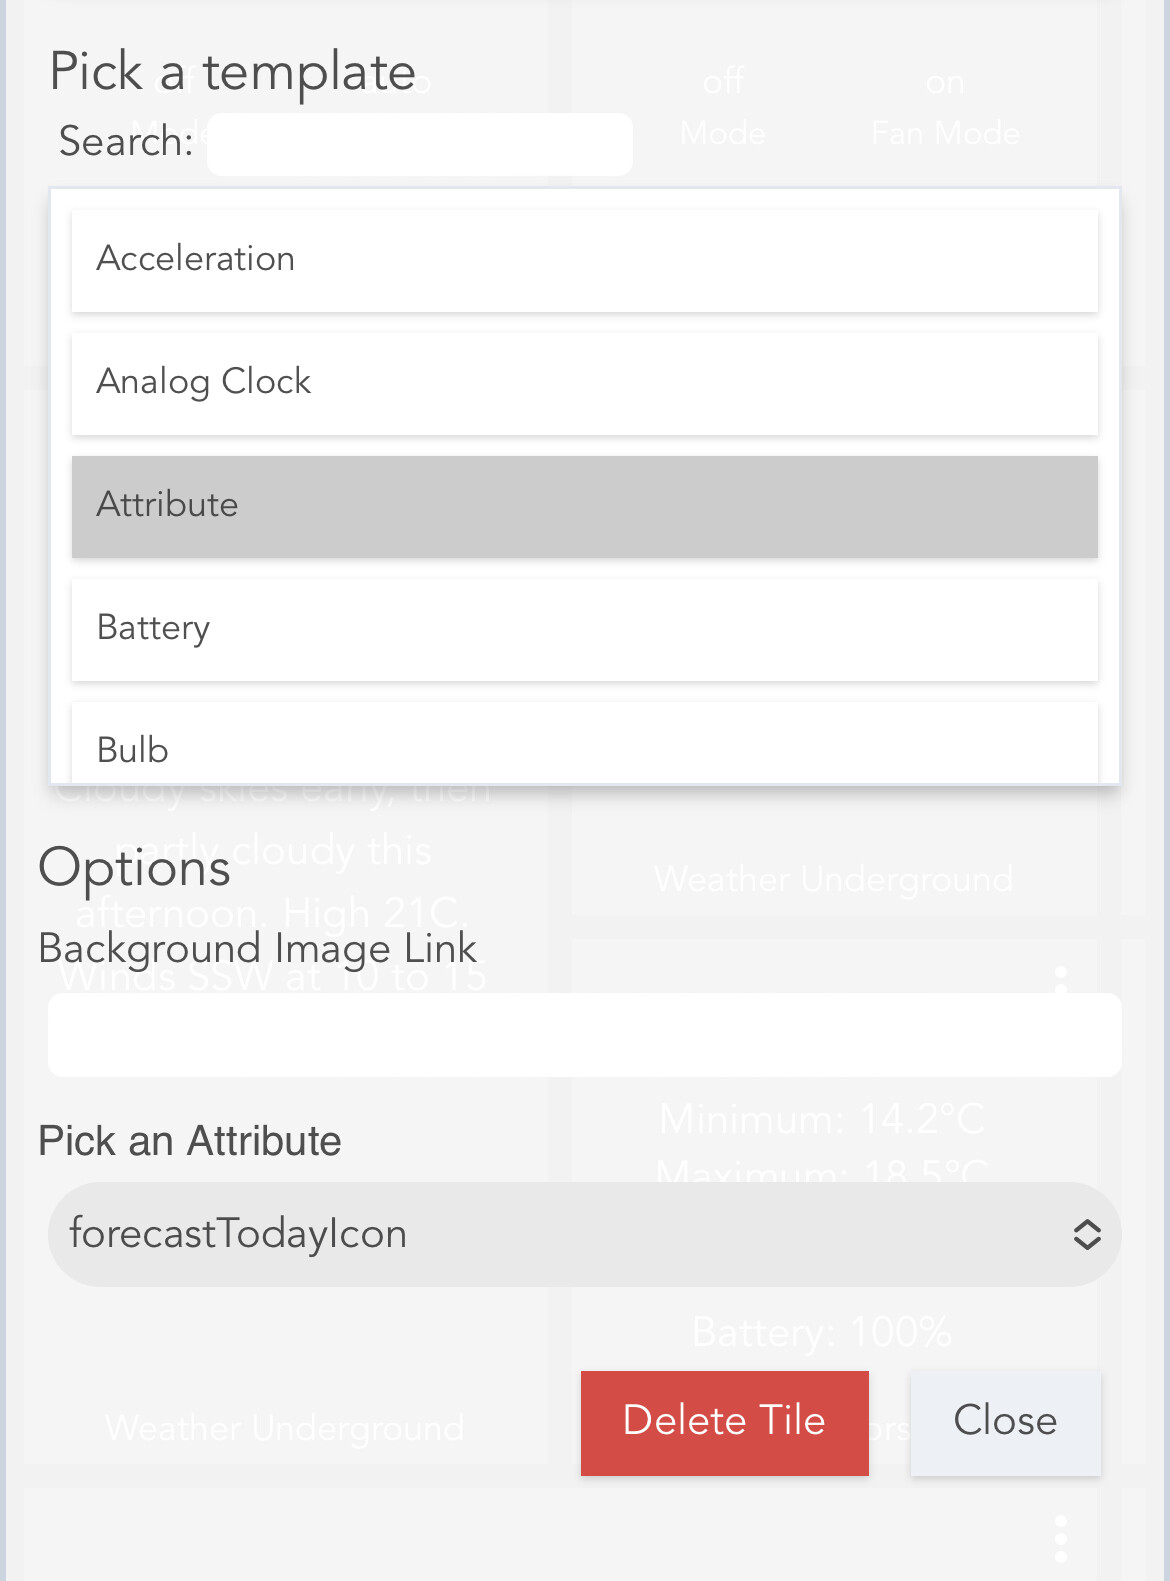
d. On the middle of the screen, Select Attribute
e. On the far right side of the screen, Click PICK AN ATTRIBUTE and then select FORECAST TODAY.
f. See #5 below for Background Image Link
g. For this particular attribute, it fits better if you pick a width of one and a height of 2.
h. Click Add tile.
5. More about the Background Image Link mentioned in #f above:
a. Do an image search for weather icons using your web browser. Once you find the image that you want, download it to your computer.
b. Click on SETTINGS on the left main menu
c. Click FILE MANAGER in the middle section
d. Use the upload button on the right side of the screen to upload your downloaded icon file to your Hubitat device.
e. Once you uploaded the file, it should show on fight side of your screen.
f. Select the file and right click on it to copy the link.
g. PASTE this link in the Background Image Link in section 4-f mentioned above.
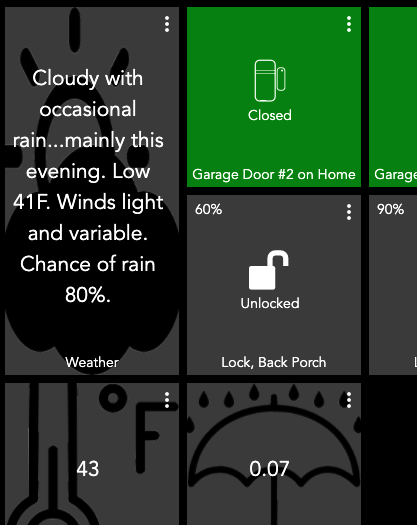
By changing color schemes and image files, you can have a bright, colorful weather tile.
If you get it working, but sure to give a shoutout to these folks: @dJOS, @mattw01 and @Cobra.