@kahn-hubitat happy to work with you to make something consistent. I considered including other attributes such as To but decided against it for my initial release. One thought is to require an “object/map” be passed via message string and our code could look for message starting with { and ending with }. For example:
{Subject:Email Subject, To:user@example.com, Message: This is a test}
Then code would parse the string to JSON object and gather the values and substitute from default settings if entered. This wouldn’t require prefixes and keys could be entered in any order but it will require a Message key.
Interesting but no need to change the message as i want to still allow that at the end so that anything in place works without changes.
I was also thinking of leaving what have done
And just adding the subject: header and then it would work with what you have and that would by far be simplest.
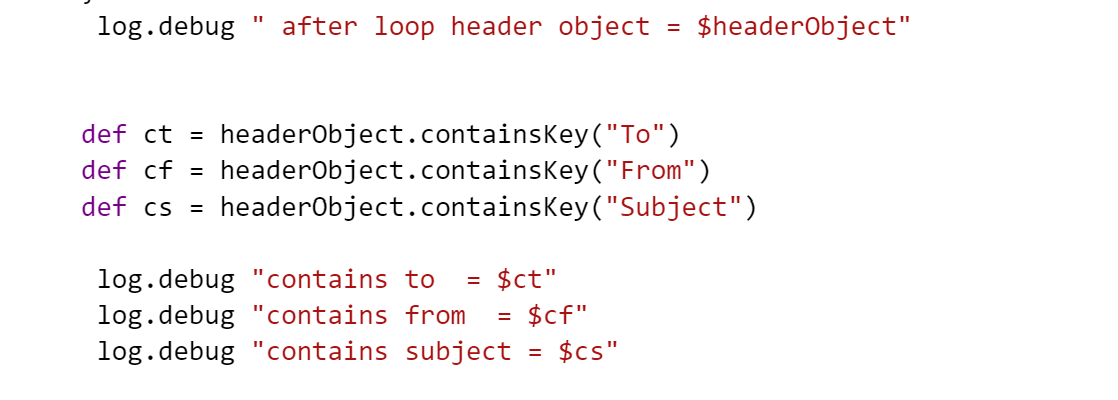
I also could easily alleviate the order dependency with what i have by checking at top with a big compound if and wrapping the code in a loop but figured it wasn't necessary as the functionality is already there.
But if you implement something with {header: value, header: value }, Message
I would use your code
The cc case was a slightly more complicated for me as it adds a new header not just swap one.
Also what would happen with multiple subjects or multiple froms as the syntax would allow it.
Ok for.now i will just two ver 4.91 and add the subject: header and then see what shakes out.
@kahn-hubitat I just tested this in my app and it works. Message sent would be:
{Subject:Email Subject , Message:Email body, To:name@example.com}
Only difference is my Gmail notification won't accept a From since that is defaulted by the API.
I tried to convert the string to a JSON object but ran into issues since it would require quotes around the key and value so came up with a different method. Hopefully this works in your app:
That's not gonna work for me as i said it would break all existing stuff to have the closing bracket at the end and the message inside.
Also would break messages with commas in them which is why i.didnt use.split. i could modify it to isolate the begin and end bracket leaving the message after it and then call your code.
ya already had this code to parse the subject out of straight xml.. weird. so brackets are not going to work or it will break anyone using this feature.. must have added it for a reason.
v 4.92
the original header replacement above still works
but added an alternative message based on ritchierich pseudo xml at the start of the message
ie
{header: value, header: value}, this is the message
or
{header: value, header: value. Message: this is the message}
both work.
Legal header values for replacement are: Subject: From: To: CC: Message:
order is not important.
example:
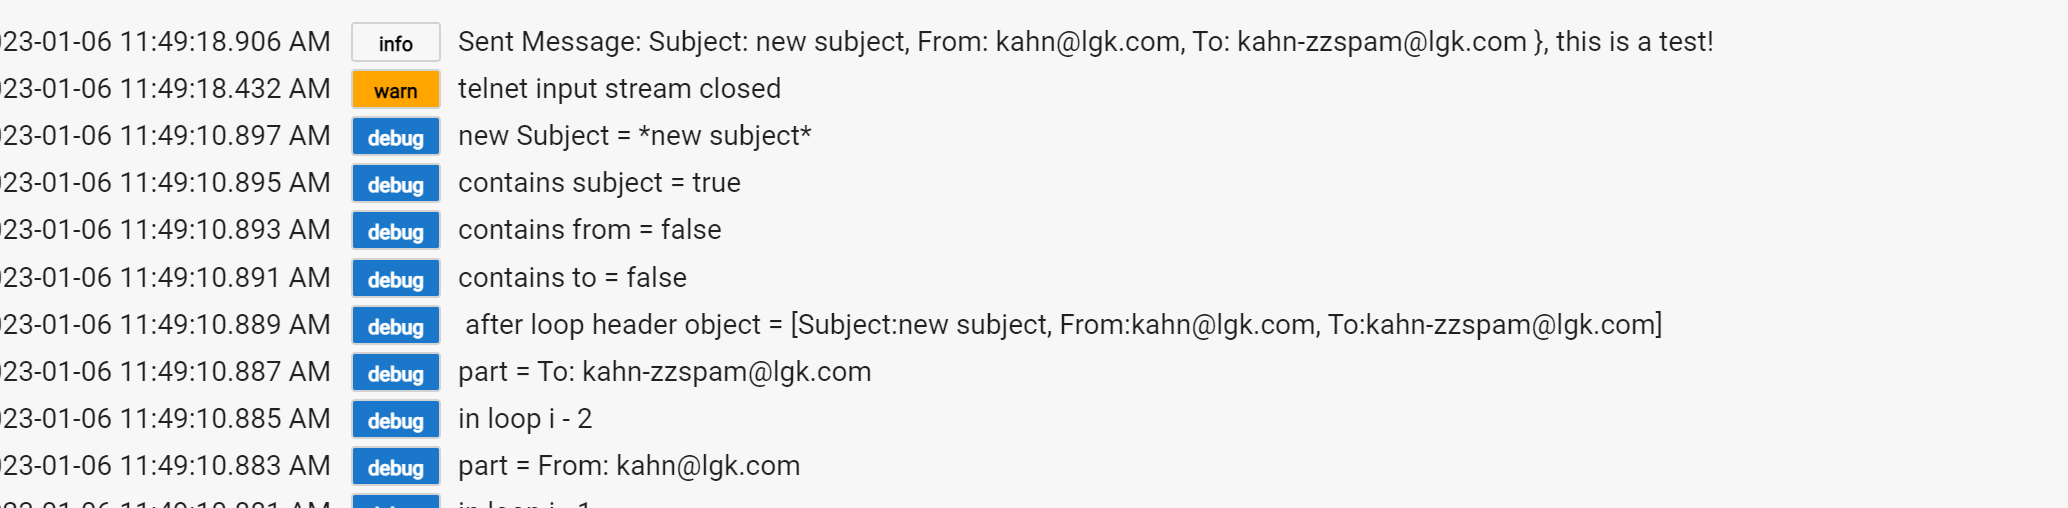
{Subject: new subject, CC:kahn-zzspam@lgk.com, Message:newmessage here,To: kahn-saved@lgk.com, From: kahn@lgk.com}, this is a test
or
{Subject: new subject, CC:kahn-zzspam@lgk.com, Message:newmessage here,To: kahn-saved@lgk.com, From: kahn@lgk.com}
caveat: just notice if you use the message: replacement option the message itself cannot have a colon : in it or it will truncate past the colon.
Not really sure I follow your use case but the stock Notifications app supports Global Variables to be included in the message as of v2.3.4 and Rule Machine does as well. So if the notification you are trying to send comes from one of those apps you can include the GV values within the notification as they get sent to the notification devices and from there to whatever device it is set to send it to Email vs Push vs SMS vs etc...
Thanks.. I ended up creating a webcore template to take care of associating gv's and applying them to the directives. Now I can just set them and call it from all my other instances.
Hi, I am looking to do SMTP notifications to an internal email server. There will be no need for authentication.
This is a very long thread going back several years so I was wondering if someone could point me to the correct spot to just install the latest version of the app and then the process for just sending over to a local email server. Thanks!
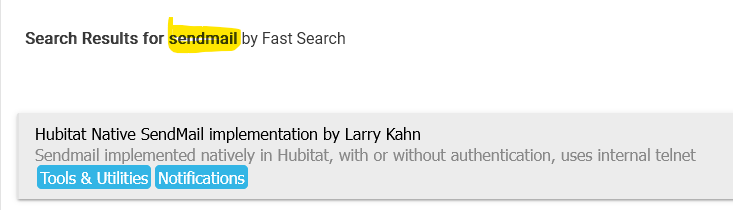
Easiest methos is to use Hubitat Package Manager and search for "sendmail" and install it from there. Otherwise list most community solutions the code links are in the very first post.
As noted, install it from Hubitat Package Manager.
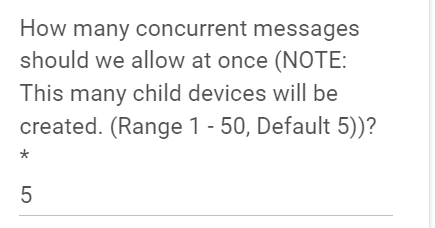
The process/setup is documented above - you create a new device on the Device tab in HE, and then complete the setup of the parent,which then creates the child devices.