Project: Homemade Smart Qi Charger

I've been on a quest to manage a reliable solution to change modes in my house based on cell phone status. All of the software solutions I tried (Believe me when I say there were a few) were unreliable. I've finally come up with a solution. I know that there was some interest in this project whenever I put the question out there, so I'm going to throw this out here for others to refer to. I'm definitely not looking for accolades with this. It's rough, but it works for me. I'm hoping that it also works for even one more person. I think that any Qi charger would work for this. I've linked my materials below. Find a soldering iron with a pointed tip for precision. The parts are small.
Here's my supply list:
An old power source that you can use to strip the silver wires out of. Make sure you have enough length. I got 4 wires out of the one I used. You can always shorten them later if you have too much at the end of your project.

The buttons were overkill. I ultimately needed two. But, hey, room for error, right? Plus the various sizes help me to figure out which ones would actually work for the project.
https://www.amazon.com/gp/product/B06XS8MP3S/ref=oh_aui_detailpage_o00_s00?ie=UTF8&psc=1
The GoControl contact sensors were on sale at the time this was written. They're the only ones you can morph into other things. I'm planning a water leak sensor next with this little gem.
https://www.amazon.com/gp/product/B00MNYSEF4/ref=oh_aui_detailpage_o01_s00?ie=UTF8&psc=1
I used this dock. You could find something similar. This one is no longer available on amazon, but I wanted to show the type of dock I used for this project:
https://www.amazon.com/gp/product/B014J8111K/ref=oh_aui_search_detailpage?ie=UTF8&psc=1

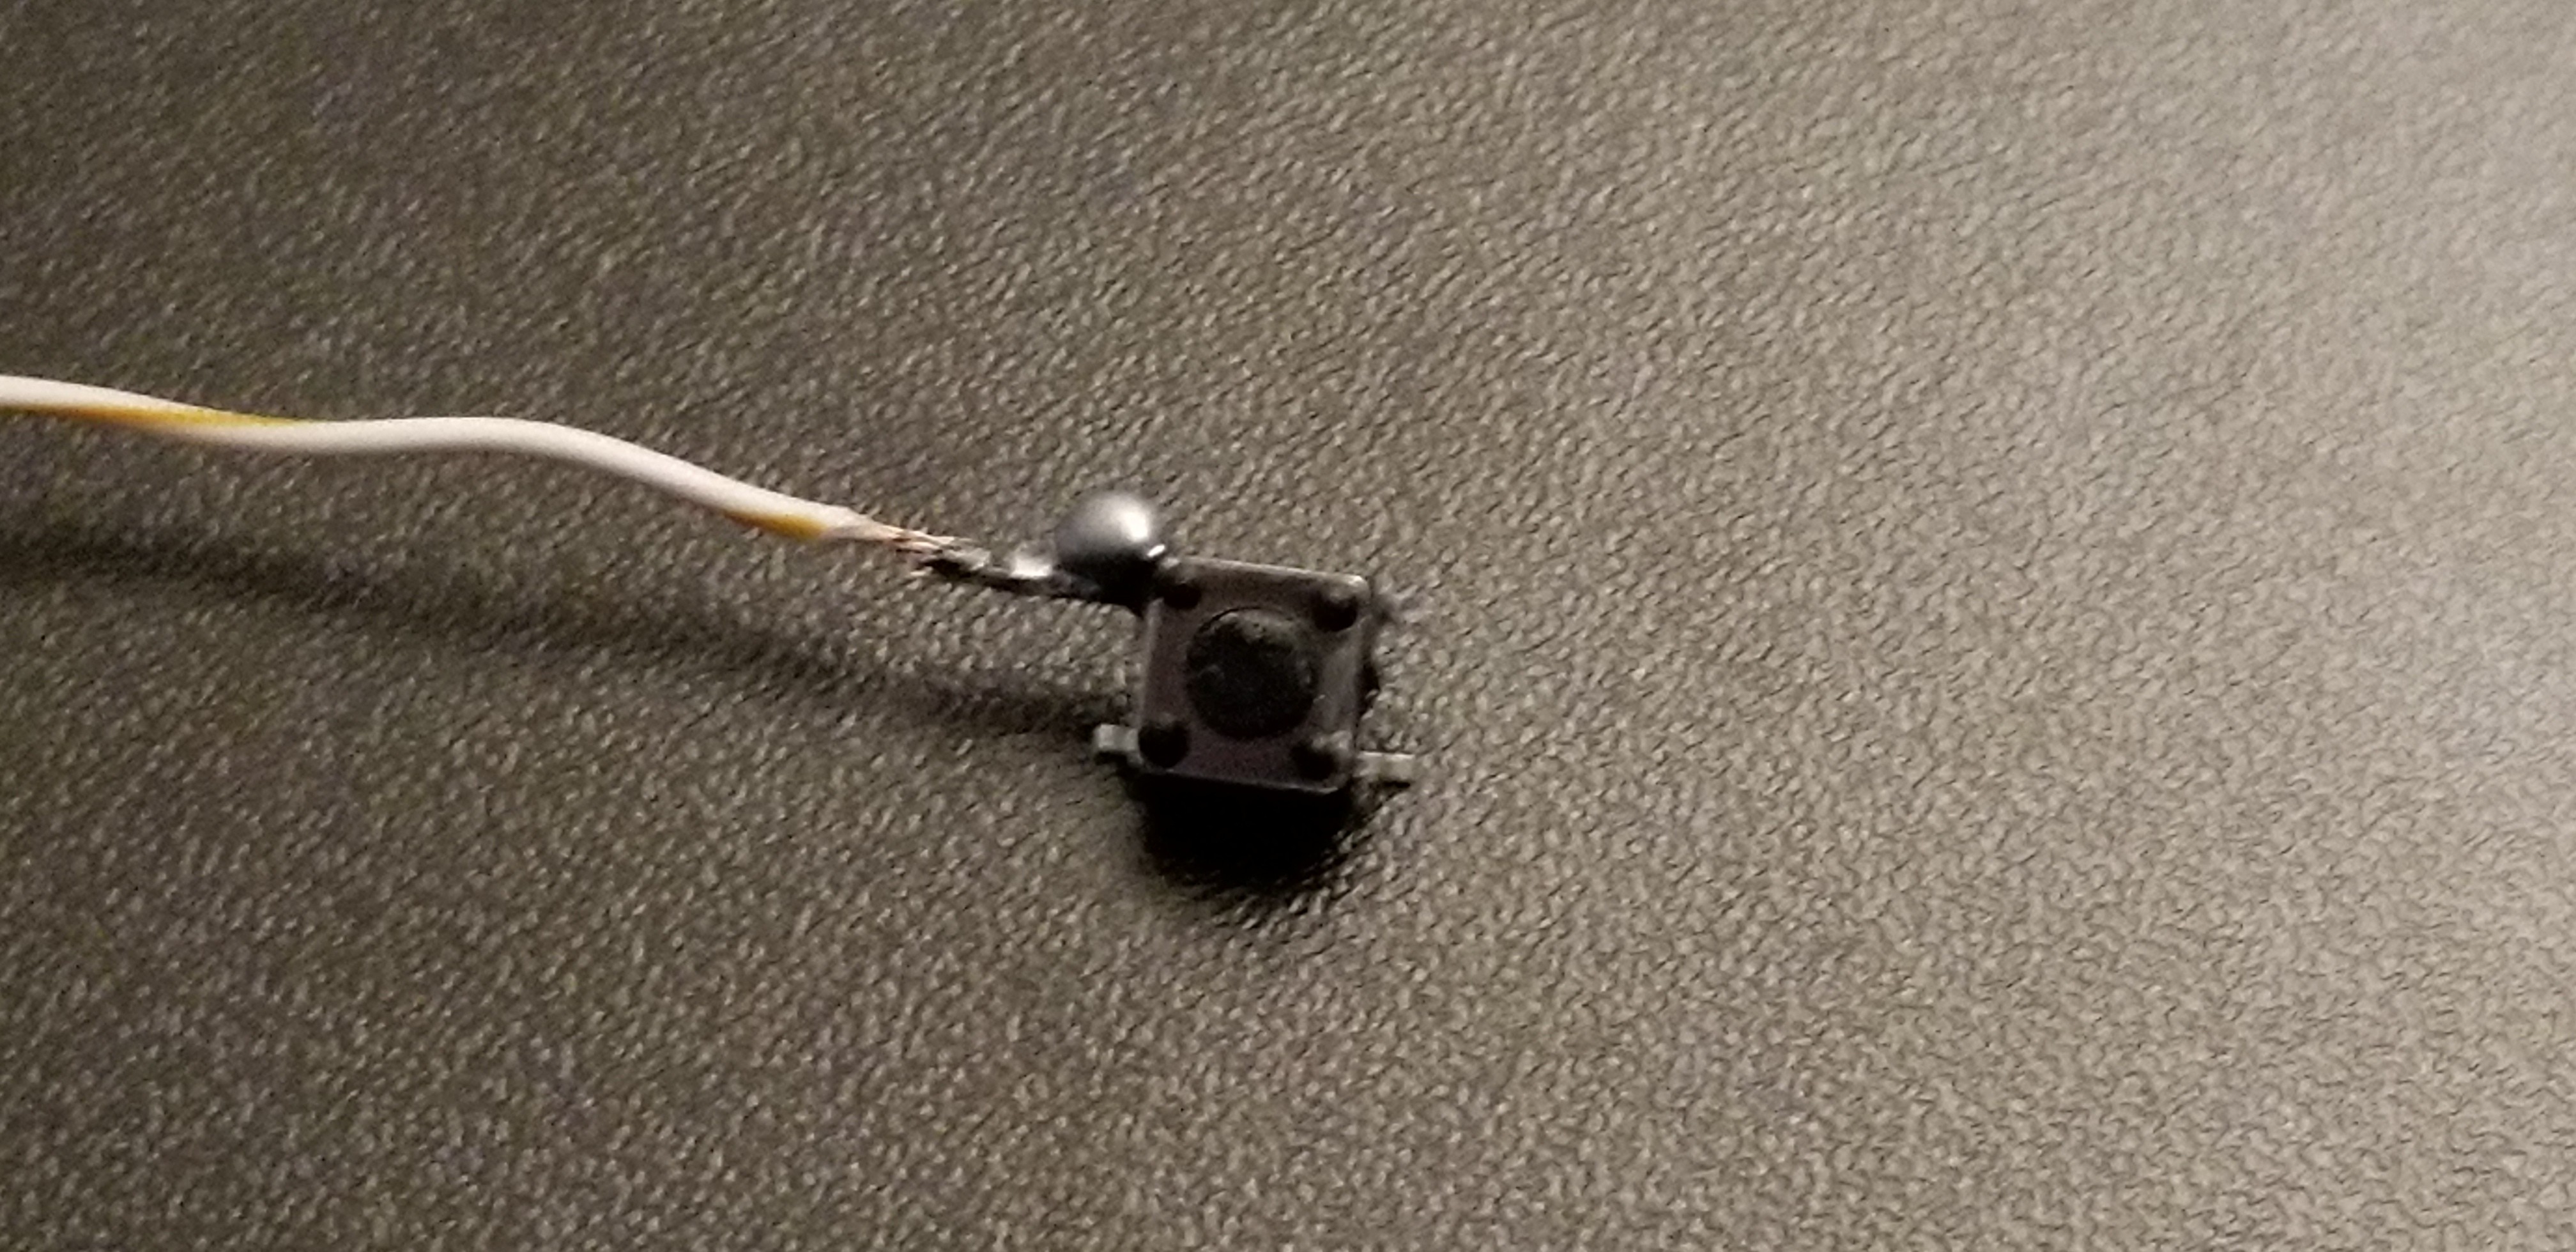
I picked out a button that I thought would work and soldered a silver wire on each side. The connection needs to be 1 wire soldered top on either side. The the second wire is bottom on the opposite side so that the connection remains open. I clipped the other two off. I ruined a button or two figuring this one out. Also, I find that these buttons are sensitive, so if you hold them the connection will show closed. Actually set them down on a surface and they work fine. This was a practice button. My soldering skills need work.

Next I joined the GoControl sensor to the network. Put your hub into discovery mode before you put the battery in for the first time. The red light will start blinking when you put your battery in, and your hub will find it with no hassle. Best way to join these. Then I opened up the go control sensor and stripped the other ends of the wires and punched the hole in the top where it indicated in the instructions. there's a green connection inside to feed those wires. I used two wires from an old power strip. the wires are a bit delicate, but worked perfectly in the sensor. If you wonder about how to do this follow these instructions: Just a note that the ports for the external wires face the little hole, so loosen the screws and feed the wires through, you'll come across them. Be gentle. Be careful not to expose too much wire, or it could touch where you put the wire through the opening and mess with your contacts working correctly.

Next, I attached the button to the bottom front foot of the dock. I tried to center it as best as I could. I tried felt pads on the bottom of one as they seem to be a bit tipsy, but didn't seem to affect the functionality. The dock just wobbles a bit. I covered the wire and button with black electrical tape to make it look a bit less like a homemade bomb. (My husband's description of the project). I ran the wires on the underside through the back legs and attached the sensor to the back. The sensor is a bit bulky, but I'm definitely not complaining. It took a bit of re positioning to get the button in the right place to have good contact to keep the circuit closed while docked. The weight of the phone helps with this.


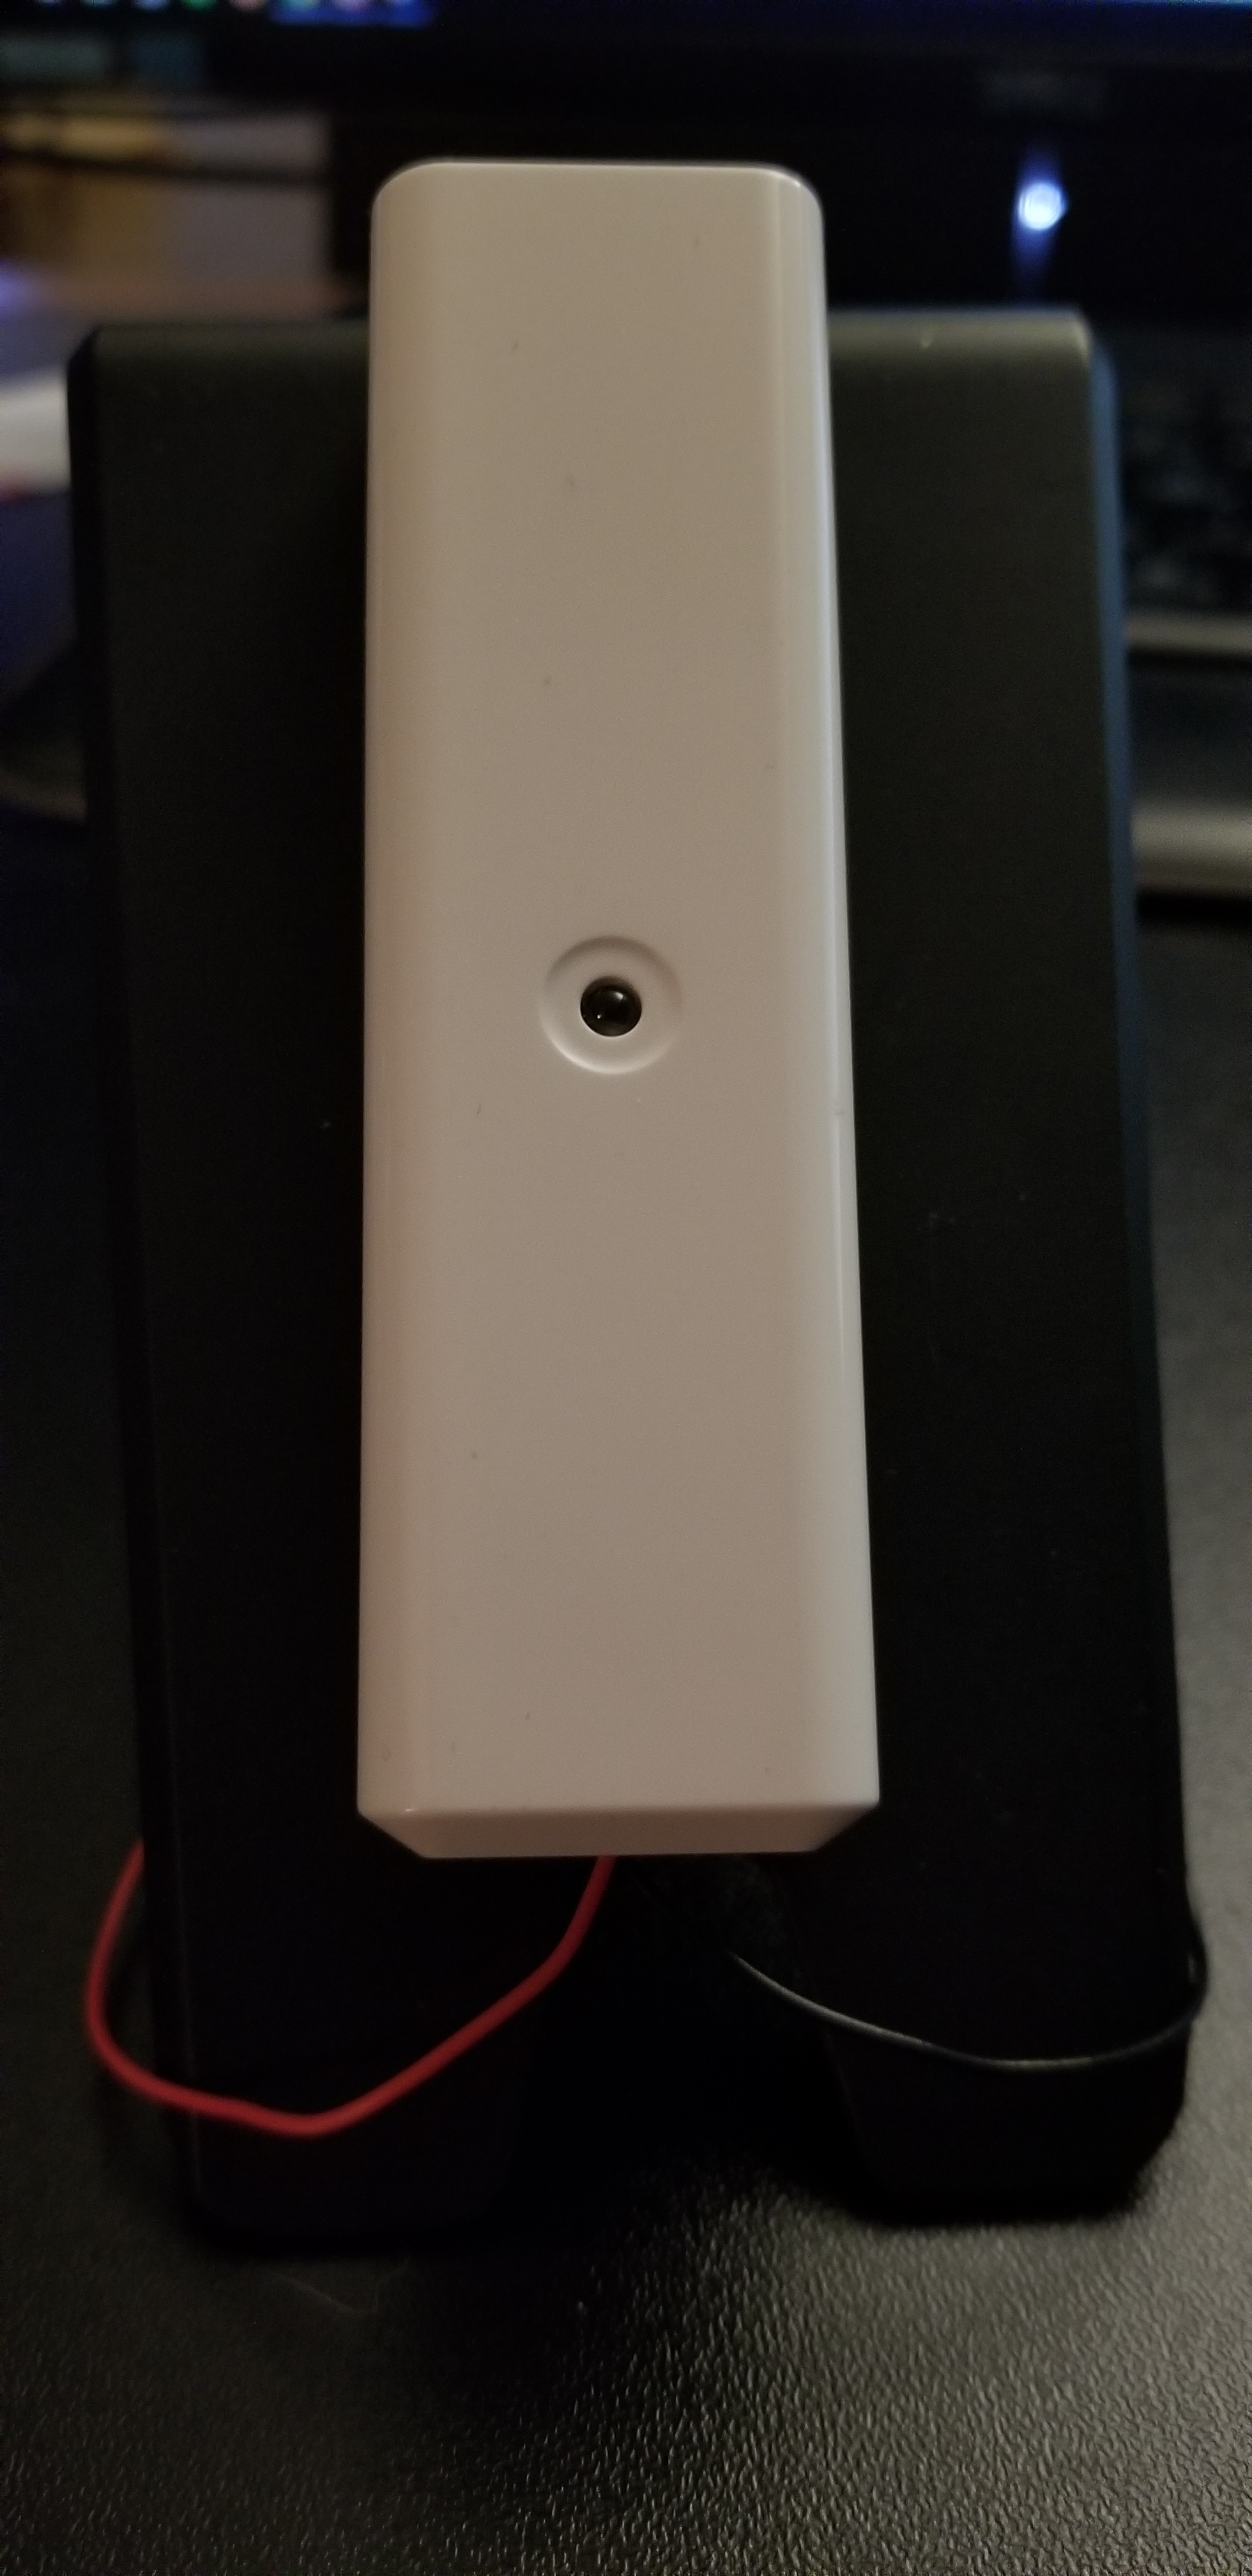
This is what the back of the charger looks like. I left the screws out of the closure so that I could change the battery without too much hassle. Attached it with double-sided tape.


This is the underside of the charger and the finished one next to it. The felt pads weren't all that. Don't waste your time on those.

I'm not an engineer or a genius, just a girl with a smart home and an imagination. This project could definitely be improved upon, but it works for me. For now. I would definitely be willing to share my rule manager rules to make these work. But, I'll warn you, I think they're not optimal as I struggle with rule manager. But, I haven't had any troubles with them firing.

5 Likes

Nice. Love a girl that can solder!

2 Likes

Fun to realise something you have in your head right? :smiley: Depending on what kind of phone you use you could also just take an NFC and trigger something when reading this NFC. Haven't tried myself because i believe its difficult when you have IOS.

1 Like

I looked into NFC and it left a bit too much room for error. I'm glad you said it's fun to realize what's in your head, because it totally was! Essentially, I just wanted a bedside switch that was effortless. I definitely got what I wanted without having to physically press that button. You're so right! What I like is that the trigger is always bedside. Our phones are only in there when we're in there. So I can charge my phone any place in the house and not have to worry about a mode firing because of the time. Bedside only. that was the ultimate goal.

Really cool project!

1 Like

This is awesome! I wonder how well the results would be with an energy meter reading different wattages.

Nice to see different problems solved in different ways :cowboy_hat_face:

1 Like

Thanks! When I first envisioned this automation, I hooked it up to an aeotec metering plug in smartthings. I found that the phones stopped charging in the night, which then triggered the event depending on time. So, I had to extend the time to when the first alarm went off and sleeping in on weekends was nonexistent if you moved. Unless I wanted to create a bunch of rules. Then I moved to hubitat and decided to try some software based solutions. Same thing, but with a kick. If i was in my office and connected my phone to my computer to offload something, blink. The rules would fire. More restrictions. Weekend sleeping in .. .non existent. So, this is just a really fancy way to flip a switch when it comes down to it. I prefer not having to consciously do that, so I hid it in my dock. Now I can plug in my phone any time and know that my routines will run when I actually dock my phone or un dock it when I get up.

1 Like

@april.brandt what a terrific solution that satisfies two requirements- charging and triggering.
Good stuff.

1 Like

I just wanted to throw an update in on this project. I need to find a better way to fasten that button to the charger. Seems that the button gets slid off the front or back from time to time and has to be adjusted. It's been relatively solid in reliability since building it. As long as i'm gentle. I'd entertain any suggested modifications to keep the button more stable at this point.

Silly idea.... but...

Your goal is to have the phone triggering a button event correct?

What QI charger you have?
Why not breaking a Xiaomi button strip out the contents from the enclosure and add it as a pressure point on the Charger...
If you are really Into DiY I would strip the Charger and would create one with the insights of a Xiaomi button (Or any other battery button) and the insights of the Charger. Than would design a new enclosure with a 3d printer. You can get a few ideas from thingverse.

Luckily, I didn't have to break a button to get this to work. I used a soldering Iron and a simple button tied to a contact sensor so that I could have two triggers. Closed=charging open=not charging. This works very well. If you to to the OP, you can view the photos. The problem is that I don't have the resources to 3d print a boot or something to keep where the button it more stable.Thinking hot glue.

Hot glue is a nice and cost effective idea.

1 Like

I know that gorilla tape wasn't a good solution. Something with the plastic that doesn't let it stick. Just got slimy. Grr.

My two go-to glues for plastic are Instant bond and ABS cement

If the plastics are both ABS or I have a part that broke and is made of ABS plastic, the latter is the strongest bond you're going to get. It basically fuses the plastic together. When that doesn't work, I use the Instant bond glue (although I never use that activator that comes with it). The Instant bond I discovered by looking at MSDS sheets, is the exact same component as this stuff I was buying under the name of "The Last Glue". The difference is the Instant bond brand is thicker (and therefor much easier to work with) and the price is a fraction of what I was paying for the "The Last Glue". This is a significantly stronger bond than a typical Cyanoacrylate glue. Not all, but many things I glue with this never break in the same place or come apart again.

Instant bond is very different than a typical Cyanoacrylate adhesive (aka Krazy Glue). it bonds in the absence of oxygen, rather than by a rapid polymerization in the presence of moisture. That gives you a really long open time in most cases, until you're ready to bond and thus cuts off the air when the two pieces join. Supposedly it also makes it possible to roll your fingers apart if you accidentally bond them, but I've not found that to be the case. Bonds skin quite well! :wink: Acetone is the solvent to remove it from your skin or de-bond your fingers. That low VOC nail polish remover doesn't work, so if you're not going to wear nitrile gloves while you're using it, you might want to also pickup some Acetone while you're at Home Depot. You can make this glue last a really long time (around two years or more) by storing the bottle in the fridge.

Clean both parts with Isopropyl Alcohol before bonding for the best results. Also, when you're done with bonding, I found it keeps the end relatively clear by squezing the short side of the bottle to suck any beads of glue back into the bottle. Otherwise, even though there's a pin in the cap to keep the nozzle clear, the oxygen gets cut off in the gap between the cap and the nozzle when you close it and the glue hardens around the end of the nozzle, making it more difficult to use the next time.

It's counter-intuitive to use at first, because you're always trying to keep the air (and thus the moisture) from getting to Krazy Glue and similar, so you're always sealing the tube right away. But this glue doesn't bond when in open air, so you can keep the lid off the bottle while you're working and it won't hurt a thing. You need so little of it, I often put a drop on wax paper and then touch the piece to the glue, rather than applying the glue to the piece from the bottle like you have to do with traditional Cyanoacrylate adhesives. The drop will sit there for hours on end and you can keep dipping parts in it as long as there's enough glue there. It won't harden sitting in open air.

6 Likes

Dude
You just gave a lesson on glue :sweat_smile::joy::sunglasses:

Surely nobody expected that!
Interesting facts though :wink:

2 Likes

I know right. I get on tangents sometimes :joy:

I love it. That's what I love about this community. The damnedest bits of information can be found here. I'm gonna go buy that glue!

2 Likes

Forgot to add, as long as I'm still wearing my "Mr. Glue" hat, that set time is roughly 30 seconds for most materials and full cure is around 20 minutes.

1 Like

@SmartHomePrimer, awesome weekend tutorial. I’ll translate that into Australian and go glue shopping in “Bunnings”. :joy:

Ah rats! I don' see it on Bunnings website. You might have it in another brand. Took me about an hour to look through everyone's MSDS to find the same formulation as "The Last Glue". Don't know what your equivalent to a Material Safety Data Sheet would be.

You're looking for Ethyl-2-cyanoacrylate. Here's the MSDS for instant Bond.

I love that you guys have a glue called "Tarzan's Grip" though. :rofl: