OK this got me digging deeper.
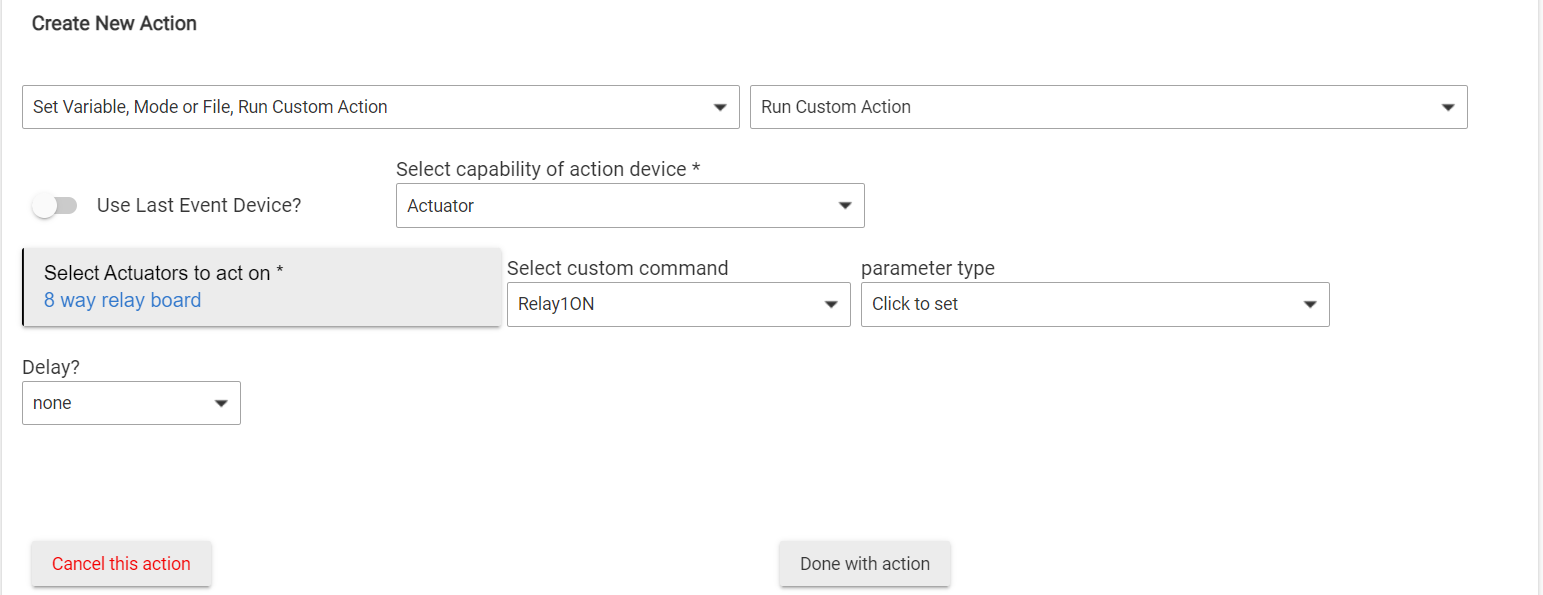
If you look at the device driver (parent device that is) you can add commands to trigger ON or OFF for each relay.
For example, you can define a command to trigger relay # 1 ON like this:
Relay1ON
def Relay1ON() {
sendCommand('all10000000')
}
Each one of the 8 numbers represent a relay so to trigger relay 2 ON you will use - all01000000 and so on. 0 is OFF and 1 is ON.
I am no developer but this is what I did when testing this device.
Look at the below file as you have to define the command in 2 places.
Summary
metadata {
definition (
author: "The Fabio",
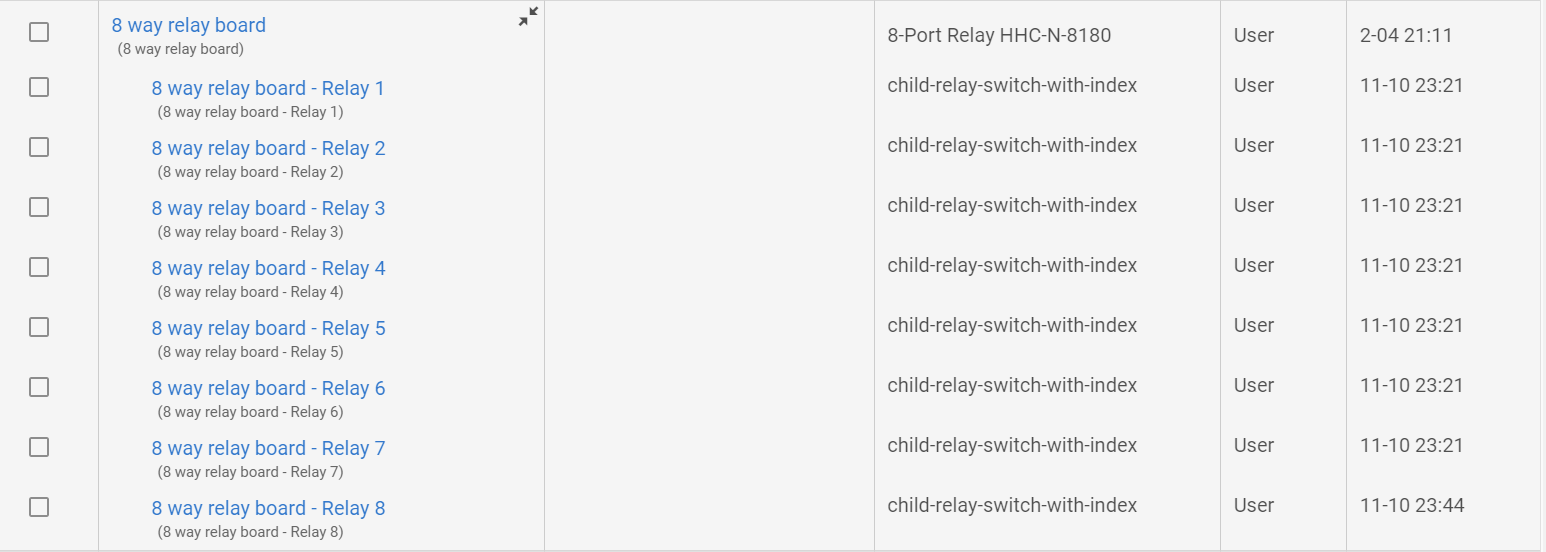
description: "Driver for Unbranded 8-Relay board with Ethernet - HHC-N-8180\n Requires the device 'child-relay-switch-with-index",
importUrl: "https://raw.githubusercontent.com/TheFabio/hubitat/main/src/hhc-n-8180.groovy",
name: "8-Port Relay HHC-N-8180",
namespace: "thefabio"
) {
capability "Initialize" // adds initialize() callback which is called when hubitat restarts
capability "Actuator" // does not add functions or variables, but the Actuator capability allows the custom commands to be called via Rule Machine
 command "allOn"
 command "allOff"
  // Amit - created the relay 1 on command
  command "Relay1ON"

 attribute "connectionStatus", "enum", ['connected', 'disconnected']
 attribute "input1", "number"
 attribute "input2", "number"
 attribute "input3", "number"
 attribute "input4", "number"
 attribute "input5", "number"
 attribute "input6", "number"
 attribute "input7", "number"
 attribute "input8", "number"
}
preferences {
input title: "Unit Address",
name: "ipAddress",
type: "text",
description: "The ip address configure at the unit or its dns name",
required: true,
defaultValue: "192.168.0.105"
input title: "Unit Address Port Number",
    name: "portNumber",
    type: "number",
    description: "The network port number configure at the unit. (note that 65535 is reserved)",
    required: true,
    defaultValue: 5000,
    range: "1..65534"

input title: "Disable Device",
    name: "disabled",
    type: "bool",
    description: "Disable the refresh loop and sending commands",
    required: true,
    defaultValue: false

input title: "Debug Mode",
    name: "debugMode",
    type: "bool",
    description: "Write debug mode log entries",
    required: true,
    defaultValue: false

input title: "Relay delay settings explained",
    description: "Number of seconds for that relay to switch 'off' after it has switched 'on' (leave it as 0 when there is no need to switch back). only the 'on' action is affected by this configuration",
    name: "unused1", // this is not used, it is used to explain the remainder parameters
    type: "text"

 input title: "Relay 1 delay",
     name: "relay1Delay",
     type: "number",
     required: true,
     defaultValue: 0,
     range: "0..99"

 input title: "Relay 2 delay",
     name: "relay2Delay",
     type: "number",
     required: true,
     defaultValue: 0,
     range: "0..99"

 input title: "Relay 3 delay",
     name: "relay3Delay",
     type: "number",
     required: true,
     defaultValue: 0,
     range: "0..99"

 input title: "Relay 4 delay",
     name: "relay4Delay",
     type: "number",
     required: true,
     defaultValue: 0,
     range: "0..99"

 input title: "Relay 5 delay",
     name: "relay5Delay",
     type: "number",
     required: true,
     defaultValue: 0,
     range: "0..99"

 input title: "Relay 6 delay",
     name: "relay6Delay",
     type: "number",
     required: true,
     defaultValue: 0,
     range: "0..99"

 input title: "Relay 7 delay",
     name: "relay7Delay",
     type: "number",
     required: true,
     defaultValue: 0,
     range: "0..99"

 input title: "Relay 8 delay",
     name: "relay8Delay",
     type: "number",
     required: true,
     defaultValue: 0,
     range: "0..99"
}
}
// default methods - begin
// This method is called when the device is first created and can be used to initialize any device specific configuration and setup
def installed() {
log.info "Device ${device.getName()} Created"
setupDevice()
}
// This method is called when the device is removed to allow for any necessary cleanup.
def uninstalled() {
log.info "Device ${device.getName()} Removed"
}
// This method is called when the preferences of a device are updated.
def updated() {
writeLog "Device ${device.getName()} Updated"
// so we can redo scheduled tasks should the driver be updated
setupScheduledTasks()
}
//This method is called in response to a message received by the device driver
def parse(msg) {
writeLog "Parse received: ${msg}"
if (stateValue(device, 'connectionStatus') != 'connected'){
sendEvent(name: "connectionStatus", value: 'connected')
writeLog "Connected"
}
processStatusUpdate(msg)
}
// default methods - end
// capability initialize - start
def initialize() {
writeLog "Initializing..."
sendEvent(name: "connectionStatus", value: 'disconnected')
reconnect()
}
// capability initialize - End
// interfaces.rawSocket requirements - start
def socketStatus(socketStatusMsg){
writeLog "socketStatus: ${socketStatusMsg}"
sendEvent(name: "connectionStatus", value: 'disconnected')
}
// interfaces.rawSocket requirements - End
def writeLog(logLine){
if (!debugMode){
return
}
log.debug logLine
}
def setupScheduledTasks() {
unschedule()
schedule("0/10 * * ? * *", "refreshLoop") // every 10 seconds
}
def refreshLoop() {
if (disabled) {
return
}
if (stateValue(device, 'connectionStatus') == 'connected') {
    sendCommand('read') //Request relay state
    sendCommand('input') //Request input state
} else {
    connectSocket()
}
}
def childRelayNetworkId(relayIndex) {
return "${device.deviceNetworkId}-relay-${relayIndex}"
}
def stateValue(target, name) {
target.currentState(name) ? target.currentState(name).value : ''
}
def connectSocket() {
writeLog "Connecting socket ${ipAddress}:${portNumber}"
try {
interfaces.rawSocket.connect(ipAddress, (int) portNumber)
}
catch(Exception e) {
sendEvent(name: "connectionStatus", value: 'disconnected')
log.error "connectSocket (${ipAddress}:${portNumber}): ${e}"
}
}
def updateRelayState(relayIndex, switchOn){
newStatus = switchOn ? 'on' : 'off'
childRelay = getChildDevice(childRelayNetworkId(relayIndex))
if (stateValue(childRelay, 'switch') == newStatus) return;

childRelay.sendEvent(name: "switch", value: newStatus)
}
def updateInputState(inputIndex, inputState){
inputName = "input" + inputIndex
inputValue = inputState ? 1 : 0;
writeLog "received InputState ${inputName} ${inputValue}"
if (stateValue(device, inputName) == "${inputValue}") return;

writeLog "updating InputState ${inputName} from ${stateValue(device, inputName)} to ${inputValue}"
sendEvent(name: inputName, value: inputValue)
}
def setupInputs(){
for (i = 1; i <9; i++) {
updateInputState(i, false)
}
}
def setupDevice(){
// Creating 8 child devices (one per available relay)
for (i = 1; i <9; i++) {
switchDevice = addChildDevice("child-relay-switch-with-index", childRelayNetworkId(i), [
name: "${device.displayName} - Relay ${i}",
isComponent: true
])
switchDevice.updateSetting("relayIndex", i)
updateRelayState(i, false)
}
// Set disconnected state
sendEvent(name: "connectionStatus", value: 'disconnected')
setupScheduledTasks()
setupInputs()
}
def processStatusUpdate(msg) {
// a message can be
// 72656C61793030303030303030696E7075743030303030303030
// 72656C61793030303030303030
// 696E7075743030303030303030
indexOfRelay = msg.indexOf("72656C6179") // word "relay" in ASCII
indexOfInput = msg.indexOf("696E707574") // word "input" in ASCII

if (indexOfRelay >= 0 ) {
   // +10 is an offset to remove the word "relay"
   rawStatus = msg.substring(indexOfRelay + 10, indexOfRelay + 26)
   (0..7).each { n ->
       updateRelayState(n +1 , rawStatus[15 - n*2] == "1")
   }
}

if (indexOfInput >= 0) {
   // +10 is an offset to remove the word "input"
   rawStatus = msg.substring(indexOfInput + 10, indexOfInput + 26)
   (0..7).each { n ->
       updateInputState(n +1 , rawStatus[15 - n*2] == "1")
   }
}
}
def sendCommand(boardCommand) {
if (disabled) {
return
}
writeLog "sendCommand ${boardCommand}"
if (stateValue(device, 'connectionStatus') != 'connected'){
writeLog "Could not perform command, socket is disconnected"
return
}
try {
    interfaces.rawSocket.sendMessage(boardCommand)
}
catch(Exception e) {
    log.error "sendCommand Error: ${e}"
    sendEvent(name: "connectionStatus", value: 'disconnected')
}
}
def relayDelay(relayIndex) {
switch (relayIndex) {
case 1:
return relay1Delay
case 2:
return relay2Delay
case 3:
return relay3Delay
case 4:
return relay4Delay
case 5:
return relay5Delay
case 5:
return relay6Delay
case 7:
return relay7Delay
case 8:
return relay8Delay
}
}
def buildSwitchRelayCommand(relayIndex, switchOn) {
relayCmd = ""
if (switchOn) {
relayCmd = "on"
}
else {
relayCmd = "off"
}
relayCmd = "${relayCmd}${relayIndex}"
relayDelay = relayDelay(relayIndex)
if (switchOn && relayDelay > 0){
    relayCmd = "${relayCmd}:"
    if (relayDelay < 10) {
        relayCmd = "${relayCmd}0"
    }
    relayCmd = "${relayCmd}${relayDelay}"
}

return relayCmd
}
def switchRelay(relayIndex, switchOn) {
relayCommand = buildSwitchRelayCommand(relayIndex, switchOn)
sendCommand(relayCommand)
}
def allOn() {
sendCommand('all11111111')
}
def allOff() {
sendCommand('all00000000')
}
// Amit - defined the relay 1 on command
Relay1ON
def Relay1ON() {
sendCommand('all10000000')
}
def reconnect() {
//just disconnect, and the refreshLoop will connect
sendEvent(name: "connectionStatus", value: 'disconnected')
try {
interfaces.rawSocket.close()
}
catch(Exception e) {
// nothing to do, will reconnect
}
}