I've tracked down the error. The instructions were wrong and should have said Activity Monitor rather than Attribute Monitor. Then you publish the table and set the refresh period to never. I just tried it and it worked for me so should work for you. Sorry about that, I will update the docs shortly.
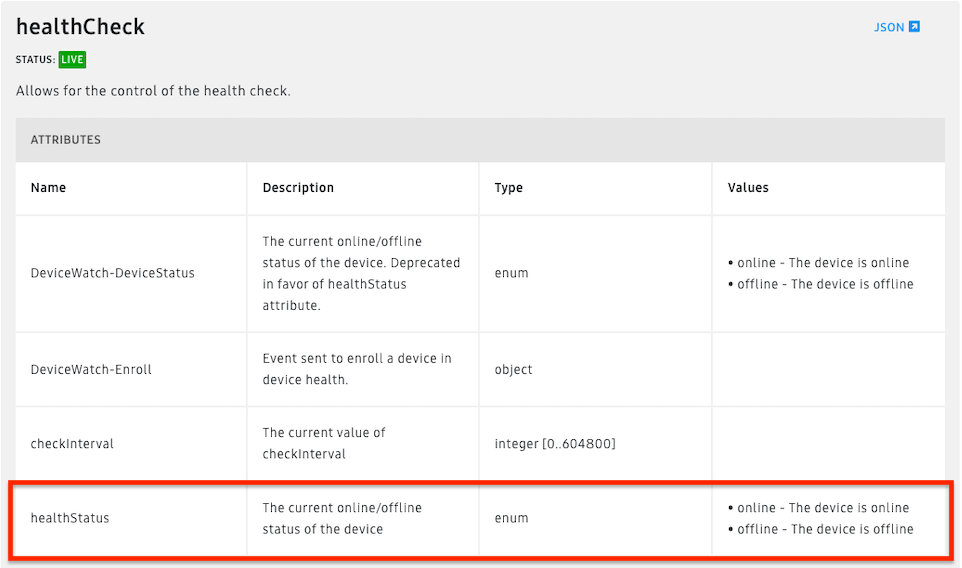
I don't see healthStatus listed as a standard attribute in the docs.
The healthStatus is not a standard HE attribute as per today, but it already used by a number of custom drivers and popular apps/integrations like the Device Activity Check, HubiThings Replica, Home Asistant Device Bridge. It is a good way to determine whether a device is online or offline to the HE hub, based on device-specific behavior.
It will be great if the healthStatus is added in the Attribute Monitor list.
It was derived from the SmartThings healthCheck production capability and is the only attribute that is event supplied by their go forward API. I would/do argue that the older ST Groovy solution healthCheck was a mess and poorly documented, but this is an easy win for everyone.
Hubitat needs to get onboard and add healthStatus to their healthCheck capability. IMHO.
Thanks, I just discovered that today. I have an update to this and several other things mostly complete. Just needs some additional testing before release.
Would it help with the attribute size if there was the option to not include the CSS, but make it available for copy/paste into the CSS of the individual dashboards? I appreciate this would add more manual steps?
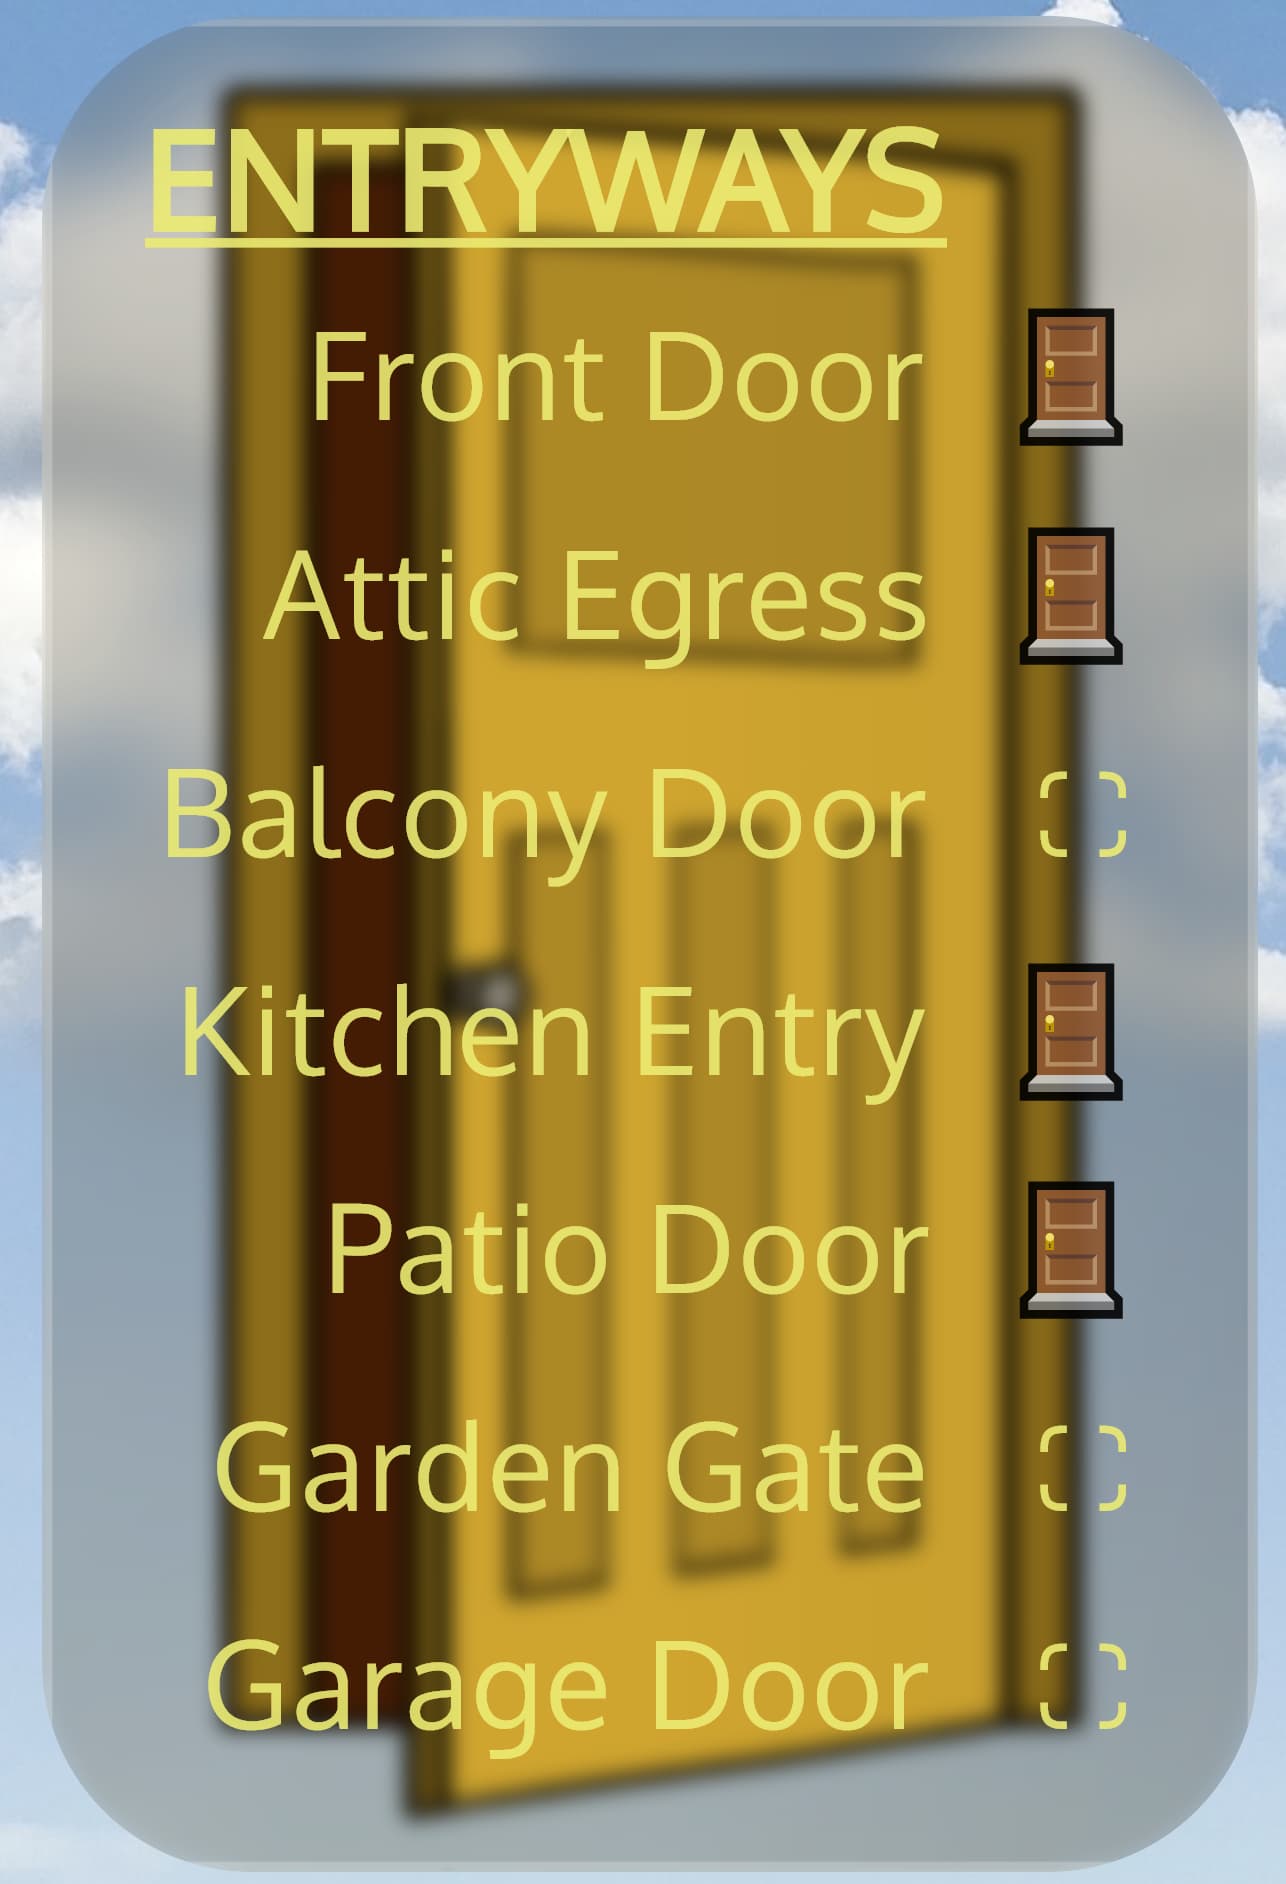
It took me a while to realise that my door and window tiles didn’t need recreating using a different set of styles, but the originals could be included and then restyled with additional CSS on the dashboard. That’s also how I introduced a left hand margin for the left justified tables.
Yes, it does reduce the attribute size. I used to have a section in the docs about offloading CSS classes to the dashboard for that purpose but pulled it out of there. I thought it might be daunting for some people. Plus, with the ability to use a file, the need to offload classes was diminished.
Offloading works well for the user defined classes but when it comes to the classes for the Table, Header, Title etc. those class names are allocated dynamically by the storage driver. Were that not the case then the CSS attributes would be shared across all of the tables where that class was defined. That was an early hurdle that I had to cross.
Hi @garyjmilne
I have some hub variables (strings) that I would like to keep track of and display on the dashboard.
Am I right to think the app currently does not support variables?
If so, do you plan on adding in the future?
If I use the attribute of variable it does work. I cannot limit the selector to "variable" also but if I use * you just have to select those devices you are interested in, no big deal but it would have been nice if the list had been filtered as it does with other capabilities such as sensor or temperature.
This will be in an update that I am currently testing. I expect to release it this week barring any unexpected problems.
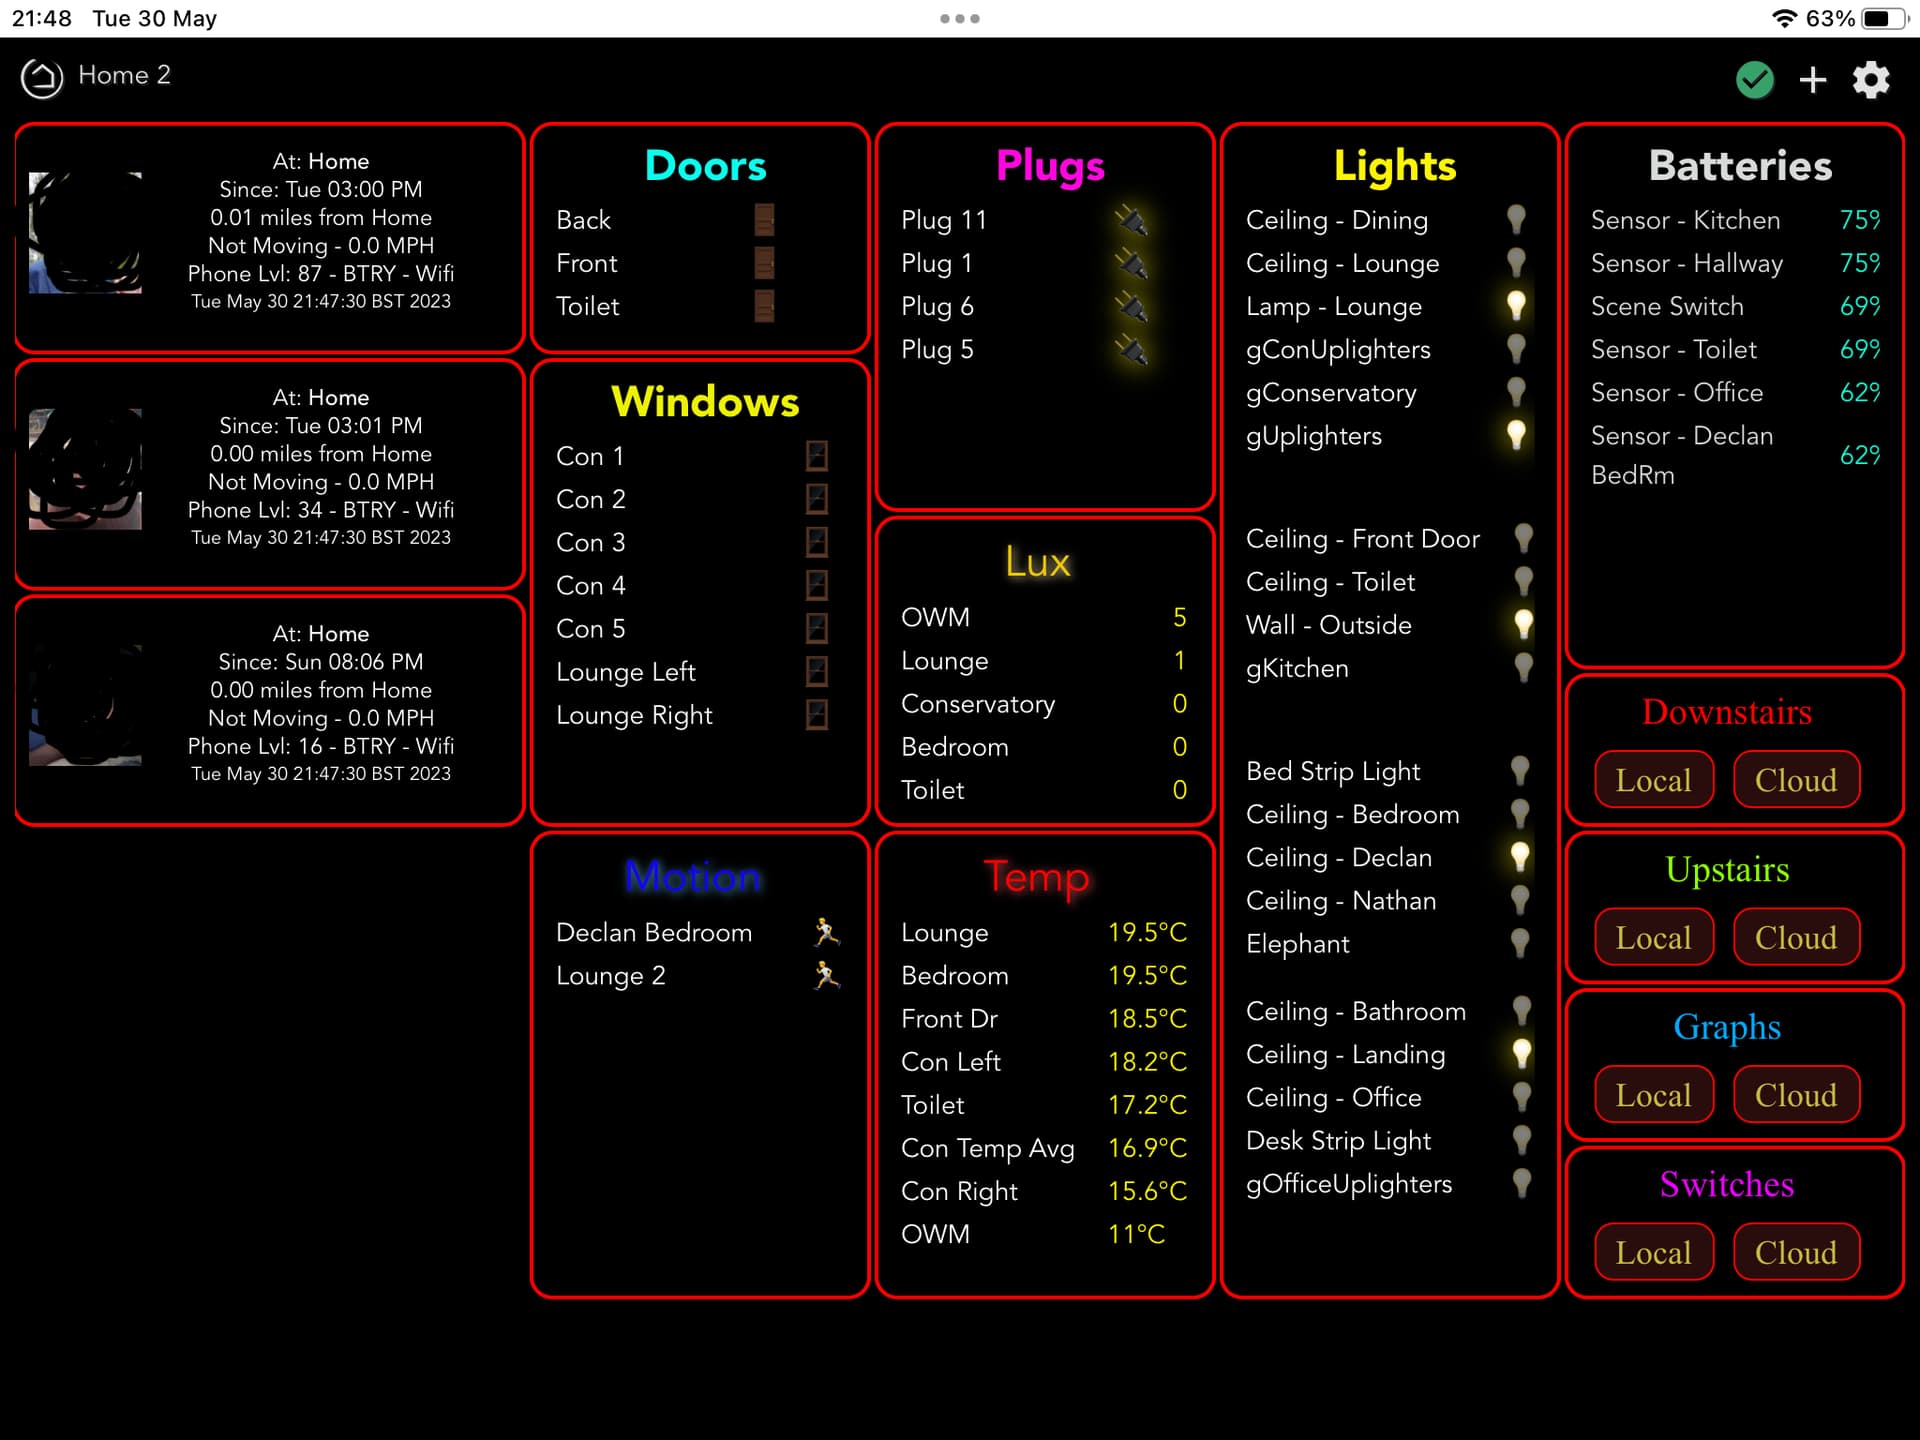
Love what you've done here, and think you've pretty much achieved your overall goal. Even the "merger" works IMHO. Did you run into any size constraints during design?
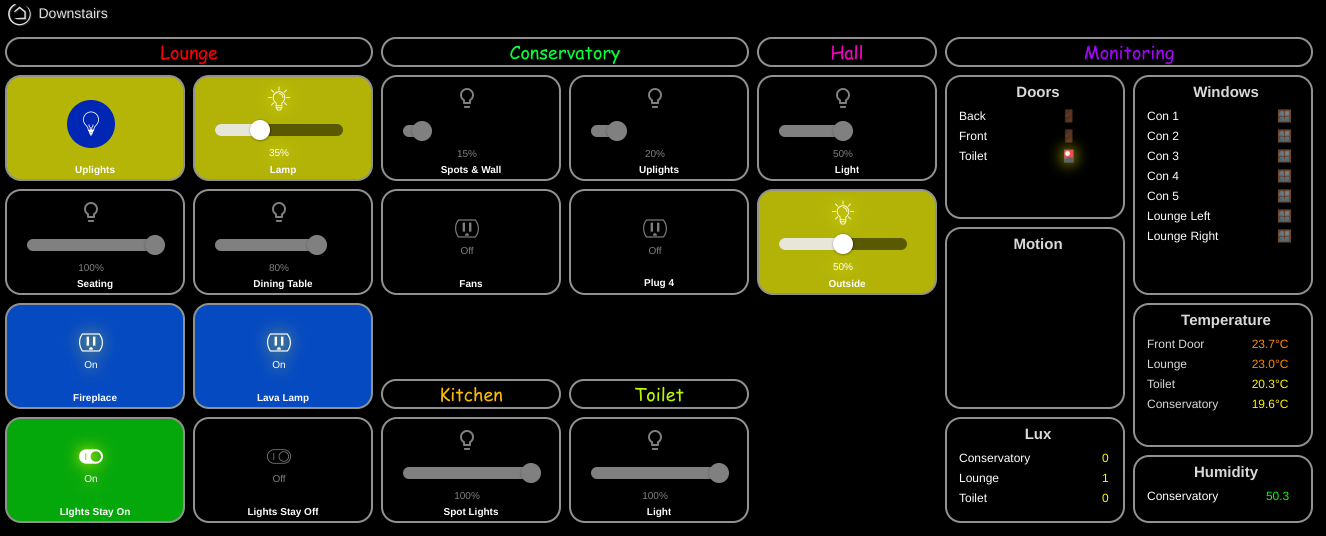
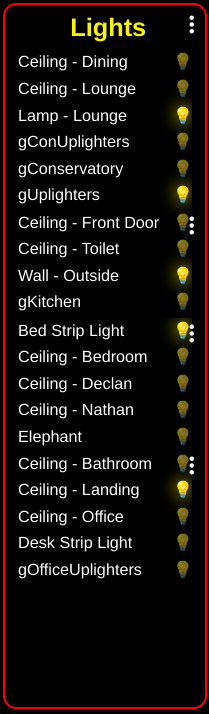
I shuffled them all up by eye using "margin-top: -nnpx" until they looked more or less equally spaced. And then finally I took advantage of the .bf and .bo classes created for the highlighting to right align the bulbs:
.bf, .bo { text-align: right !important; padding-right: 5px; }
With this as the final result (I've left the 3 dots on so you can see the position of the tiles)
Inspired by your design motif, I took this test tile over to my preferred dashboard app, hubiVue, and got fairly decent results using one of its HTML Tiles with a custom background.
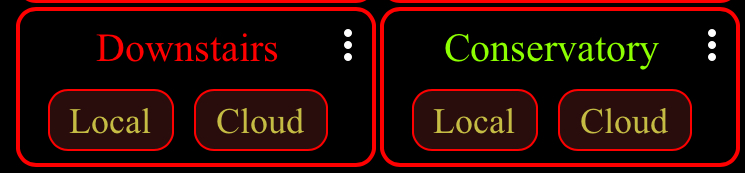
I like what you have there. Your 4 in 1 isn't bad, just looks like an intentional grouping. What you might find useful is the use of a vertical transform. In Tile Builder you can access these under the Advanced Tab\Overrides category Transforms as shown below.
I've used the built in example (in yellow highlight)
and edited it to: #Table#=transform: translate(0px, 60px)
which basically says take the whole table and move it vertically downward by 60 pixels. From this:
Question: I'd love to set up a tile with multiple attributes for a single device. But I can't see how to do this because I need to select an attribute first before I can select a device, and then the other attributes aren't available.
Is there any chance you would consider adding this? (Then I could have even more fun!)