This driver is designed to work with mitsubishi_heatpump_mqtt_esp8266_esp32 from SwiCago's HeatPump.cpp library. The library runs on an ESP8266 or ESP32 microcontroller connected to the heatpump via connector CN105 (just like the official Kumo Cloud device). For more information about wiring up an ESP8266 / ESP32 to your heat pump, check the links above. (I have a blog post I'll finish soon...)
Features
Full local control of heatpumps -- bidirectional updates in seconds
Supports both authenticated and anonymous MQTT connections
Supports the Hubitat / Google Home integration so you can view and control the heatpumps with Home / Nest devices
Can detect when the heatpumps are actively heating/cooling and update Hubitat Dashboard
Reports room temperature back from the heatpump for use in automations
Supports all heatpump modes and fan speeds (dry mode, quiet fan, etc.)
Requirements
A Mitsubishi heat pump with a CN105 connector (MSZ models and more, see wiki for full list)
An MQTT broker running on your network. I use mosquitto on a Raspberry Pi.
Installation
The driver is available on GitHub and includes an importUrl for 1-click import as well as installation instructions.
Why ESP8266 / ESP32?
Kumo Cloud units are very expensive (~$200 USD each) and you need one for each heat pump. ESP32 microcontrollers cost under $5 and can run completely locally so the units can be controlled even without Internet.
If you are lucky enough to have Kumo Cloud, try the driver from @sburke781 instead.
Issues
I am happy to look at bug reports or pull requests on GitHub or here in the forums! I actively use this driver in my home so it will be supported into the future.
Unfortunately MQTT Link is a client rather than a broker. You still need to run a broker somewhere-- it could be on a computer, a Pi, or even a NAS if you have one.
The Arduino connects to the broker and issues messages like "currently set to 70 degrees cooling". It also listens for messages like "Set the unit to 72 degrees" or "Turn the unit off".
This driver also connects to the broker. It receives the status updates from the Arduino and syncs those to the Hubitat state so you can see / control the unit in Hubitat.
MQTT Link is ALSO a client (not a broker). It publishes messages like "hubitat/hue-bulb-1: on" so that other devices on your network that don't work directly with Hubitat can see these events.
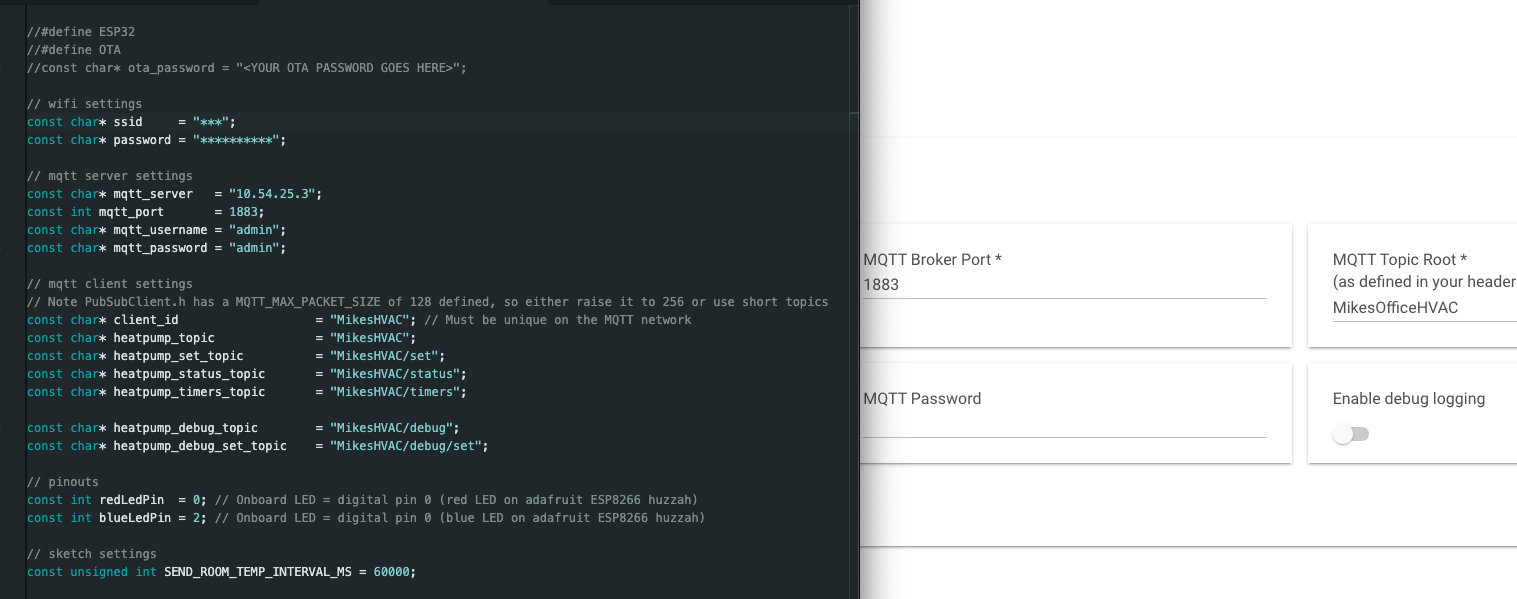
Hey @interrobang I just got my wires from China, soldered up the first unit and plugged in. It's on the network, but I don't get any response via mosquitto. Here's my config:
Great! I was just going to sit down and look at what you had this evening. What was the solution? Will let me know if I need to document anything more thoroughly
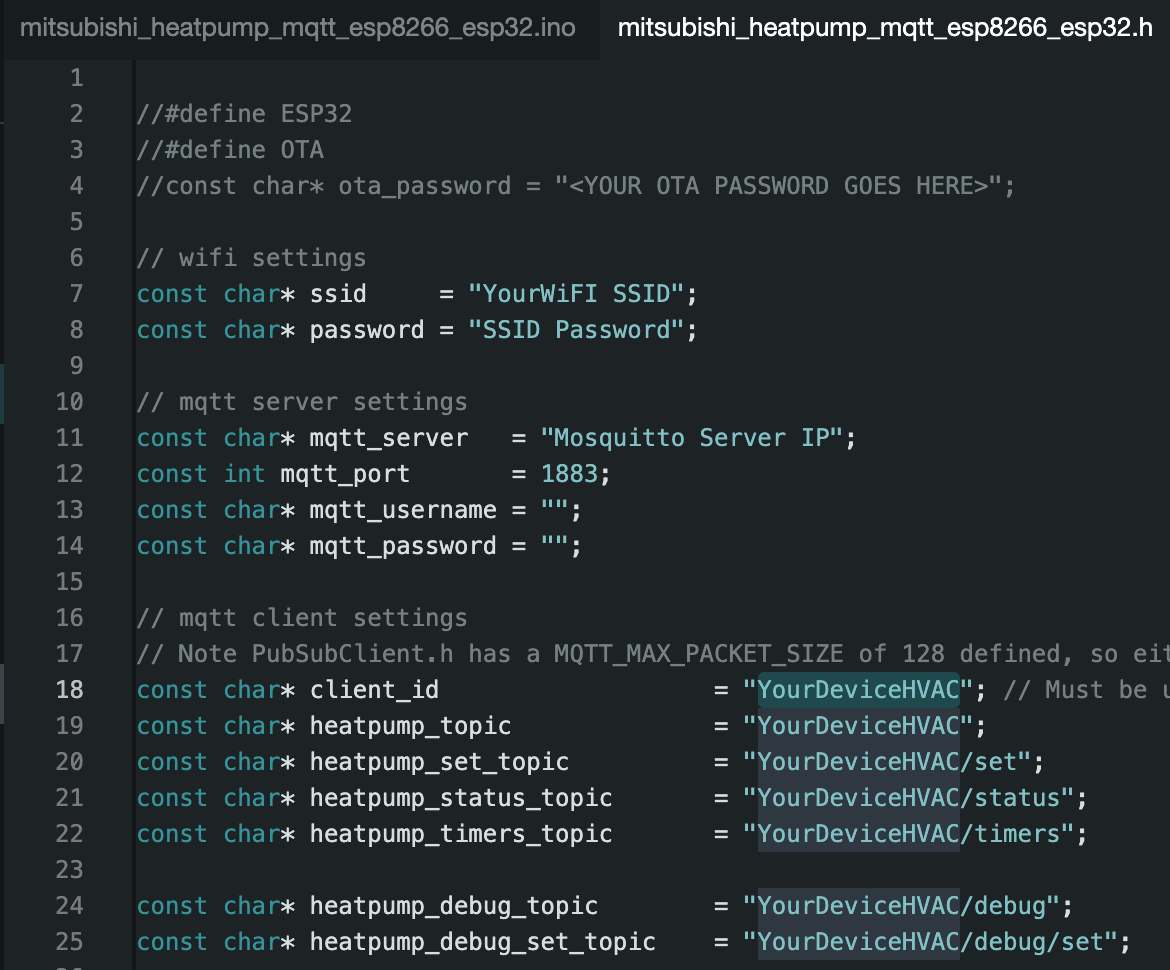
It looks like your header file had the topic as "MikesHVAC" but then in Hubitat you defined the topic as "MikesOfficeHVAC", was that it?
Open Tools -> Board Manger and search esp8266, install, close the IDE
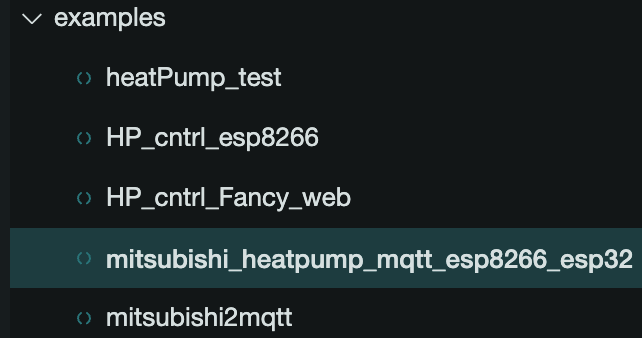
Download, extract, and copy the mitsubishi_heatpump_mqtt_esp8266_esp32 software to your Arduino/libraries and examples user directory (under your local drive, username, Arduino, might have to create examples/libraries folders. I don't recall if I just dumped the whole thing in libraries or not tbh...
Open the IDE and you'll see the files, choose the right one:
Software - Mosquitto Server
Download and install Mosquitto I've done this on MacOS and Windows equally easily
Edit the config file (/opt/homebrew/etc/mosquitto/mosquitto.conf) or Win install folder
Uncomment "Listener" and add port 1883
Under Security, uncomment "allow_anonymous false" and set to true
Setup a password file and security via the man pages if you care to
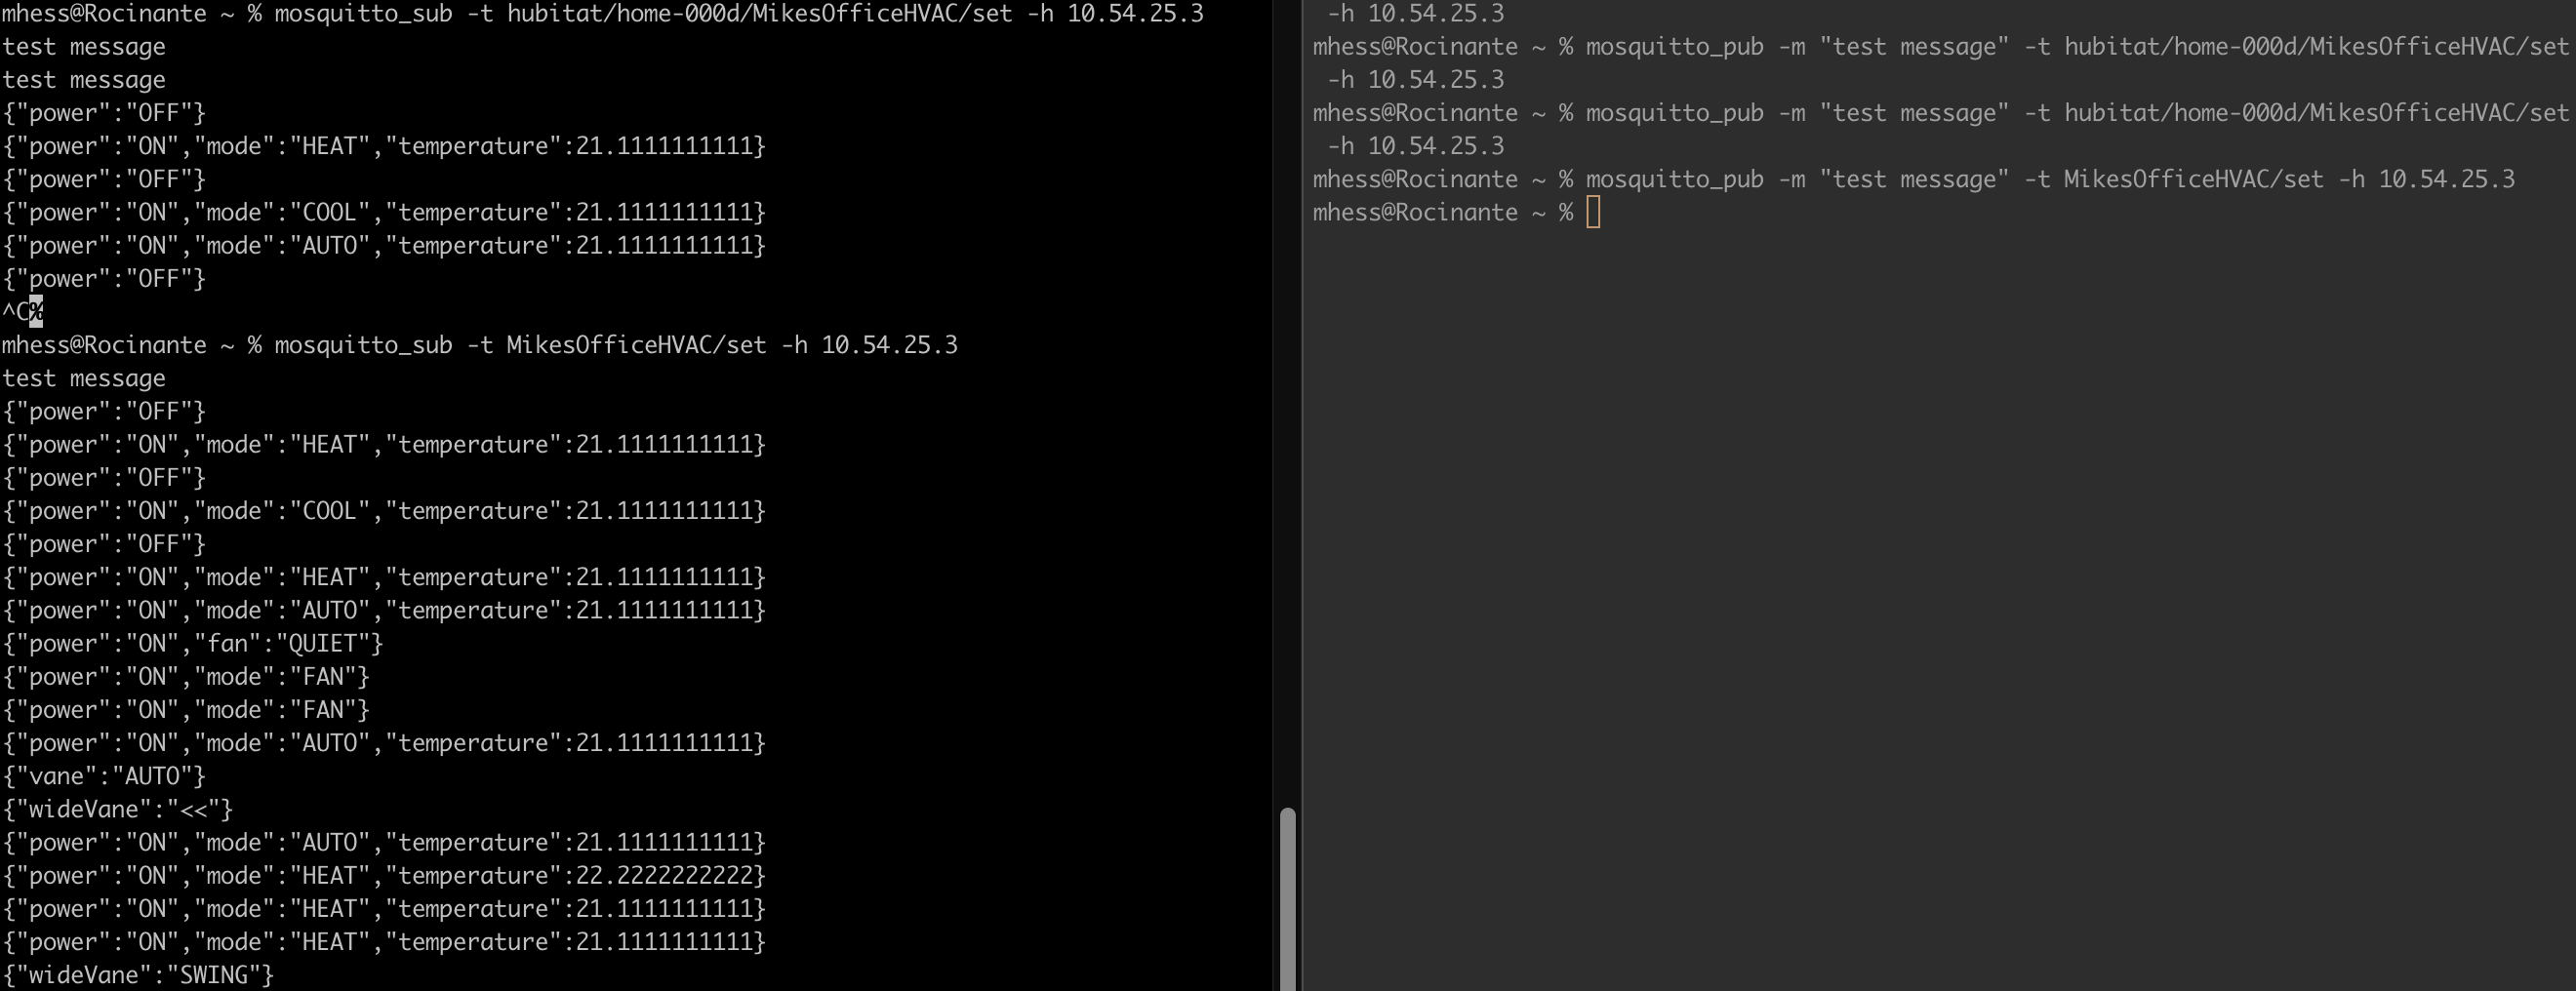
Start two terminals, first one, run: mosquitto_sub -t YourDeviceHVAC -h mosquittoserverIP
Create a new virtual device, assign the driver just installed.
Add the mosquitto host IP, port (if changed), and Topic. I use BedroomHVAC, LivingRoomHVAC, etc, save.
Restart the first terminal and instead point it to the YourDeviceHVAC/set topic (a folder under the root basically)
In the Hubitat driver, click auto/heat/off/etc and see if the terminal updates with the issued commands. If so, you can move on, if not, verify your Topic's are exactly matched. You can use the mosquitto_pub command to issue a message to the root, /set, or anything else you'd like, just make sure the mosquitto_sub is set to the exact same name and folder structure.
Combine the two by cutting one end off, don't use the blue wire, strip back a few mm, and cram into the holes. Solder (on 5v side) Red (pin 5) -> TX, Black (pin 4) -> RX, Green (pin 2) -> Gnd, Yellow (pin 3) -> 5v. Pins are seen with connector facing down (wires up) and tab facing you.
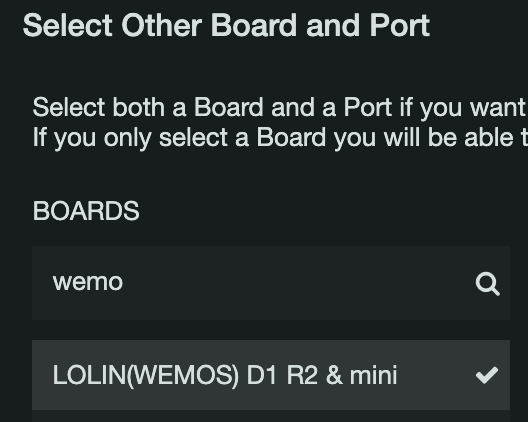
Plug a D1 into your computer.
Open Arduino IDE, double click the mits_heat_mqtt_esp blah blah sketch, select the discovered device from the Board dropdown, search and choose the D1 R2 & Mini:
Change the supportedThermostatModes and supportedThermostatFanModes to JSON-encoded arrays for compatibility with Hubitat 2.3.4. (ref)
Override the default setThermostatMode and setThermostatFanMode commands to show the correct values on the device's edit page. (Dashboards already showed the correct values.) (ref)
Upgrading from an earlier release
Because of the modes change, you need to reconfigure each device using the driver. After saving the updated driver, visit each device's edit page and press Configure. (This will reset the temperature setpoints to defaults.)
This is great work @interrobang! I have almost everything set up with the helpful instructions from @michaelahess. I'm using mosquitto on a Raspberry Pi and monitoring the MQTT traffic with MQTT Explorer on my PC. I see updates from Hubitat and my Feather Huzzah, so it looks like it's going to work! Just awaiting the JST connector and pins to fully install and test. Hoping that the protocol will be supported on my recently installed ML series model NTXWMT12A112A, which is not listed in SwiCago's compatibility list.
I have a couple of questions:
The driver has an AUTO thermostat mode with cool and heat setpoints, which is exactly what I want, since the supplied wireless remote doesn't provide that. Are there models of these mini-splits that don't support an auto mode? If so, I suppose I can modify the driver to remove that option and create rules to switch the mode.
In the dashboard I've set up, I have added a tile with thermostat template and I can change the mode and fan mode and see the set messages in MQTT and see the status returning from the ESP at the top. However, there are no up/down buttons visible or ability to change setpoints. Do these appear when messages start coming from the mini-split?
Unfortunately Hubitat auto doesn't work like the Mitsubishi auto. Mitsu has a single set point and switches between heat or cool with some hysteresis, whereas Hubitat is a double set point. I expose the auto mode so that you can replicate all the remote functions, but it isn't 1:1.
Yes, the heat pump has to report a successful mode switch for the arrows on the dashboard to kick in.
Does anyone know if I can get this working with a Mitsubishi ATW pump, rather than ATA? Most of the control integrations out there seem to be for ATA units. Mine has a CN105 port which I've rigged up to a Wemos D1 Mini Pro, but I'm stuck there. The Arduino sketches seem to relate only to ATA pumps, unless I'm missing something?
I really hope I can get this solution up and running.
I have been using the original Melcloud solution with my heat pump for many years, but my wifi-module is going offline all the time so I just switched to an esp8266 (wemos D1 mini)
No problems flashing and configuring the code on the esp8266 and my broker is up and running. I installed the driver in Hubitat and I get data from the broker. I'm still waiting for the hardware to install the esp is my heatpump so I don't have real data. Just a bench test right now.
My logs look like this : dev:7632024-09-02 09:04:46.672debug[[name:temperature, value:0, unit:°C, descriptionText:Temperature is 0°C], [name:thermostatOperatingState, value:idle]]
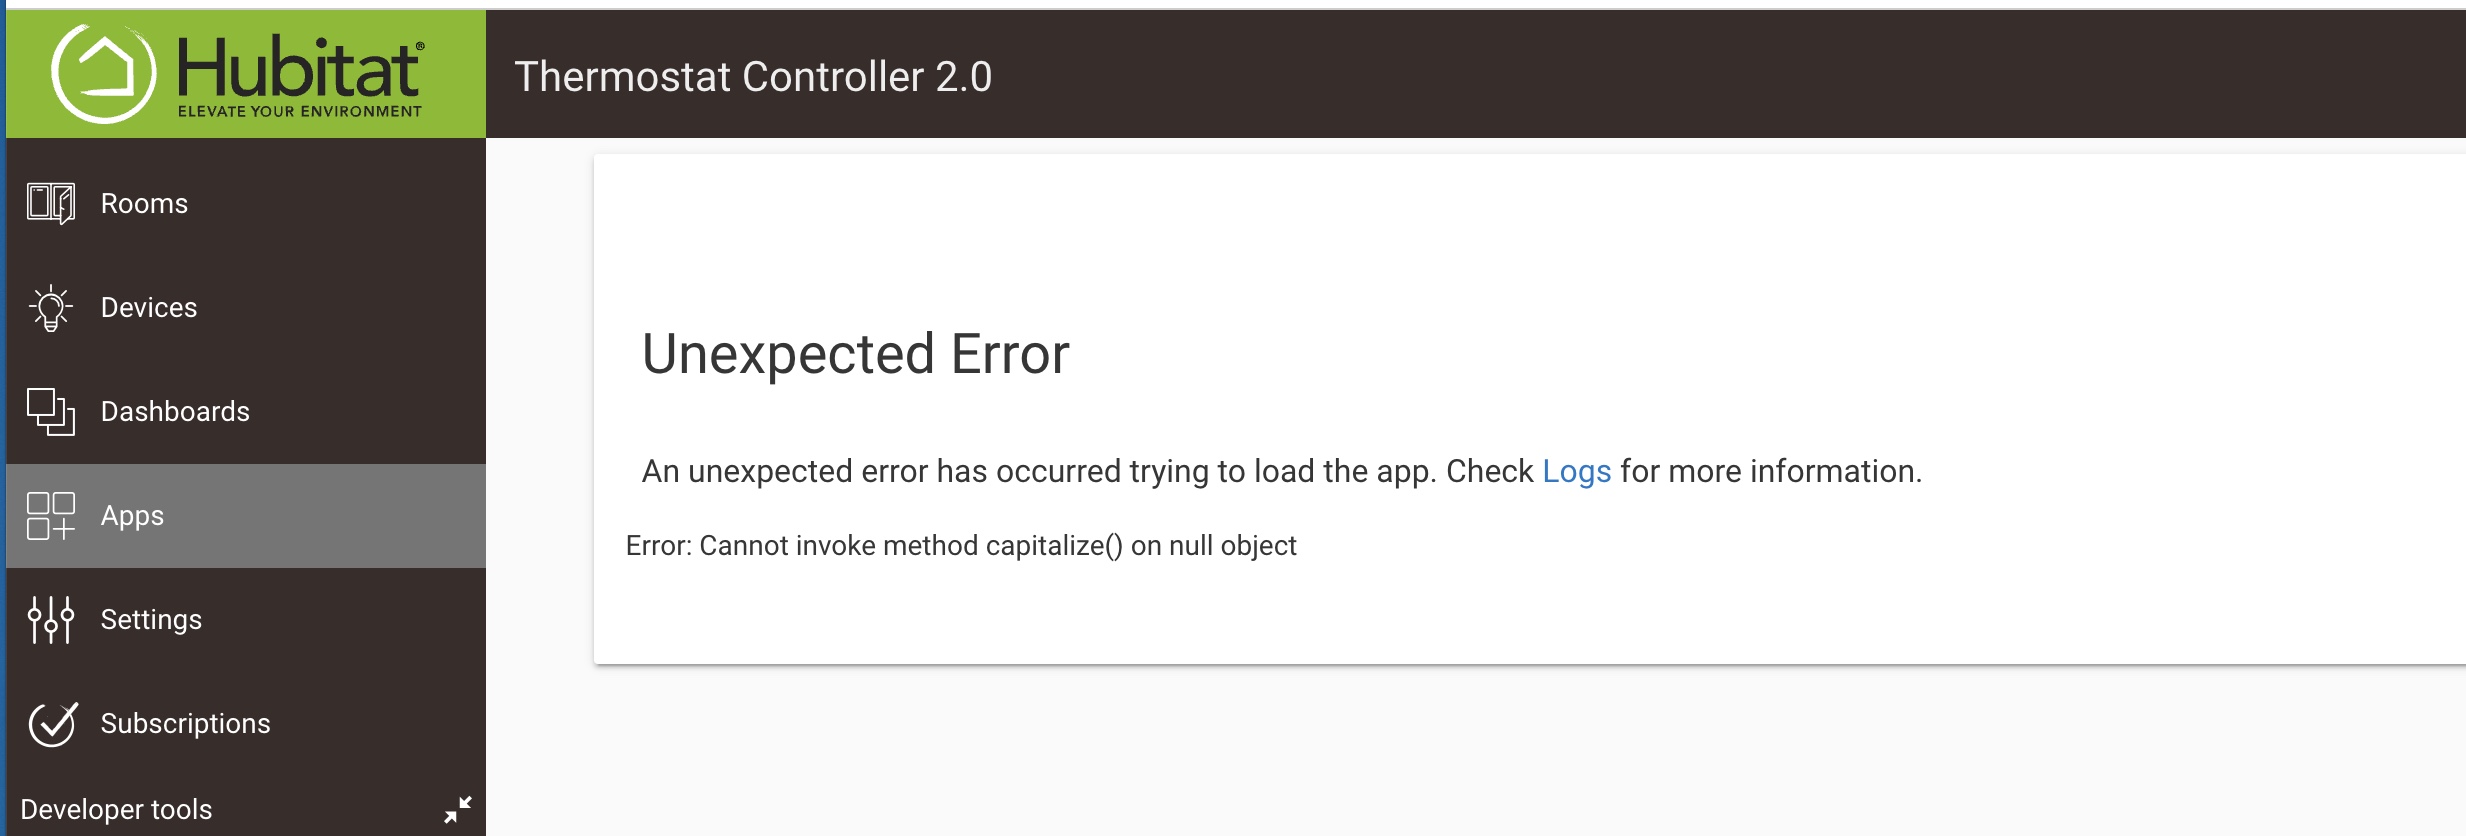
So far so good. My question is why I get the error when I install the built in thermostat app? Nothing in the logs.
I searched for the error message and found a similar thread about this error but with another heat pump brand.
I discovered that the SwiCago Heatpump library provides a remoteTemp command, which I figured had to be better than the matrix of Thermostat Controllers I had constructed to deal with inaccurate internal heat pump sensors.
I have a PR up against @interrobang's fine driver to add remoteTemp support, but if you'd like to use the feature now with Rule Machine or webCoRE (instead of the Remote Sensor app above), you can install it from my fork.
How's this work? I see the field for a value (0 if internal) but that doesn't make sense. Is this an offset based on another sensor and you have RM set that value on a regular basis from another temp sensor?
It's not an offset. The companion app, and my webCoRE piston before that existed, sends raw values from another temp sensor as they occur, with some additional timeout logic in case the sensor goes missing; that's when I send the magic '0' value to use the internal sensor on the heat pump.
@interrobang - it appears my driver is having trouble pulling current state from the mqtt broker. The current temp, mode, and fan mode are all failing to update in the Hubitat driver.
I have confirmed your driver is successfully connecting to the MQTT broker (in the logs as successful), also confirmed the HVAC module is connecting to the MQTT broker. Using the web interface on the Arduino I can set the temp, turn the unit on/off, and otherwise fully control the unit.