Reasons for the overwhelming Innovelli love here

Honestly asking this question. I've got a bunch of GE wall switches. They've worked perfectly for me at all times (I only have newer ones, not the first or second-gen Z-Wave nonplus ones).

But given the deep love that has been expressed here for Innovelli, and to support a vendor who actively responds here on Hubitat (thanks @Eric_Inovelli) I went out and got the new 2nd Gen Innovelli switches for some additional upgrades. I've only gotten through the unboxing, and let's just say I'm tempted to return these right now due to the number of problems I have with the installation documentation... if I've lost this many hours in the most basic part of installing a device, I'm seriously wondering what the rest of it is going to be like.

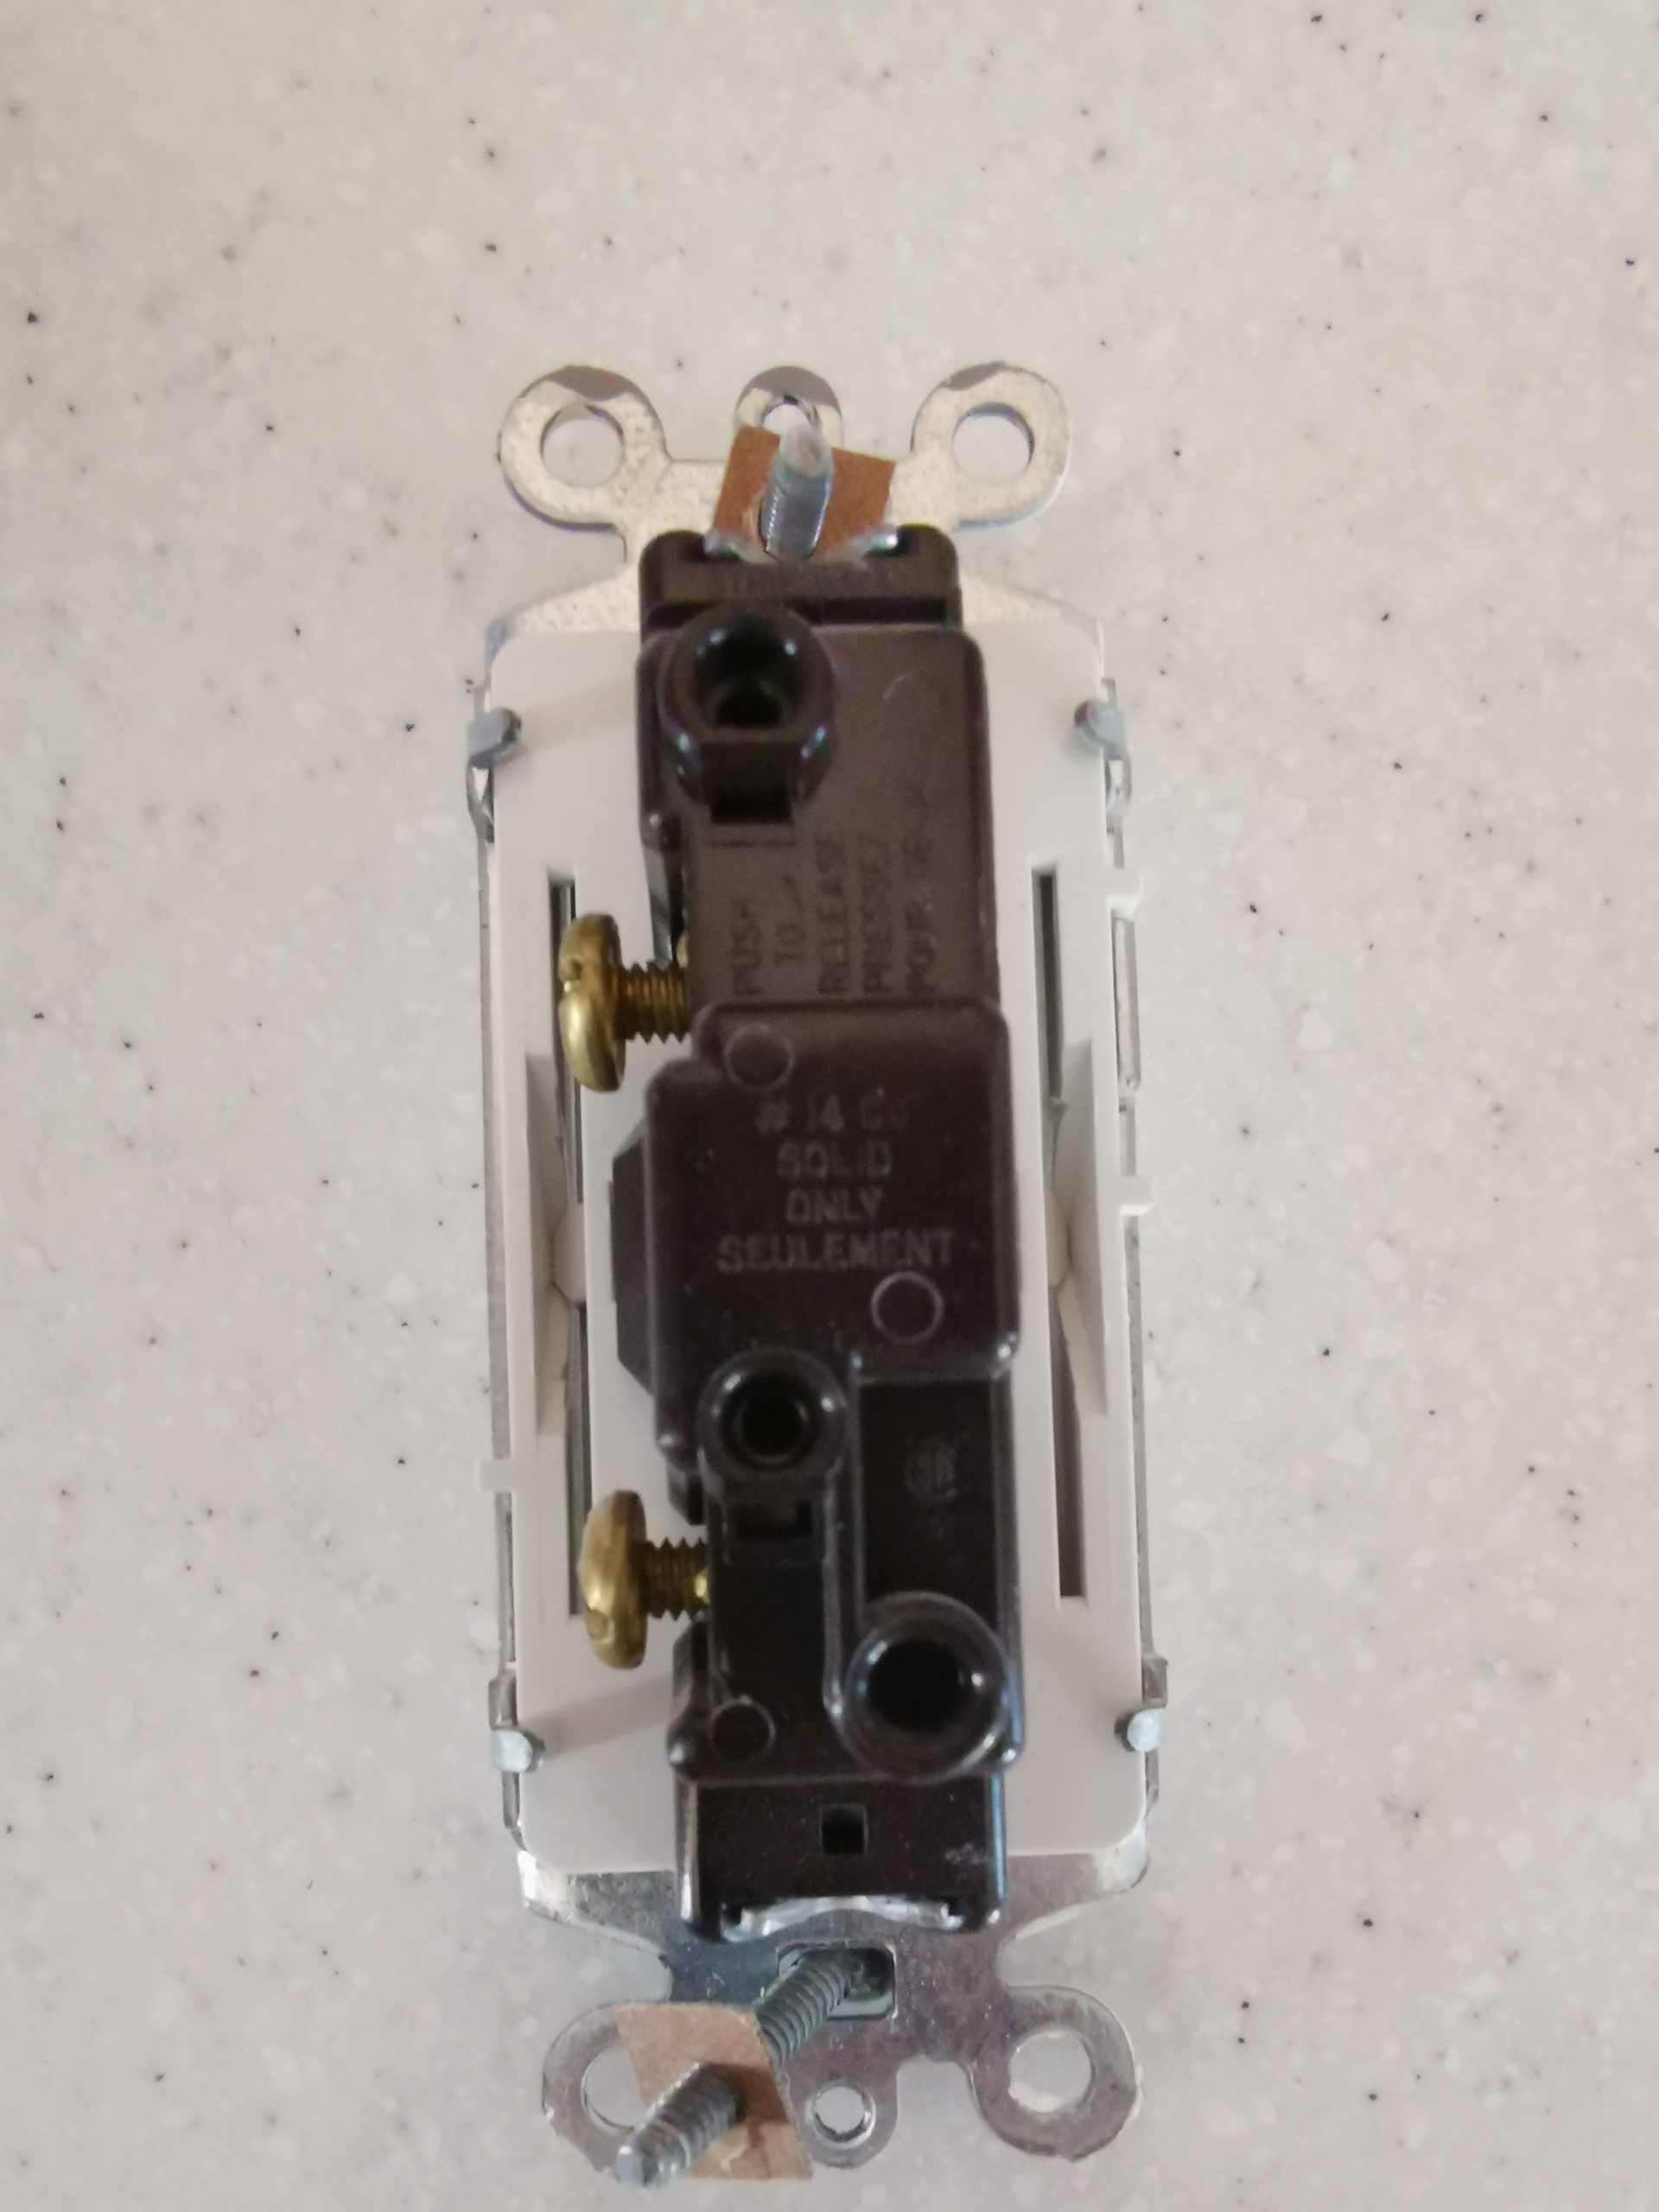
  1. Eric mentioned how these are smaller than the older GE switches. Yes, this is true... they are smaller... By a hair under a millimeter. It takes mounting them in clamps and using a magnifying glass to be able to see the difference. That makes this a seriously dubious claim. For all practical purposes, they are identical in size to GE's previous generation of switches.

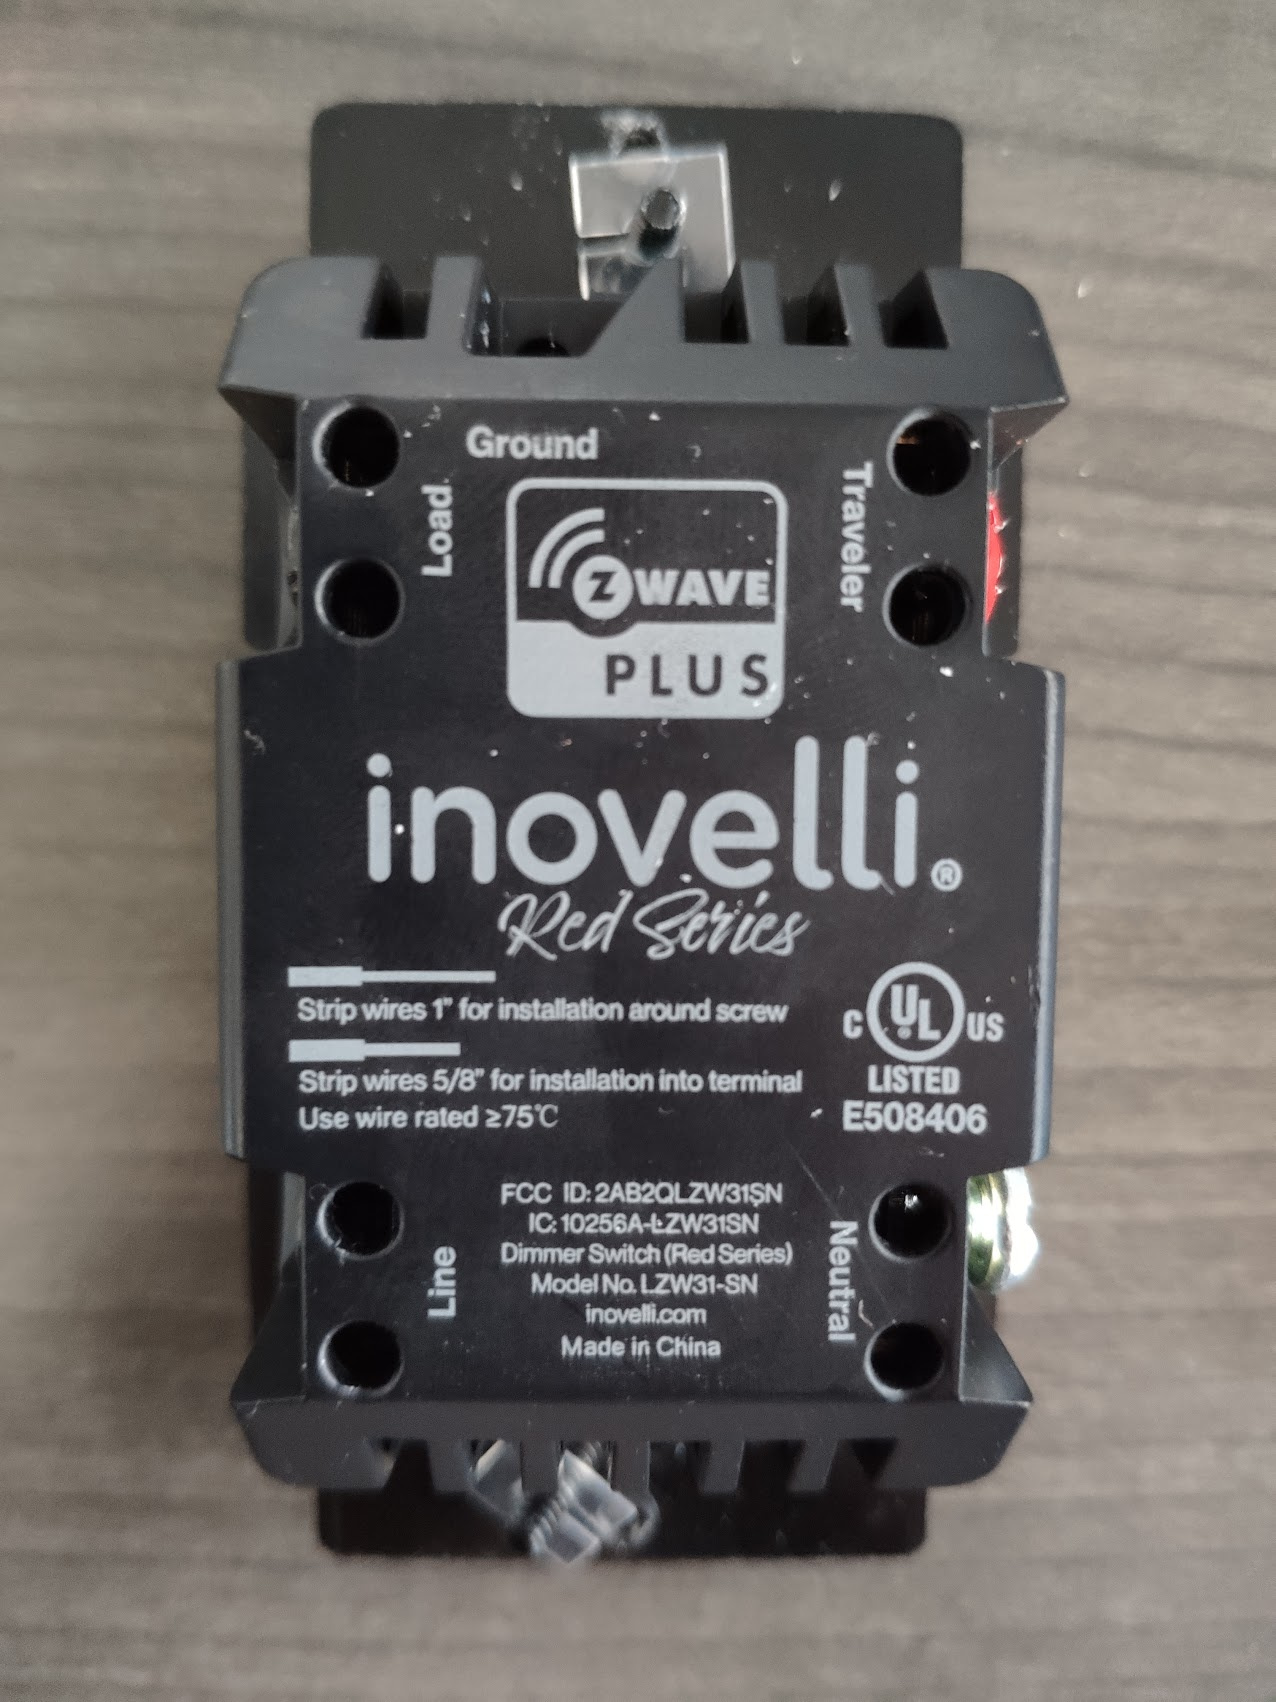
  2. Switches appear to have holes in the back for direct insert, but also have screws on the side. So I go grab the wiring docs to confirm... not on the installation docs. Not mentioned in the manual, simply not described anywhere at all. I've spent 2 hours this morning searching for this answer. I guess I'll be using the side screws since it's really not clear that this is supposed to be used for an insert?

EtA: it's printed on the back of the switch, which I totally didn't expect :wink:

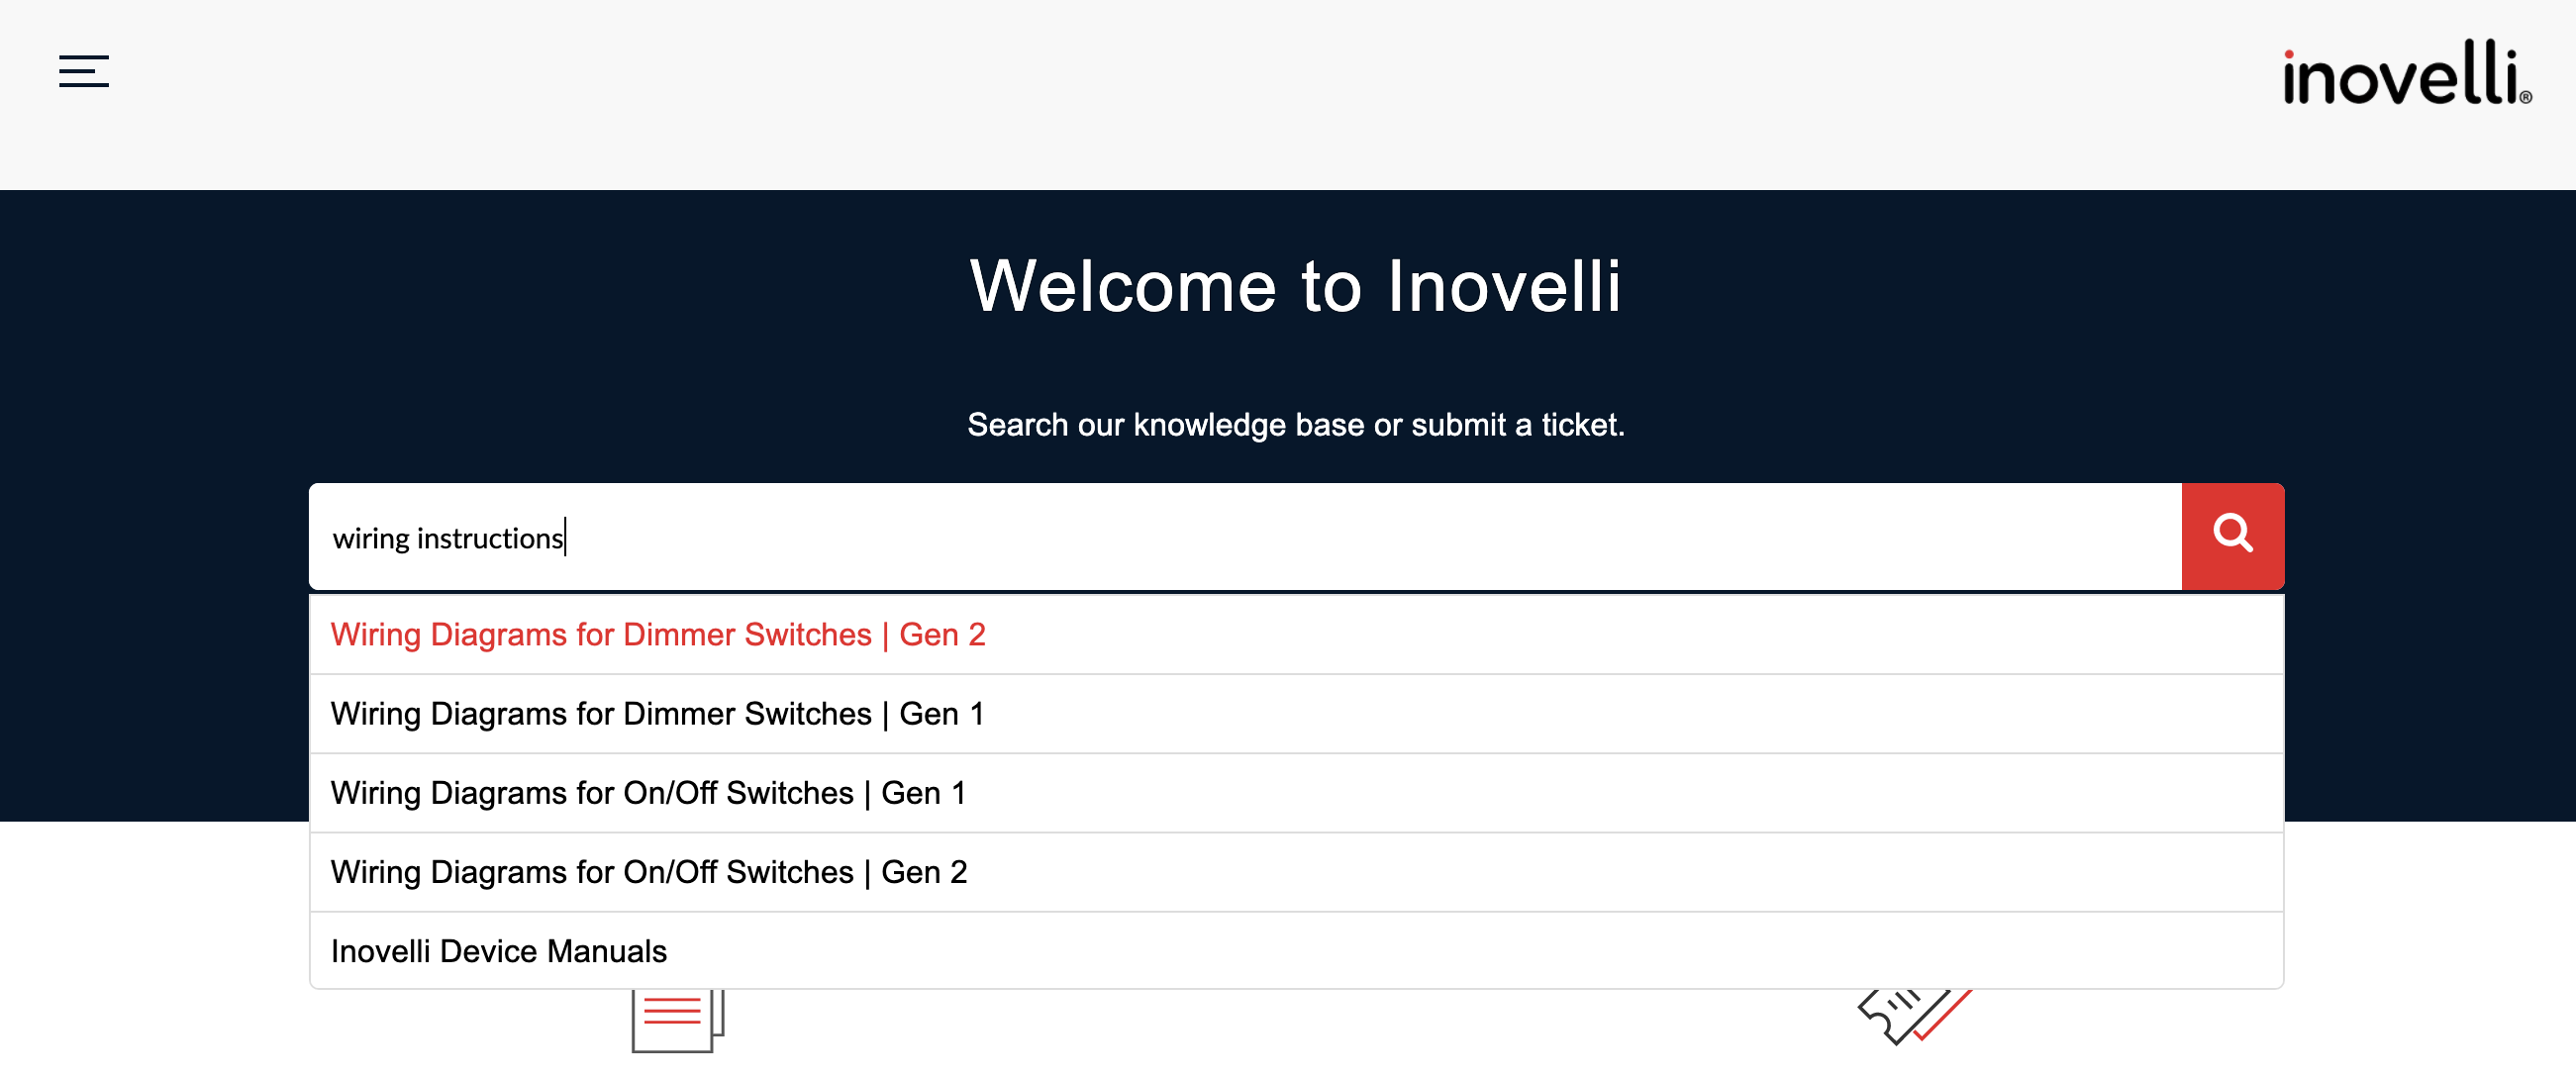
  1. There's a documentation area for the switches... has no mention of wiring.
    https://support.inovelli.com/portal/kb/articles/installation-setup-lzw30-on-off-black-series-gen-2

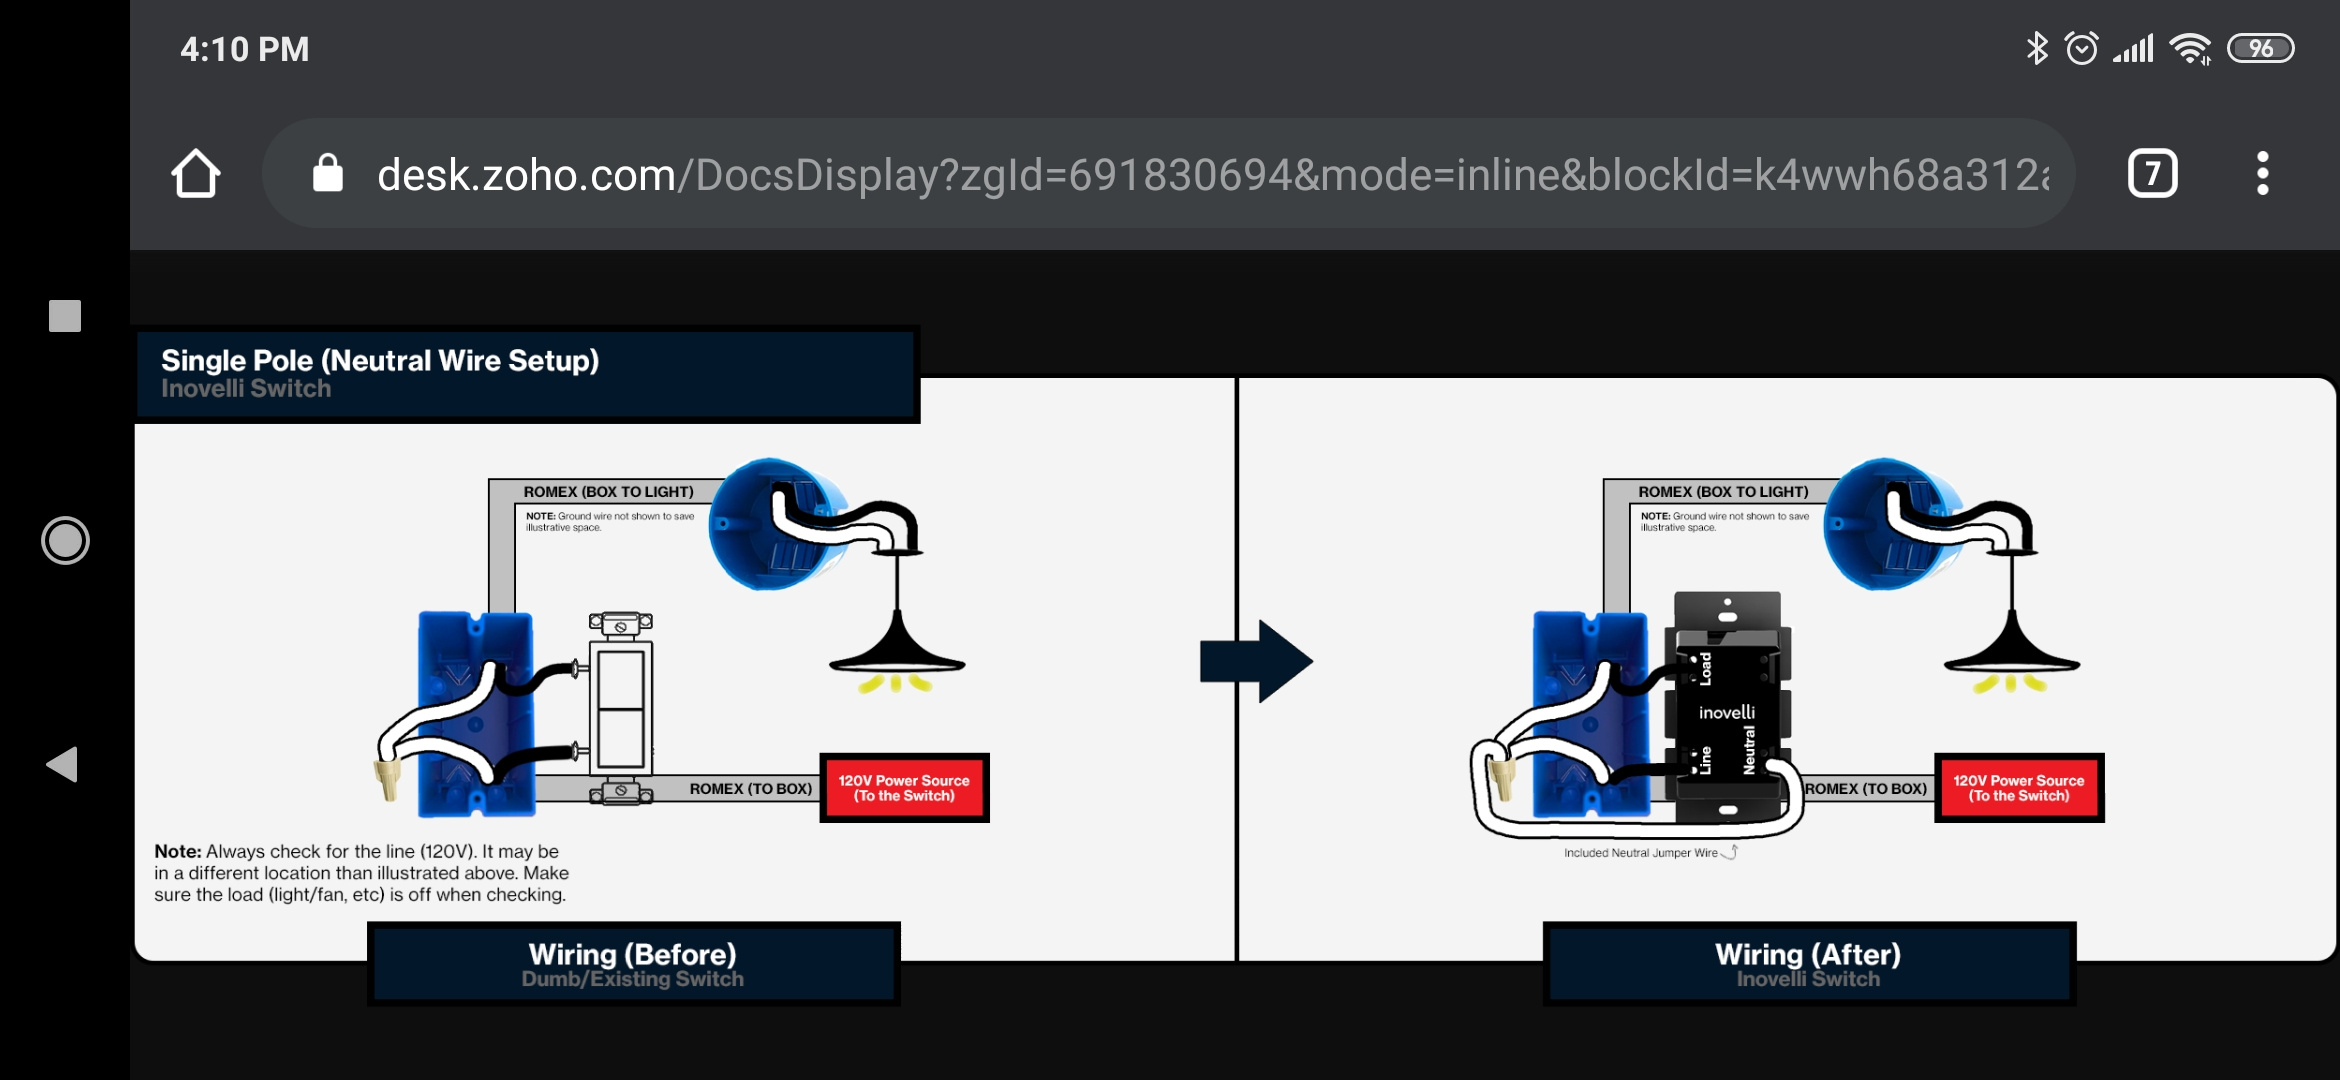
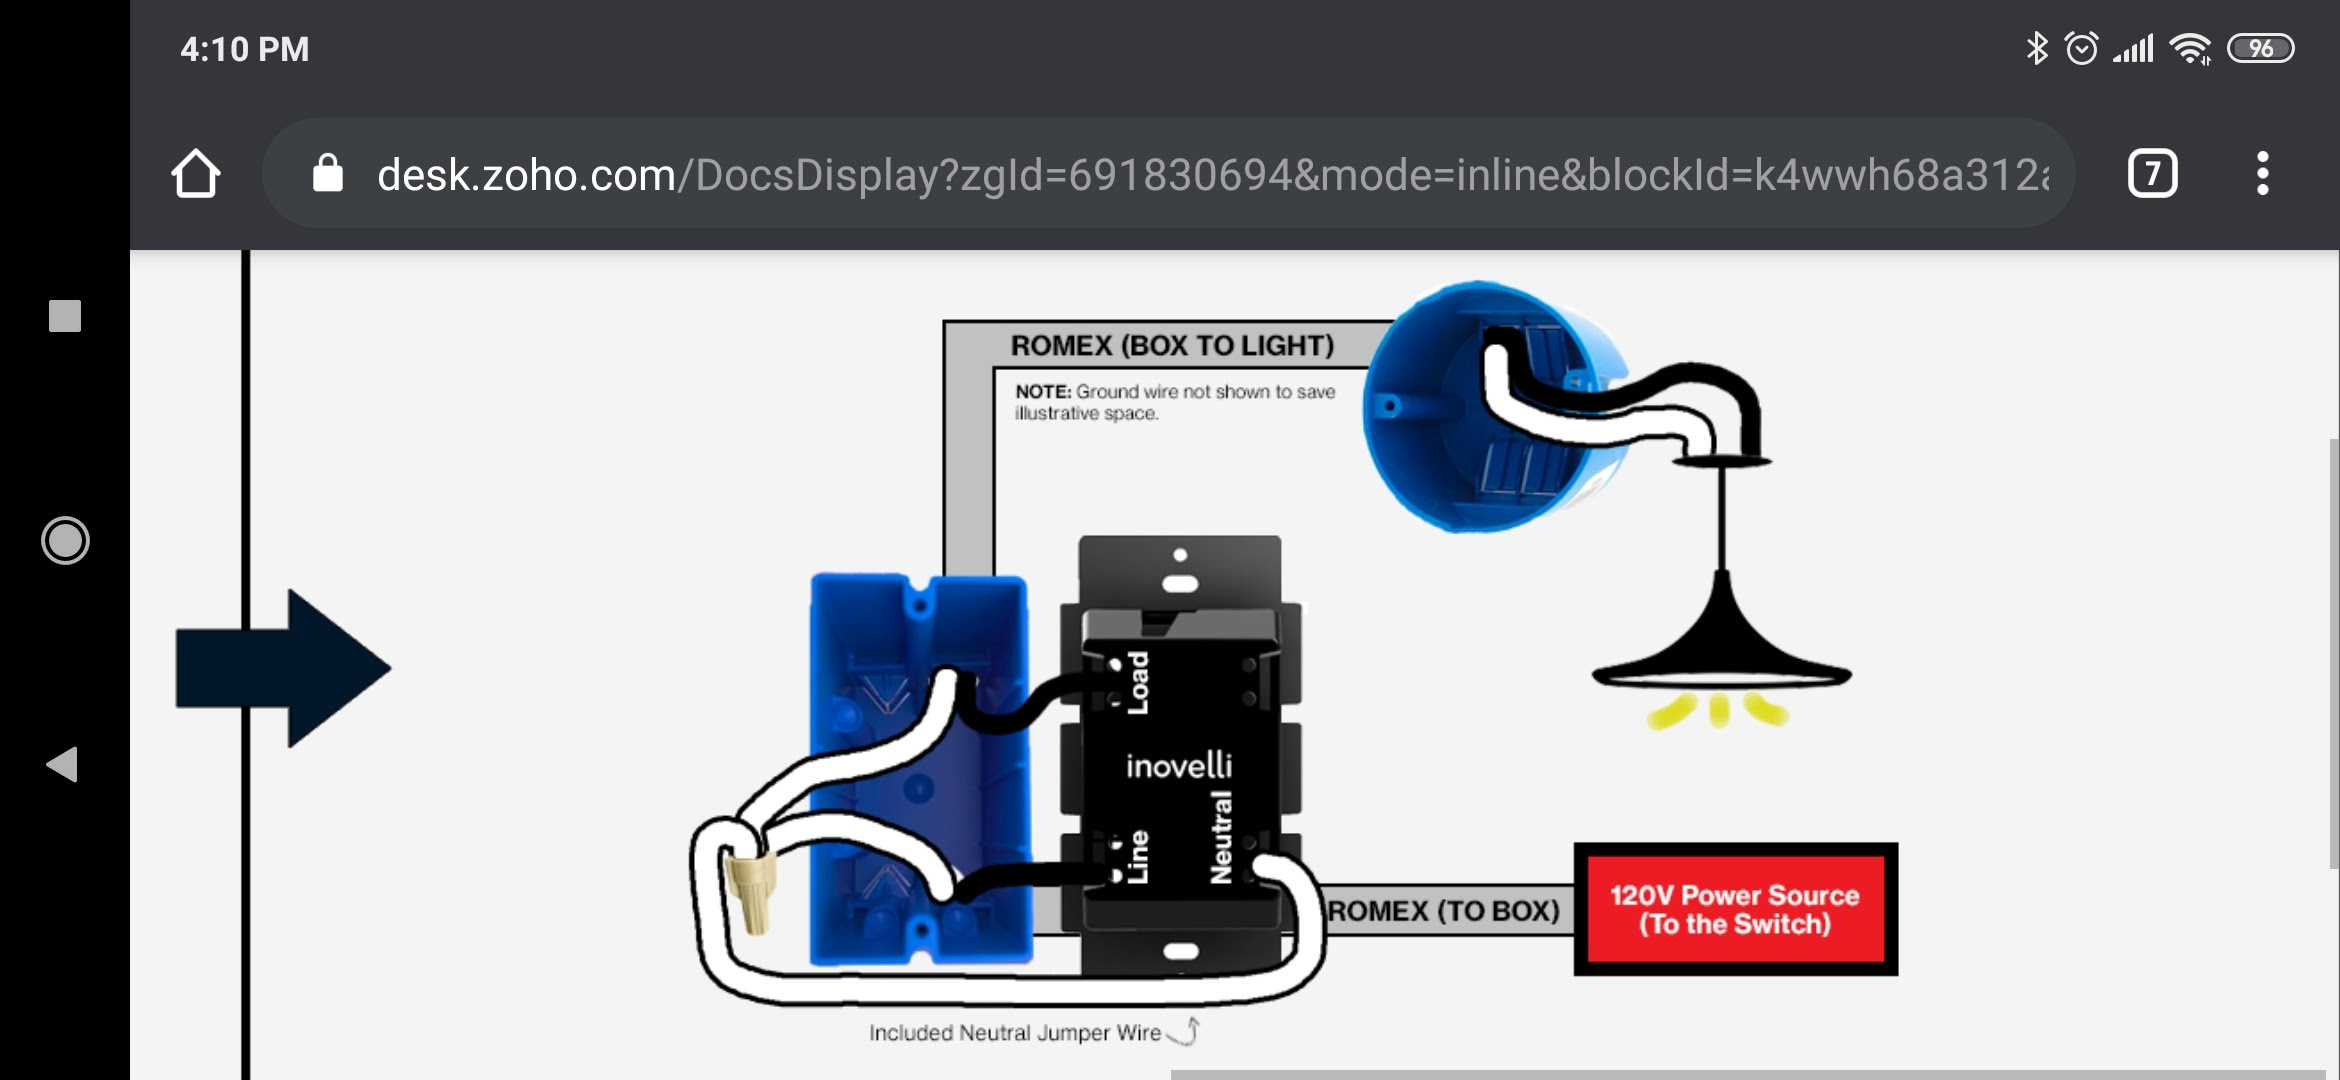
Digging around on their site I found the wiring diagrams in their Downloads area https://support.inovelli.com/portal/kb/articles/inovelli-wiring-diagrams-on-off-switches-gen-2#3-Way_Installations

Really... why would anyone visiting the documentation area for a switch expect to find the switch-specific wiring instructions there? :crazy_face:

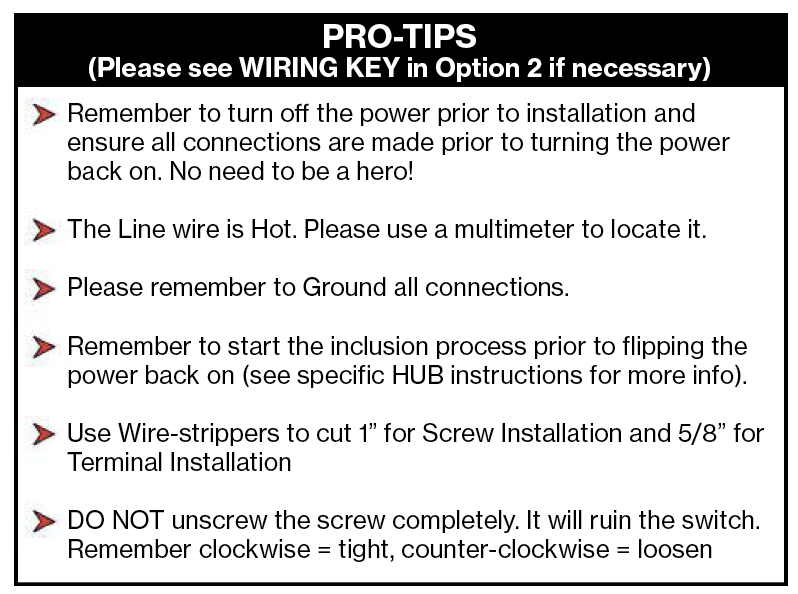
  1. The wiring diagrams (if you click on them and zoom them in) mention "to identify the Common screw...". No clue what this text means, since there's no mention of a Common screw in the installation instructions.

EtA: I know what the Common line is electrically. I'm just confused as to why this phrase exists with no matching instruction.

I'm glad that Eric is around and wiling to answer questions.

1 Like

I think the love for them has more to do with the feature set than the electrical installation. (Eg non neutral wiring, scene support, notifications, power monitoring)

5 Likes

For anyone tracking, I did find in their community that the holes are push-ins, although at least two people had problems using them and recommended the screws instead.

And the confusing docs don't end there either. The wiring page in "Downloads" isn't downloadable... it's text with some wide images that don't magnify very easily without screwing up the entire browser window.

EtA: it's designed to be read on phones in landscape mode. If you're using a computer you might prefer...

But... there's an embedded link in the Hubitat instructions that goes to a DIFFERENT wiring page, which is a PDF that can be downloaded and magnified easily.

Not to be a jackass here, but if you need it to say in the documentation that you can use either the holes in the back or the screws, and you're not sure what the common terminal is.... you probably shouldn't be installing any switches yourself. Hire an electrician. FYI, even your basic $2 dumb switch from home depot has both options and they don't have documentation to tell you that you can use either... they don't even come with documentation.

Now, as someone who has both GE switches and Inovelli switches in the house, I can say the Inovelli switches are significantly better, not just in design and features but also in feel. And yes, they are smaller. I've put the 2 side by side many times. When you push the paddle, you get a better "feel". It's hard to describe but one you have one in you'll know exactly what I mean. Maybe they click deeper, I'm not sure.

Then add all the customizable features they come with and you've got a clear winner over the GE switches.

6 Likes

Oof, punch to the gut. On Easter non-the-less! Kidding... Thanks for the candid feedback, looks like we have some work to on the overall user experience and thanks for taking the time to write this up. Sometimes we get buried in the weeds that we don't see these types of things.

Some quick background (not an excuse, just wanted to provide some context), we just upgraded our site (main site, knowledge base, and community forums) about 3 weeks ago and have been trying to tick and tie everything together to make a more cohesive experience. Clearly we failed.

However, this presents an opportunity for us to be better. I can tell you that we're definitely working on some operations projects behind the scenes to make things much easier.

Anyway, here's what I'd like to understand so I can better improve the UX. I promise I'm not fighting back, I'm sincerely trying to understand so we can get better.

Walk me through when you received the switch and then went to install it. Did you open the hard-copy instructions or did you go online immediately to find them? This will help me determine where you started so I can try to optimize things.

If you had the hard-copy, Page 5 has a large black box that tells you how to install the switches (you can use either the terminals or the screws - 5th bullet point down)

From there, Page 7 has basic installation instructions -- but it will be slightly different for Hubitat (we couldn't fit specific instructions into the manual).

However, if you bought an unboxed switch (no instructions) then online would be the way to go obviously to find the manual -- so here's where I'm curious on how you searched (again, this will help me understand where to optimize).

Where they can be found now is via our Knowlege Base (when you click on Support).

So, basically all instructions can be found in the KB -- however, I can see now how this can be confusing if you were searching on the main site. It also looks like we forgot to upload the LZW31-SN instructions for Hubitat -- my bad.


Anyway, to answer your specific questions:

You can use either per the box above. I prefer the terminal installation, but I know people also like wrapping the wire around the screw.

Yeah, this is our bad -- Idk why there's no instructions there -- I'll talk to Nathan about it tomorrow.

I'm confused here -- where would you think they should be? Genuine question, I mean no offense here lol.

I'm honestly lost here -- help me out :slight_smile: -- the common screw is used in a 3-Way setting and the wiring diagrams show the black screw labeled common. Are you wanting us to list out how to physically install the switch? Again, genuine question -- just trying to understand.

We did put a disclaimer in the instructions :crazy_face:

14 Likes

:point_up_2: That's why there's overwhelming love right here. A company principal posting on Easter Sunday, providing a candid response looking to improve the way his company does business and meets customer expectations.

Let me know if you ever hear from GE/Jasco if you post a similar GE related question on this (or any other) forum.

10 Likes

I am a trained and certified electrician. While I don't use these skills in my day job any more, I'm so old that being a computer person and being an electrician were synonymous when I got started.

I've rewired all my garage overhead lights to LED. I spent yesterday taking apart an extension cable and then resoldering it back so that I could place it inside a weatherproof box using only the exact cable width hole in it. I've given my contractors crap when they violated code or common sense. I'm down with basic electronics, and I know absolutely what common is.

One of the things you learn playing with smarter electronics is... don't improvise. Don't stick loaded wires into holes that aren't explicitly labeled for a given use. The minute you have circuit boards inside these things, a unexpected current running across a contact not intended for that can fry things. Not always in obvious and understandable ways, especially if you happen to leave a static charge on an NVRAM controller for instance.

You succeeded.

1 Like

Bad: you have to call Jasco.

Good: You don't need to call Jasco because the wiring documentation is excellent. And the one time I did, the people who answered were super clueful.

2 Likes

Ok, now I can't tell if you're joking or not. The terminals are labeled and there's instructions on either a screw installation or terminal installation.

Is there a way to make this better? This is the first time I've heard this in over 3 years (our Gen 1's were labeled the same)

Question for ya: How would you improve the documentation? Again, genuine question. I understand not everything ticks and ties right now, so there may likely be some 404's and I apologize for you having to look all over the place, but in a perfect world, how would you like it to look?

4 Likes

If I saw this:
image

I would believe the holes are insertion terminals (which they are). :man_shrugging:

3 Likes

Thanks for answering on Easter! And no worries, you weren't in any way combative. And I suck about asking questions without it coming across badly, so thank you for putting up with that :wink:

I went for the paper first. Then I went for a magnifying glass :frowning: And I found that the paper referred me to online instructions for wiring. I found that a bit odd IMHO. A person using Hubitat will have Internet access. The electrician they hired to install their switches probably doesn't bring a laptop with them. And your wiring docs are not phone-friendly... actually I don't know anyone who is.

Not a problem for me, but something I'd consider for your audience. IMHO reverse that balance.

Not on my hardcopy. I spent a few minutes getting photos to show you this, but then I realized that my paper exactly matches this PDF so you can see it yourself: Knowledge Base Redirect – Inovelli

What's fun about this, is that on page 5 in the Pro-Tips box it tells me: "Please see additional PRO-TIPS on Page 5 if necessary" ... infinite recursion!

Also, the screws are called terminals in most manuals. There's also no other reference to terminals in the doc. I would not make the jump that the phrase "Terminal installation" referring to the push-in holes in the back without at least one other reference to say so.

I've seen far too many devices fried in confusing and weird ways because someone pushed a wire into an air ventilation hole and came into contact with a circuit board.

If that was on my instructions I might have questioned that. It isn't on the documentation for this switch.

And remember, I am a trained electrician. And when I took the exam, "terminals" were screws--and still are for 99% of the devices on the market. I do think adding "push-in" before the word terminal would make a huge difference.

No worries. I'm not really arguing - I don't know what is/is not printed on your devices. And I am a Jasco guy (to the tune of well over 150 devices), so don't have any Inovelli devices to compare to.

I'm just saying if that was printed on a device (like the picture Eric showed), I would assume the holes are insertion terminals. If it wasn't labelled at all, I wouldn't assume they were insertion terminals.

That's all.

2 Likes

I never asked what the common screw is for. I asked about an orphaned reference in the text.

You're welcome to the consequences of sticking hot wires in holes without clear instructions. That I'm unwilling to do so only speaks to my training and experience. That you are not terrified shows that your opinion here is unjustified and irrelevant.


If I were a certified electrician, I'm pretty sure I wouldn't need any sort of documentation when the back is as clearly labelled as it is. Especially when compared to a standard switch which has NO documentation or labelling on the back.

2 Likes

Also, have you even looked inside the holes? In 2s or less you can see how they're tied into the terminals on the side.

This is why I'm certain this is a troll post. I can't ever picture a real certified electrician even questioning this let alone spending hours searching for the answer online.

4 Likes

I'm sorry. @Eric_Inovelli and you are both right. It is printed on the device... but in a 6-point font that requires a magnifying glass :frowning:

Again, back to electrician expectations--I've never seen installation instructions on an electrical switch before. Yay, but especially since these are so small as to be unreadable without putting the switch really close to your face you can expect that they will be overlooked

AND

Terminals are screws. Go pick up any device in any electrical shop or Home depot, and they refer you to the terminals... by which they mean screws. You really must qualify.

Lol -- We'd have to cut down a rainforest to print all the wiring schematics in there! But point taken.

Yeah, we did this because, as you may have noticed, there are many different combinations of wiring schematics, it would've been a 40 page manual :slight_smile:

So, the schematics online are clickable and if you turn on the rotate function on your phone (so the picture displays horizontally) the schematic gets easier to see and you can zoom in.

How it shows normally on mobile (yes, small):

When you rotate your phone sideways:

When you zoom in:

Noted -- I didn't know that. So, "Screw Terminal" and "Push-In Terminal" is what you'd suggest we change it to? We could probably do that on our next batch.

3 Likes

Actually those "push-in holes" are called "Push-In Terminals". If screw terminals are being specifically referenced in the documentation as screws, then logic would dictate that "terminals" when used as an alternative to screws would be the push-in terminals.

Yes, and I can clearly see a green circuit board. I cannot be certain they are tied to the screws on the side without disassembling it.

Also, a bit of bias and experience here. GE would never ship a device that violated consistency with current usage of words electricians are trained in. They live, breathe, eat, and sleep electrical. I would be a bit more trusting of a GE device.

Smart stuff is often made by people who aren't thinking of an electrician's training and expectations. I can't tell you how many things I've gotten over the years that did some really odd or downright stupid things. Insufficient capacitors, no fuses, nonfusible links, you name it. So when a company is a "smart device" company, I temper my expectations.

So when I can see a circuit board inside the hole-- which means that even if this is a push-in terminal, you can keep pushing and contact the board...