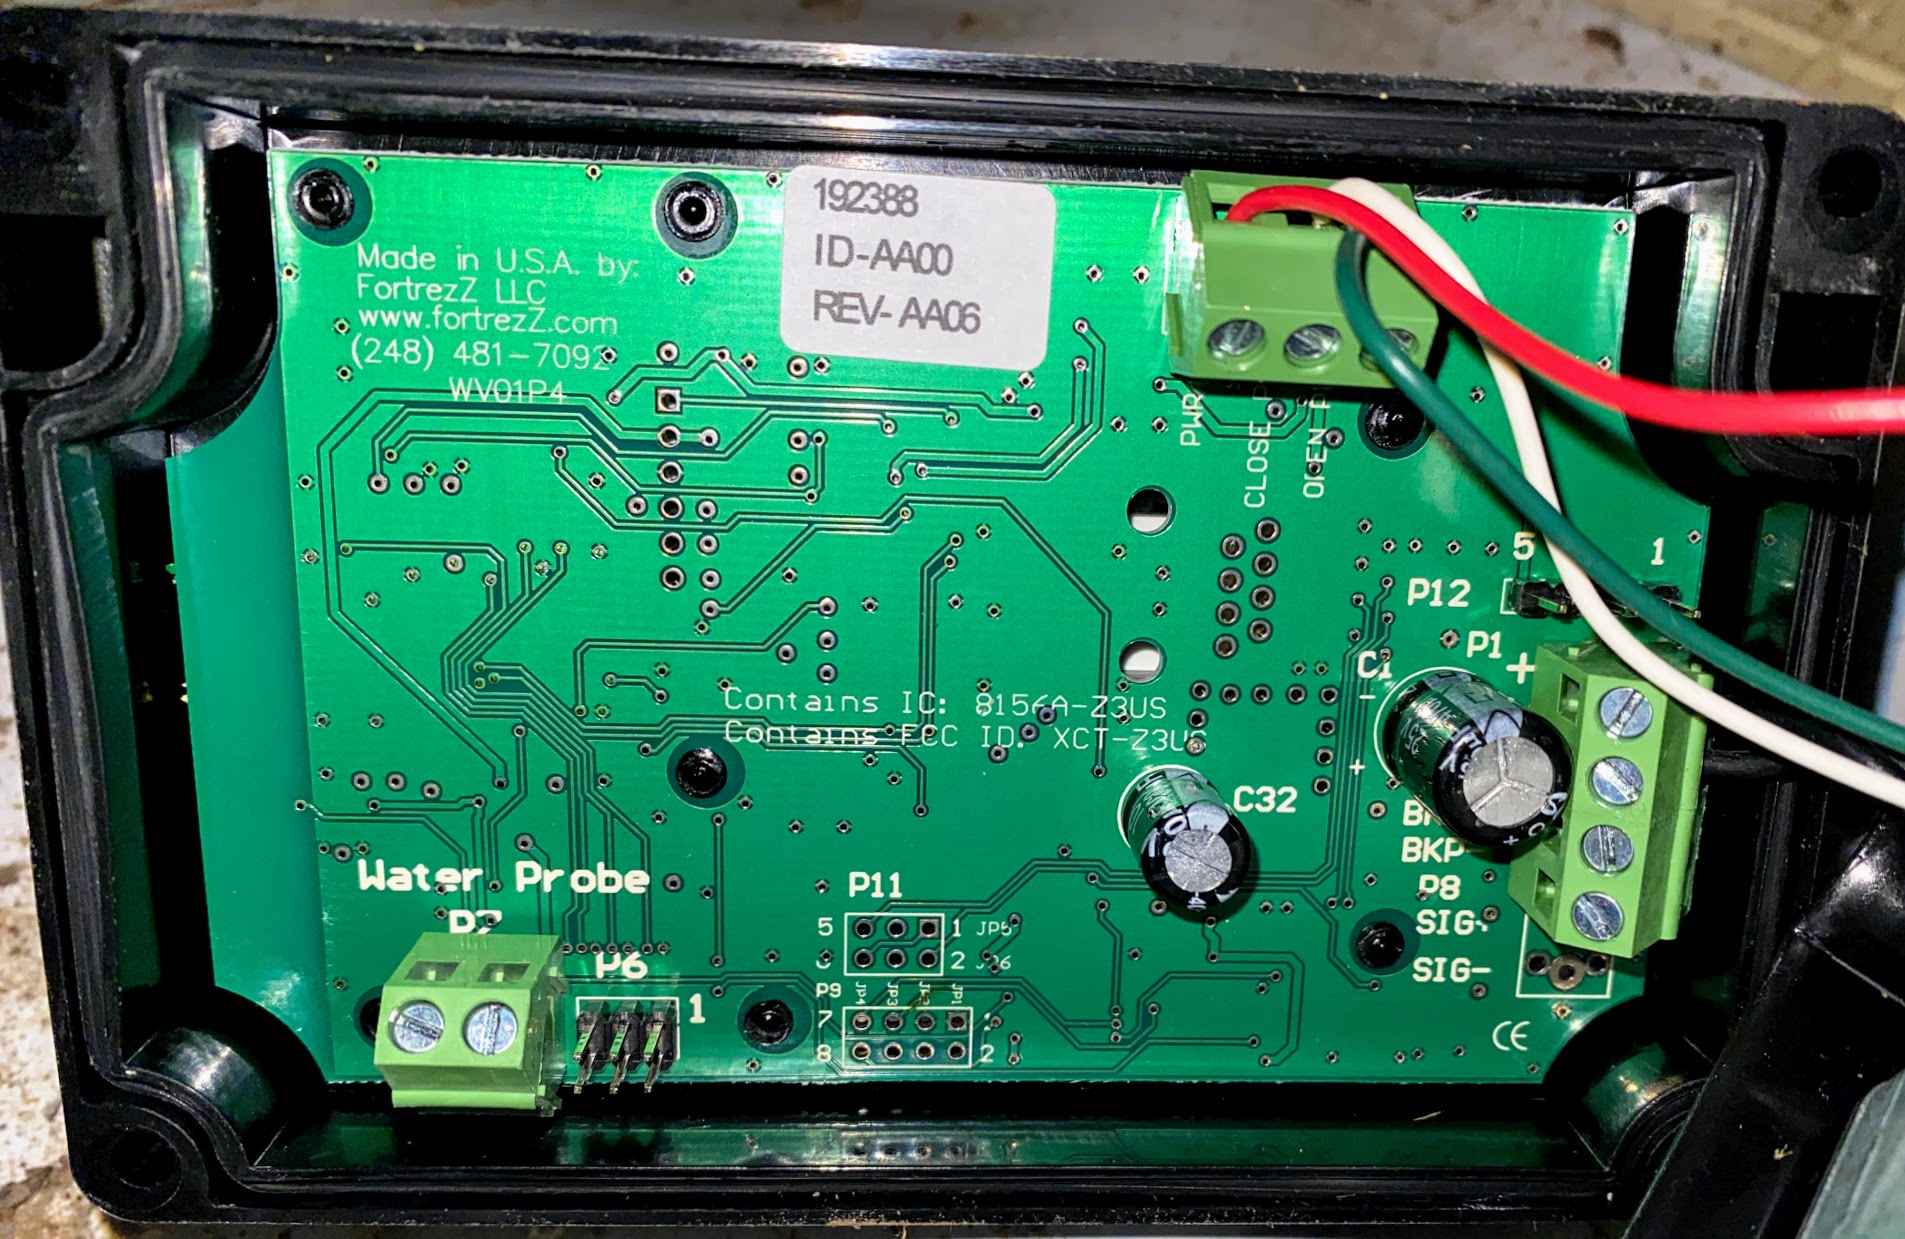
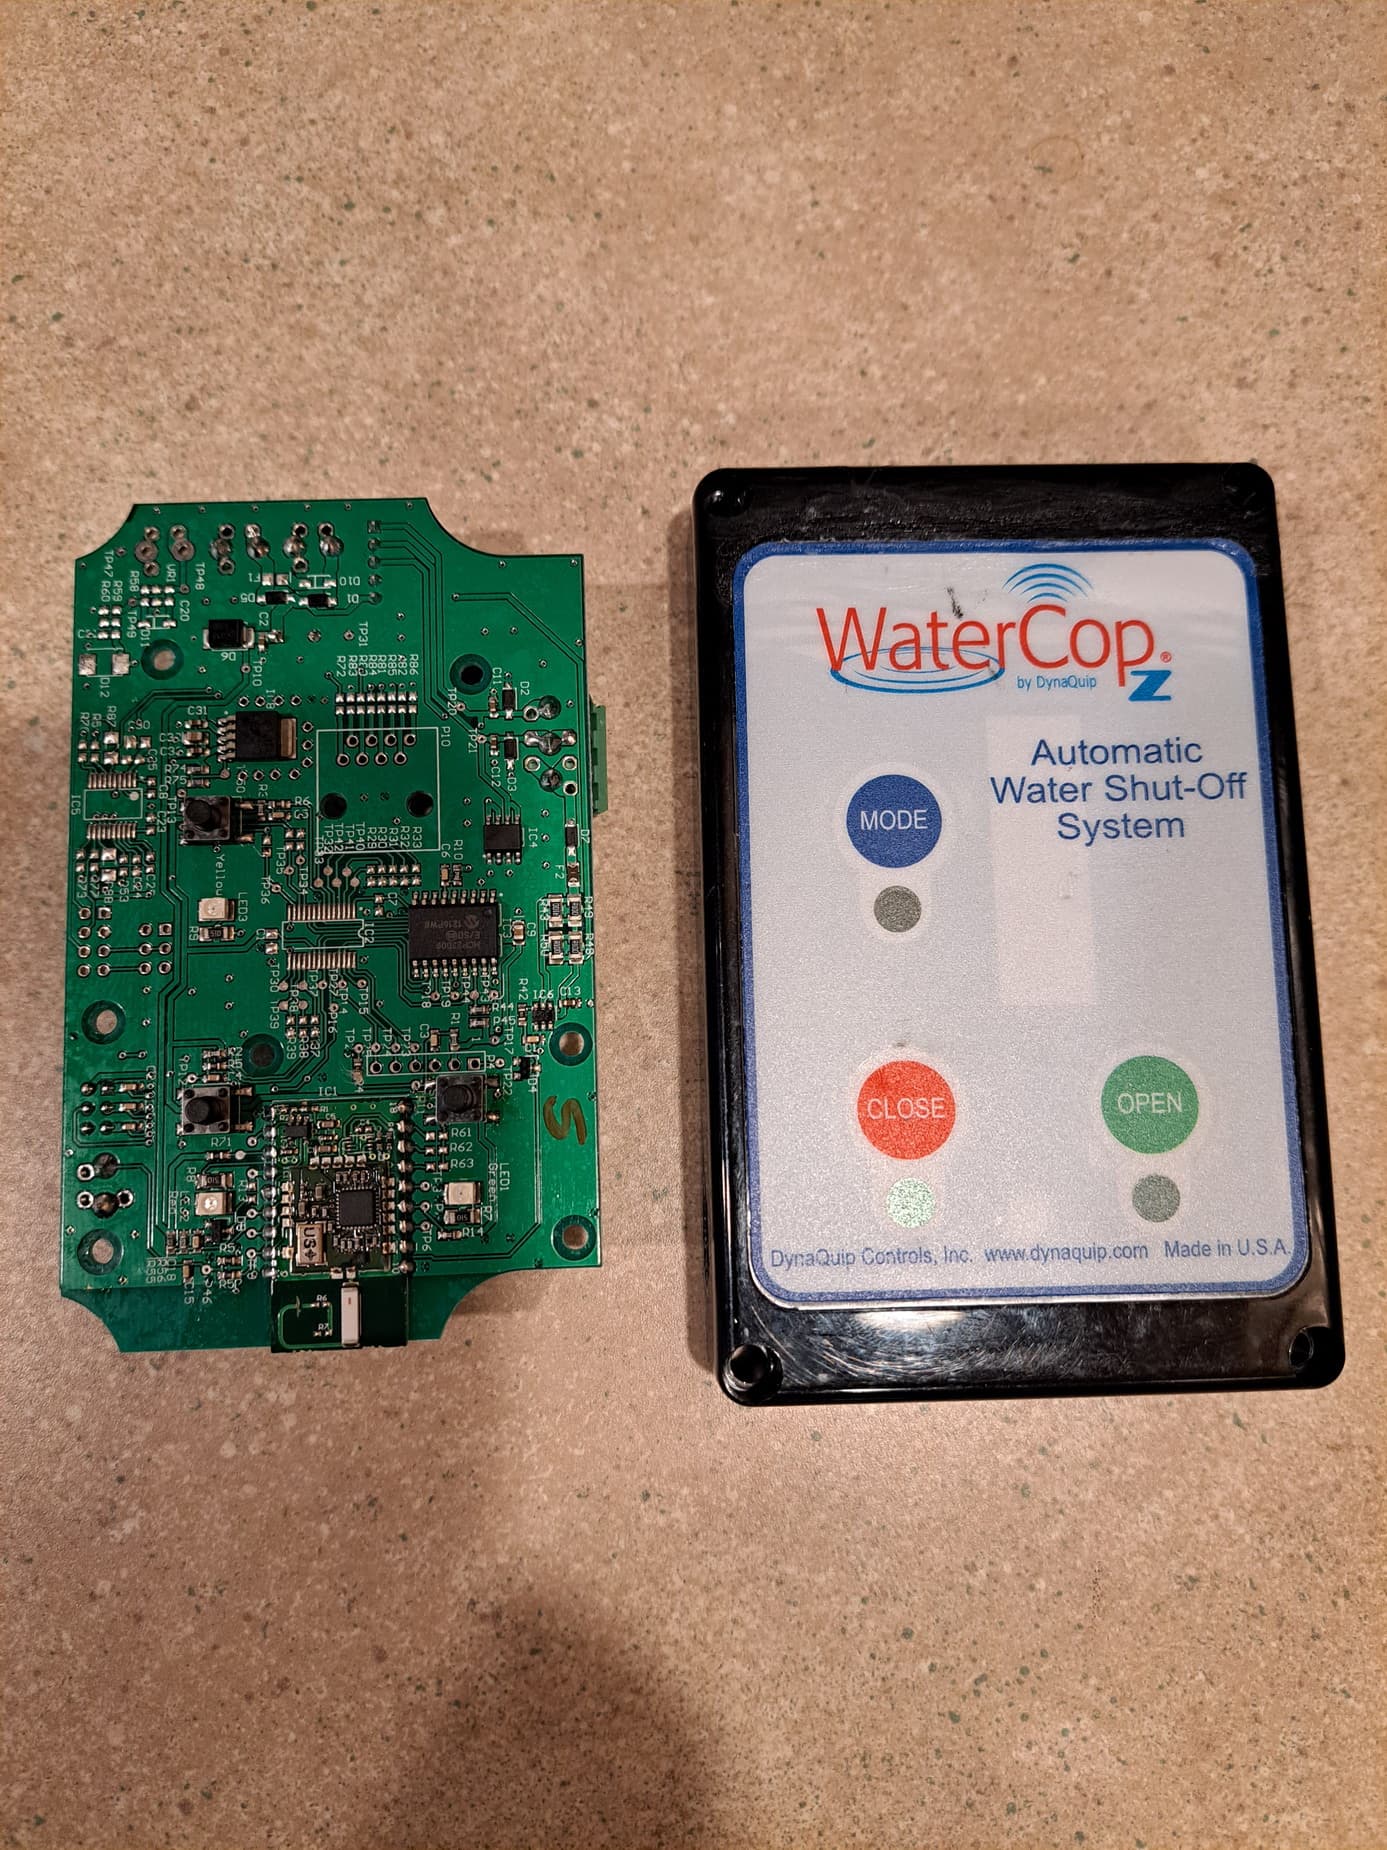
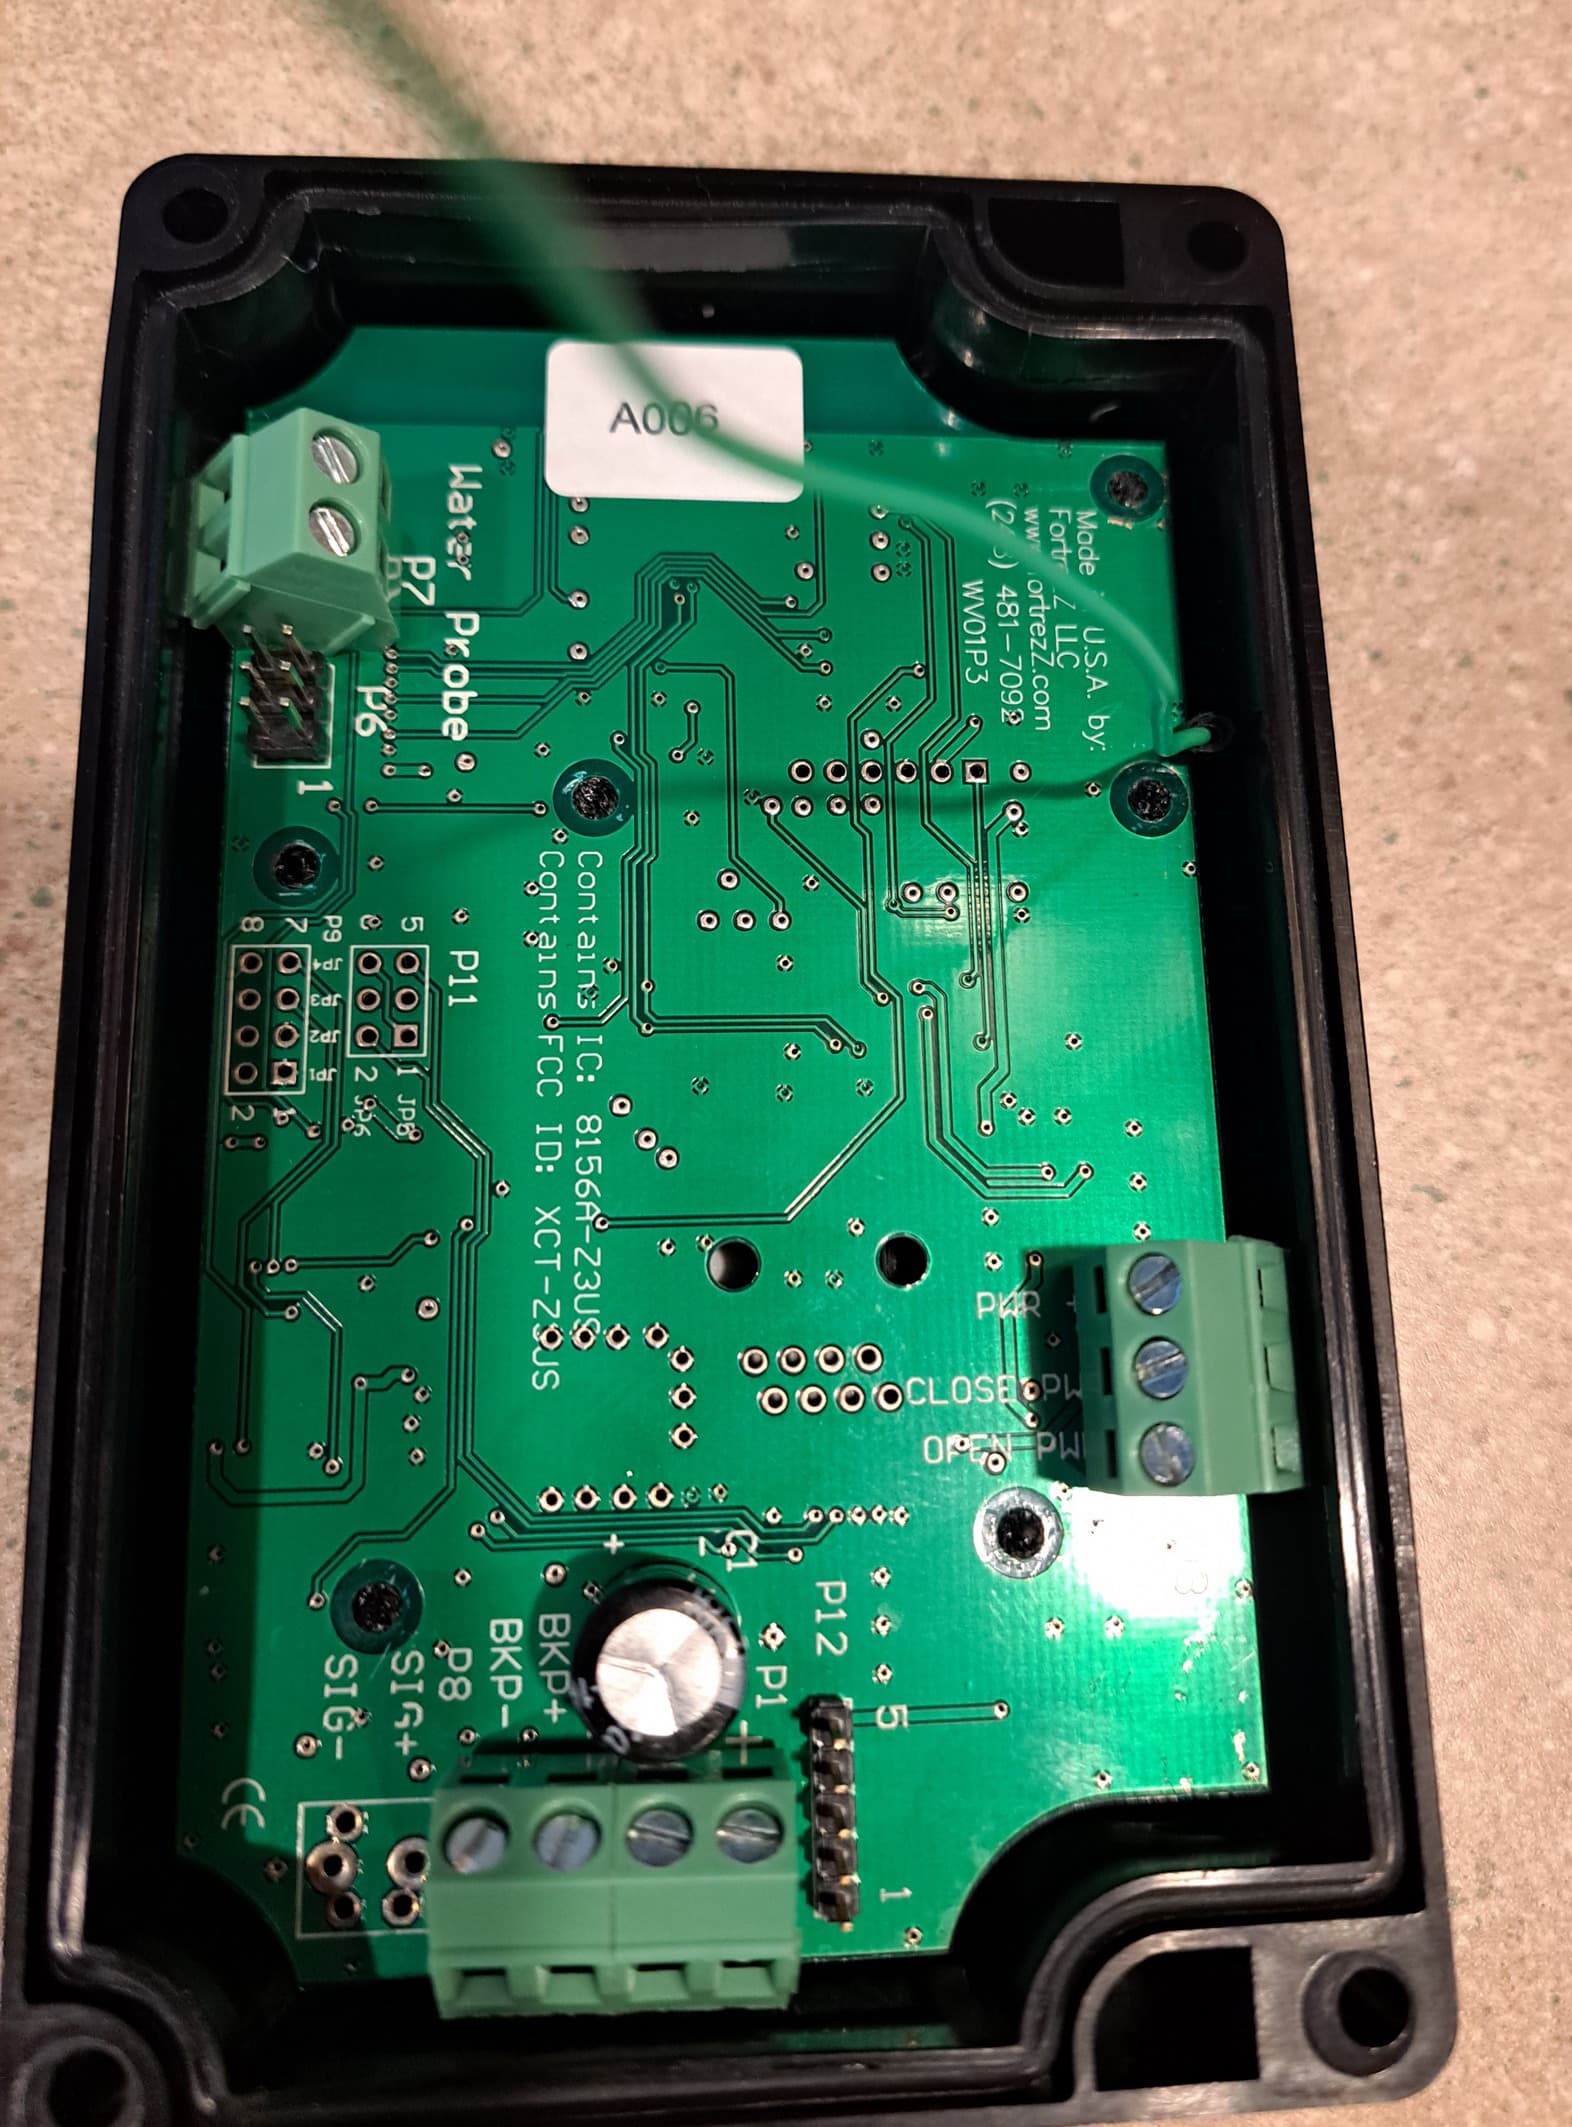
Sorry for necroposting this thread, but I couldn't find any pics of the other side of the circuit board. I took mine apart (the Zwave stopped) and thought I'd use this thread to archive the pics for the community.
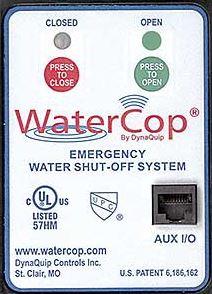
I had the Classic version of this valve in my last house, controlled by an Omni Pro II. It worked well. However that model had no manual capability to move the valve. So I really want to use this model in my new installation.
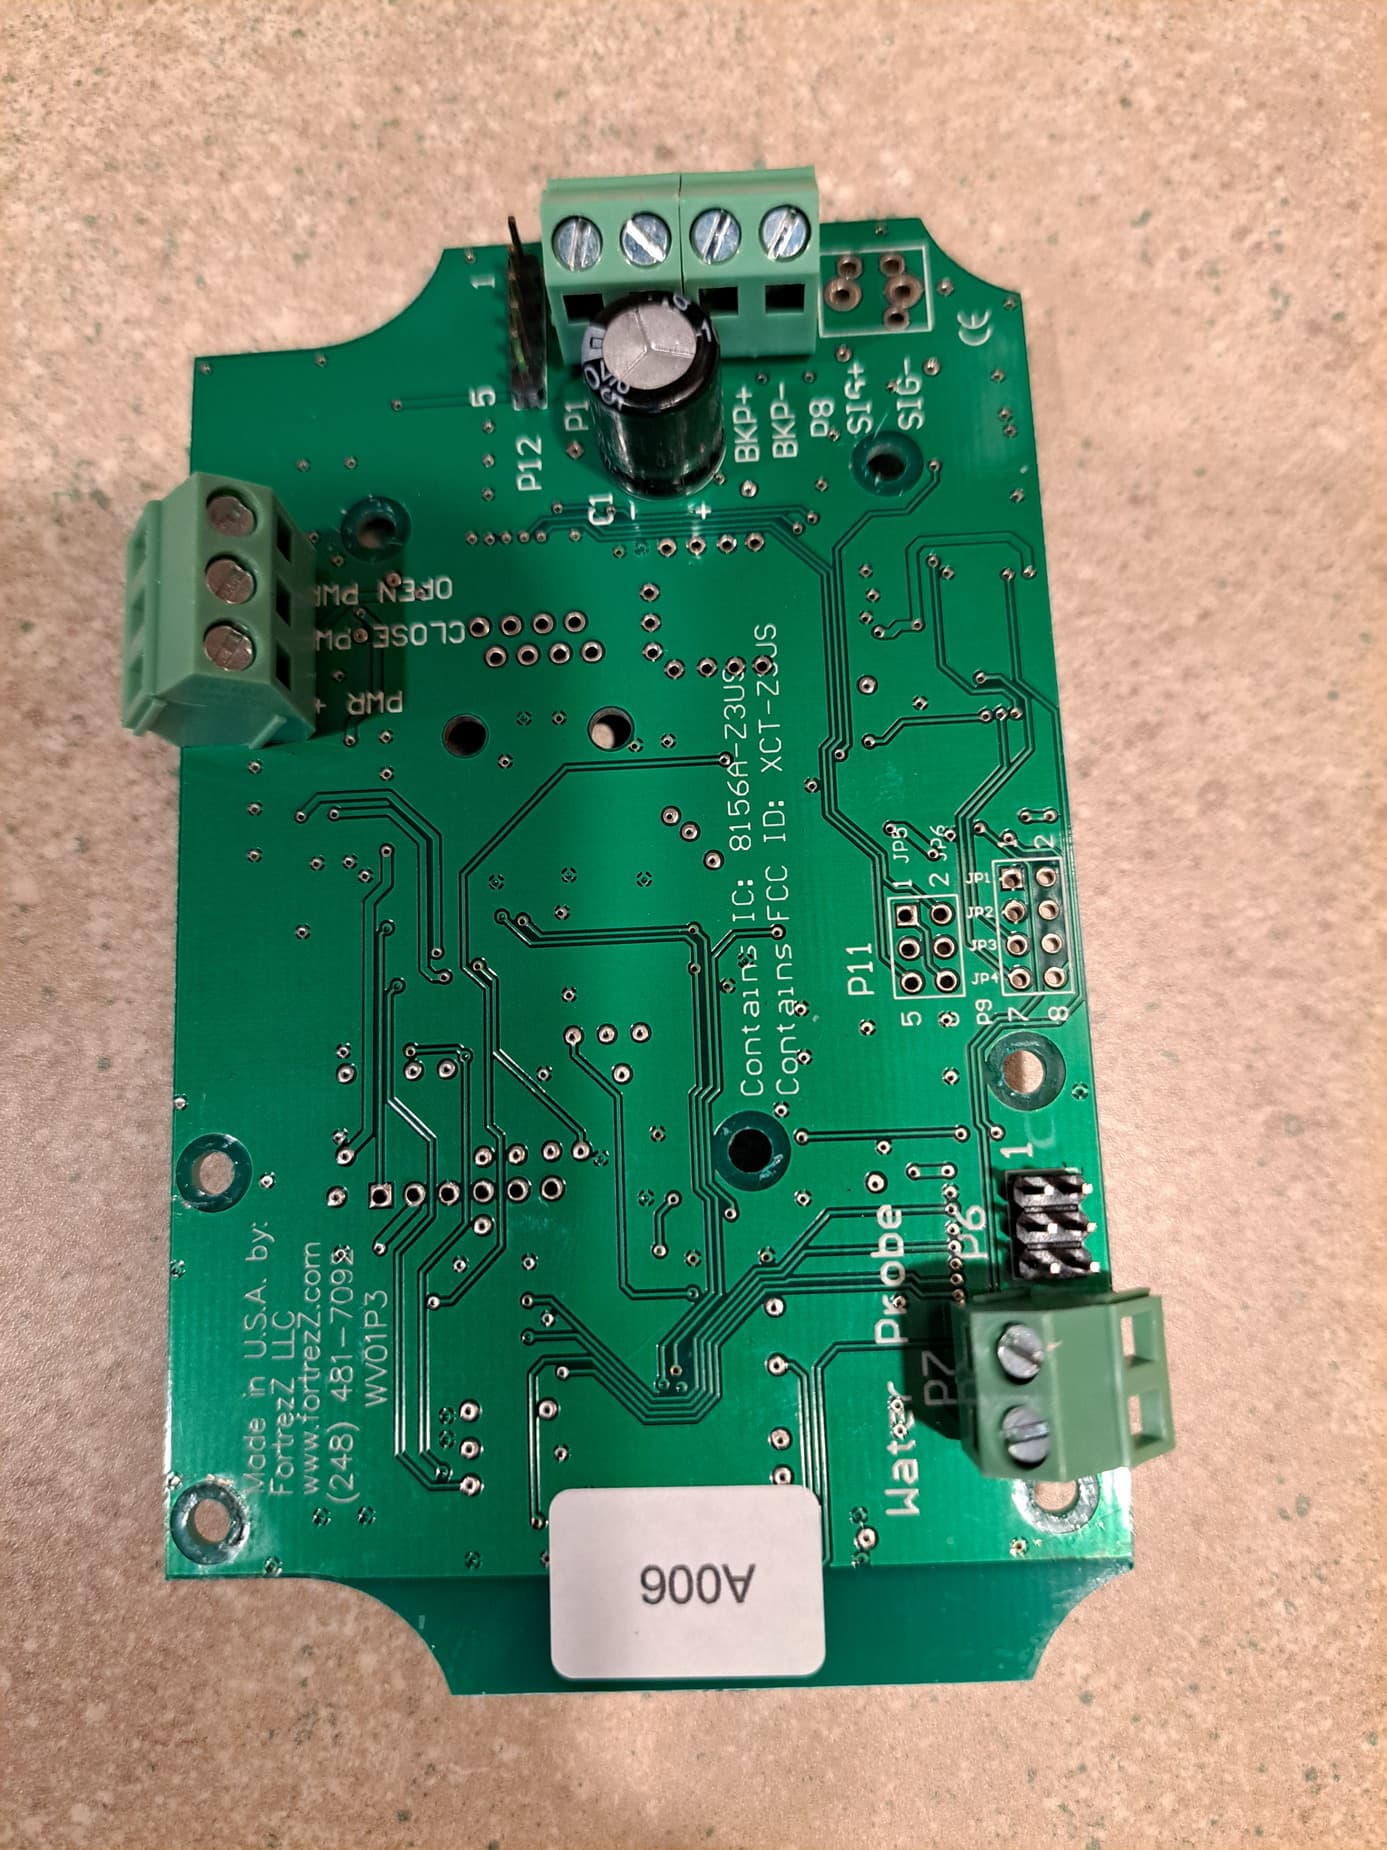
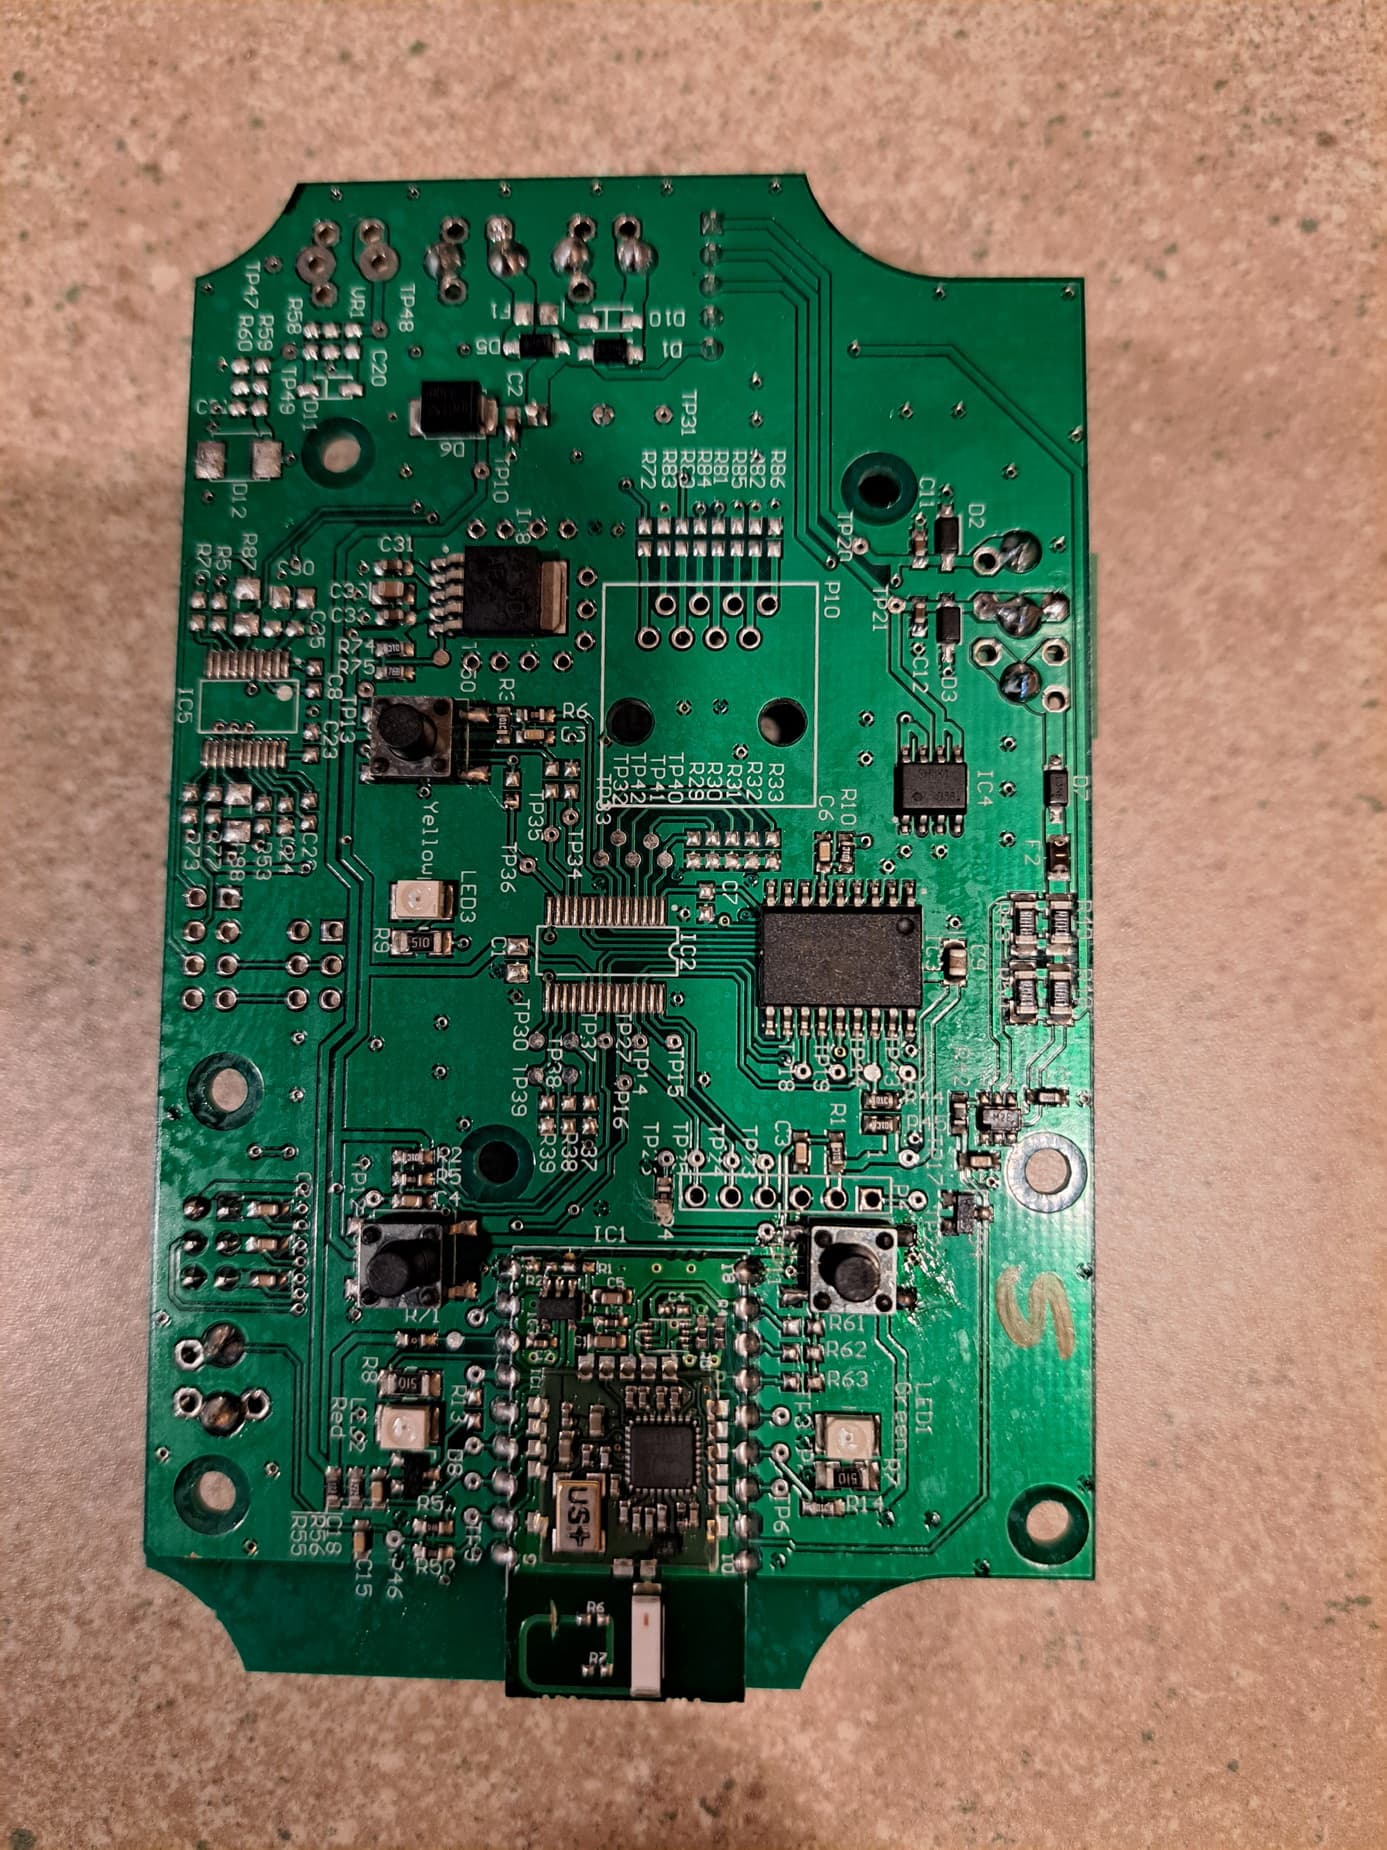
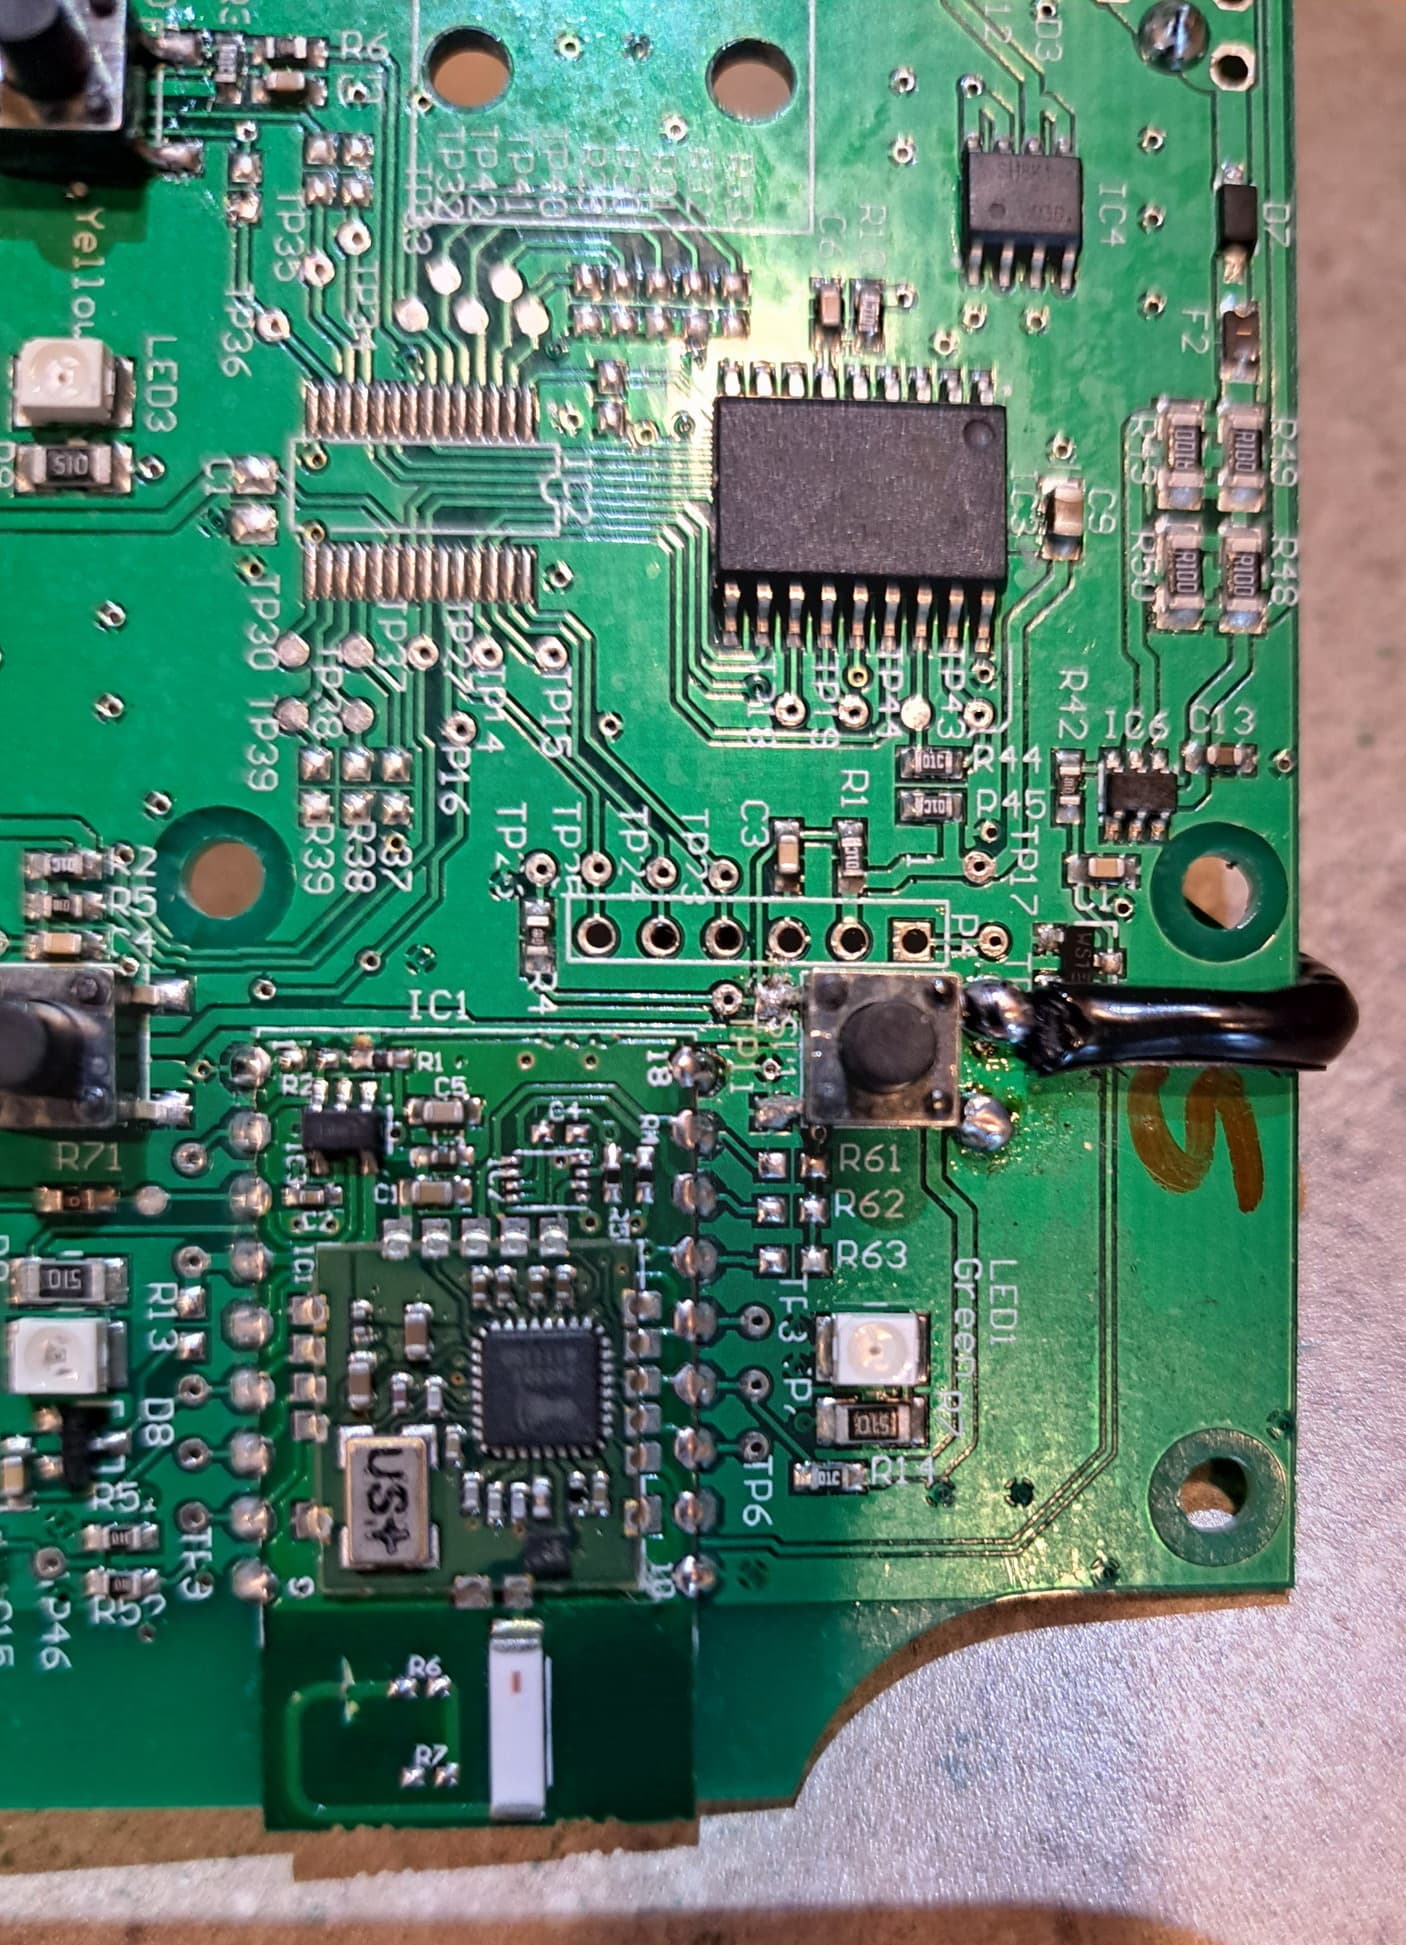
Looks like the Zwave antenna trace got cut (I have no idea how that would have happened) that explains no comms.
Did some testing.
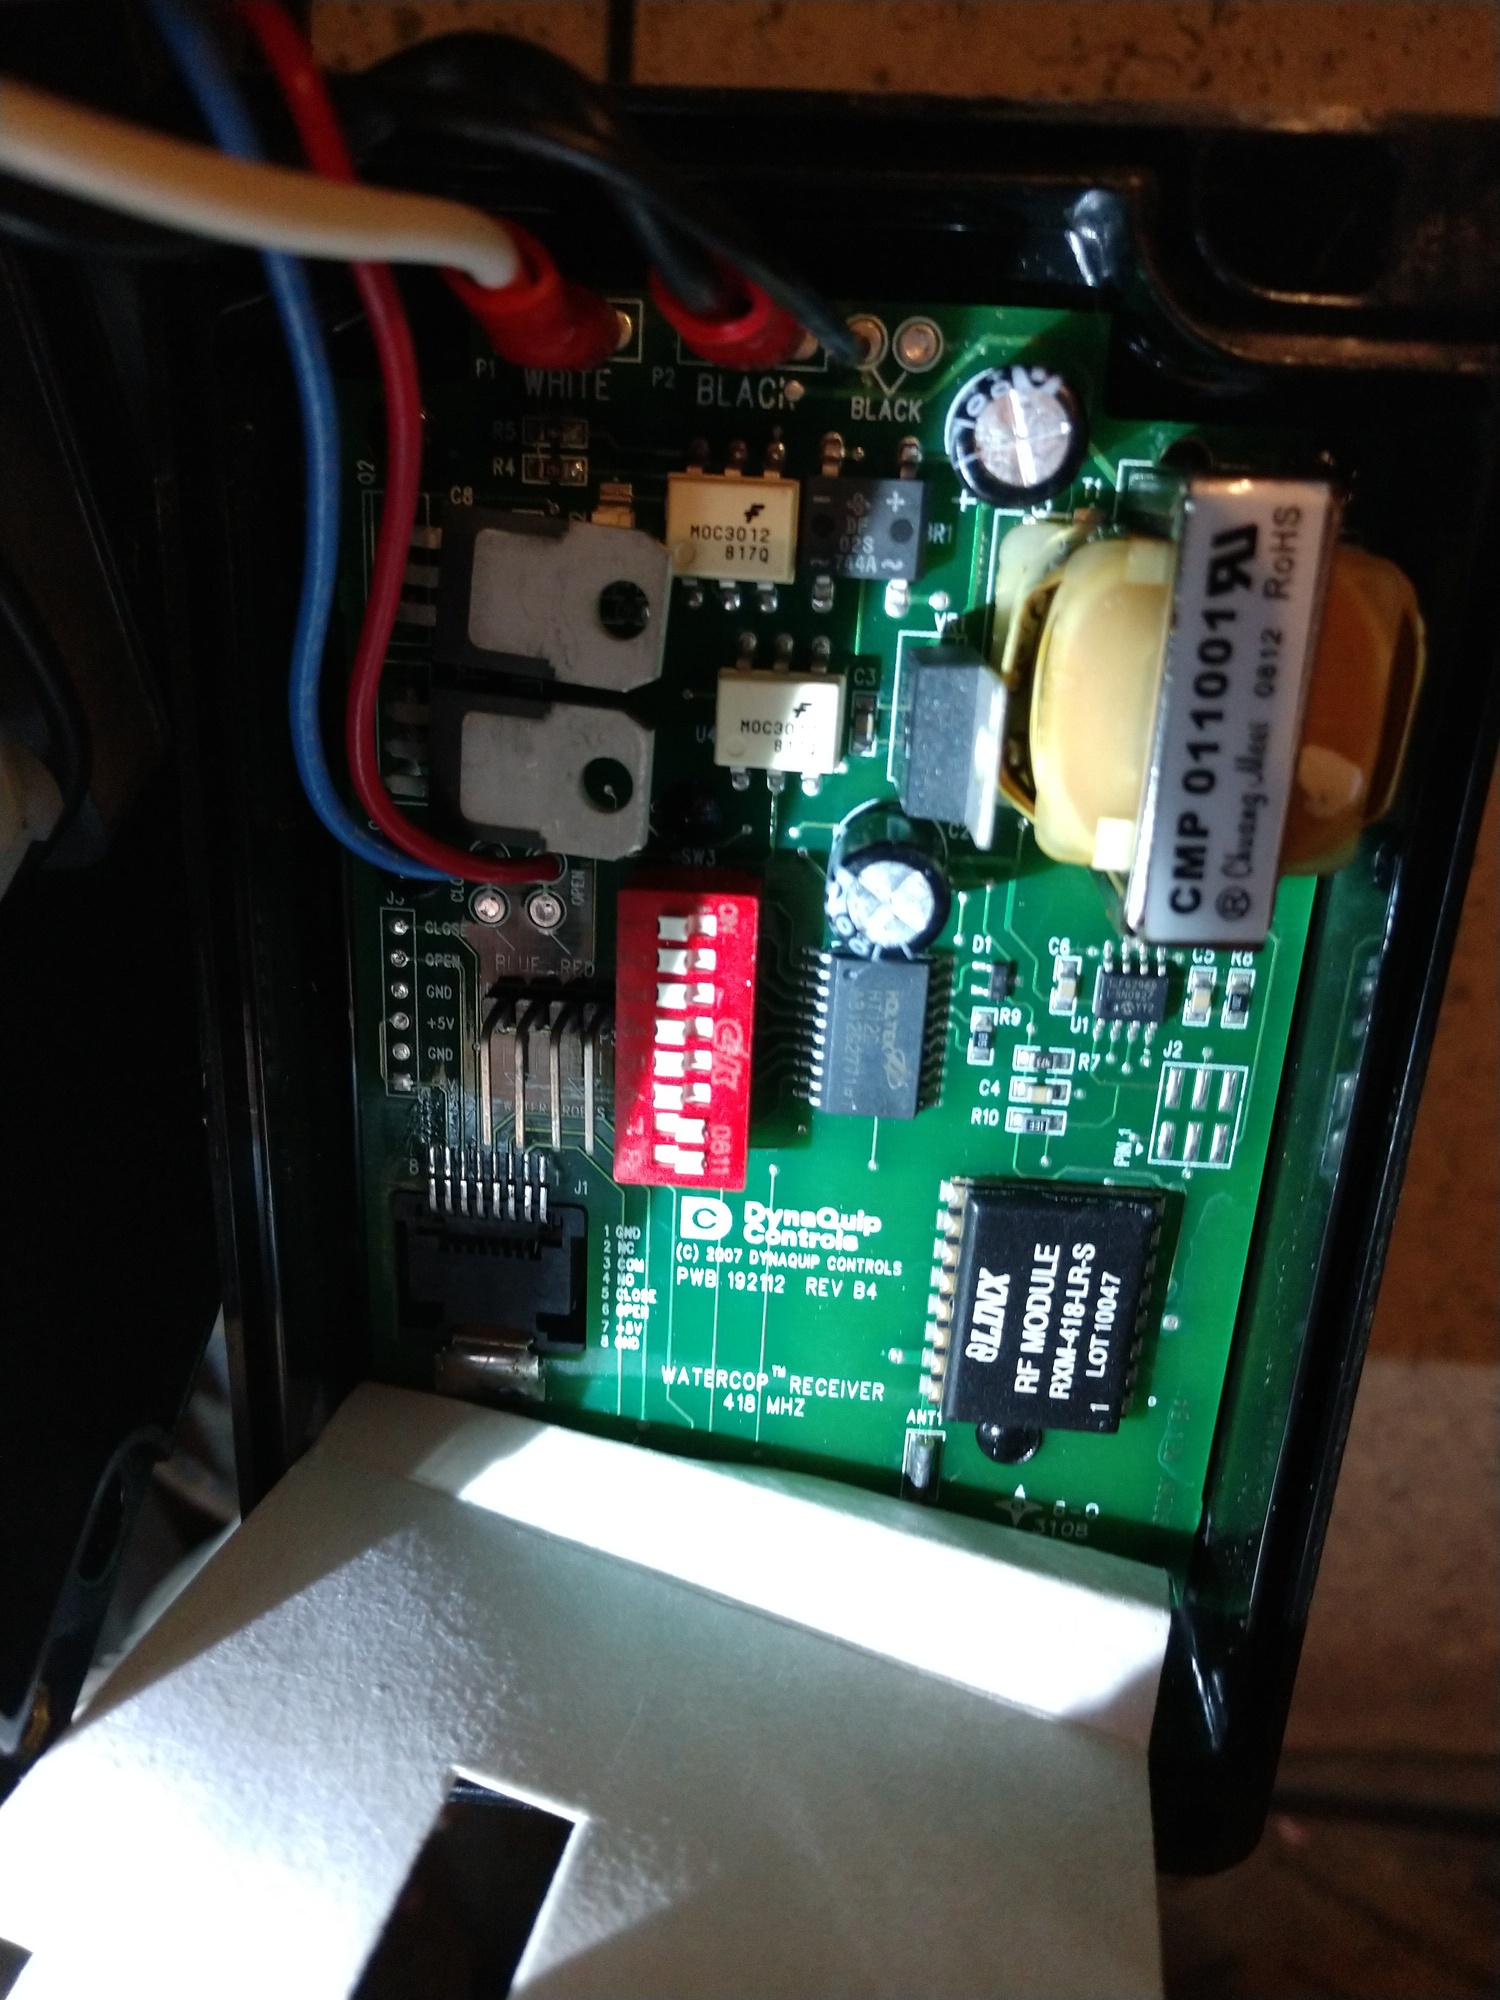
On the P7 header, the lower terminal is ground. As we knew, shorting the two together closes the valve and changes the status LED to red once the valve is in the closed position.
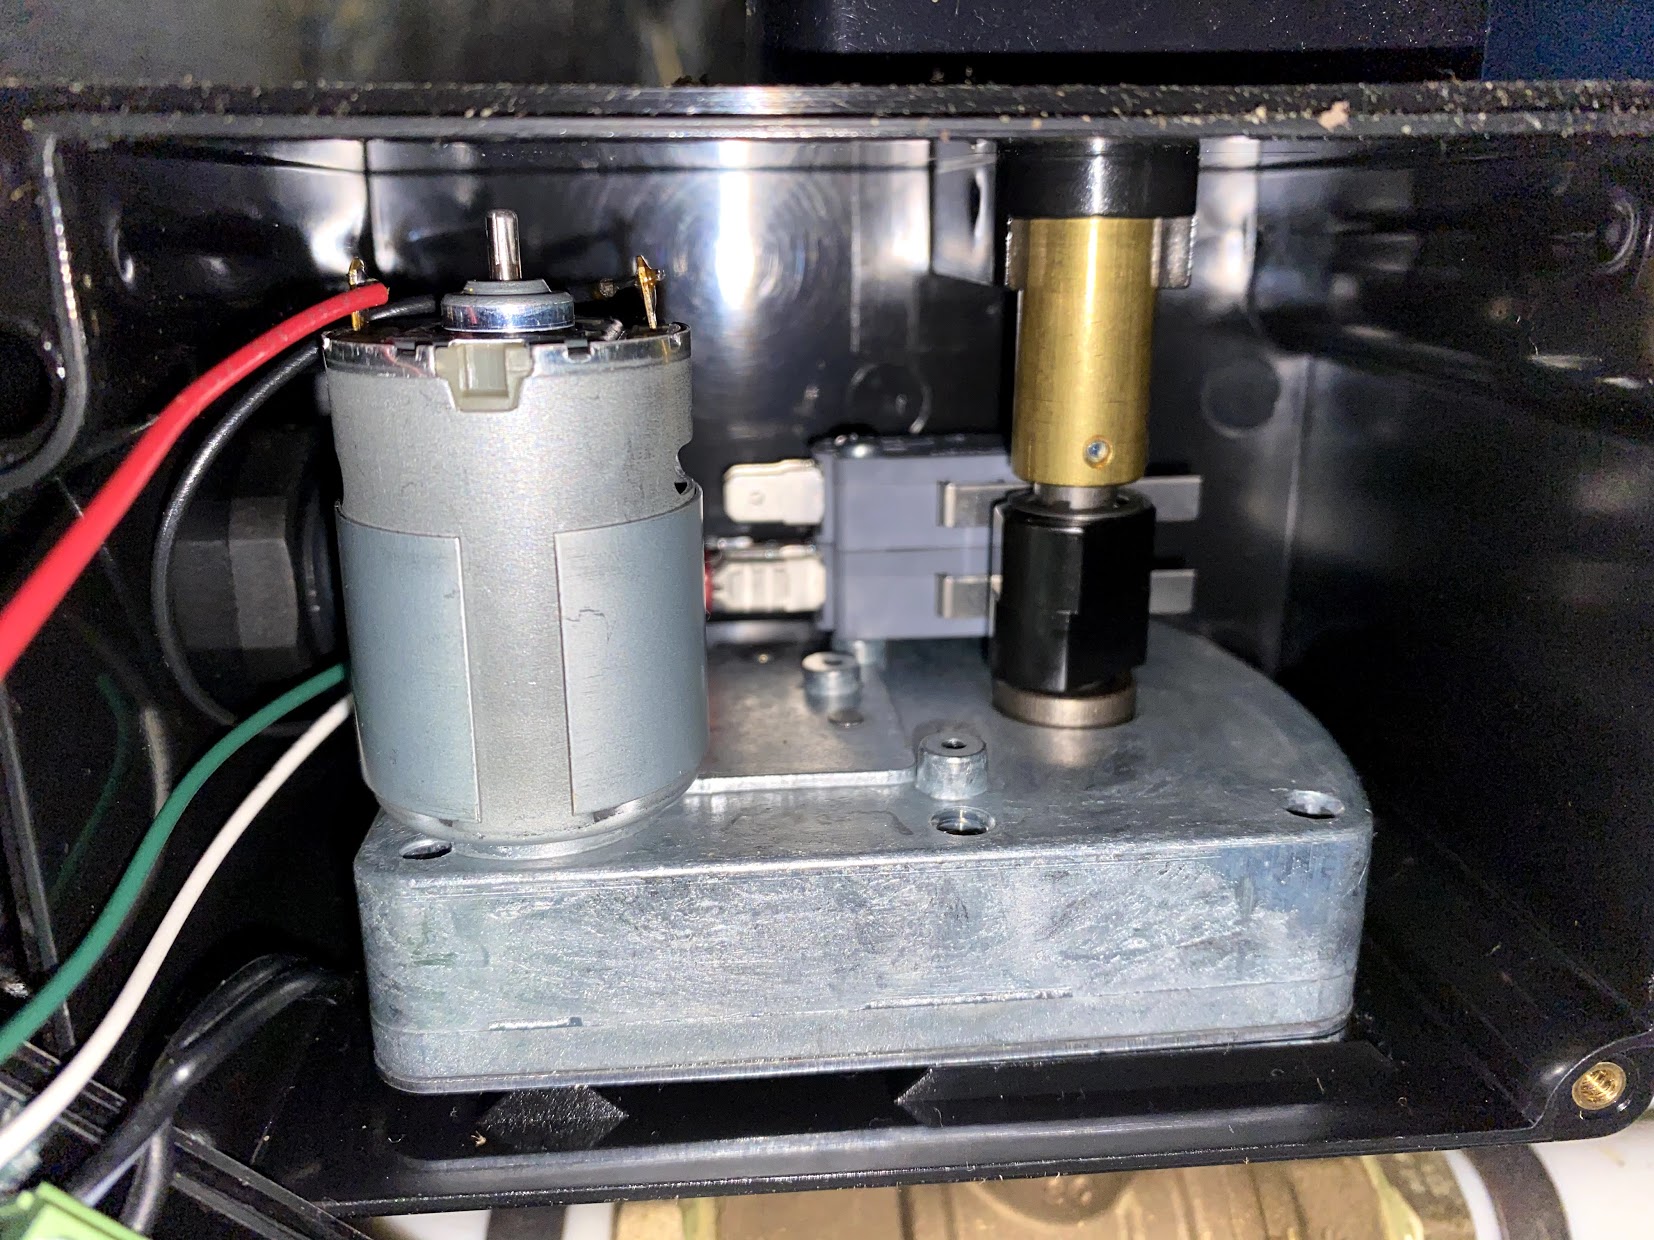
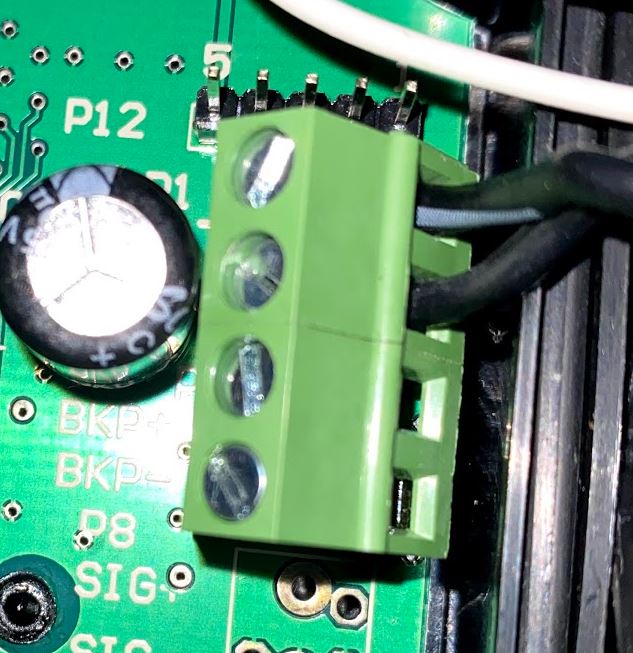
On the motor header.
The red "PWR +" terminal is +12VDC. (It has to be filtered because there is not direct continuity to the power supply +12VDC terminal
The white and green wires are variably open circuit or ground depending on the operation.
With the valve closed:
The green "OPEN PWR" wire has continuity to the other side of the motor, but it is open circuit.
The white "CLOSE PWR" wire is grounded and there is 12VDC between it and the red wire.
With the valve open:
The white "CLOSE PWR" wire has continuity to the other side of the motor, but it is open circuit.
The green "OPEN PWR" wire is grounded and there is 12VDC between it and the red wire.
With the valve closed:
Shorting ground from the P7 ground terminal to the green wire will operate the valve. The ground has to be applied the entire time the valve is in transit (~3-5 seconds). The mechanical switch operated by the cam will stop the valve in the correct open position.
With the valve open:
Shorting ground from the P7 ground terminal to the white wire will operate the valve. The ground has to be applied the entire time the valve is in transit (~3-5 seconds). The mechanical switch operated by the cam will stop the valve in the correct closed position.
When the valve is operated in this manner the LEDs and front control buttons DO NOT update correctly.
If the valve is closed and the red LED illuminated, and the valve is opened by shorting to the green wire, the valve will open, there will be 12VDC between the white and red wires, but the red LED will remain illuminated and the close button is inoperable. The logic "thinks" the valve is still closed.
In this condition shorting the P7 header has no effect even though the valve is physically open.
With the red LED illuminated and the valve open, pressing the open buttons simply updates the LED and buttons. The valve doesn't move, the green LED illuminates, and the close button and P7 header now become operational. The same thing happens if the green LED is illuminated and the white wire is shorted to close the valve.
So:
You can operate the valve via dry contacts shorting the green and white wires to ground for a few seconds, and you can monitor position status by running the 12VDC out from the green and white wires to relays connected to dry contact inputs or a voltage sensing circuit. The downside is the front control status lights and buttons get out of sync. If you don't need that capability, there is no reason to remove the board to get at the other side.
I used a soldering iron to carefully melt the plastic posts holding the board in to the top cover. It can be superglued back.
In order to operate the valve via external relays and preserve the front panel status and control, I need a way to operate the open button. The open button lower legs are ground. Momentarily shorting ground to the upper leg of the button initiates the open action the same as pressing the front button. So I will solder a small wire to the upper leg of the switch and borrow the ground from the P7 header. With that in place the P7 header can operate the close function and all status and front panel controls will be preserved. I'll still use the 12VDC out from the green and white wires to monitor valve position remotely.
A plus is I'll be using Zigbee. I have an extensive Zigbee mesh already.
ETA: Got the wire soldered on, works perfectly to control the valve. I need some inputs to signal valve status. I haven't found a Zigbee IO module that takes a low voltage/12v trigger as an input and signals a state with Zigbee. I think I can hack the Sonoff Zigbee light switches that go inside the J box and take a snap switch input. I can use a 12V relay triggered by the valve state signals to trigger the Sonoff switch and monitor state via Zigbee that way.