I hope I'm not misunderstood with this questions but all I need are larger "Pin Entry number tiles" for the disabled. I see and understand how you can make tiles larger for the dashboard but how do you make the "Pin Entry" tile numbers larger for arming and disarming or accessing the dashboard? You know the 1, 2, 3, 4, 5, 6,7 ,8, 9, 0, X, GO ? The way this "Pin Entry" is currently designed only allows for good or excellent finger coordination. I need larger buttons for fingers that don't work well. Thanks in advance.
I think this is what you're looking for
you can adjust the size of the button on the dashboard
- click the gear icon
- click options (you can set the exact height and width column and rows)
Optional. you can also adjust the size of the icon on the grid tab to make the number larger as you please to fit your look
No.....The pin entry when you have to enter a code to get to the dash board or when arming or disarming HSM. See photos...
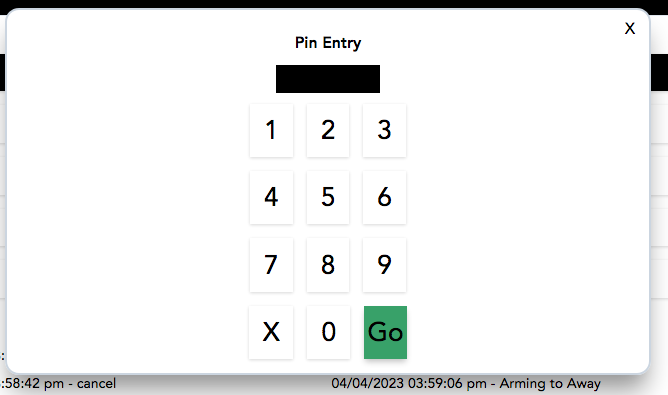
The above key pad, this is what I need to have larger buttons. These buttons are to small and is what I need to be adjustable in size.
I don't think there is any way other than maybe changing the zoom settings in your browser. you could try using something else like Virtual keypad that's what I'm using and have a full screen keypad available with large buttons that are easy to hit (even without my glasses on)
That may be something that could be fixed with CSS.
There is a long thread for how to modify CSS, maybe try searching there, or post in that thread? The Noob's (in)complete guide to CSS for Hubitat
I appreciate you trying to help.
Unfortunately there isn't a "plain English" step by step instruction manual on how to make any alternate keypads work. I've been trying to follow these instruction to no avail. I see that there are instructions to a point but it's VERY CRYPTIC. Until someone can rewrite the keypad instructions in "plain English" most people won't be able to take advantage of this (probably very useful) keypad option.
Code writers assume Hubitat users know how to insert code where necessary. I've never been able to figure how to do any of this inserting. These very important instructions should be included in every alteration for the novas to take full advantage of. They would probably make more money also. Code writers work with this stuff all the time and they should assume that people would probably need a little more help to do these things.
Well, I tried to add a ring v2 keypad and you have to block the motion sensor on the lower left corner of the device for the keypad to work. I put a furniture felt bumper pad over it but a couple pieces of black electrical tape will work also but doesn’t look as good as the felt round bumper that you put on the legs of furniture that go on wood floors. Doing this make the keypad work more reliably.
I made some changes on mine with css. I am a programmer, so I know it's not for everyone. But, I think you could copy/paste most of the css code below, and it should pick up the changes.
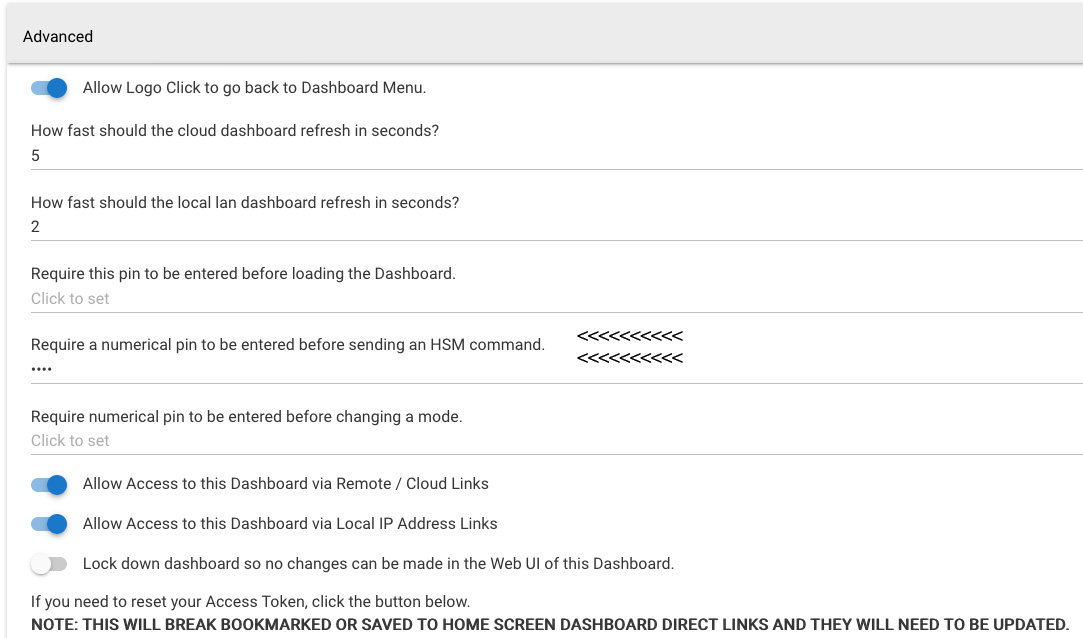
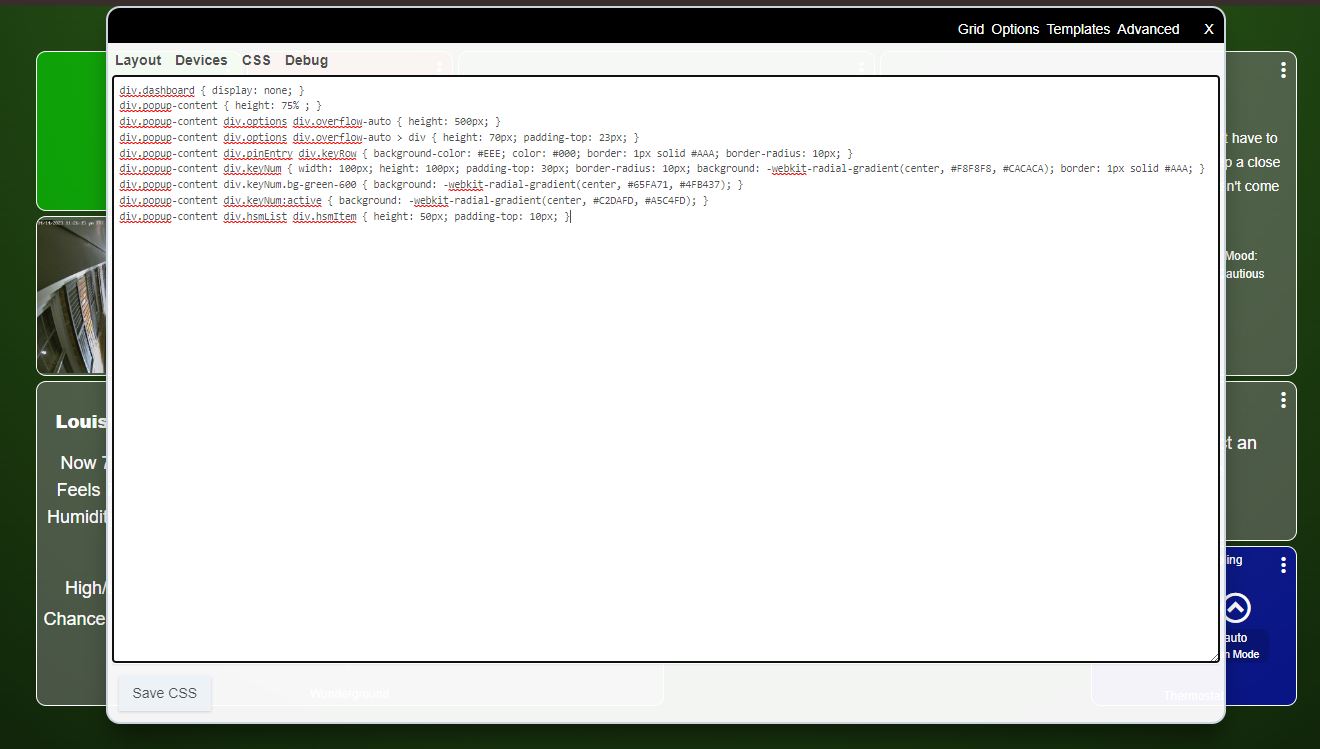
Try adding the following code to your css tab (click the gear in the top right of the page, then the "Advanced" word in the top right, then the "CSS" menu item. in the window that opens, paste the following code, and then click "Save CSS".
div.popup-content { height: 75% ; }
div.popup-content div.options div.overflow-auto { height: 500px; }
div.popup-content div.options div.overflow-auto > div { height: 70px; padding-top: 23px; }
div.popup-content div.pinEntry div.keyRow { background-color: #EEE; color: #000; border: 1px solid #AAA; border-radius: 10px; }
div.popup-content div.keyNum { width: 100px; height: 100px; padding-top: 30px; border-radius: 10px; background: -webkit-radial-gradient(center, #F8F8F8, #CACACA); border: 1px solid #AAA; }
div.popup-content div.keyNum.bg-green-600 { background: -webkit-radial-gradient(center, #65FA71, #4FB437); }
div.popup-content div.keyNum:active { background: -webkit-radial-gradient(center, #C2DAFD, #A5C4FD); }
div.popup-content div.hsmList div.hsmItem { height: 50px; padding-top: 10px; }
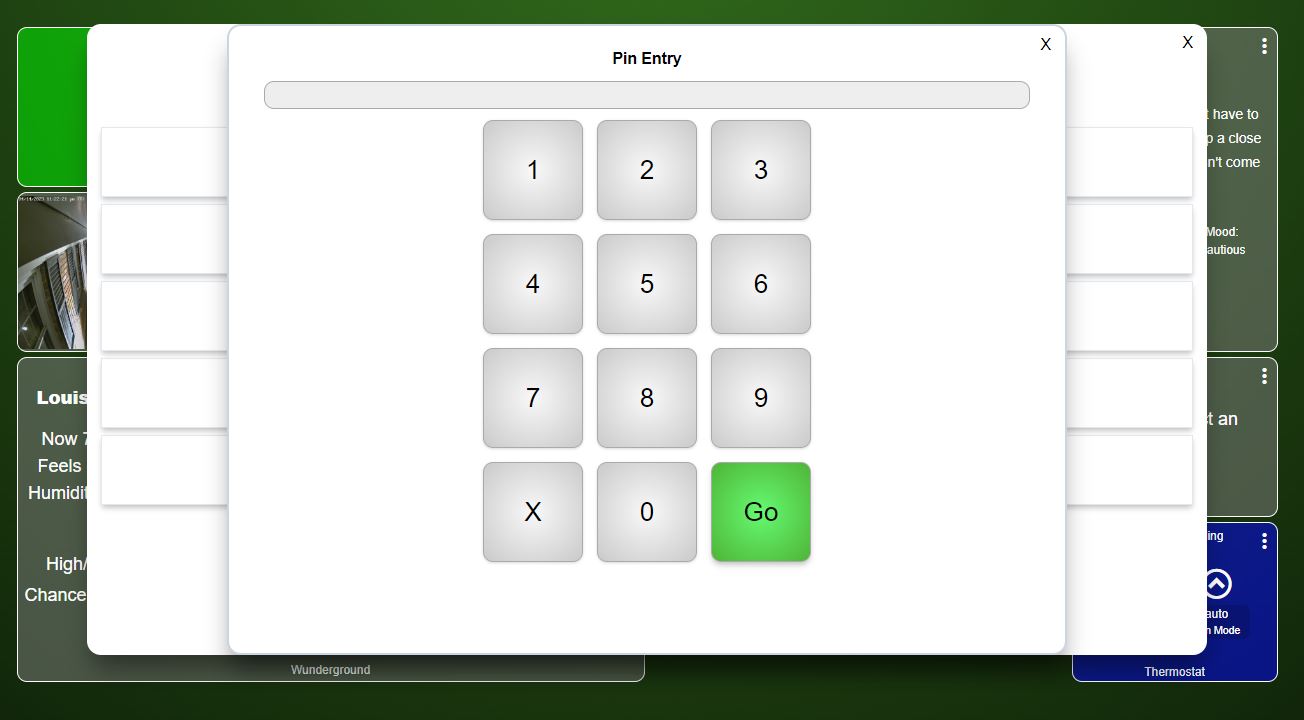
It should look similar to this (I have an extra line at the top you do not need):
After saving, close the popup windows, and click the green checkmark on the top right of the page to reload the dashboard. Now open your HSM pin overlay again and see if the changes stuck.
You can play around with the css values to suit your preferences (colors, sizes, etc.).
NOTE: If you already have existing text in the CSS menu, it is a smart idea to first take a backup (copy) before making modifications. This way, if there is a mistake, you can always revert back.
3 Likes
Wow! thank you so much joshlobe !
That made the pin keypad a bigger size to use, and on the first try of pasting into the css.
I’m so glad I can put this keypad thing behind me.
Thanks for your skills !
1 Like
You are most welcome!
2 Likes
Dear joshlobe,
Would you happen to have a programming skill that does the following:
When you tap "Hubitat Safety Monitor" to arm or disarm the system the "Pin Entry" keypad comes up.
When you enter your code the "Pin Entry" screen disappears, which is good...
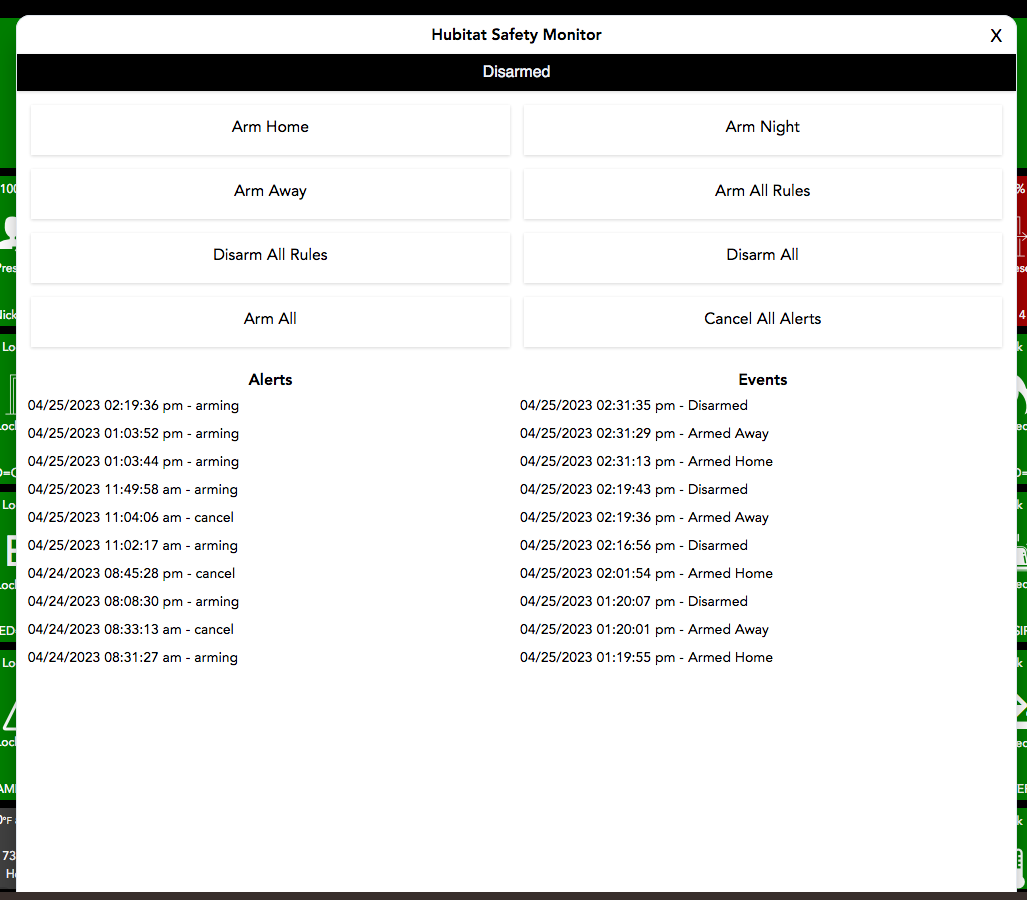
What I'm looking for is a "timer" that makes the "Hubitat Safety Monitor" screen after a set amount of time that you can set. See attached photo of the screen I would like to disappear because the "X" to close >>> again doesn't work for people who's fingers don't work well. Thanks again in advance if you know how to do this !
Hi, @nickdevilletwo.
Unfortunately, CSS does not have a method of "timing" anything. It could be done via javascript; and it would require a driver (which I use), that allows a custom javascript file to be loaded to the dashboard.
Alternatively (and perhaps much easier), would be to just increase the size of the "x" on the "Hubitat Safety Monitor" overlay window. That should make it easier to click.
I have to run out for dinner, but I'll take a closer look at this when I return home. In the meantime, let me know which method you would prefer, and I'll see if I can get the code together for you.
Hello joshlobe,
I like the javascript idea. You had excellent instructions before. If you think the javascript will be to difficult the larger X would be a good second option.
Your very kind to help me with this.
Okay. Please give me day or two, and I'll see what I can whip up.
Ok, thank you, I feel that I should pay you for your knowledge and help. Let me know if you need to be compensated. Thanks again.
I haven't forgotten about this request. No payment necessary, thanks for the offer. This is what I enjoy doing. However, my "real" job has been quite demanding the past few days. I hope to get some time tomorrow. Apologies for the delay, and I'll follow up soon.
Okay! I am so very sorry. Sometimes life just throws you a curve ball... or 12!
Here is some working CSS which will make the "X" icon bigger in the overlay windows:
div.popup-content > div:nth-child(1) { font-size: 26px; cursor: pointer; border: 1px solid #AAA; border-radius: 5px; background: -webkit-radial-gradient(center, #F8F8F8, #CACACA); padding: 0px 10px; }
div.popup-content > div:nth-child(2) { padding: 15px; }


I'm still working on the javascript timeout option. It's a bit more complicated than I originally anticipated; but I'm not giving up yet. Let me know how the CSS option works out for you in the time being. Thanks!
1 Like
Hello joshlobe,
Awesome as usual. Your so helpful in making Hubitat more useful for the disabled. Thanks again for making time for someone you don't even know ! =)
This topic was automatically closed 365 days after the last reply. New replies are no longer allowed.