Home Assistant.
No, If you want Iris V1 sensors, I can hook you up with a guy. If you don't want to solder and use your current hardwired sensors, search for a contact with screw terminals. Someone will chime in with who makes them.
Edit: Aeotec
1 Like
Lowe's shut down Iris last March. You can still get the sensors on eBay though.
The guy Otto mentioned has hundreds of V1 sensors.
3 Likes
Aeotec makes the sensor with screw terminals.
1 Like

You're going to have my wife on my ass with all these purchases...i have 2 aeotech motion sensors already, pretty solid. I'll start with maybe 3 of these and see how i can use them. As always thanks for this and my wallet does NOT thank u, LOL
1 Like
OH wow...that's NICE!
i found these before you sent that and was going to ask you if this is what you meant...
That is them. These will be good for connecting your wired sensors to HE, Now if you need a bunch of inexpensive Iris V1 sensors for refrigerators, cabinets or temperatures somewhere let me know.
2 Likes
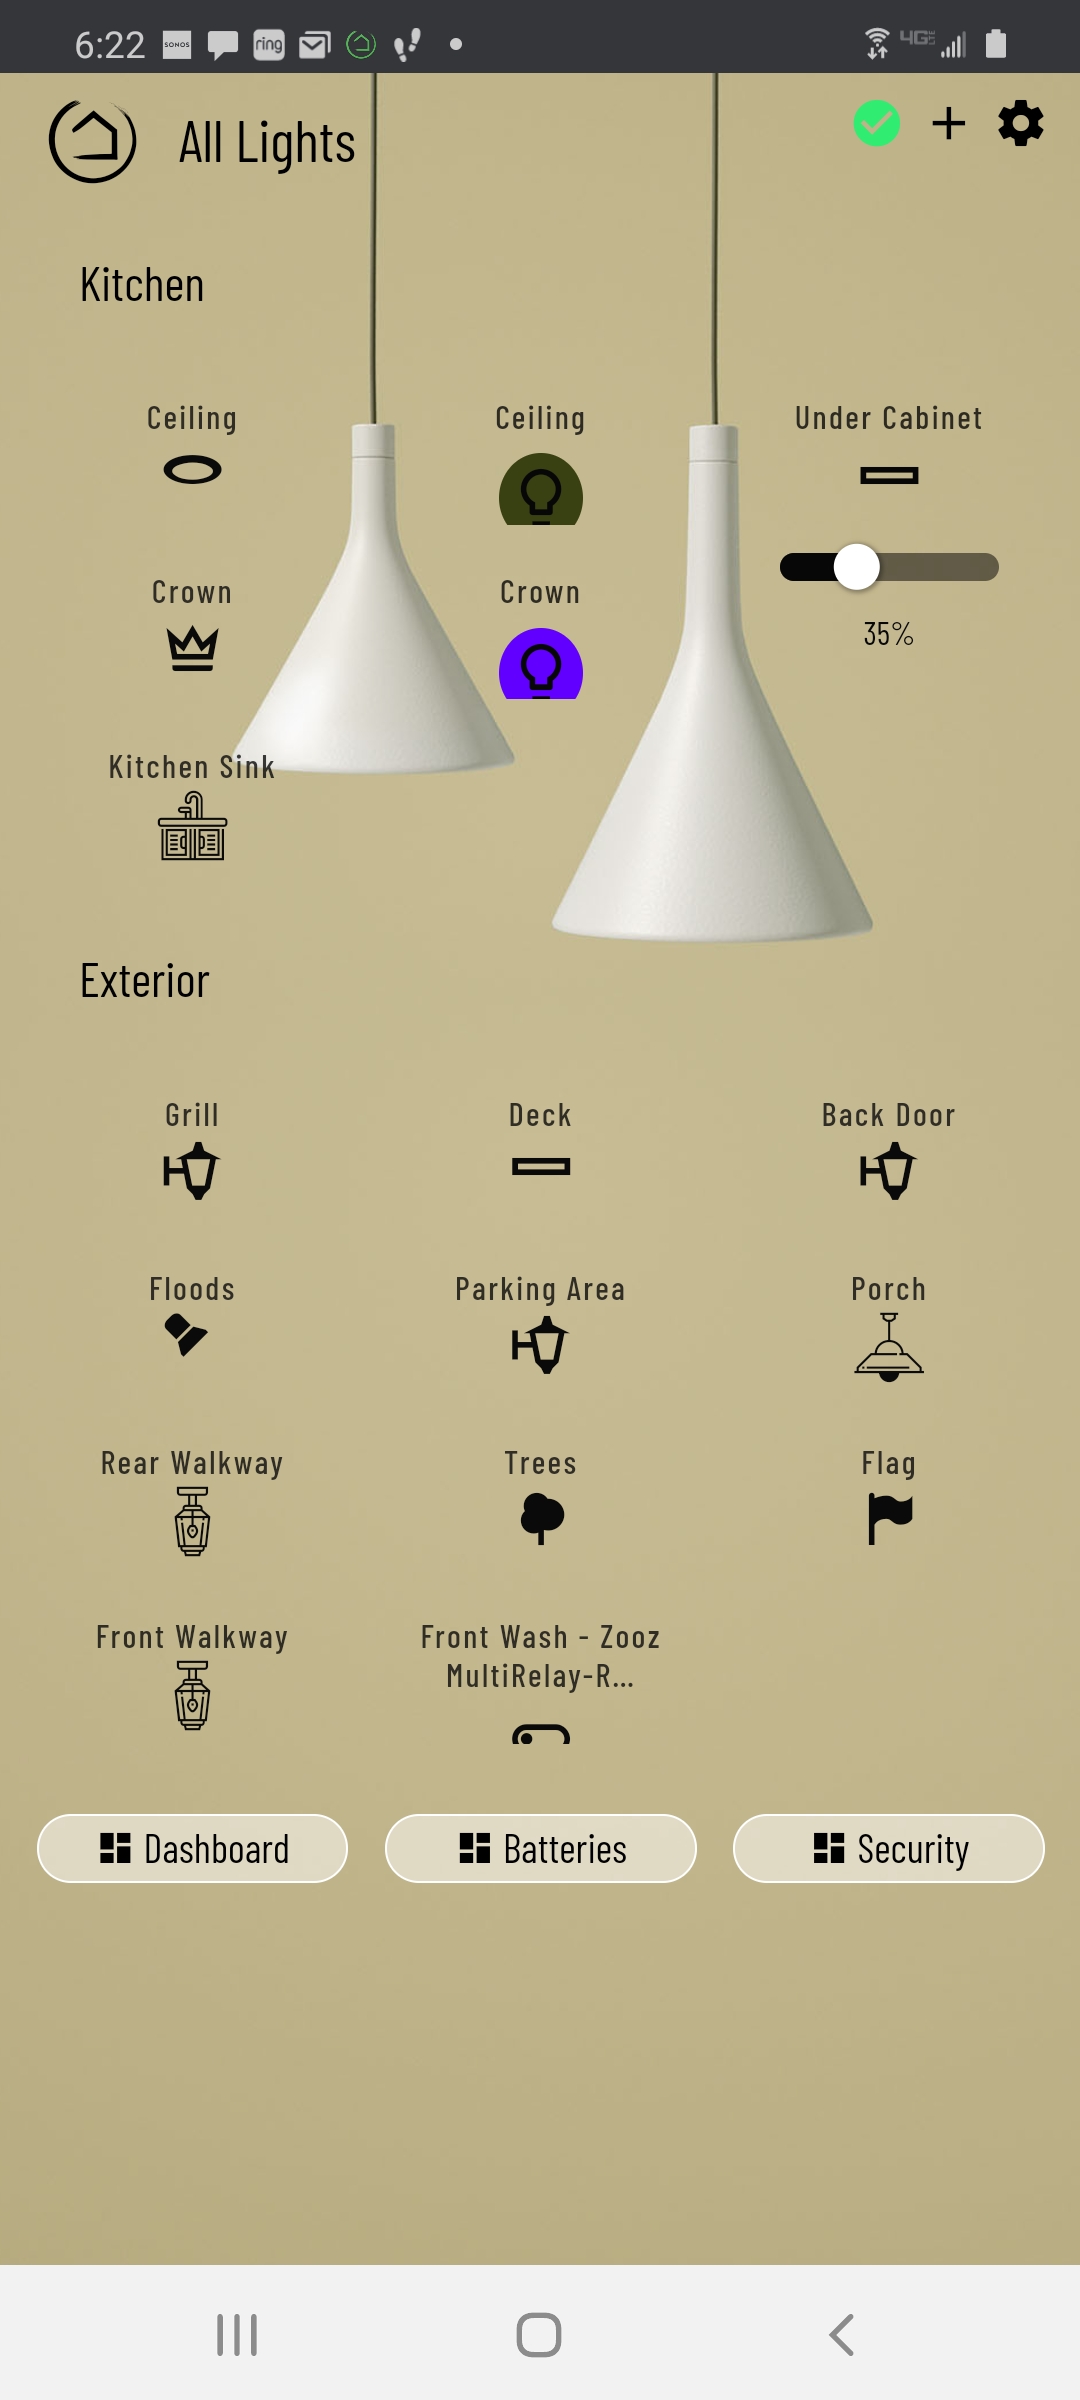
Ok you gotta tell me how you setup that 2nd screen shot. I just applied one, it looks ok, yours is just freaking great. I love the lamps and breakdown by room!
Thanks, smartly has made it much easier to make cool dashes.
Those are "text" items
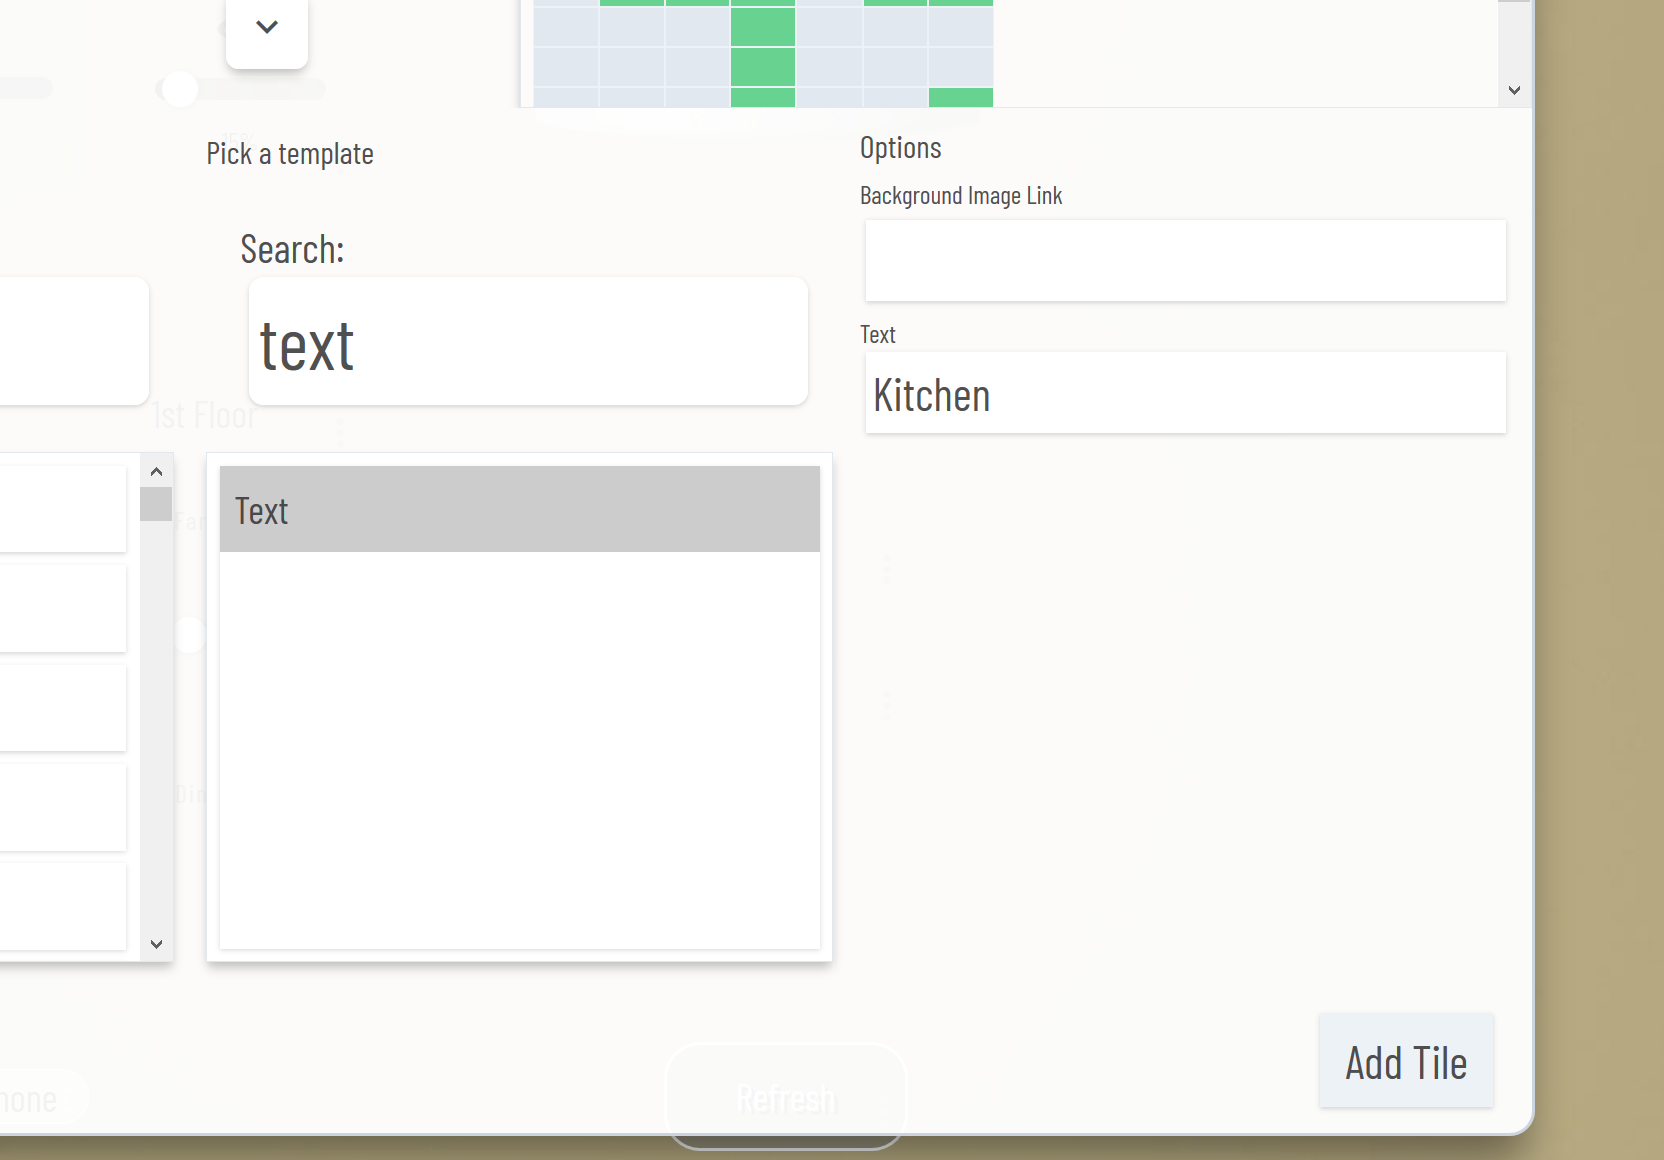
Then everything is moved to the next row to give the appearance of a "header".
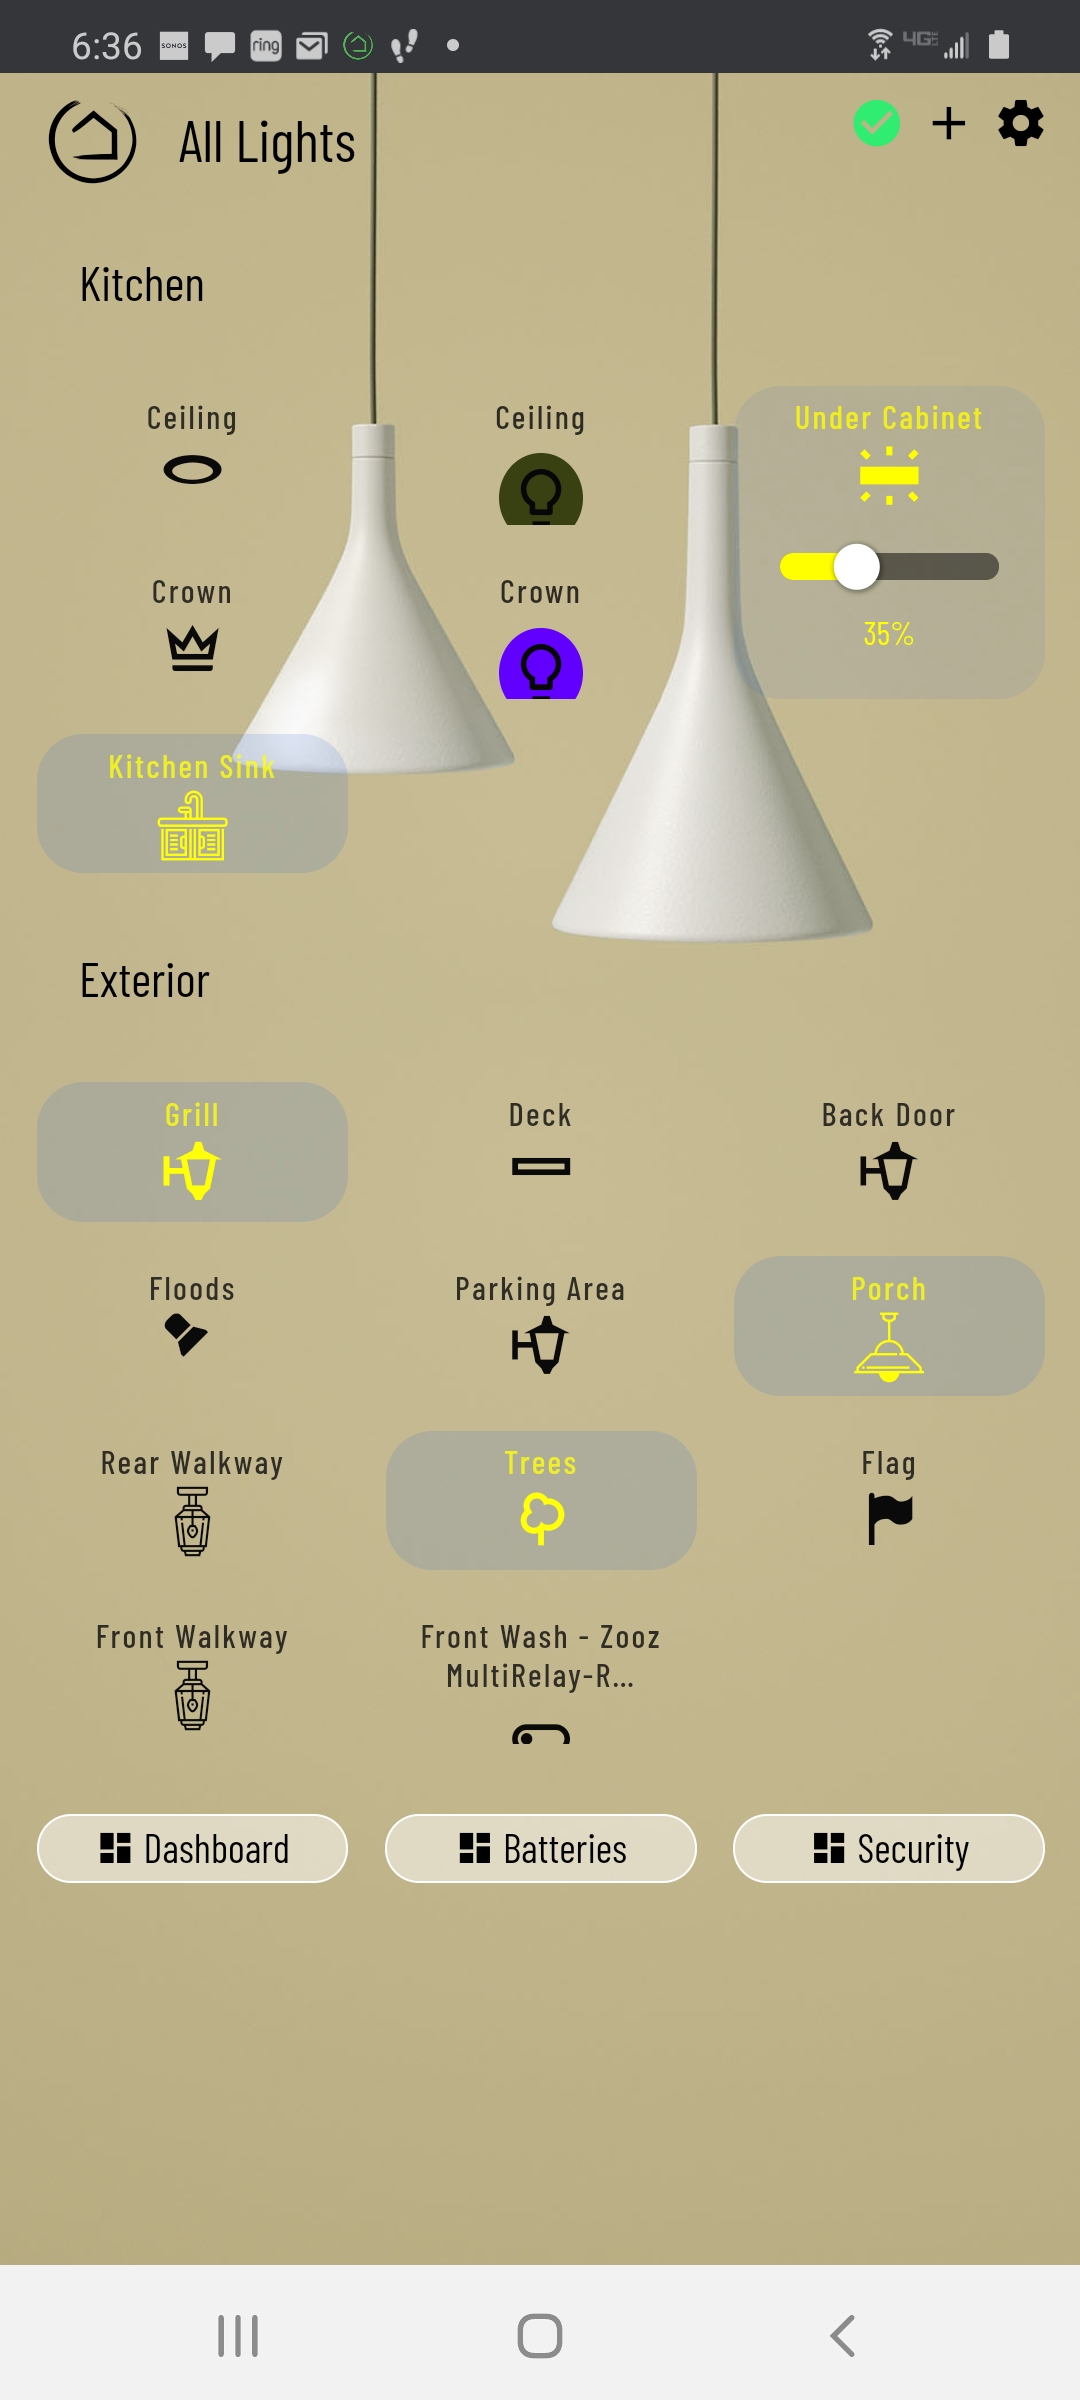
On this dash I made all the device templates transparent, so the "buttons" are not visible when the device is off. When the device is on the device "button" is visible by 10%, and the icon is yellow.
The background is for a not yet completed skin by @spelcheck, the mastermind behind smartly. If you want a link (after checking with him) I'll send you a PM with it. ![]()
![]()
1 Like
@Vettester Those are both AWESOME!! In my short 2 week try with Home Assistant, they had something like your 2nd picture for devices that I loved but have no idea how to recreate w/ HE & NR. Could you send me in the right direction with the Grafana for both NR Dashboard items without derailing this thread too much please?
I wouldn't worry about that, this thread has long been derailed.
2 Likes
Neither of those are NR Dashboards. They were both Grafana dashboards. The 3rd screenshot I posted is HA. For the Grafana dashboards I have InfluxDB and Grafana installed on a RPi and am using InfluxDB Logger Info to export HE data into the database.
Here's the link for the InfluxDB Logger app:
1 Like
This is so cool! Well done @bjcowles. @Otto_Mation!
Would you mind posting the size/layout details and sample CSS (if any)?
1 Like
I also found if you open the "cloud link" in Chrome (on phone) and "add link to home screen". When opening the link it creates there is no url header, or hubitat footer (I know this can be removed but header remains). It looks cleaner and works better than Hubitat app IMO for Dashes.
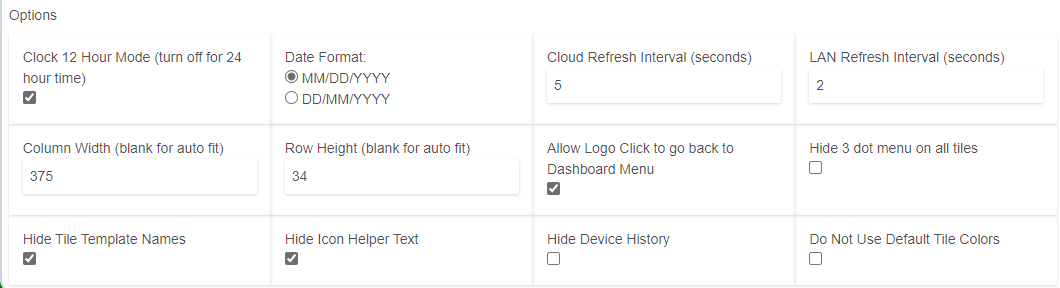
How it renders varies greatly by the device. I applied the CSS from @harriscd's post, then tweeked the column, row, font,and icon sizes for viewing with a Google Pixel 3a.
  /* This should work for a dashboard of only battery tiles. 1 or 2 columns look best. */
/* Set tile Width of 250 to 300 and Height of 25. Hide tile template names. */

/* Move the device name up and to the left */
.tile-title {
  position: absolute;
  top: 4px;
  left: 4px;
  text-align: left;
}
/* Move the icon and icon label halfway across and at the top */
.tile-contents {
  top: 4px;
  left: 47%;    /* Change this to slide the icon and label left-right together */
  height: fit-content;
  width: 60%;   /* and/or change this to slide the icon and label left-right together */
  padding: unset;
}
/* Move the 3-dot menu up and shrink it down a little */
.tile-edit {
  top: 0px;
  font-size: 16px !important;
  transform: scale(0.75,0.75)
}
/* Modify the position of the battery icon. */
[class*=" battery-"] {
  position: unset;
  top: 0px;
}
/* Find the 'i' tag that is a child of the battery icon and re-align */
[class*=" battery-"] > i {
  position: absolute;
  left: 62%;   /* Change this to slide just the icon left-right */
}

2 Likes
Hi Otto_Mation could you please tell me where I went wrong?
Can't work out how to get the battery percentages included...
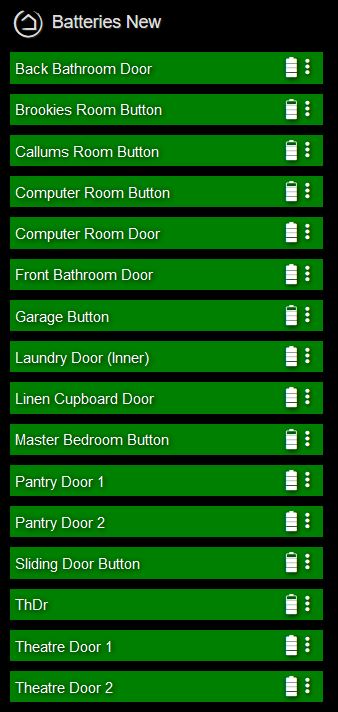
Did you use the CSS for contact sensors instead of the one for batteries?

