*** I see the NodeMCU hardware is WIFI, but assume Hubitat can talk to it via it’s hardwired (I’m on a C-5) ethernet connection on the local subnet? Looks like older HE H/W, like mine, can work with it.**
Summary
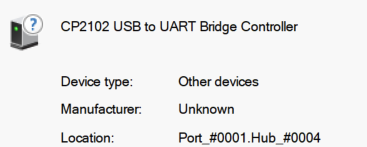
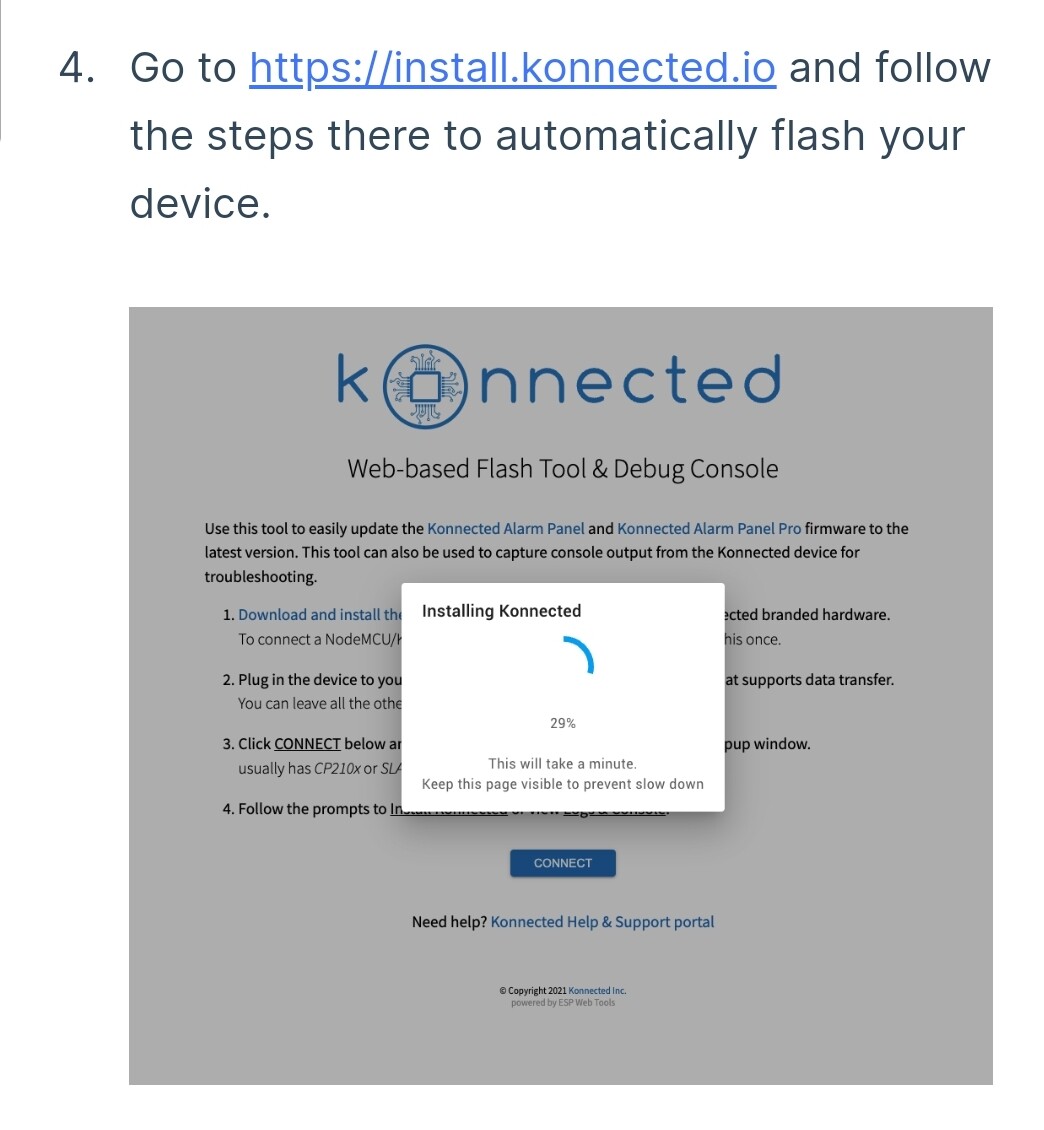
The nodes are wifi. Basically, plug one into a computer via USB, run the flash tool to install konnected firmware. Check your phone to see available WiFi hotspots, and connect to the new konnected one, which will obviously then result in you having no Internet access on your phone tablet whilst connected to the konnected hotspot. Head to http://192.168.4.1/ which'll show a basic config screen, where you scan for your standard home wifi network and enter the password. The board will then reboot. And you'll no longer see the konnected hotspot anymore in your available WiFi networks.
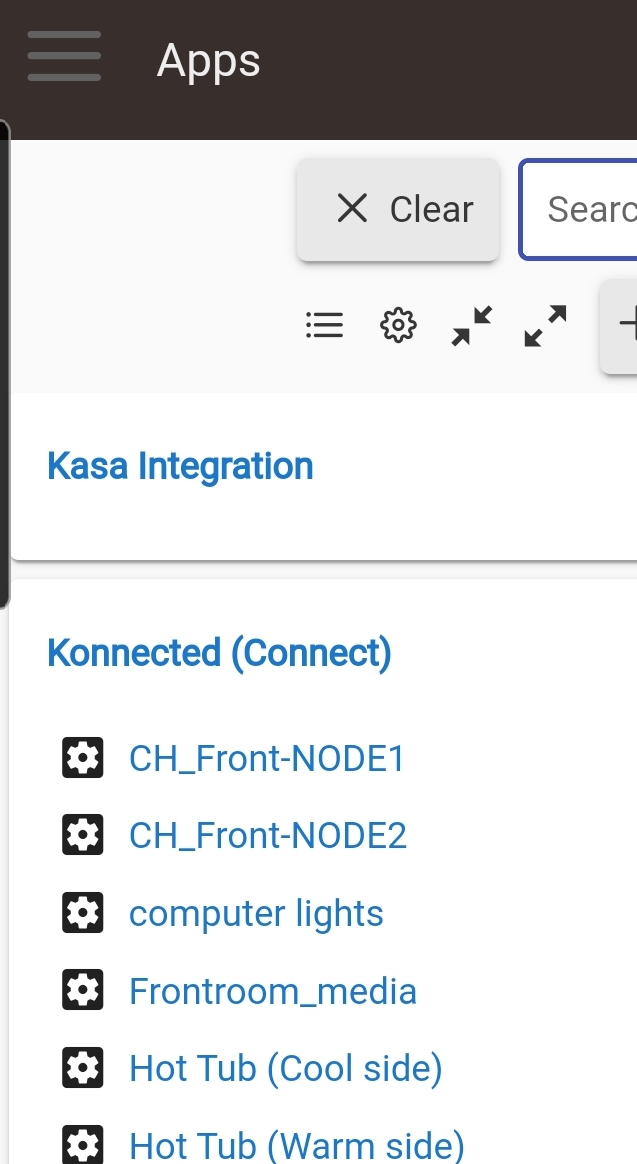
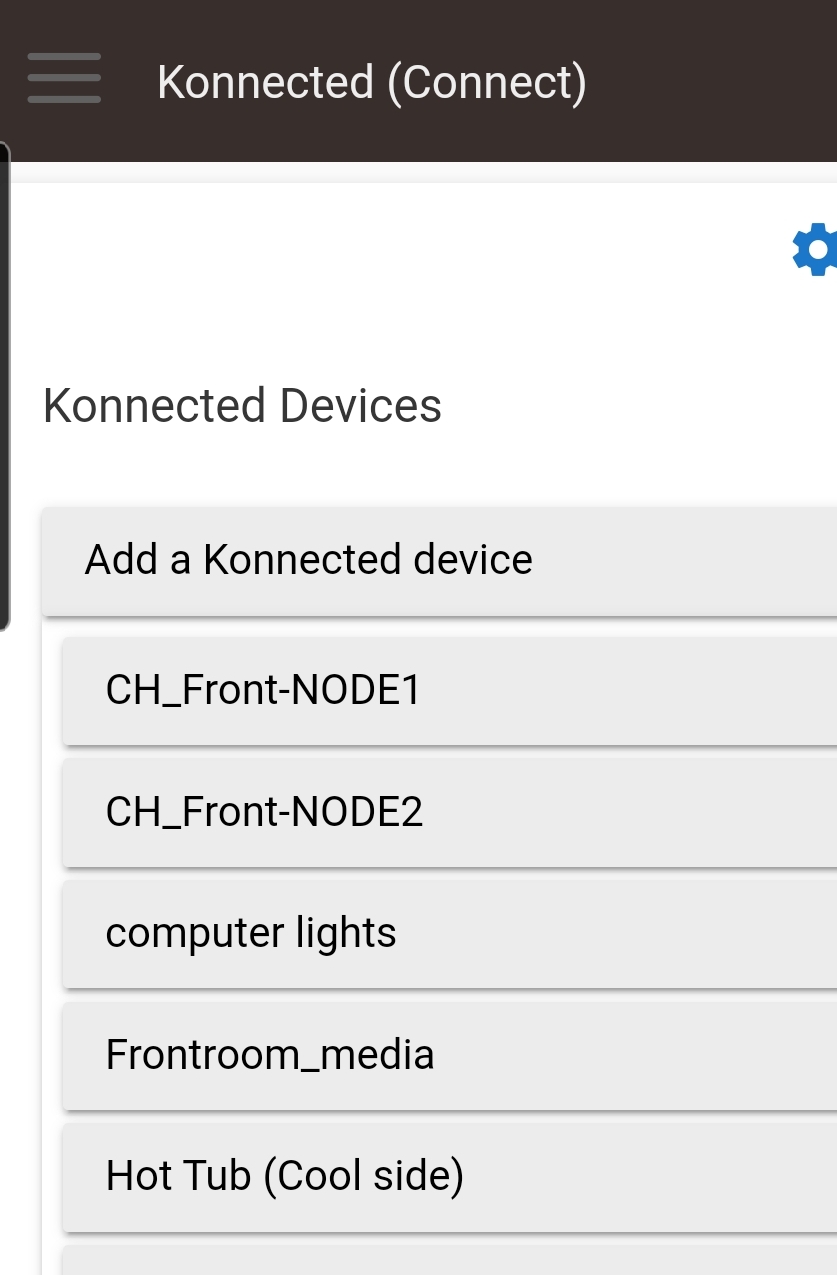
Part 2 is to head to the hubitat konnected app, which you would install on your hub. Follow the prompts to add a new board, it'll spot the new board, add it, and let you set which pins are for what. Really easy.
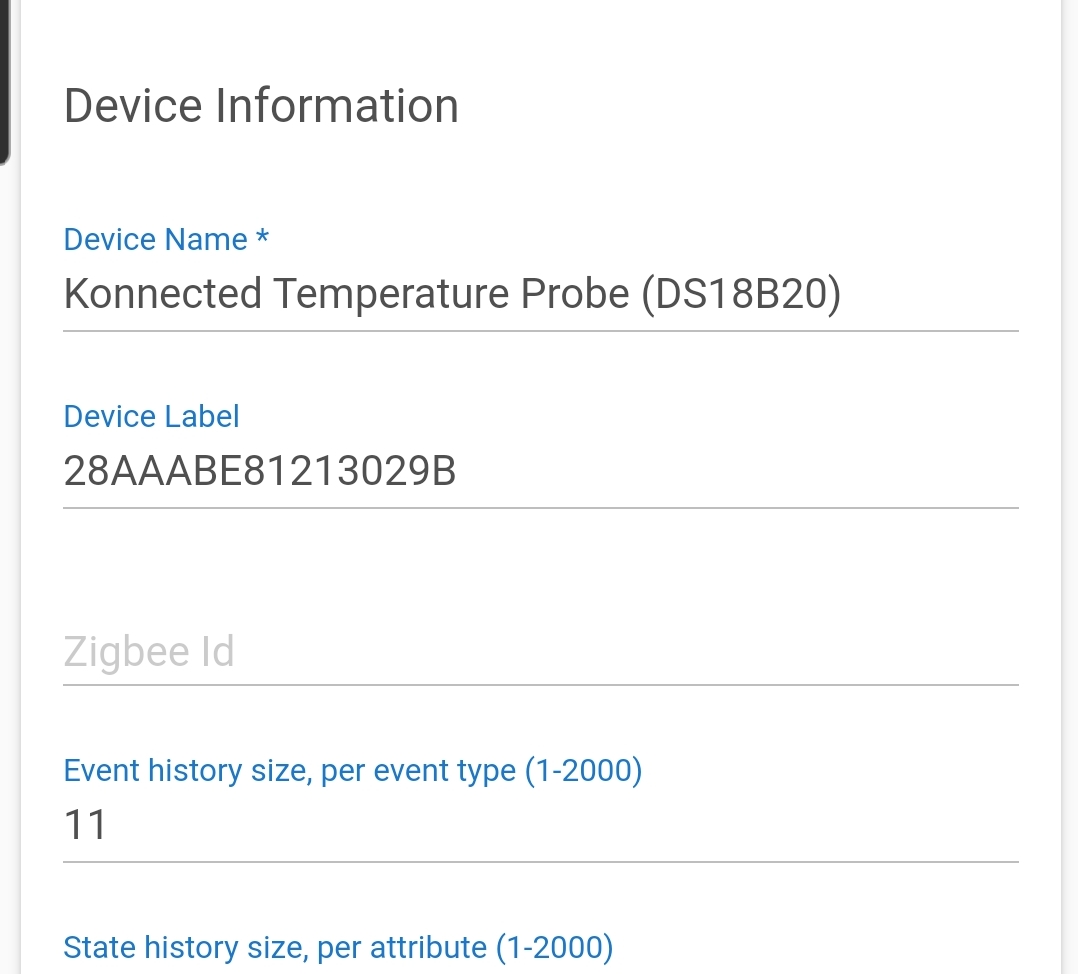
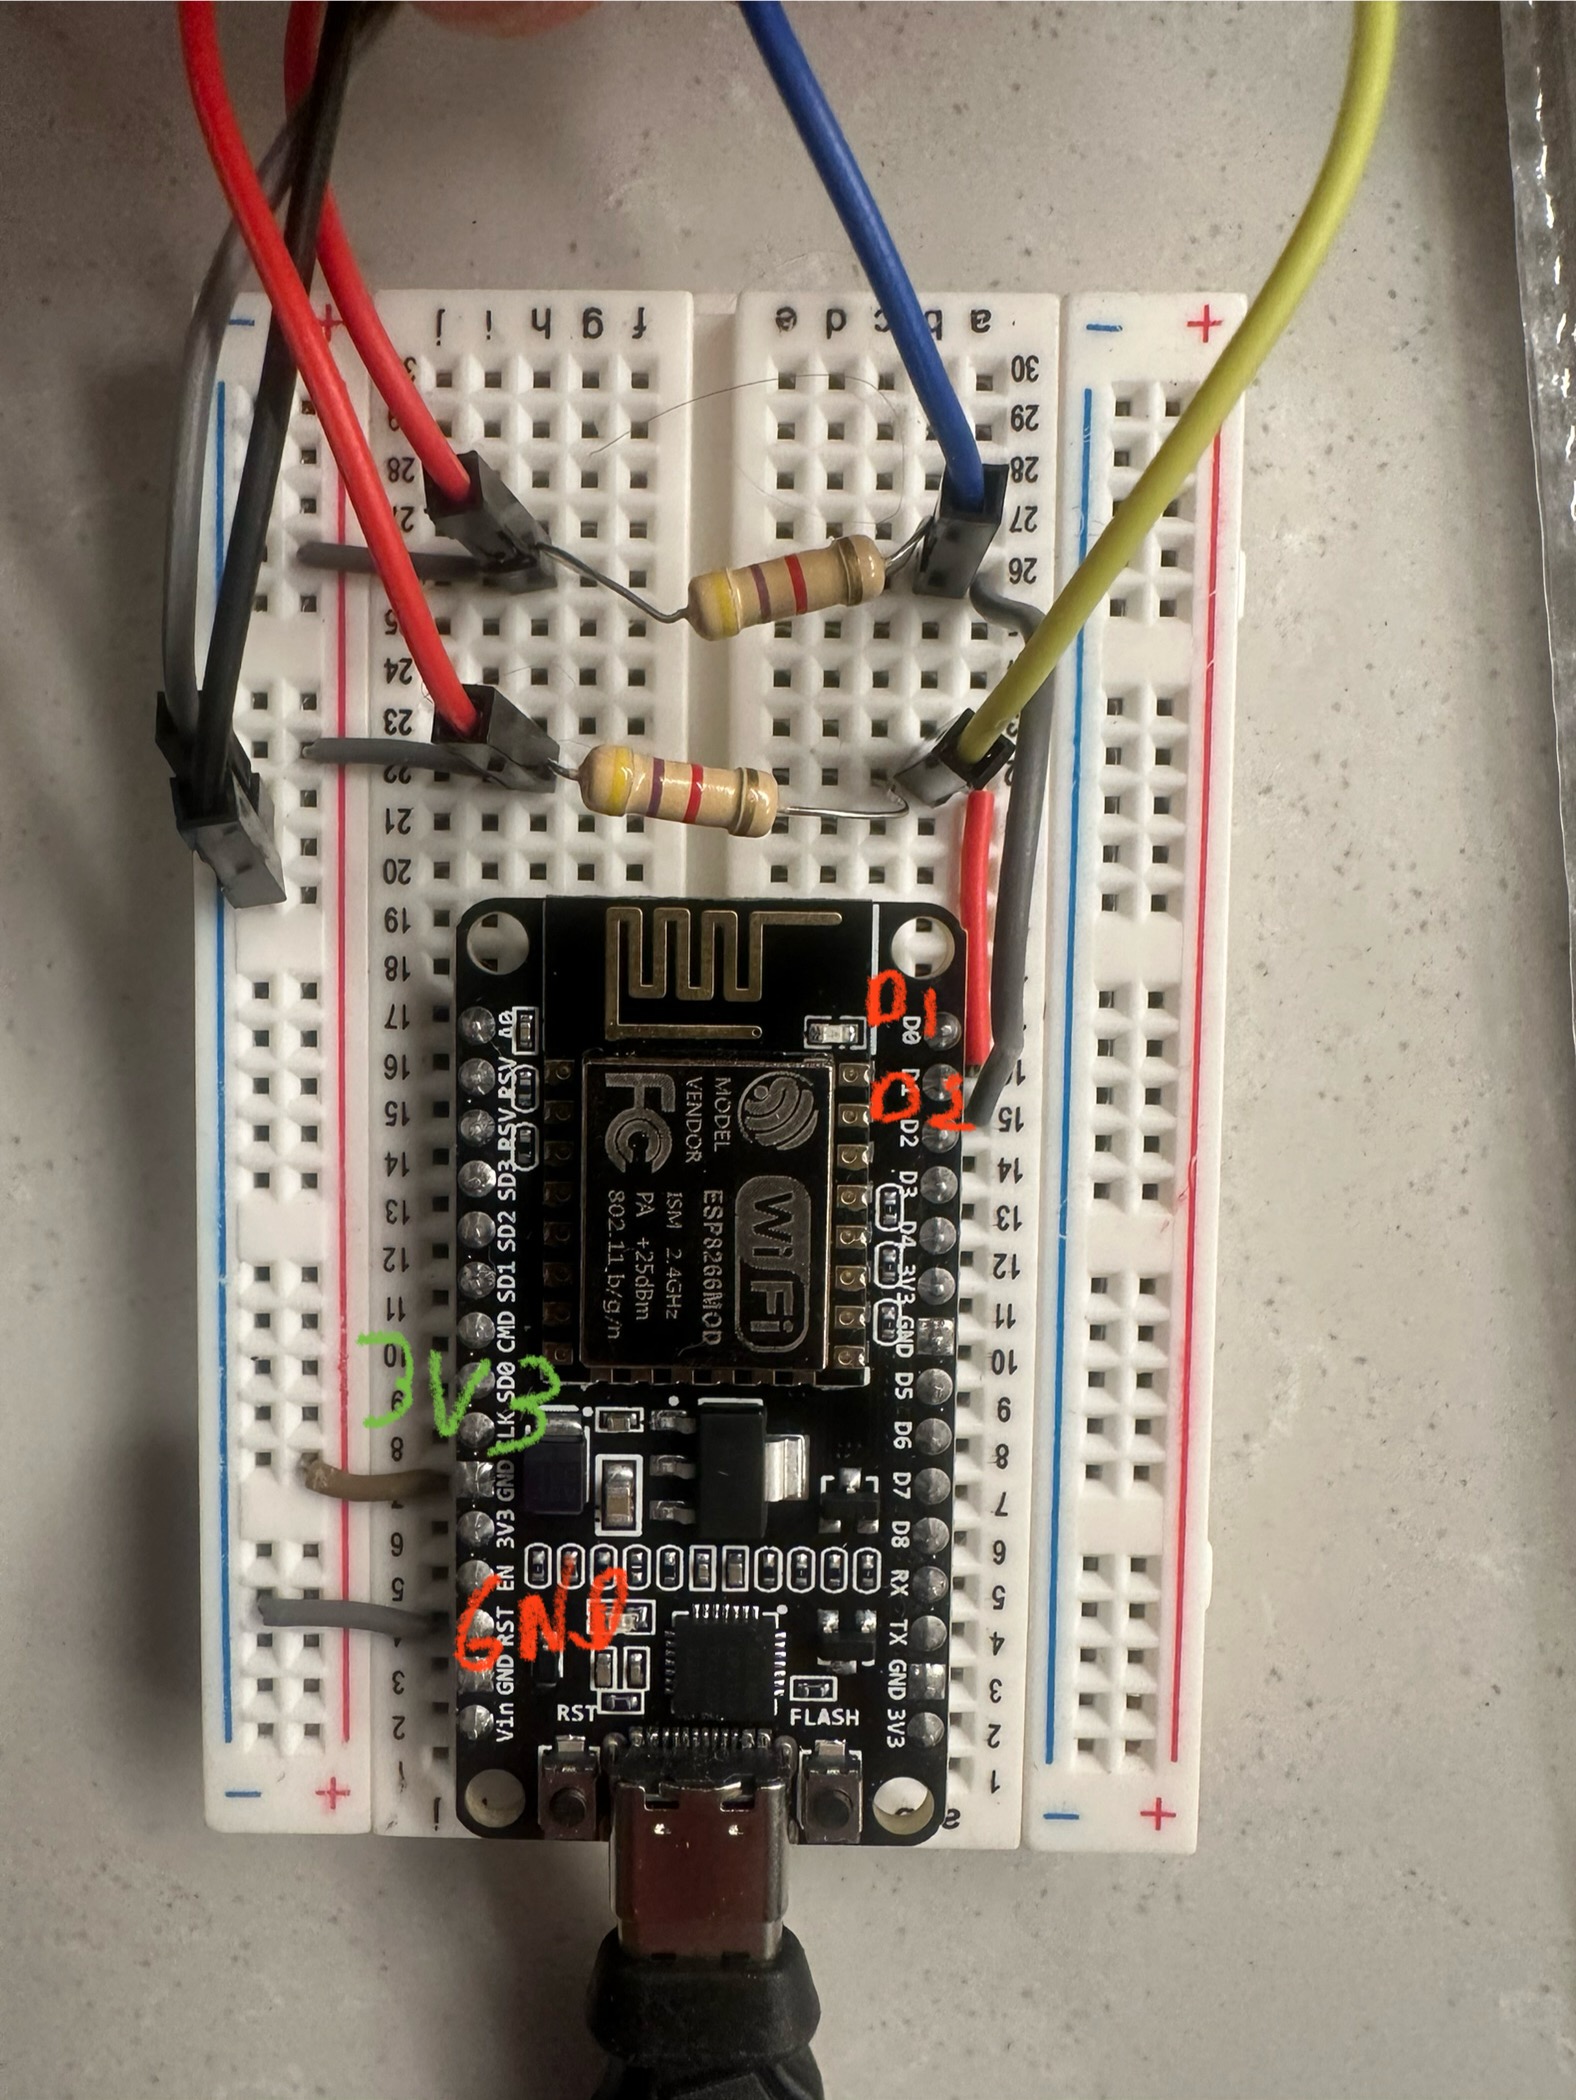
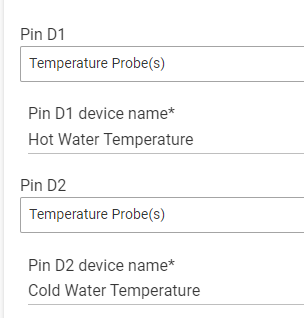
See above for one of my hot tub boards. For your ds18b20 's it's a little odd. As you'll see from the screen above, although there's one pin assigned (one wire protocol, all the data wires from multiple sensors will connect to the single pin), the device name doesn't mean a thing. Instead, each ds18b20 will show up under Devices under a unique name which you can rename to something more useful.once you're ready.
Note that you will need to add a resistor as per the below:
If you don't do this, you will definitely have issues. Either poor/non existent readings or a failure to add the sensors to begin with. Just pop one connecting the data pin and the 3v one. If you wish to try without, feel free, but my tub sensors won't even show up without. Your call.
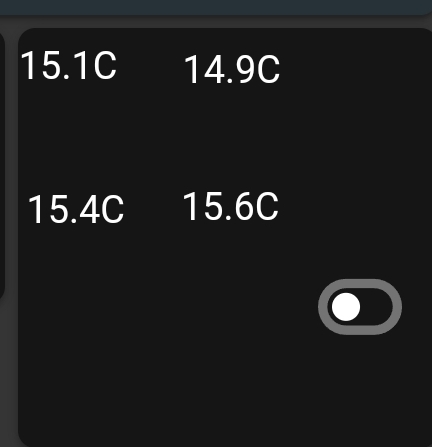
And that's it. They'll update every 3 mins, I do t think there's an option to alter that.
Back to your questions...
*** What driver package to use? I see Konnect has one (per their website). The there is Hubduino. Does not appear these are supported in HPM?**
Summary
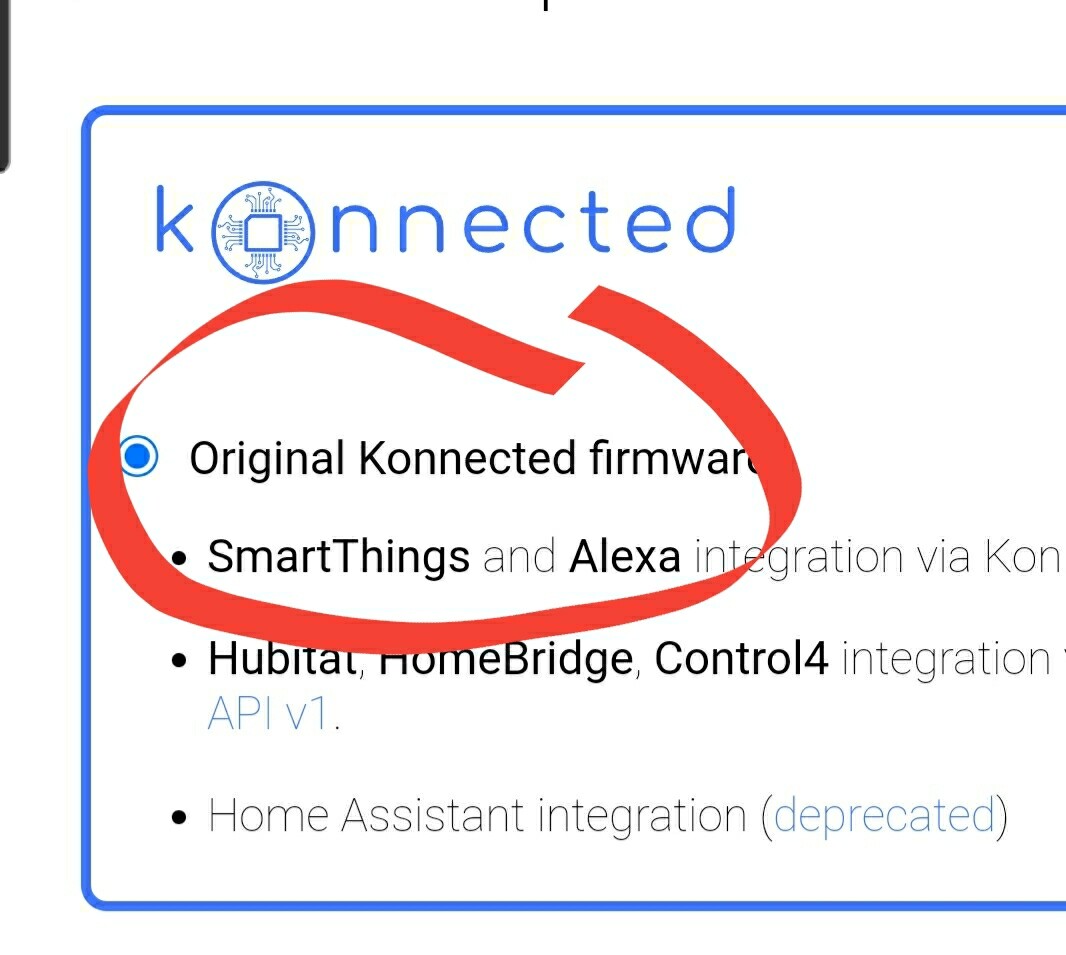
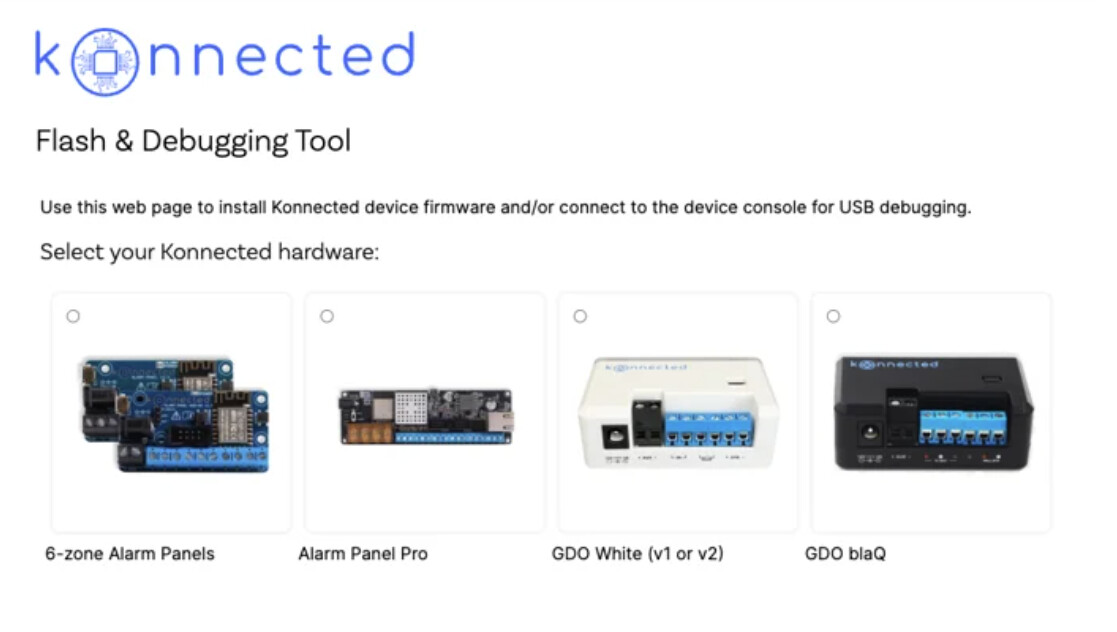
The hubitat install guide at the konnected website is all yoh need. Basically, install the app and the drivers. That's it. No need for hpm etc.
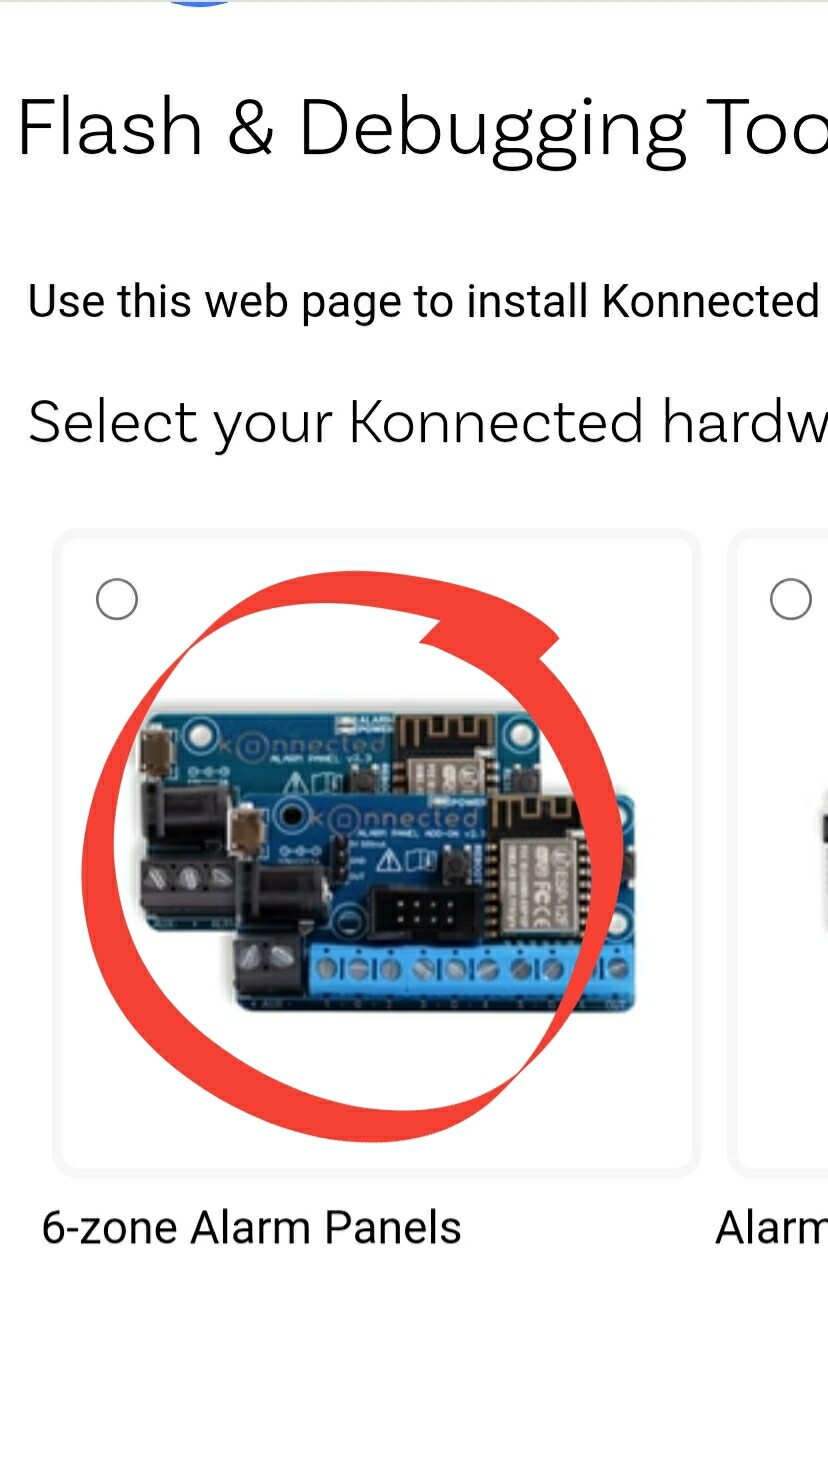
- What hardware? Konnected says they don’t sell the H/W anymore, but they recommend the LoLin NodeMCU V3. Not seeing that offered anywhere? Other options?
Summary
I've found them.all over the place, Ali express, amazon etc. Search for nodemcu esp8266. Here's one hit:
https://www.amazon.co.uk/s?k=nodemcu+esp8266&crid=3BLXBNR1KDB0R&sprefix=Nodemcu+%2Caps%2C92&ref=nb_sb_ss_ts-doa-p_2_8
*** Is programming required to setup the NodeMCU, or is it just loading modules & drivers?**
Summary
No programming.
*** Is there extra H/W required for the 1-Wire interface, or is it built-in to all NodeMCU’s?**
Summary
As advised above, you need a resistor. Aside from that, all I can think to mention is that you power the board via a 5v supply. I use a 12v psu to power multiple usb-style 12v-in-5v-out adaptors. Usually 3 amp outputs I think which is plenty.
*** Any other published resources to guide me thru setup and configuration.**
Summary
Hoping this will do you, along with the standard install guide from the konnected website.
Hubitat: Install Konnected Apps
Looks like once I get it going, the NodeMCU has a lot of I/O flexibility.
Summary
100%.
You mentioned hubdino. This software is way, way more flexible allowing for hardwired devices and christ knows how many different types of sensor. Totally different ballgame to konnected and involves programming to a degree. Beyond me. I can tell it's phenomenal, but konnected was literally the reason I bought a c7 and was one of the first things I installed. It does all I need.
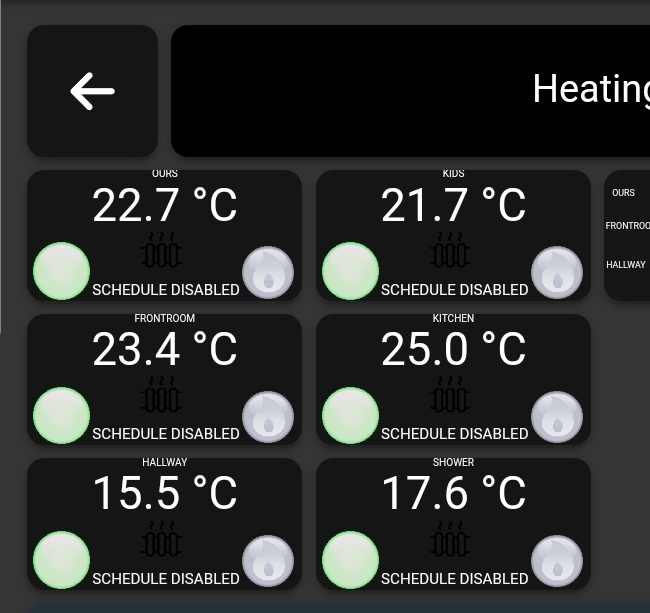
Here's the results of my multi room heating system, based on konnected // nodemcu // dht22 's:
Here's the outdoor hottub, using the one wire ds18b20 s... Not as polished /complex:
Hope that helps. As advised in the other thread, I thought the fibaro was a POS. These however
, rock solid.