Yes, it’s probed height vs nozzle height as calculated during the calibration prices.
1 Like
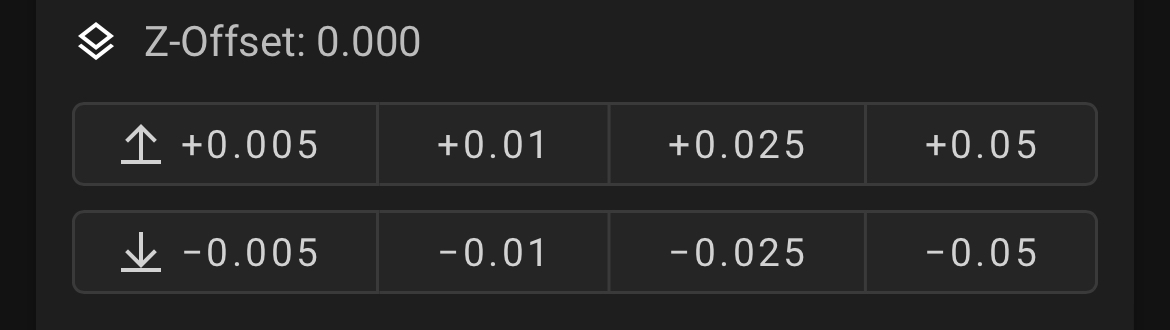
Just use the Klipper controls to raise up your nozzle in 0.01mm increments till you find the sweet spot. Klipper lets you adjust this on the fly.
Just print a few layers over the spot where the Filament is bonded to the bed and then you should be able to get it off.
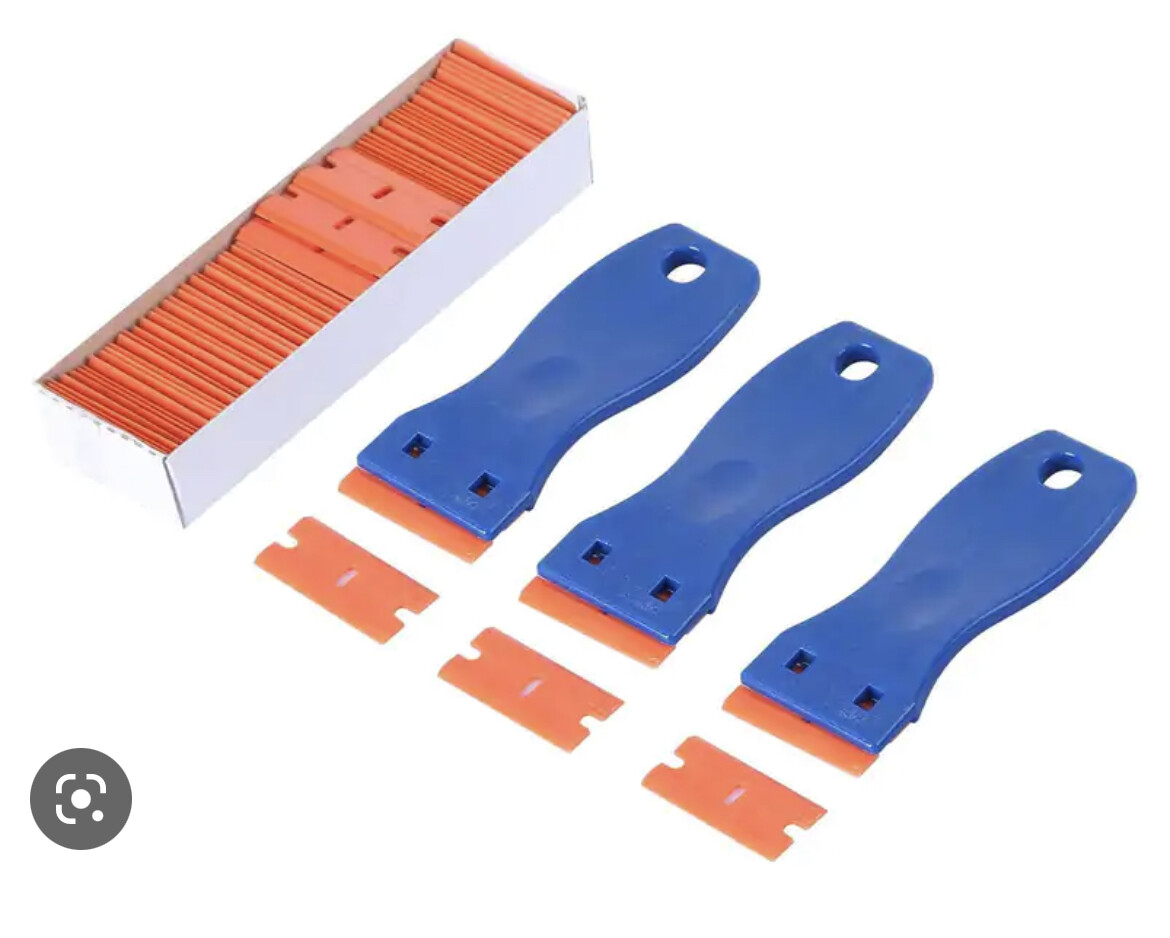
Plastic razor blades are also great for this.
1 Like
That helped a lot, thanks. Only had to raise (+0.01) twice, a little bit went a long way.

So my 0.707 has become 0.727.
I'm going to uncomment the Z offset line in the bltouch section and put the updated value there, that seems to be the only way to manually modify the Z offset to a specific value.
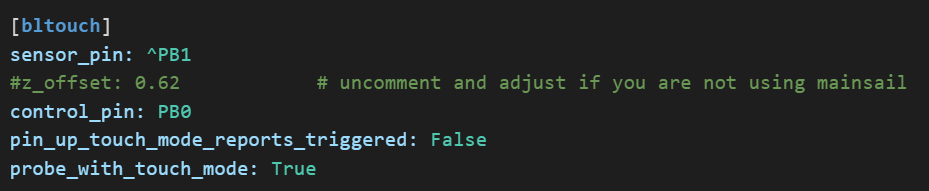
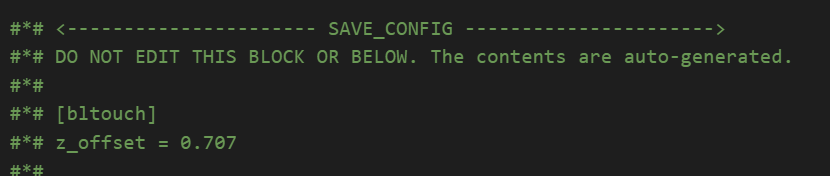
I would have changed it in the section at the bottom of the printer.cfg file but the warnings seem serious...
1 Like
Just make sure you save the main config after the print has finished.
1 Like
No don’t do that, hit offset save and then when the print is finished, save the main config. It’ll store the settings for you.
1 Like
Dang - did not know that! Thanks, saved me!!
1 Like
Hehe, all good, I’ve been using Klipper for close to 2 years and even I’m still learning features etc.
1 Like
I am starting to understand it a little more of the power and flexibility of Klipper and see why you and others like it so much. Hopefully I'm over the intial DOH/DUH stage.  I did another test print and adjusted my Z offset another .005 and the print looks very close to how I had it under Octoprint, so that's good.
I did have another adventure w/a move out of range error that popped up after I had saved the new config w/the updated Z offset. I was able to fix that via setting a min in my Z stepper section of -0.5 to give me some breathing space there.

1 Like
I like to live dangerously, so I have mine set to:
position_min: -7
1 Like
I’ve been doing a couple of PLA prints today after doing a bunch of PETG for a while and I forgot how nicely the PLA prints come out. Just nice and smooth. It is really satisfying.
3 Likes
Like buttah! ![]()
![]()
Nightmares of your entire print head driving down through your build plate... ![]()
2 Likes
Hehe, yeah I’ve destroyed print heads before. ![]()
1 Like
Same... 
Drove the head into the bed and bent/cracked the transition piece between block and break.
Didn't notice the crack at the time after bending things straight, but certainly noticed when I went to print and melted filament went everywhere between the block and break. lol
2 Likes
I'm going to have to try that one!
2 Likes
So as I look for more ways to complicate and potentially screw up my printer/printing in the future...thinking about input shaping w/Klipper. Is getting an accelerometer to do input shaping calibration a reasonable idea? They are (as @dJOS might say) cheap as chips on Amazon.
https://www.amazon.com/HiLetgo-ADXL345-Digital-Acceleration-Transmission/dp/B01DLG4OU6
1 Like
That’ll do nicely, they are dirt cheap.
1 Like
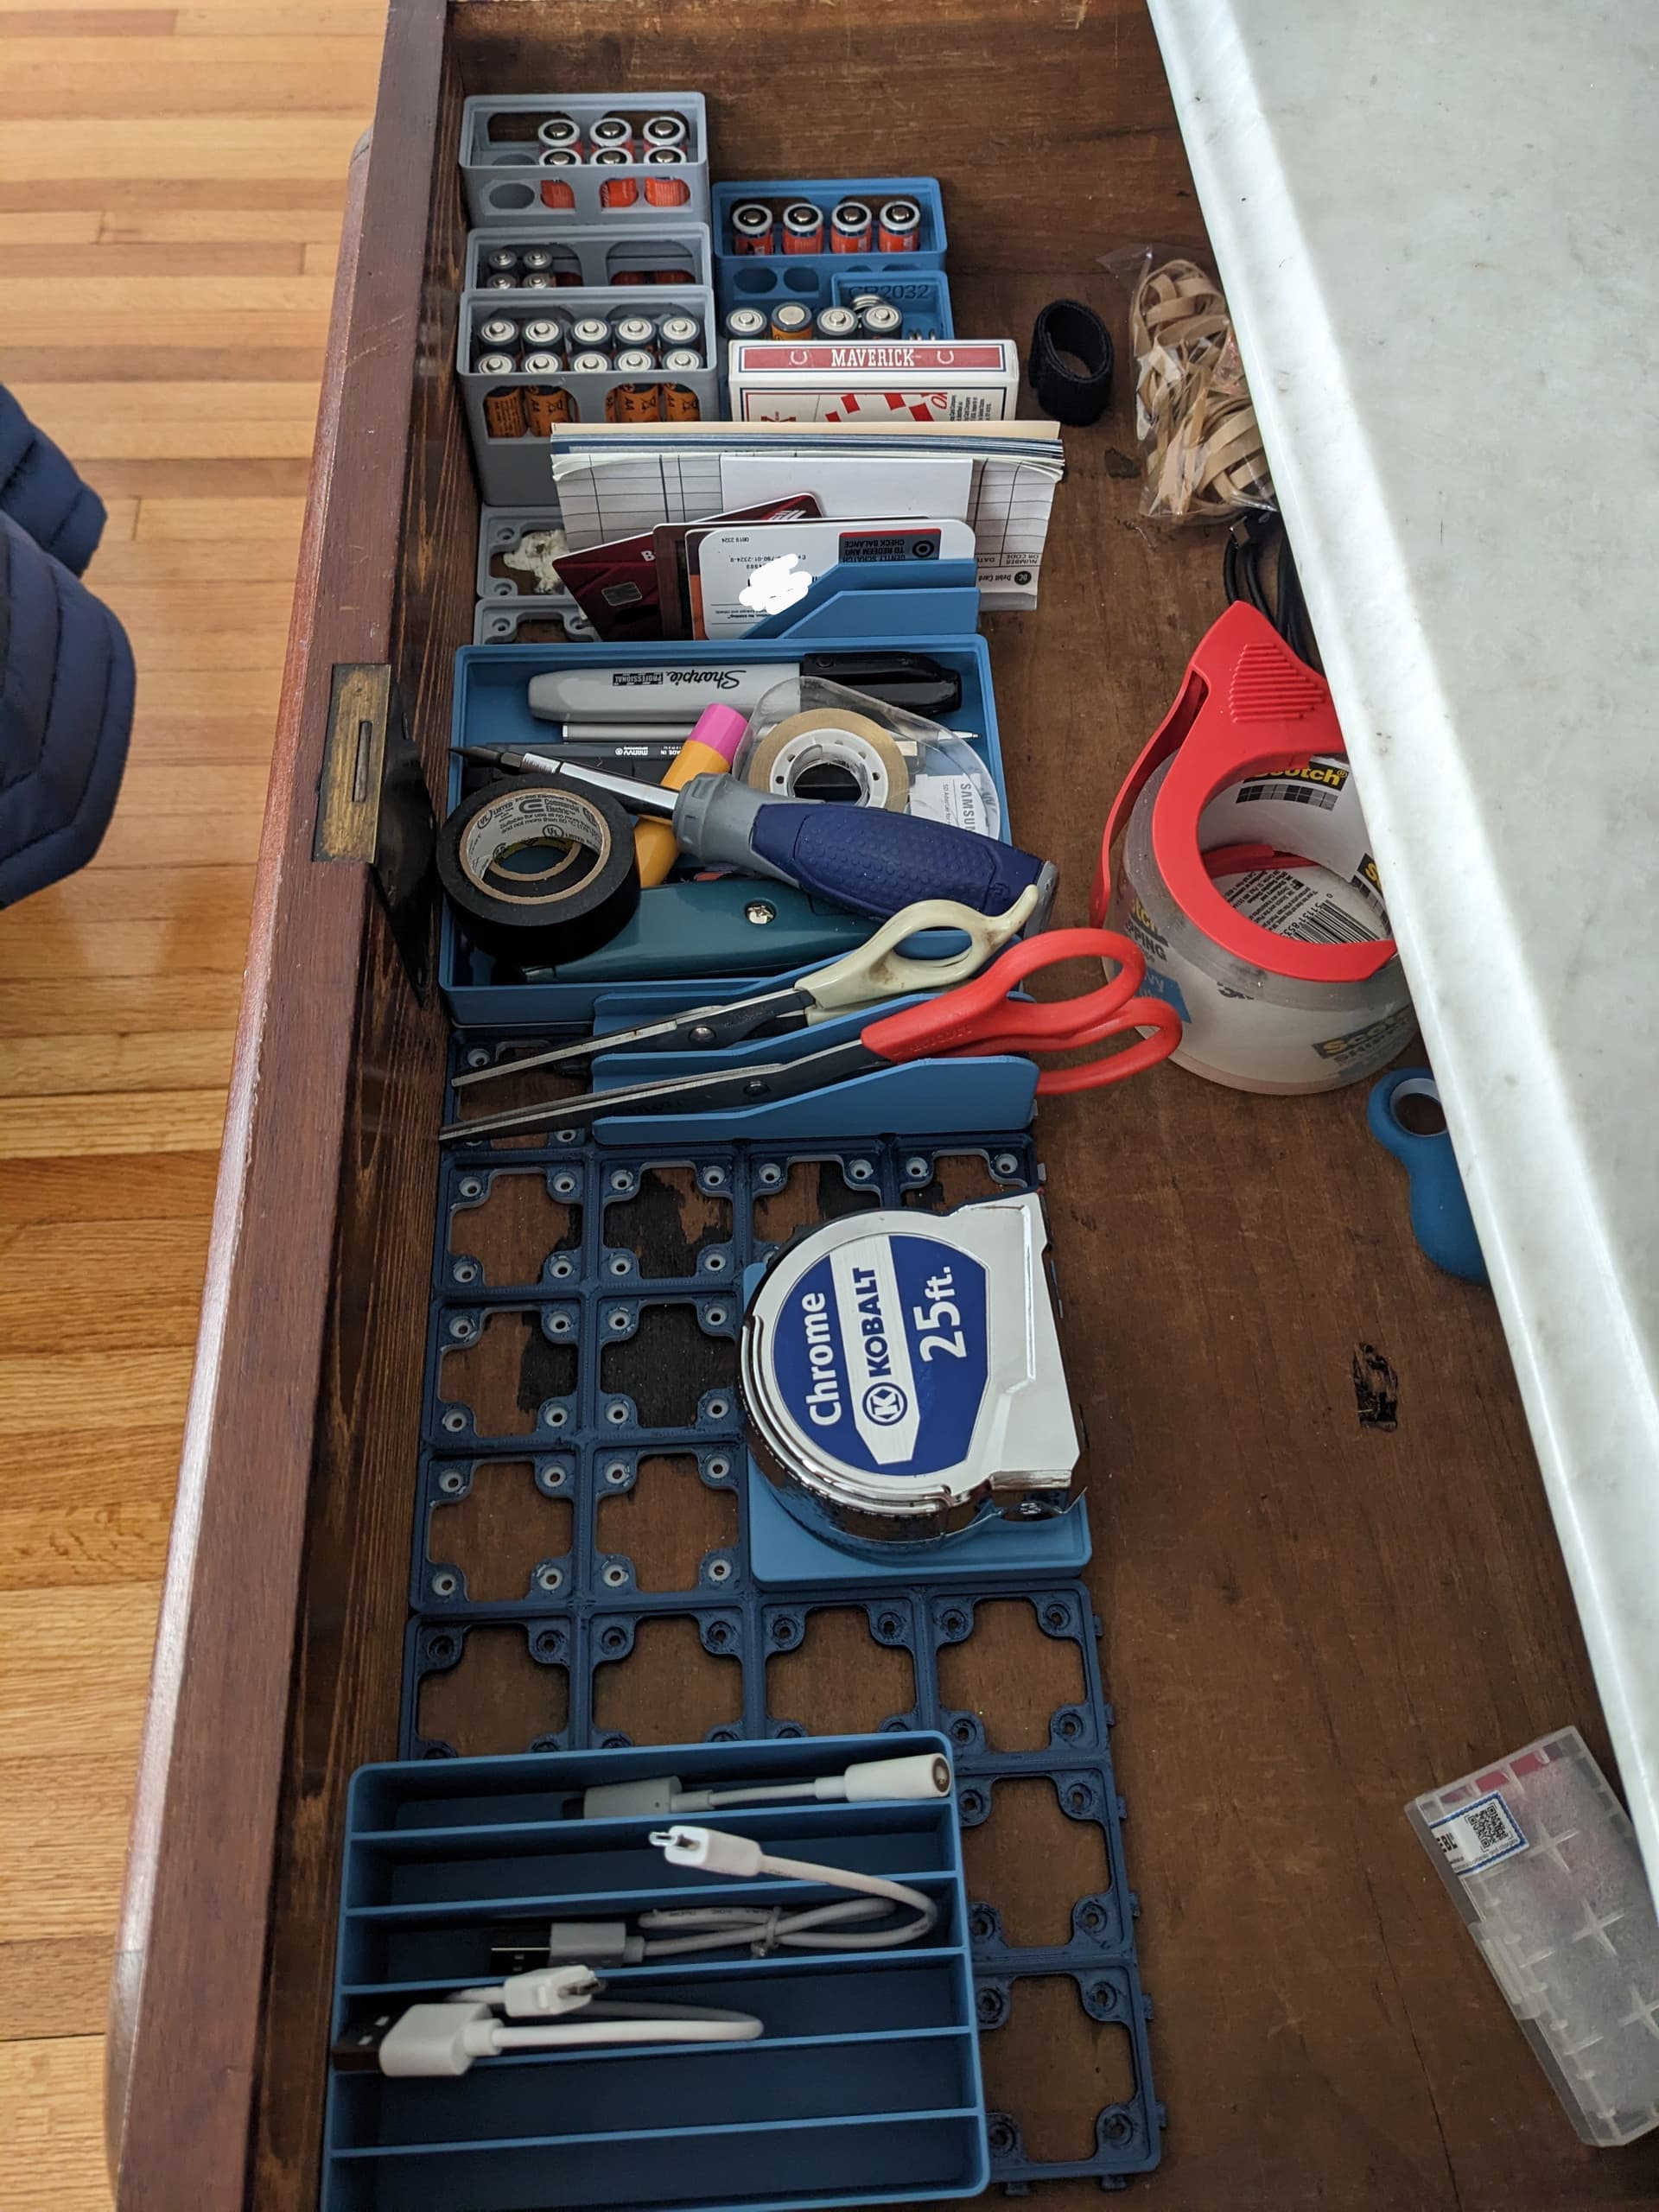
Didn't even realize I needed to get organized until I got a 3D printer. But now I'm the most organized on the block.
I also printed a requested model for a family member today of an old car, first time enabling supports. Kind of a pain to deal with. I was going to attempt to make use of my multi-filament printing capabilities for the first time and use a special support filament, but it just about triples print time and was going to waste more filament switching between each type than was going to be used in the model so decided against it.
3 Likes


Anyone here using the Kamp Adaptive Mesh with Klipper? @dJOS @JasonJoel, or others?
I’m using the built in Klipper Adaptive mesh that was recently released, it’s great.

1 Like