Like a lot of you, I lost my dashboard when Smartly stopped being maintained. The native Hubitat dashboard is too rigid for a security-panel-style layout, and Hestia is great but room-based rather than the "locks/garage/cameras/modes at a glance" view I wanted. So I built my own.
It's a single HTML page (vanilla JS, no build step, no framework) hosted on a Cloudflare Worker, with your config synced through Cloudflare KV. No servers to run, no Docker containers, no Raspberry Pi — it deploys to Cloudflare's free tier and just runs.
Features
-
Tile types: switches, dimmers/bulbs (with a level picker), locks, garage doors, contact sensors, presence, water sensors, valves (with optional timed-open), window shades, Hubitat Mode, HSM/alarm status, Virtual Image devices, dashboard/URL links, read-only attribute text, and spacers for layout gaps
-
Mode and HSM never cycle on tap — both open a picker modal, so you can't accidentally arm/disarm or change modes with a stray tap
-
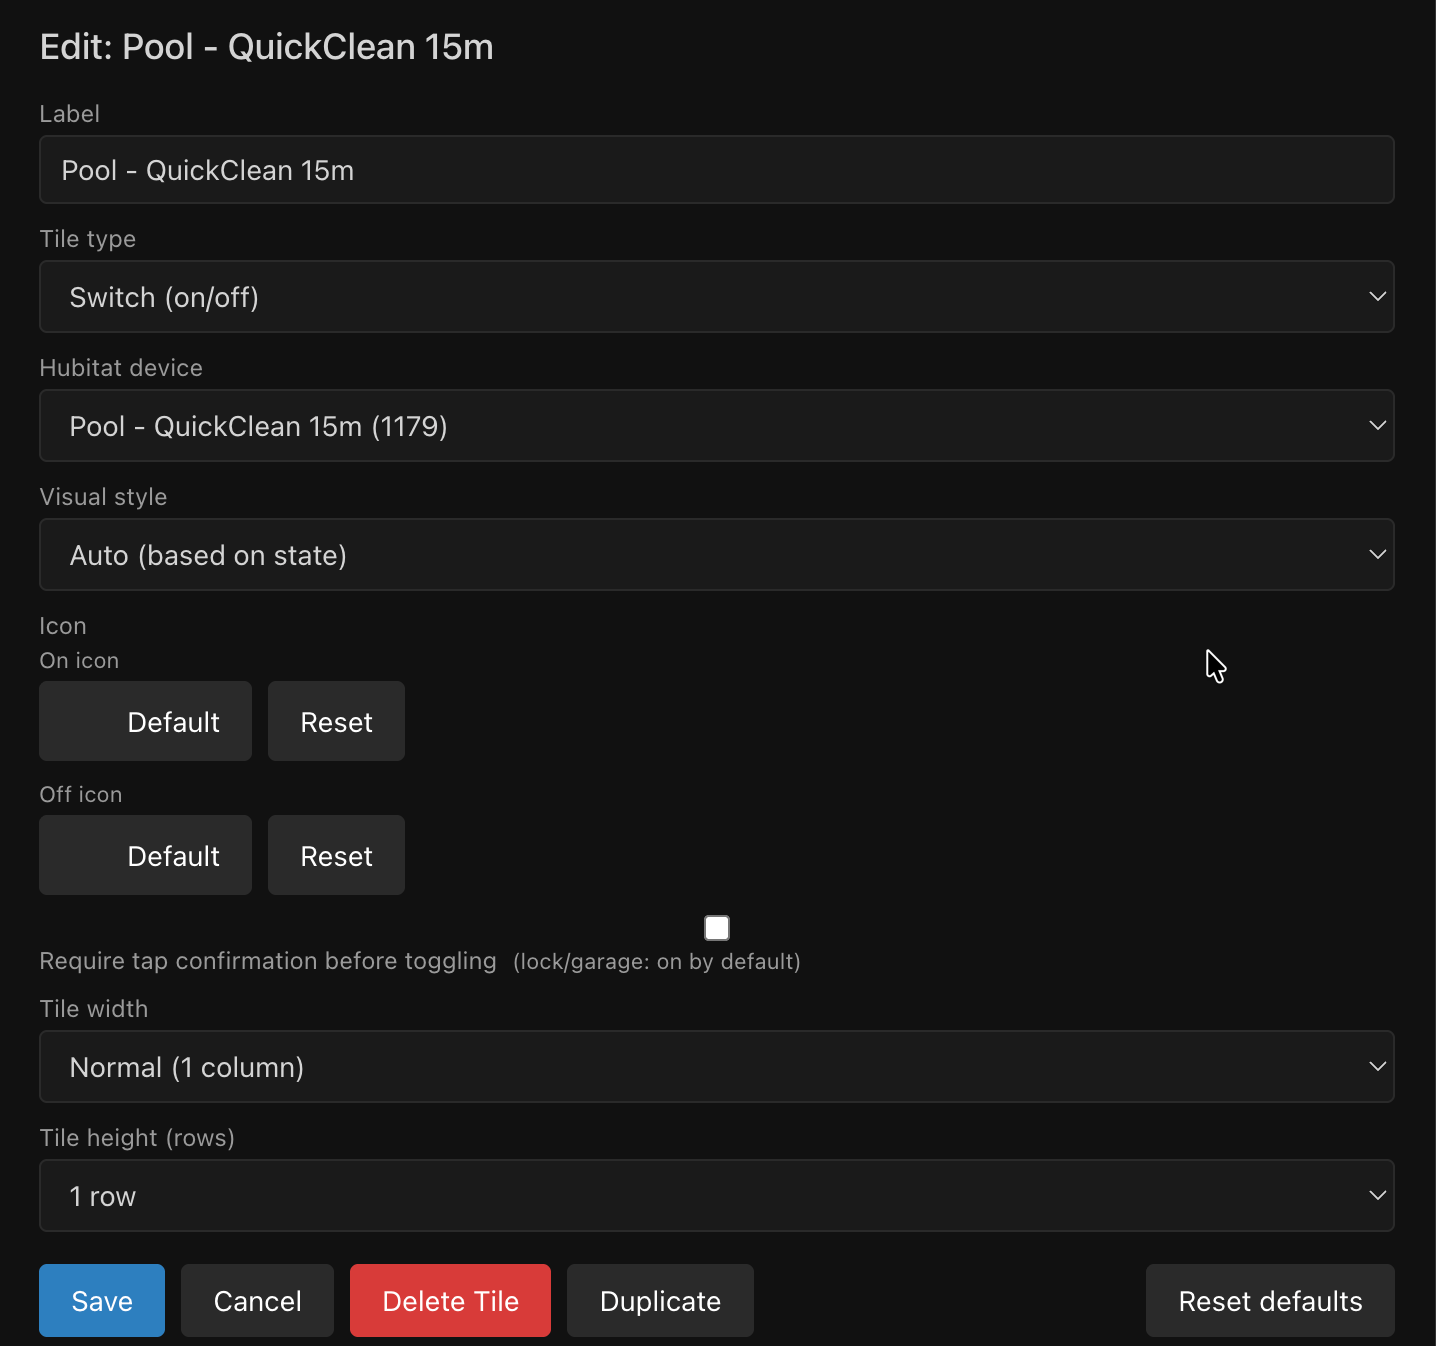
100+ built-in icons with a searchable picker — every tile type can have its icon swapped, and binary-state tiles (switches, locks, garage, valves, shades) support separate icons for each state (e.g. a different icon for locked vs. unlocked)
-
Auto-generated dashboards — point it at your Maker API and it automatically builds grouped views (Switches, Lights, Locks, Battery, Presence, Contact Sensors, Shades) from your existing devices, no manual tile setup required
-
Custom dashboards — build your own named dashboards with any device, drag-to-resize tiles, reorder, nav chips
-
Status bar — HSM, Mode, and any presence sensors you choose to pin, visible from every view
-
Real-time updates via WebSocket — if you run Hubitat behind a Cloudflare Tunnel (instead of just the Cloud Maker API), tiles update instantly on device events instead of polling every few seconds
-
Cross-device sync (optional) — save your tile layout to Cloudflare KV and it follows you between phone, tablet, and desktop. Or skip KV entirely and keep everything in one browser
-
Cloudflare Access authentication — your dashboard gets a real login gate (email + one-time code) without exposing your hub to the internet
-
Config backup/restore — download/upload a JSON snapshot, or copy/paste between devices
What it looks like
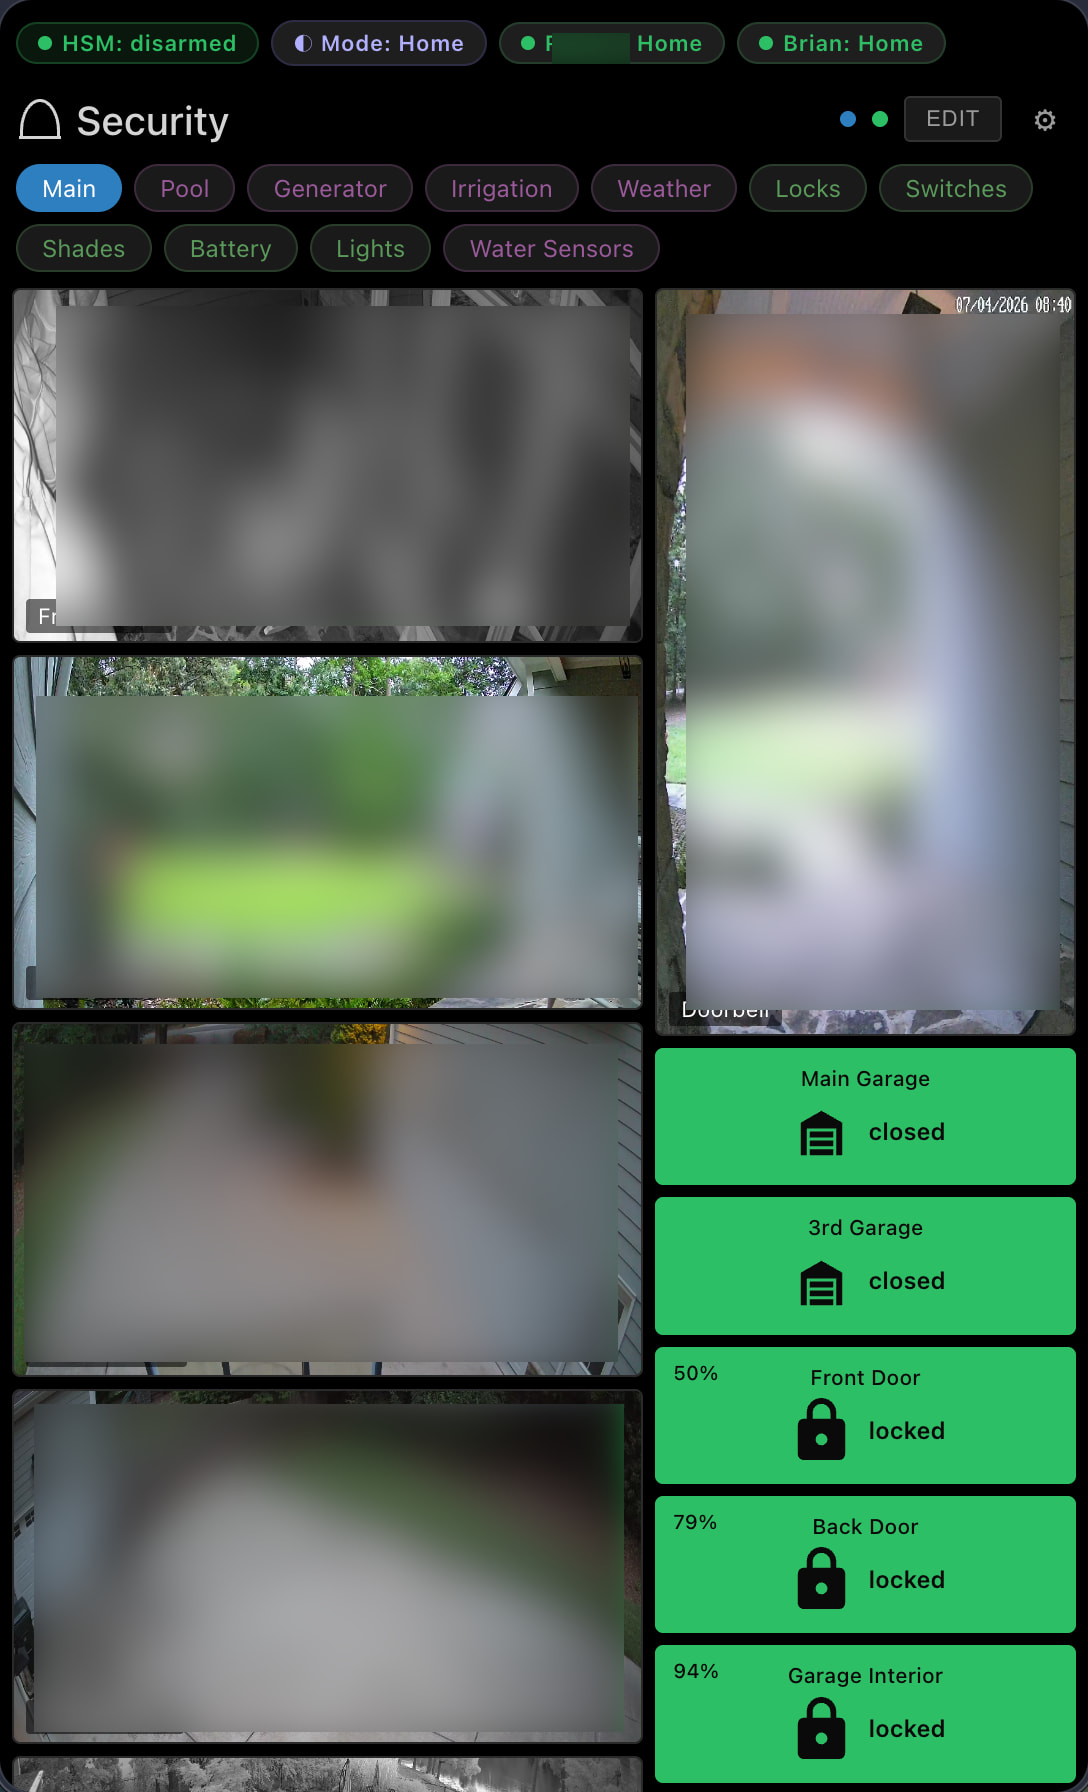
(illustrative mockup — see the repo README for the actual layout)
Tiles are color-coded — green for active/safe, red for alerts (like an unlocked door), gray for inactive — with a status bar of HSM/Mode/presence chips up top.
Setup
Two ways to deploy, both documented in the README:
-
No local tools — fork the repo, add a few secrets to GitHub Actions, click "Run workflow." GitHub builds and deploys it for you.
-
Local CLI — clone it,
npm install,wrangler deploy.
Cloudflare KV is optional — skip it and everything just lives in your browser's localStorage. Your Hubitat access token is never pushed to KV either way; it stays in your browser and is sent directly to the Worker per request, so it doesn't get stored server-side unless you deliberately set that up via the CLI.
If you want real-time WebSocket updates instead of polling, there's a full walkthrough for wiring up a Cloudflare Tunnel to your hub, including securing it with a CF Access service token so the tunnel isn't wide open to the internet.
Links
-
License: MIT — fork it, modify it, make it yours
This is totally a vibe-coded piece of work and more like a personal project I've been iterating on, so bug reports, feature requests, and PRs are all welcome. Happy to answer questions about setup if anyone gets stuck on the Cloudflare side of things — it's a bit of a learning curve if you've never touched Workers/KV before, but the GitHub Actions path should get most people running in under 10 minutes.