Hi Support Community. I require assistance at this screen where I must enter “DNS name servers, comma separated”. I wish to change the IP address to the one already setup in my router 192.168.1.163 and to complete the task, I need to input something here. I didn’t find anything in previous posts so far.
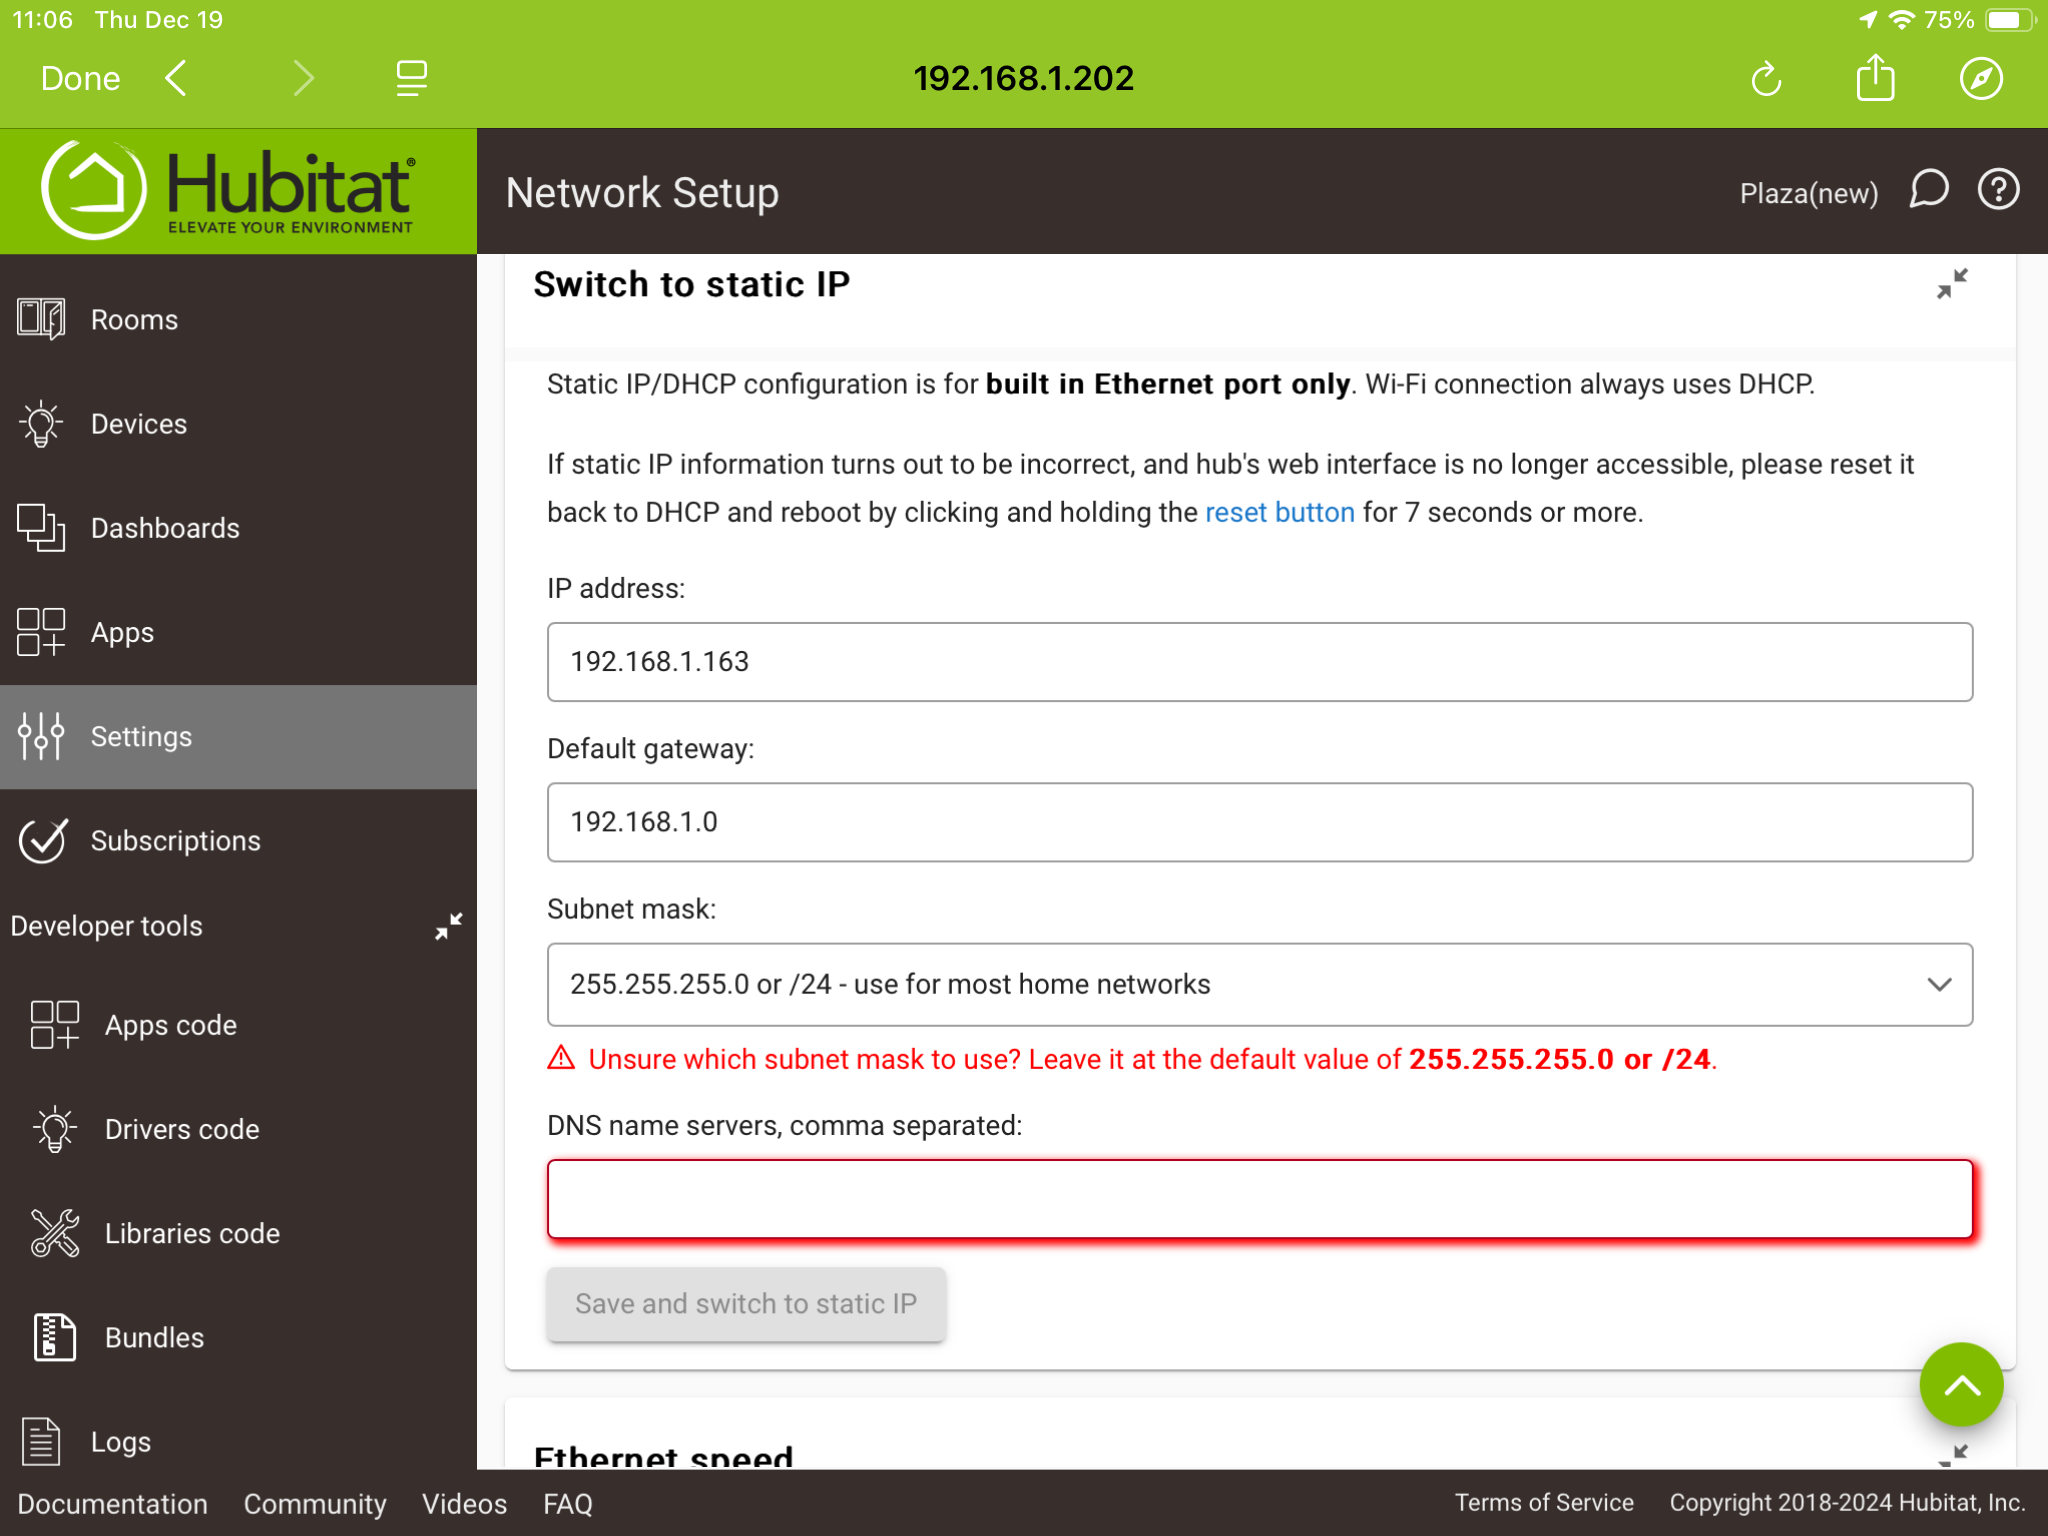
How is this set up in your router? If it's a DHCP reservation, the hub uses DHCP by default and will get that address -- no configuratin needed for the hub on your side. (If you are replacing an old hub, as suggested by another post you created recently, and this is what you did for the old hub, you'll need to edit the MAC address assigned to this reservation on your router, delete it and create a new one, or just use a new IP for this hub if you don't have anything pointing to the old hub by local IP where this would matter.)
If it's not a DHCP reservation, from the above, you appear to be manually setting a static IP address on the hub yourself. Is there a reason you want to do this approach instead of a reservation on your router? This is possible, but it's more difficult to get correct, even moreso if you do not know what DNS servers are (there are public ones that can work, but you might want to use one on your network, likely a function provided by your router).
Your default gateway is also quite likely not a valid IP address unless you have an unusual subnet mask for a home network -- one more reason this might not be the easiest approach in your case.
I would strongly suggest the DHCP reservation if that's not what you're doing already. Then you don't need to configure anything here, or if you did already, a network reset will get the hub back to the defaults it needs for this.
5 Likes
Your default gateway looks suspicious. It should probably be 192.168.1.1 (not 192.168.1.0). As for the DNS server list, you can add your local router as the DNS server if desired. That is most likely 192.168.1.1 as well.
HOWEVER - As @bertabcd1234 mentioned, it really is much, much easier to simply leave the hub using DHCP, and simply create a DHCP reservation on your router to make sure the IP address of the hub never changes.
5 Likes
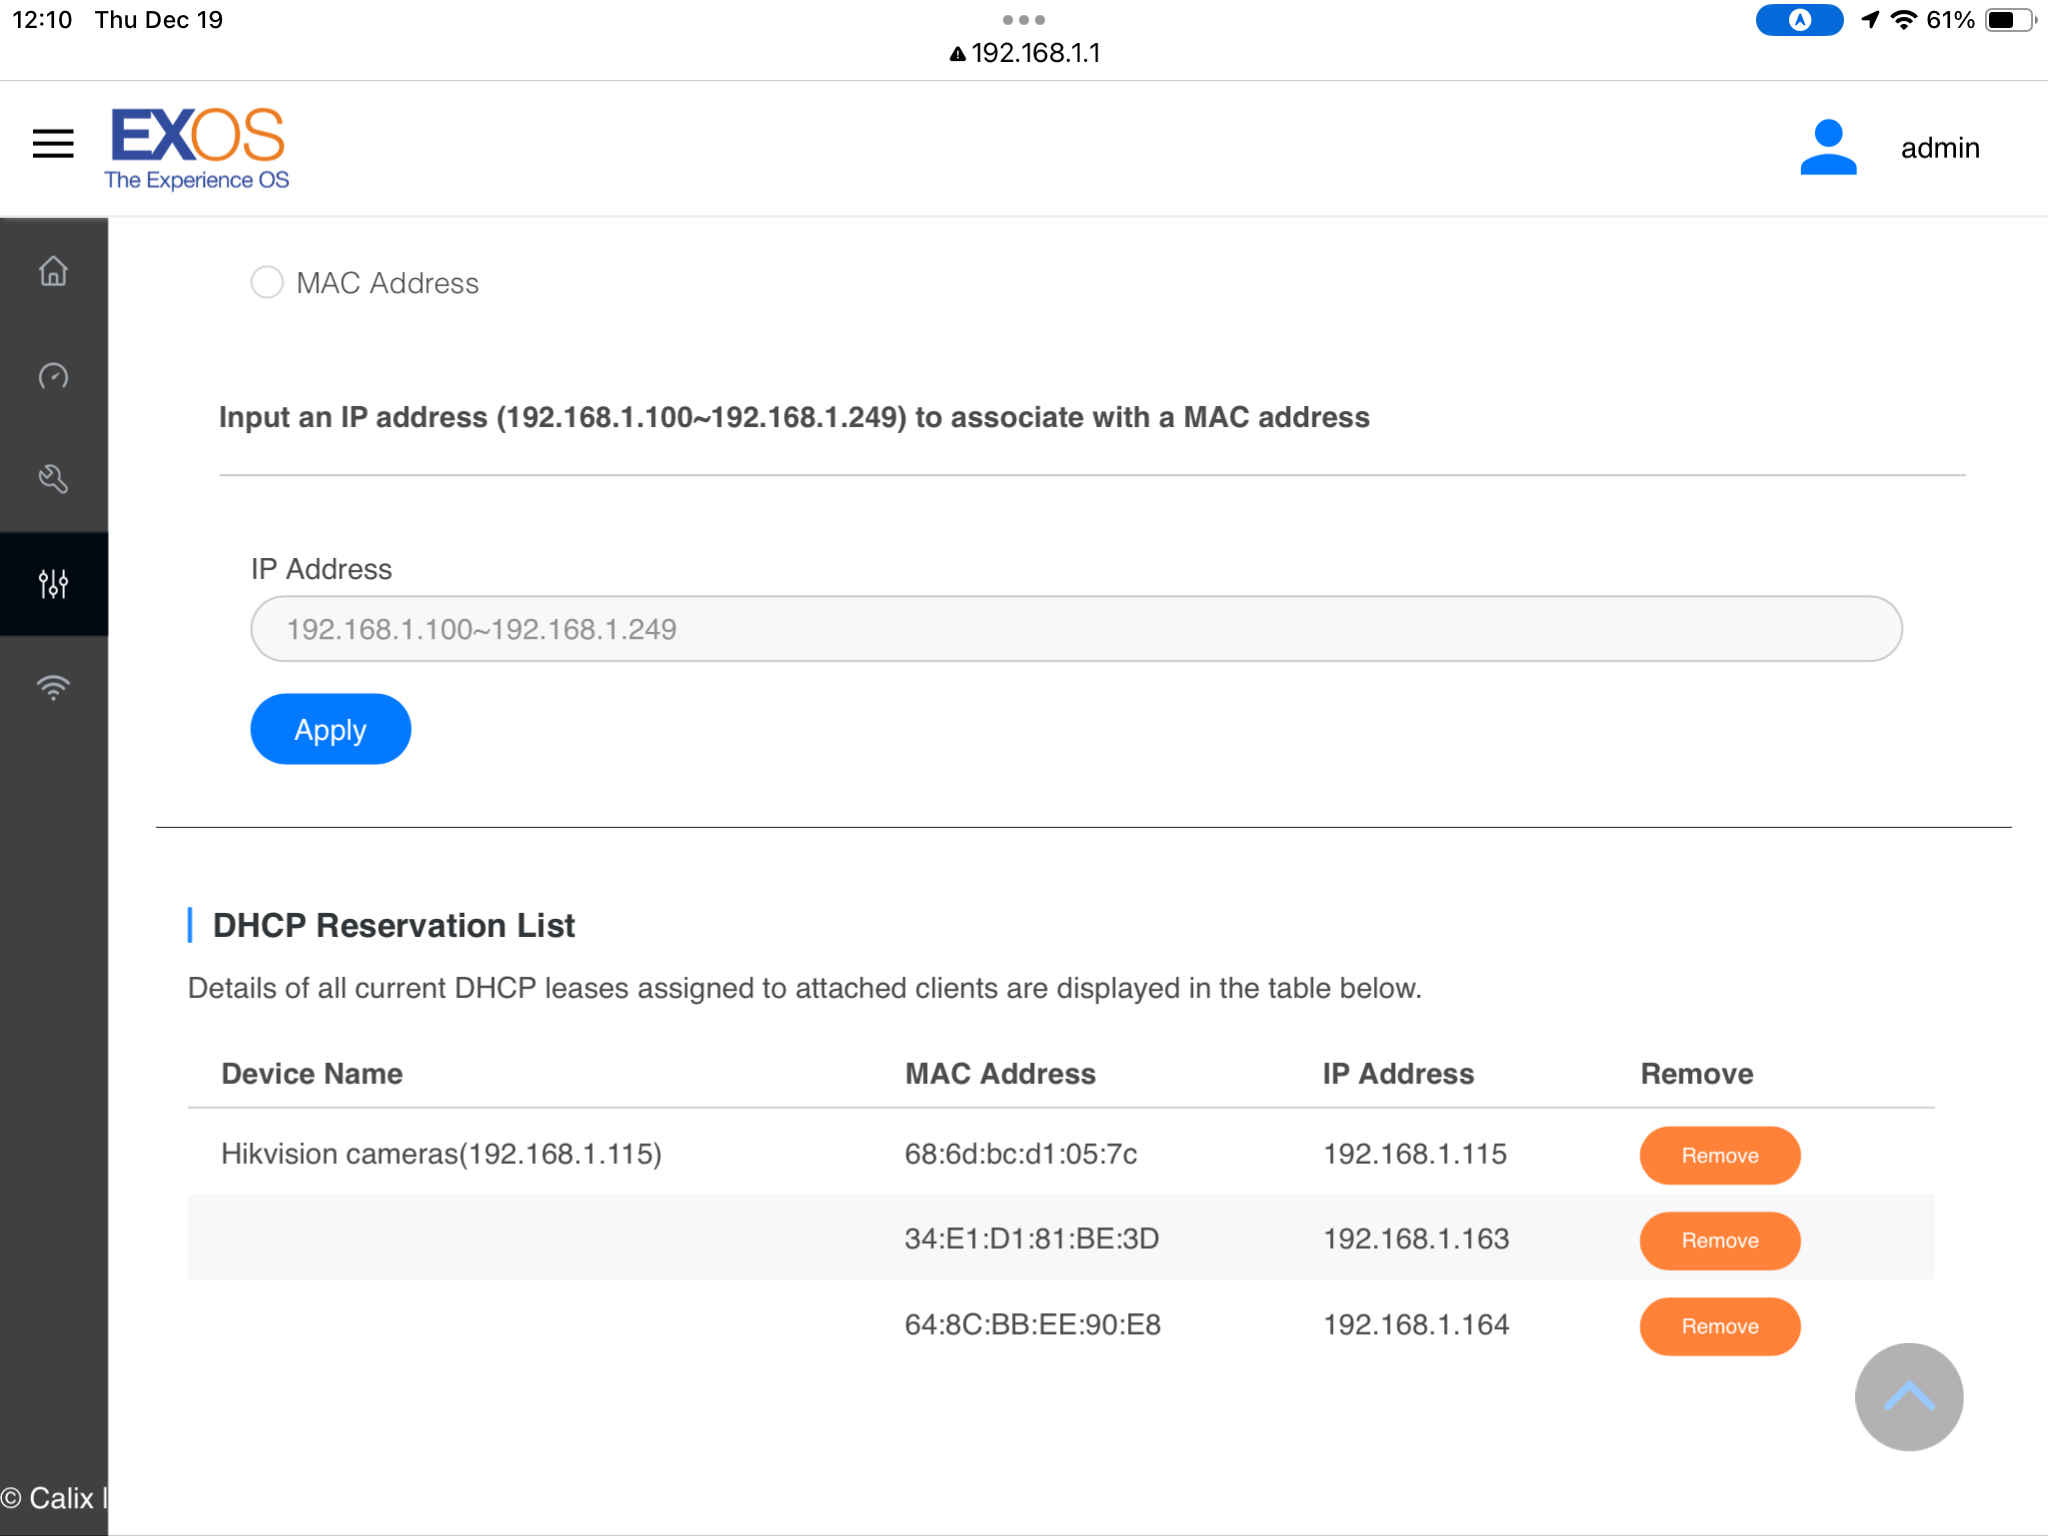
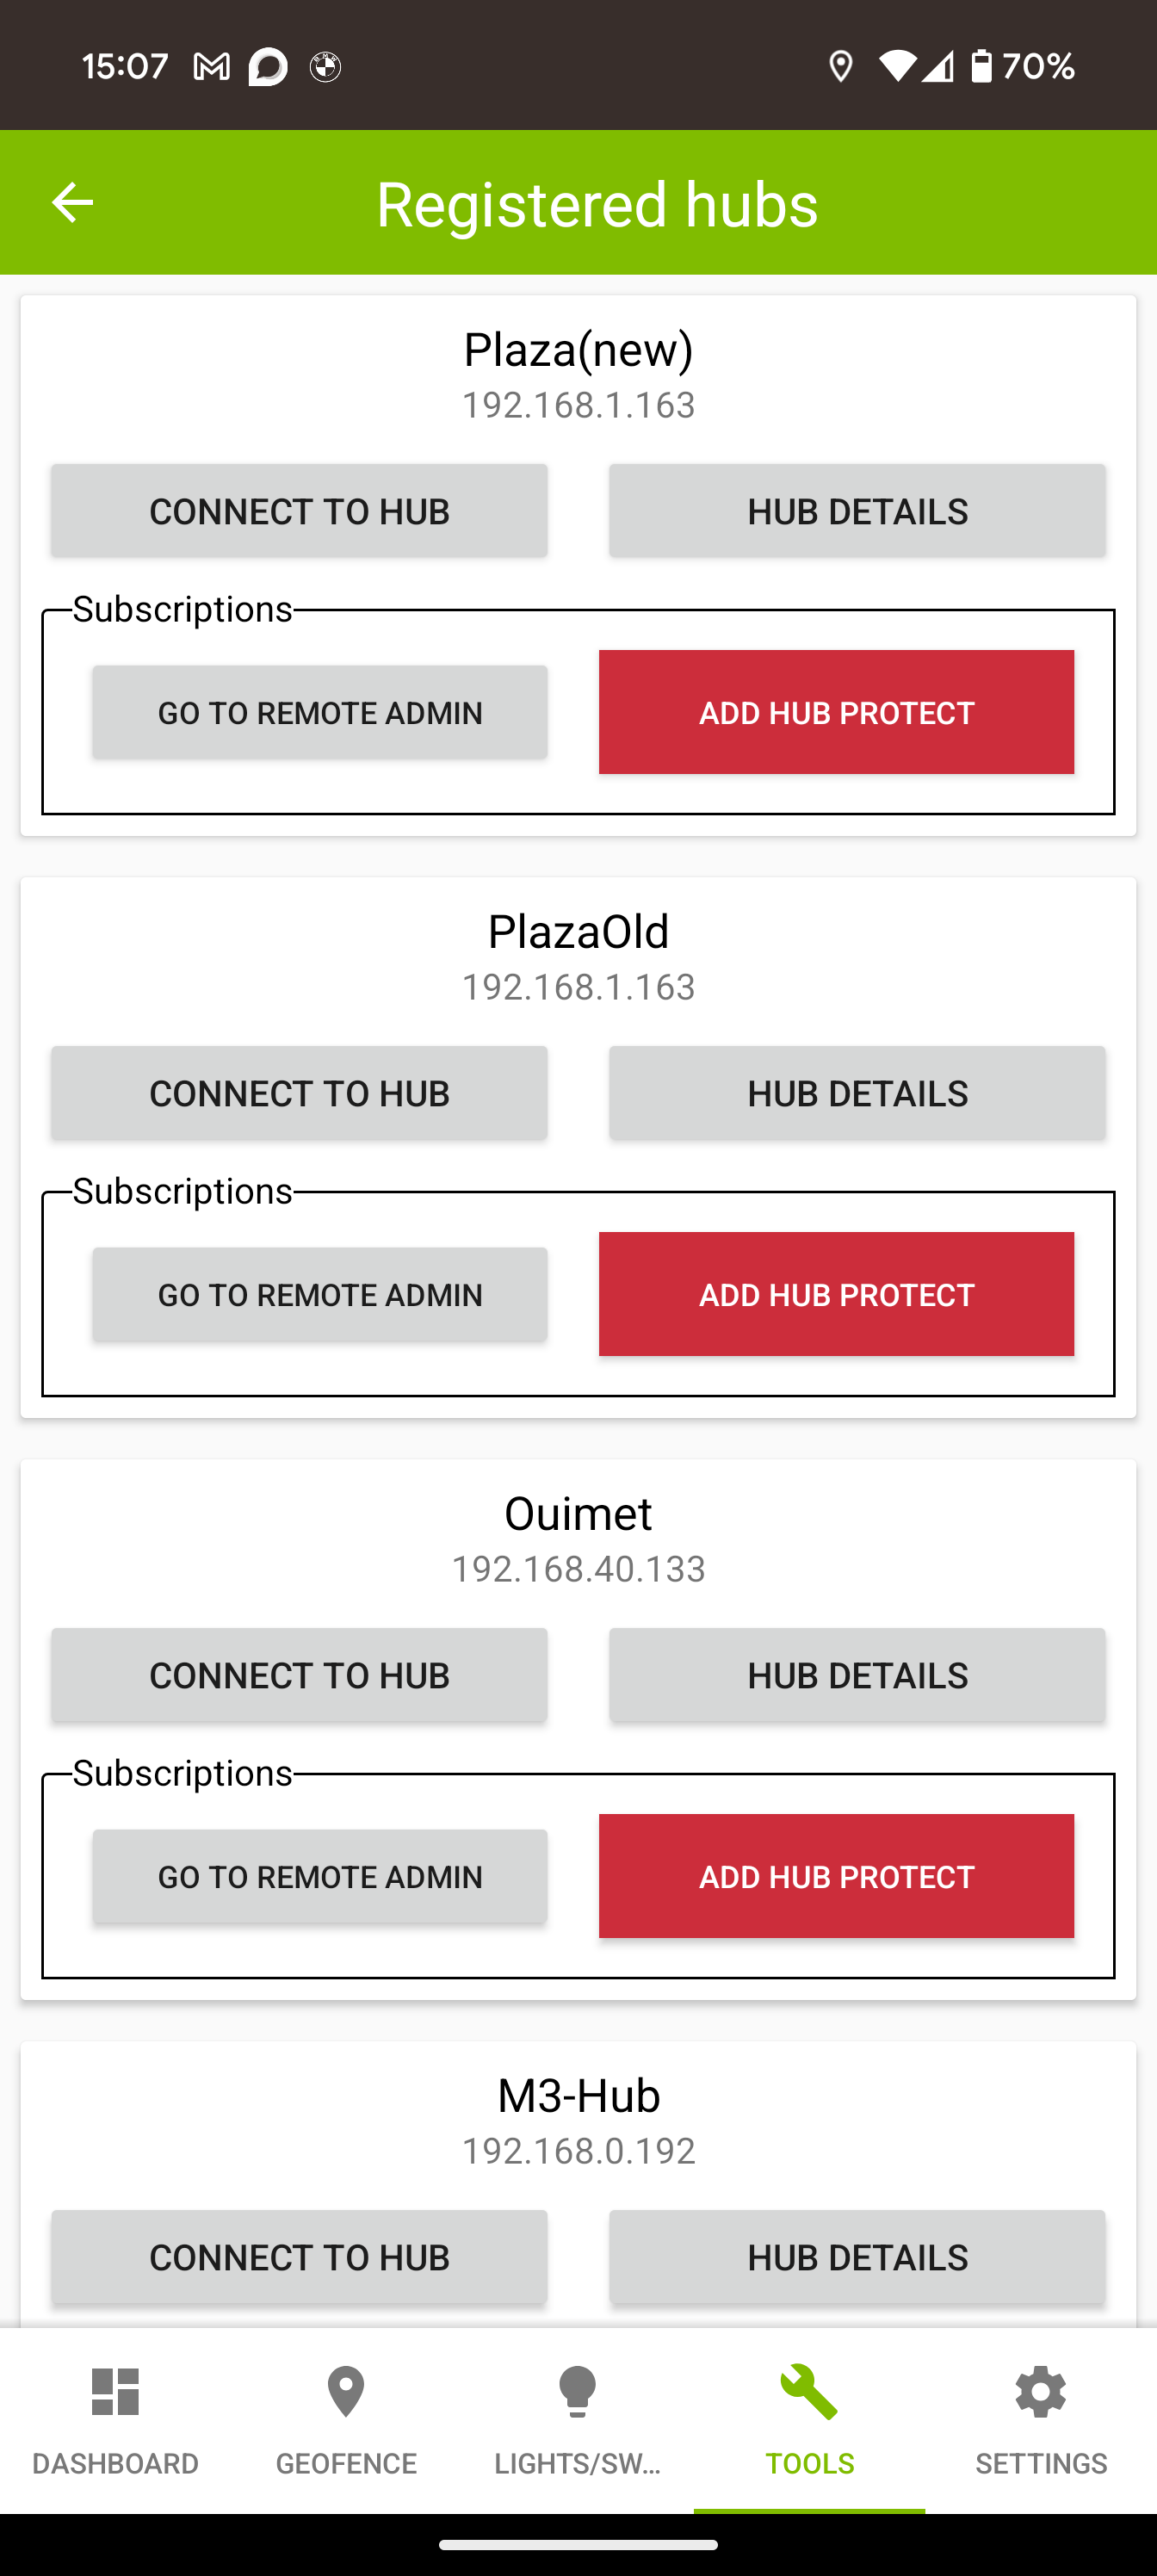
This is a screen shot of the old hub I disconnected.
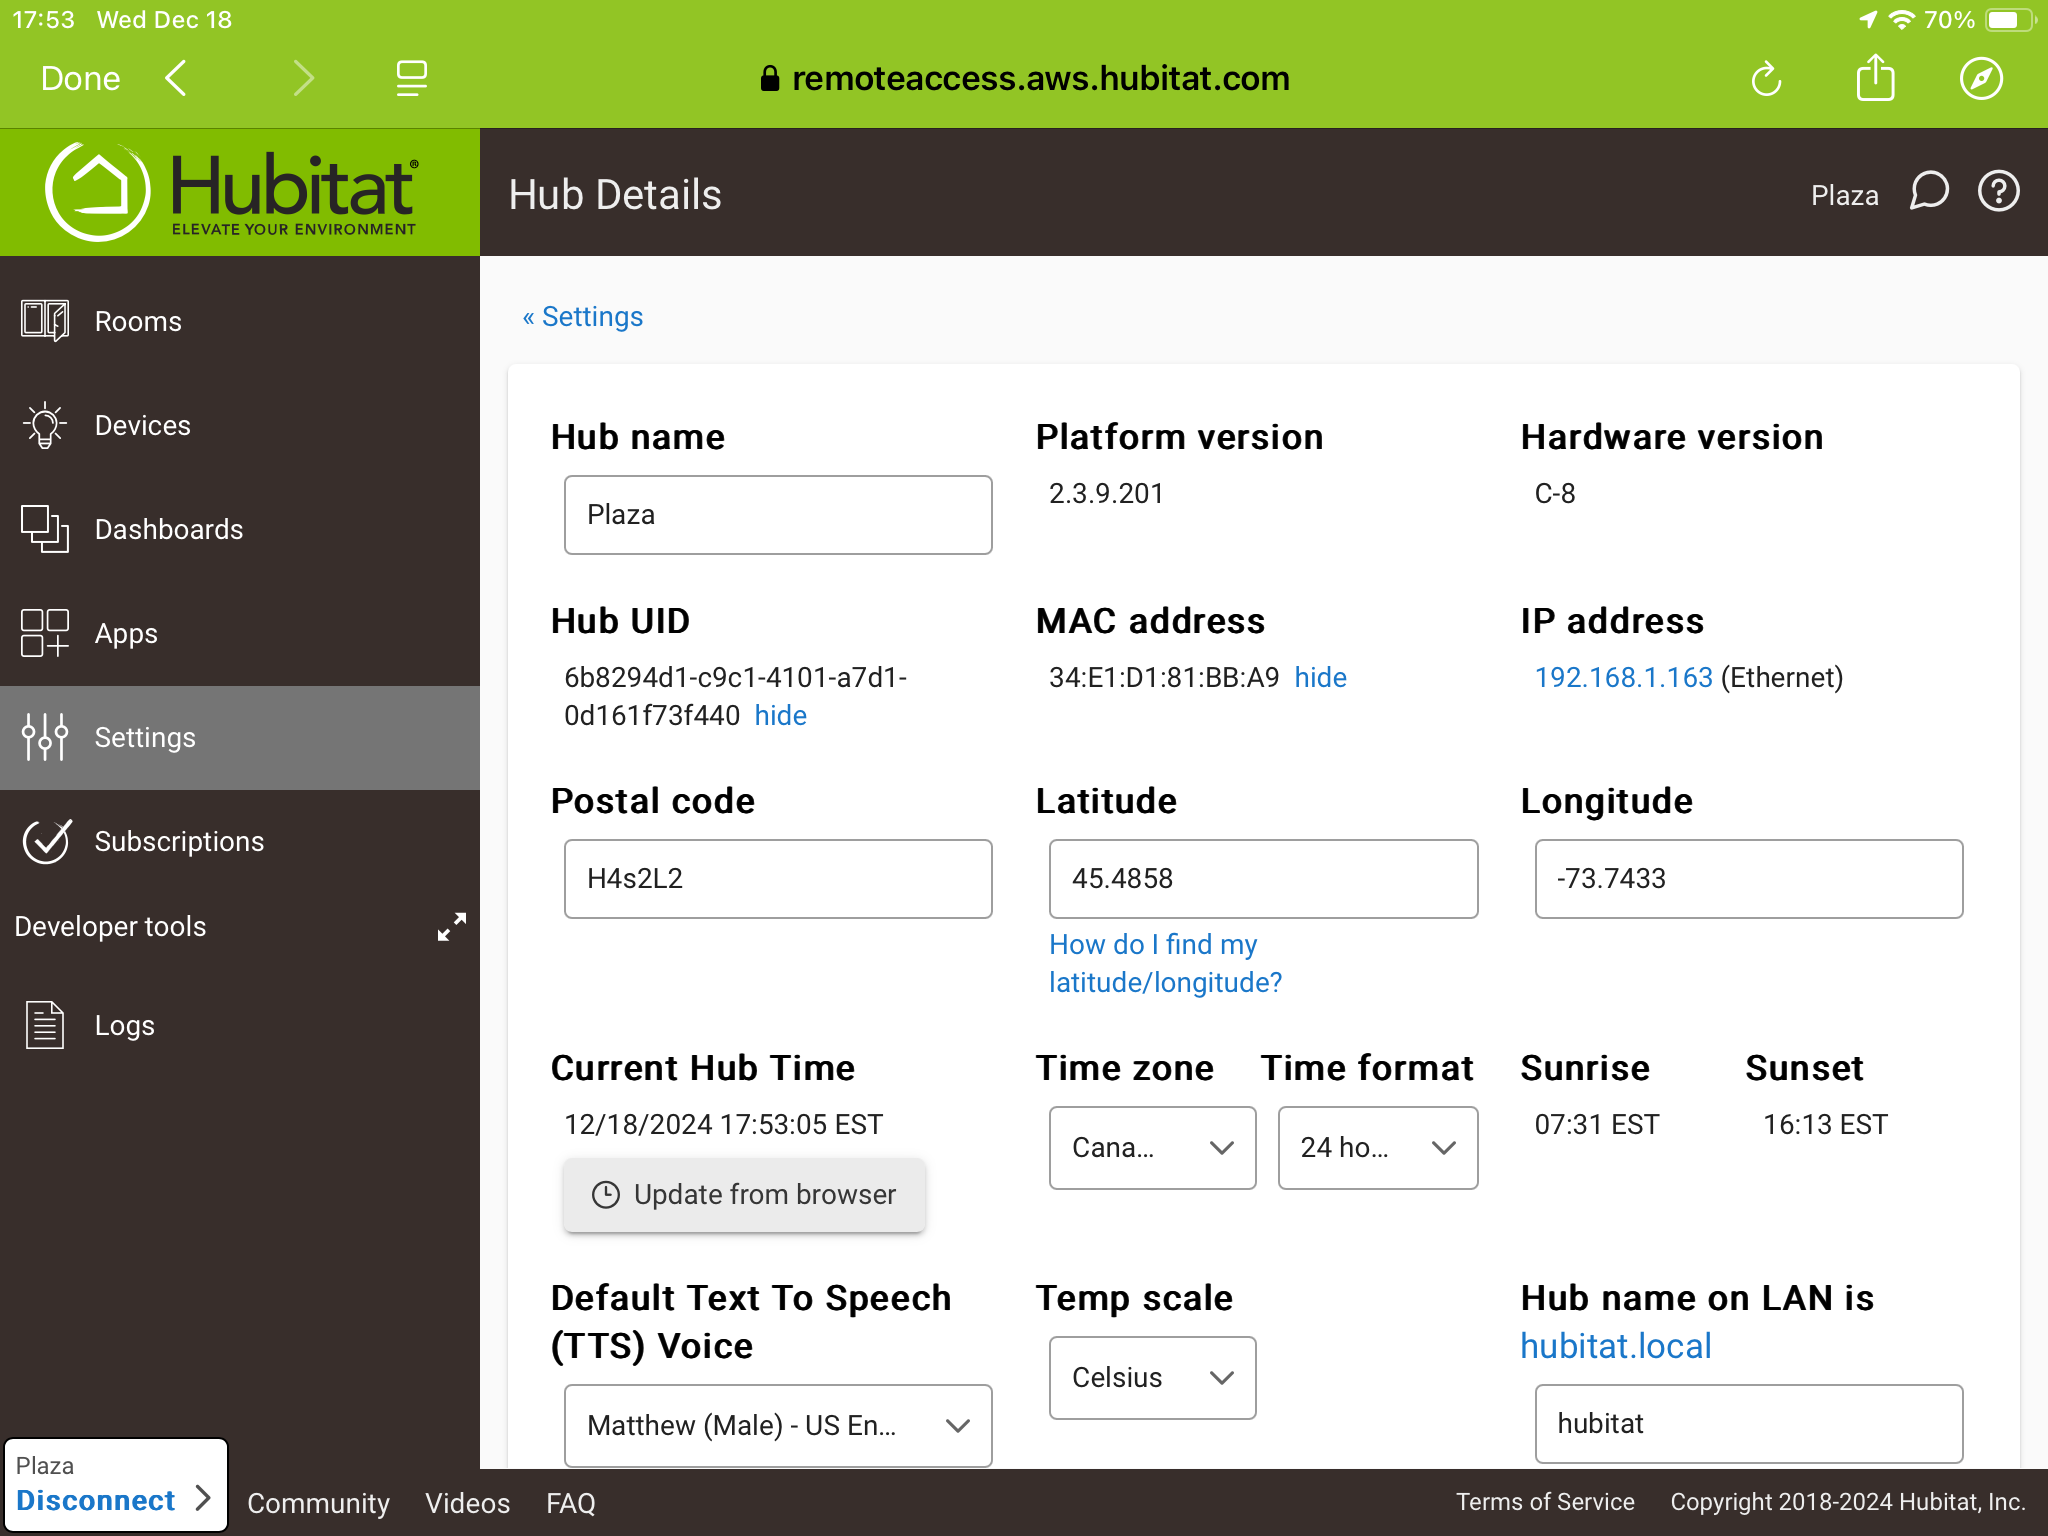
If you look at IP address you see 192.168.1.163. That is currently the address that is reserved in my router. The new hub looks like this.
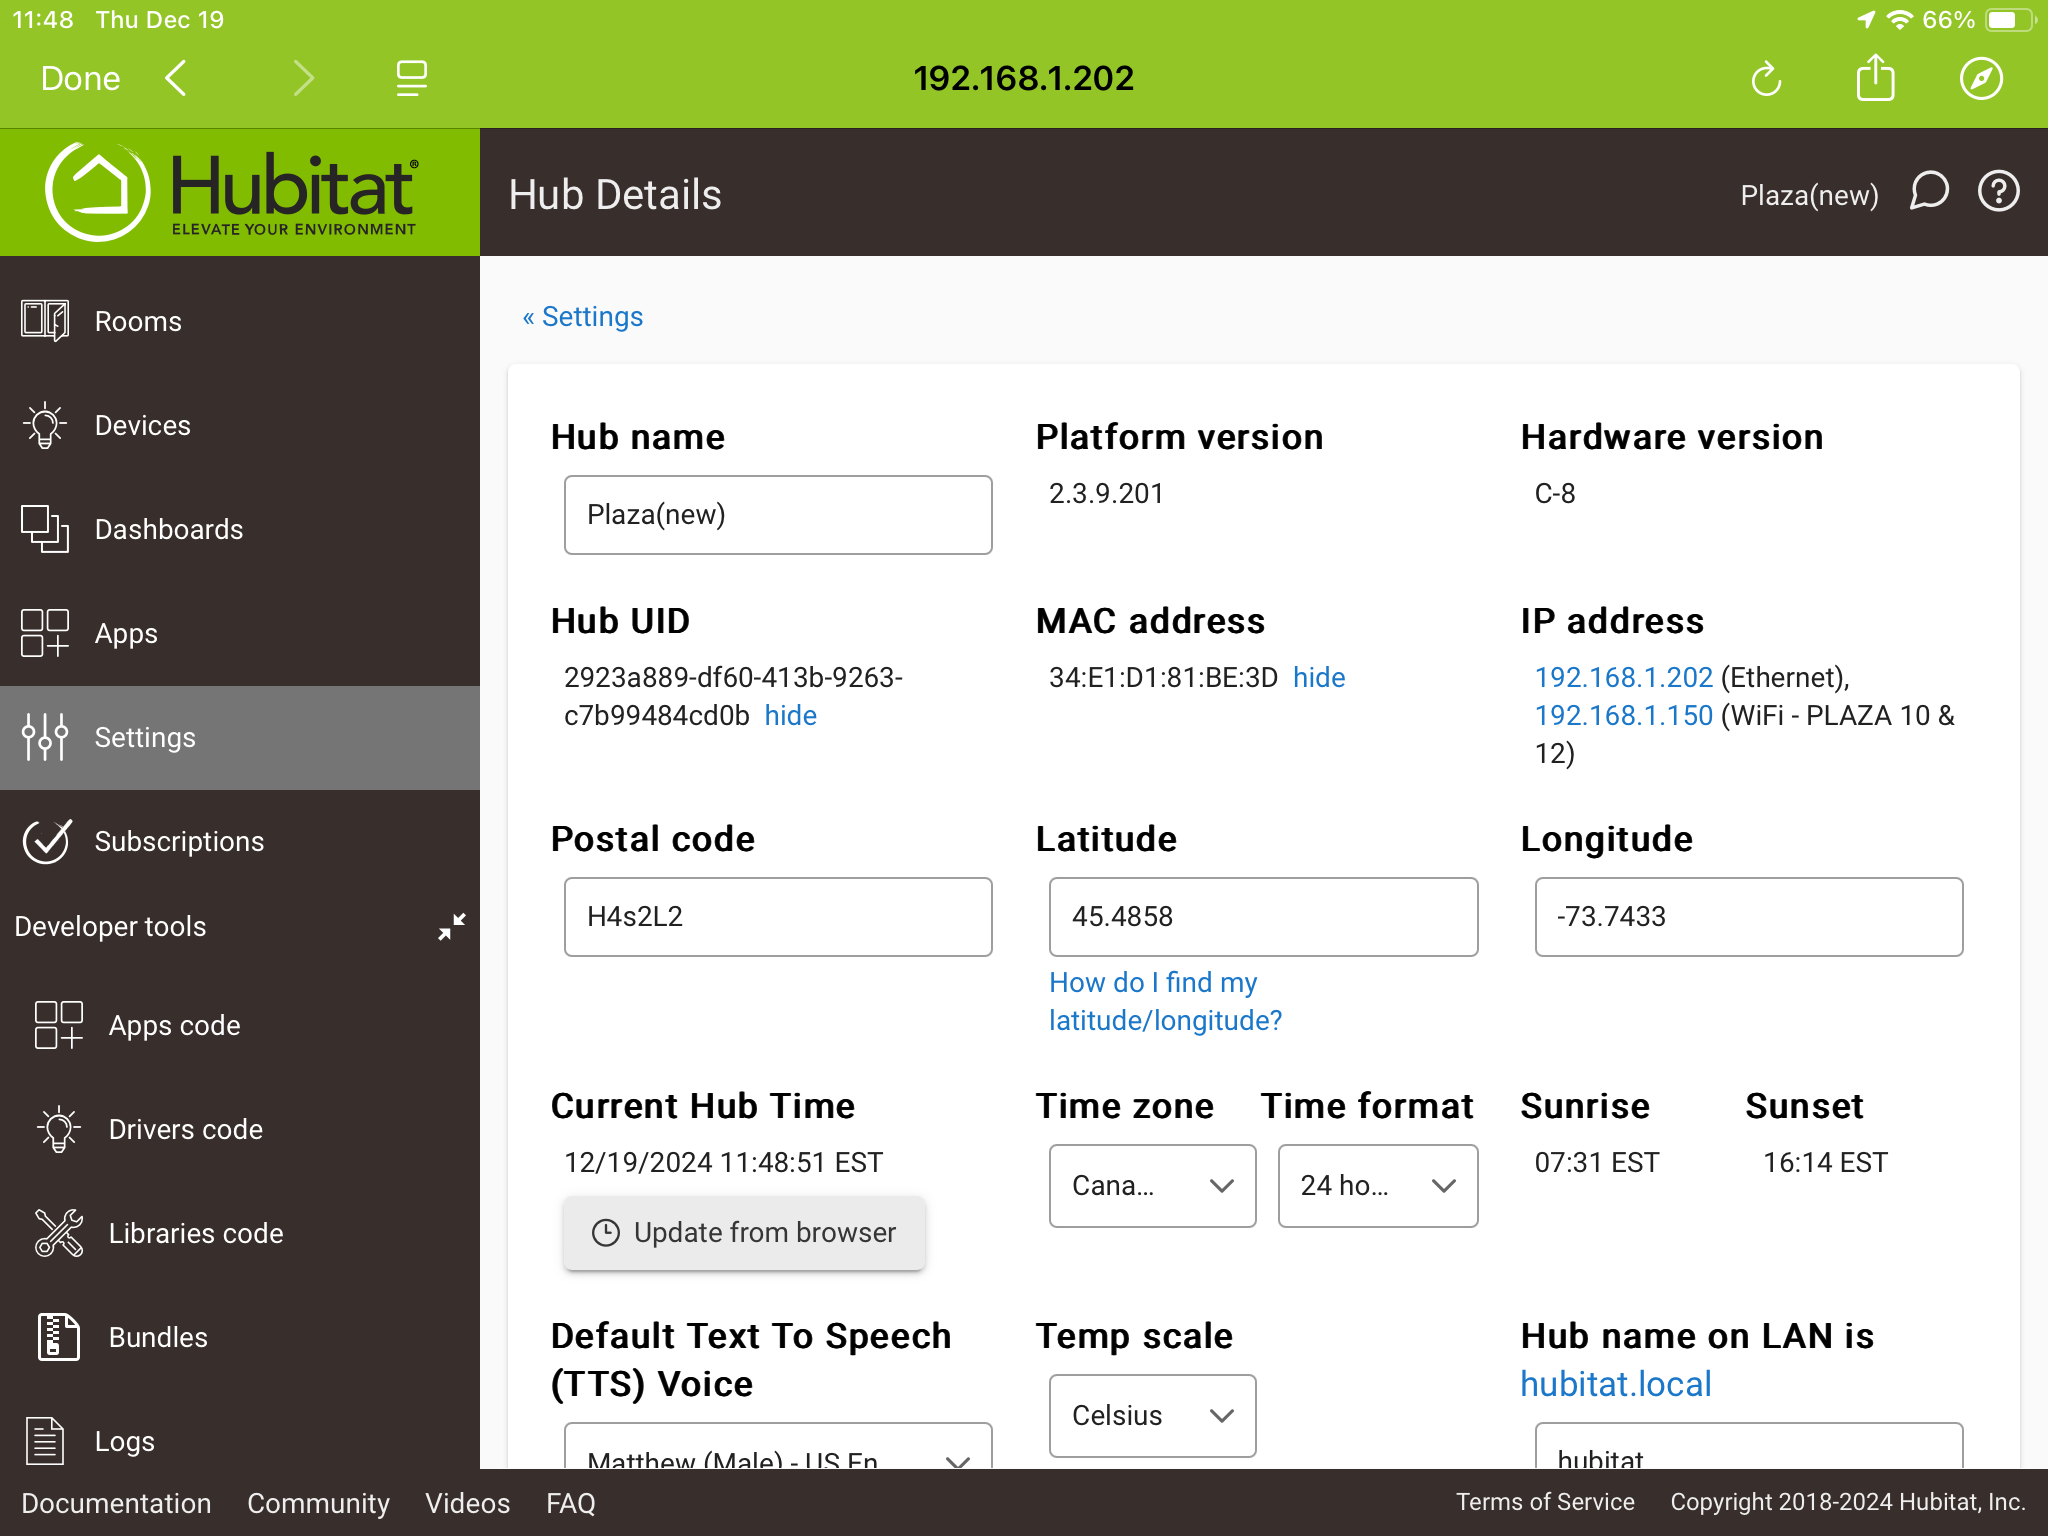
Now I have 2 IP addresses in the same field ( adds to my confusion). So I’m trying to force the hub from 192.168.1.202 to 192.168.1.163 for stability. The hub has already switched from 192.168.1.150 to 192.168.1.202. My router is controlled by my internet provider. It was already a challenge to dedicate 192.168.1.163 to the old hub. I guess I could call them again and ask them to reserve 192.168.1.202 but I thought you could walk me through changing the hub to 192.168.1.163. I thought it would be simpler.
I tried rebooting the hub hoping that the IP address would change but no it came back with 192.168.1.202.
I went into the router and changed the MAC address of the old hub
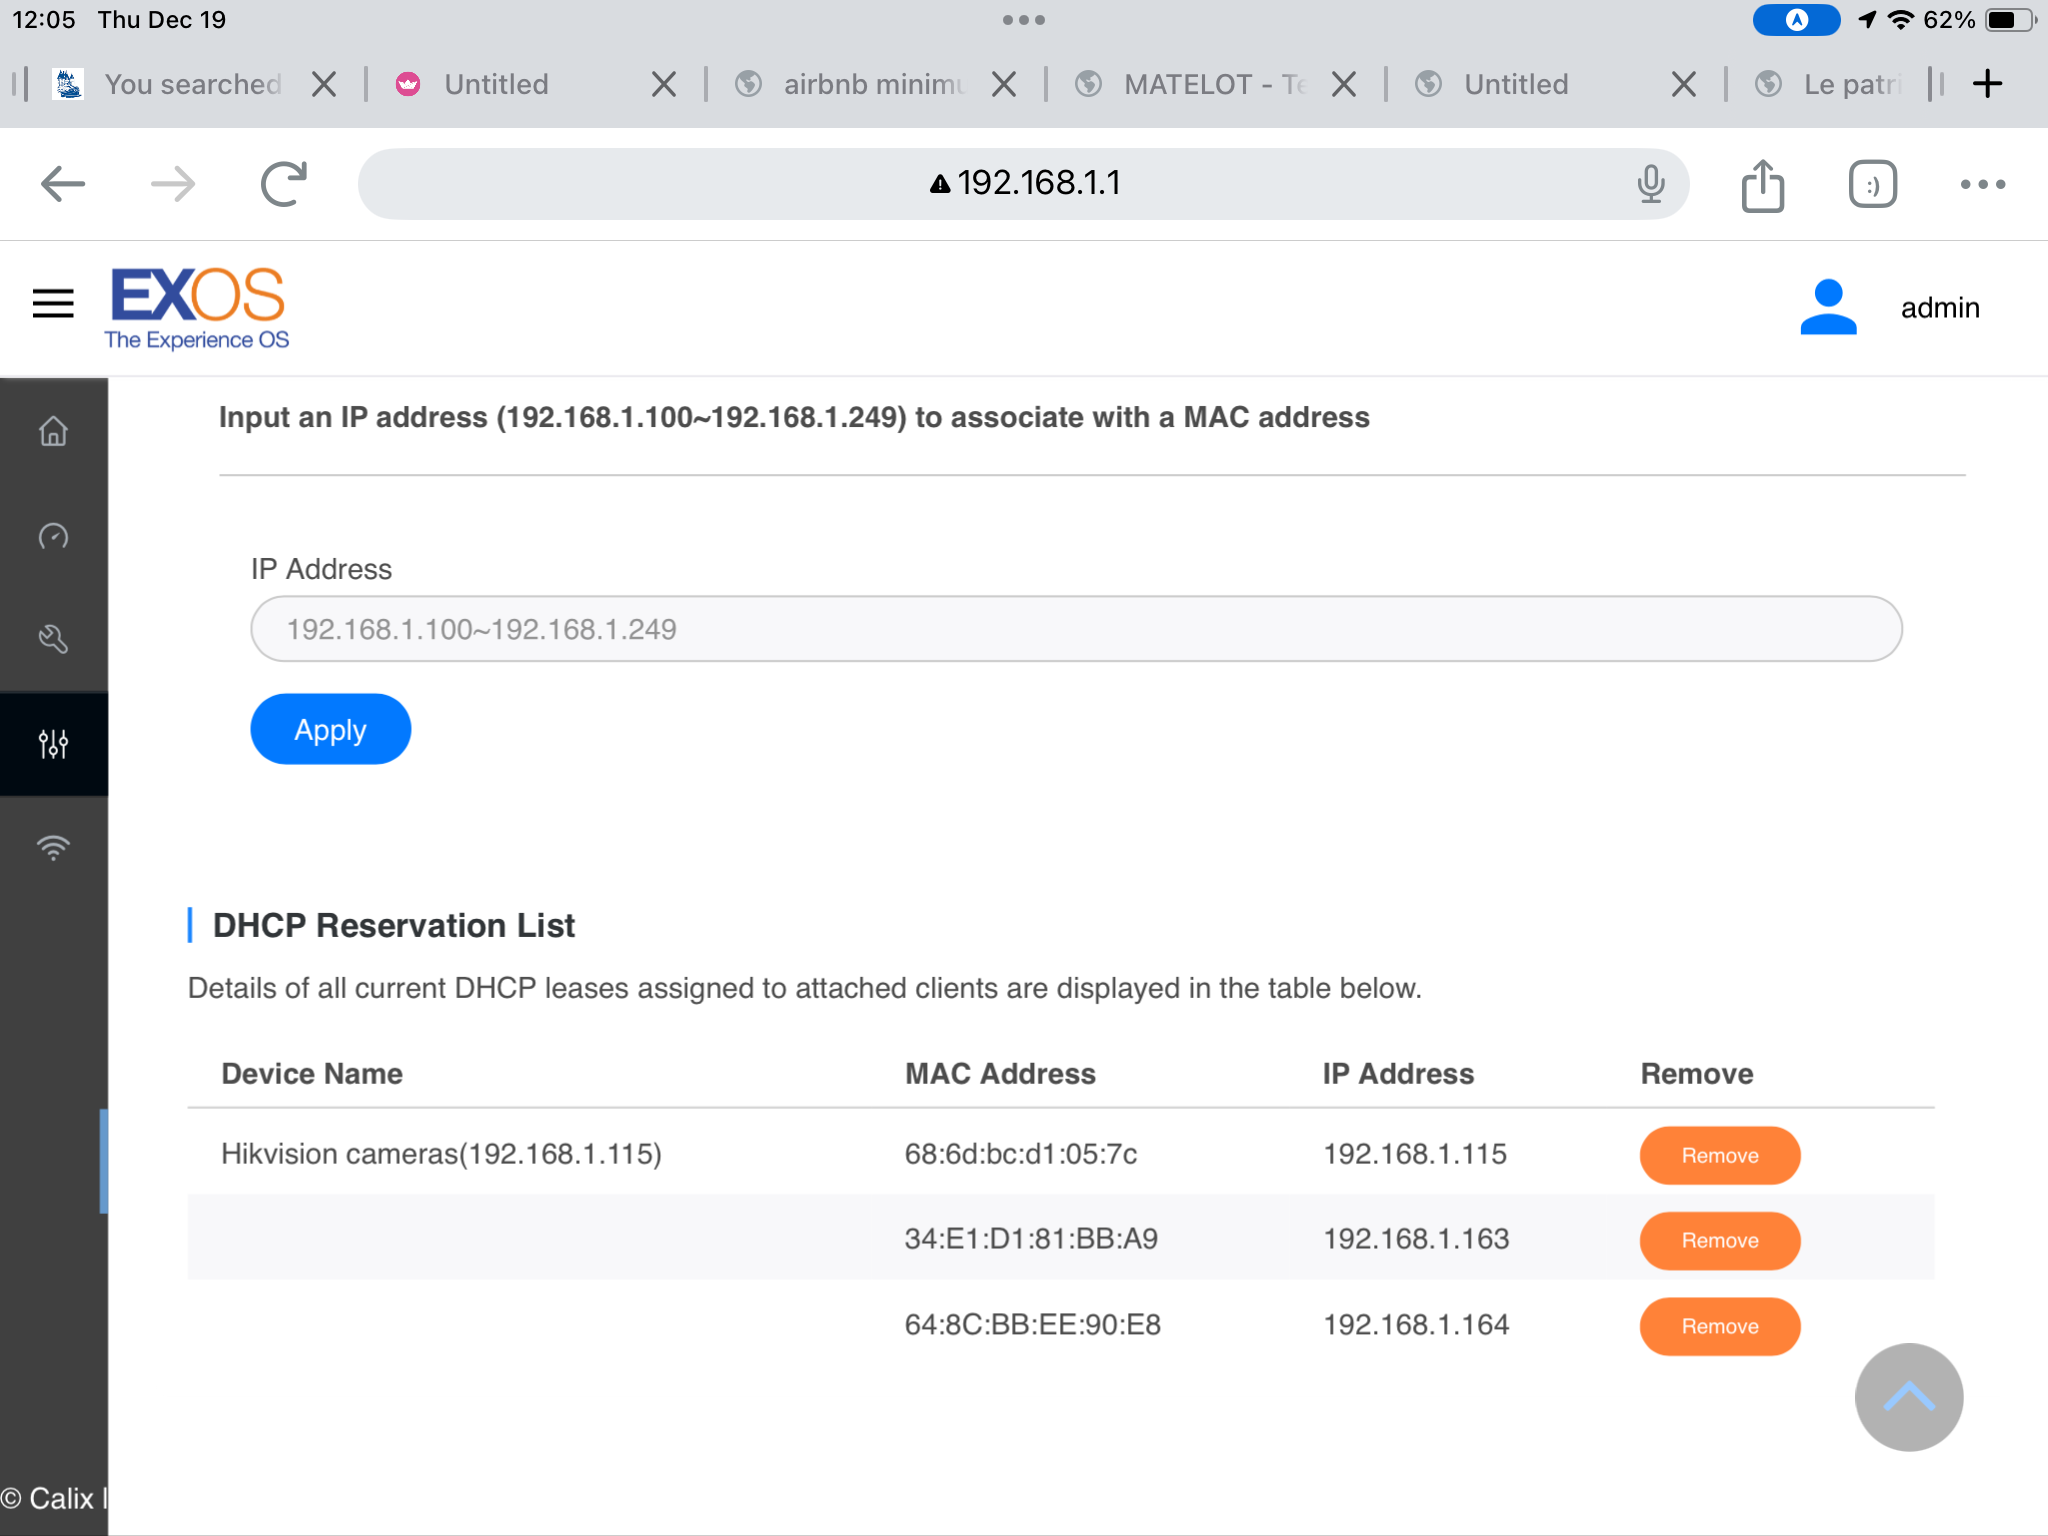
To the MAC address of the new hub
I’ll try a reboot again.
After the reboot the IP address changed on the Hub detail window, but on the top of the screen it still indicates 202

The IP address has changed to 192.168.1.163 everywhere, thank you Robert.
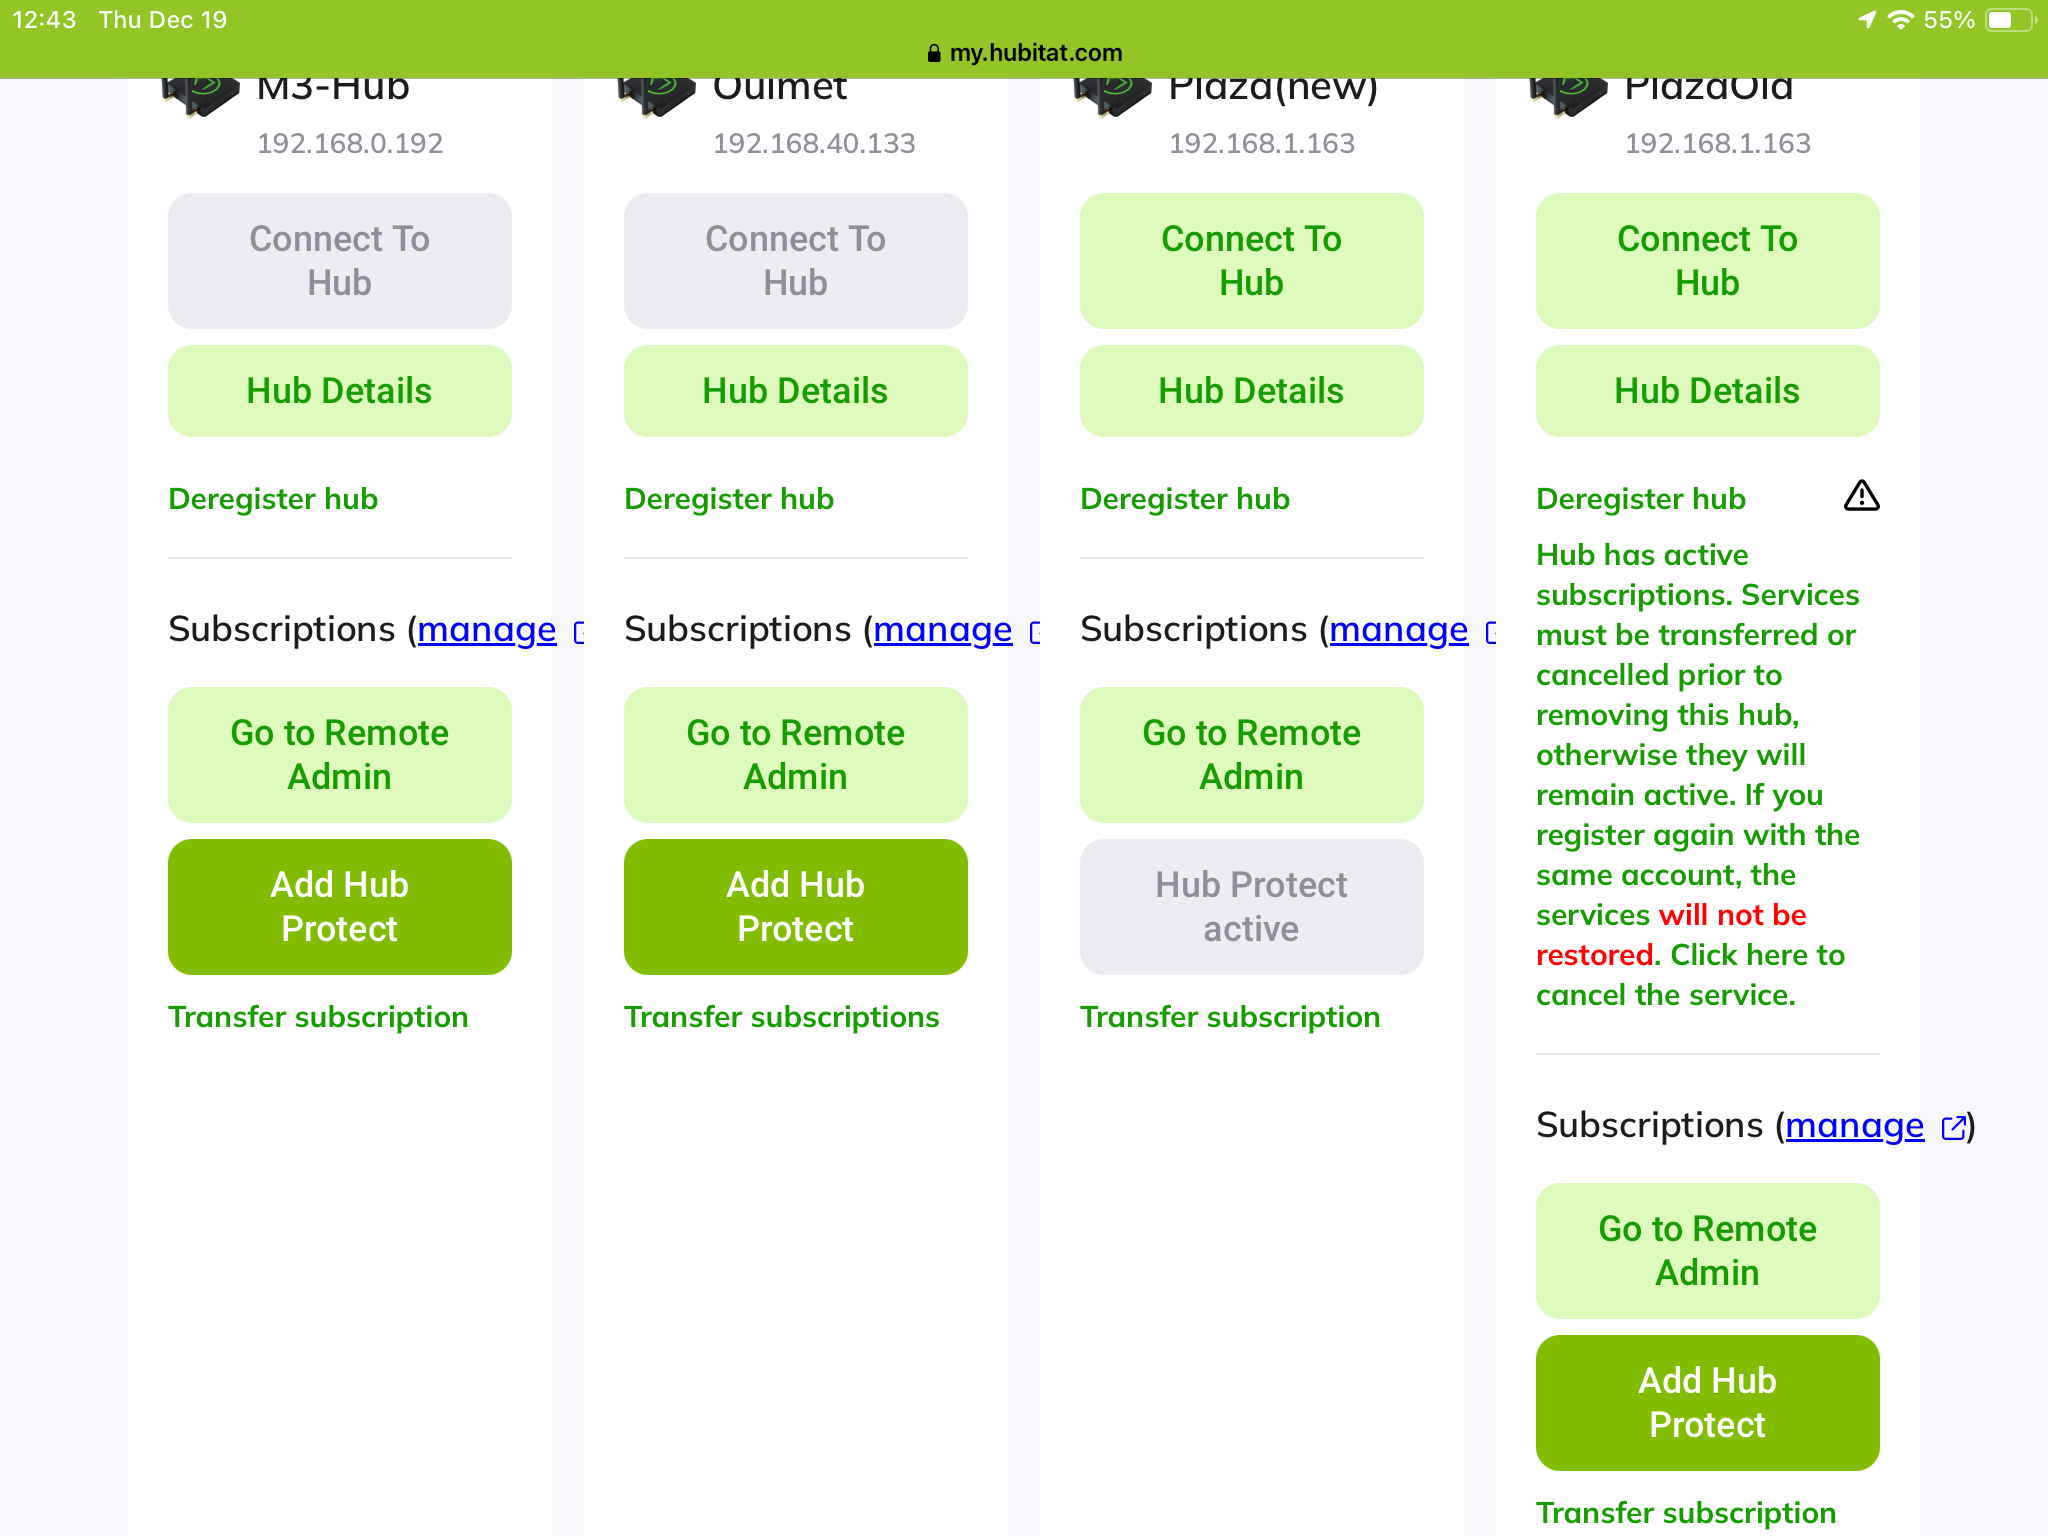
My next challenge is migrating the subscription. I want to de register the old hub but the warning message is of concern as if the migration has not been completed.
Tagging @bobbyD from Hubitat Support. He is the guru of the Hubitat Subscriptions.
Hopefully you have just demonstrated for yourself that setting, or even changing/reconfiguring, a DHCP reservation in your router’s admin pages is, by far, typically the easiest way to accomplish what you were trying to do?
3 Likes
Finally yes it was. Just need now to clean up the subscriptions.
It may take a while for the mobile app to catch up. Also, the hub will check in for new subscriptions once a day, so your new hub didn't get the "memo" that it has a new subscription yet. I checked your new hub from our end and everything looks good from cloud side. Rebooting the hub should synchronize with the changes made on the cloud.
You have an active bundle on the M3-Hub that should give you Hub Protect for that hub and Remote Admin to all other hubs, and an additional Hub Protect now on the Plaza(new).
2 Likes
That's what I thought, the process needs to catch up. Strange that my other hub which is protected, lost its protection in the process, but I'll wait and see once Plaza New gets subscribed.
I'm looking forward to testing the Lock Codes Manager and see if the issue is finally resolved as no one could replicate my issue. If it is, do you want the original hub back to look at the issue.
Not "lost", it was transferred. Everything on the cloud side worked as expected, your new hub has the active subscription now.
1 Like
Have you rebooted the new HE hub, yet? As @bobbyD mentioned above, rebooting the HE hub will force it to check in with the Hubitat Cloud server to update it's subscription status info.
2 Likes
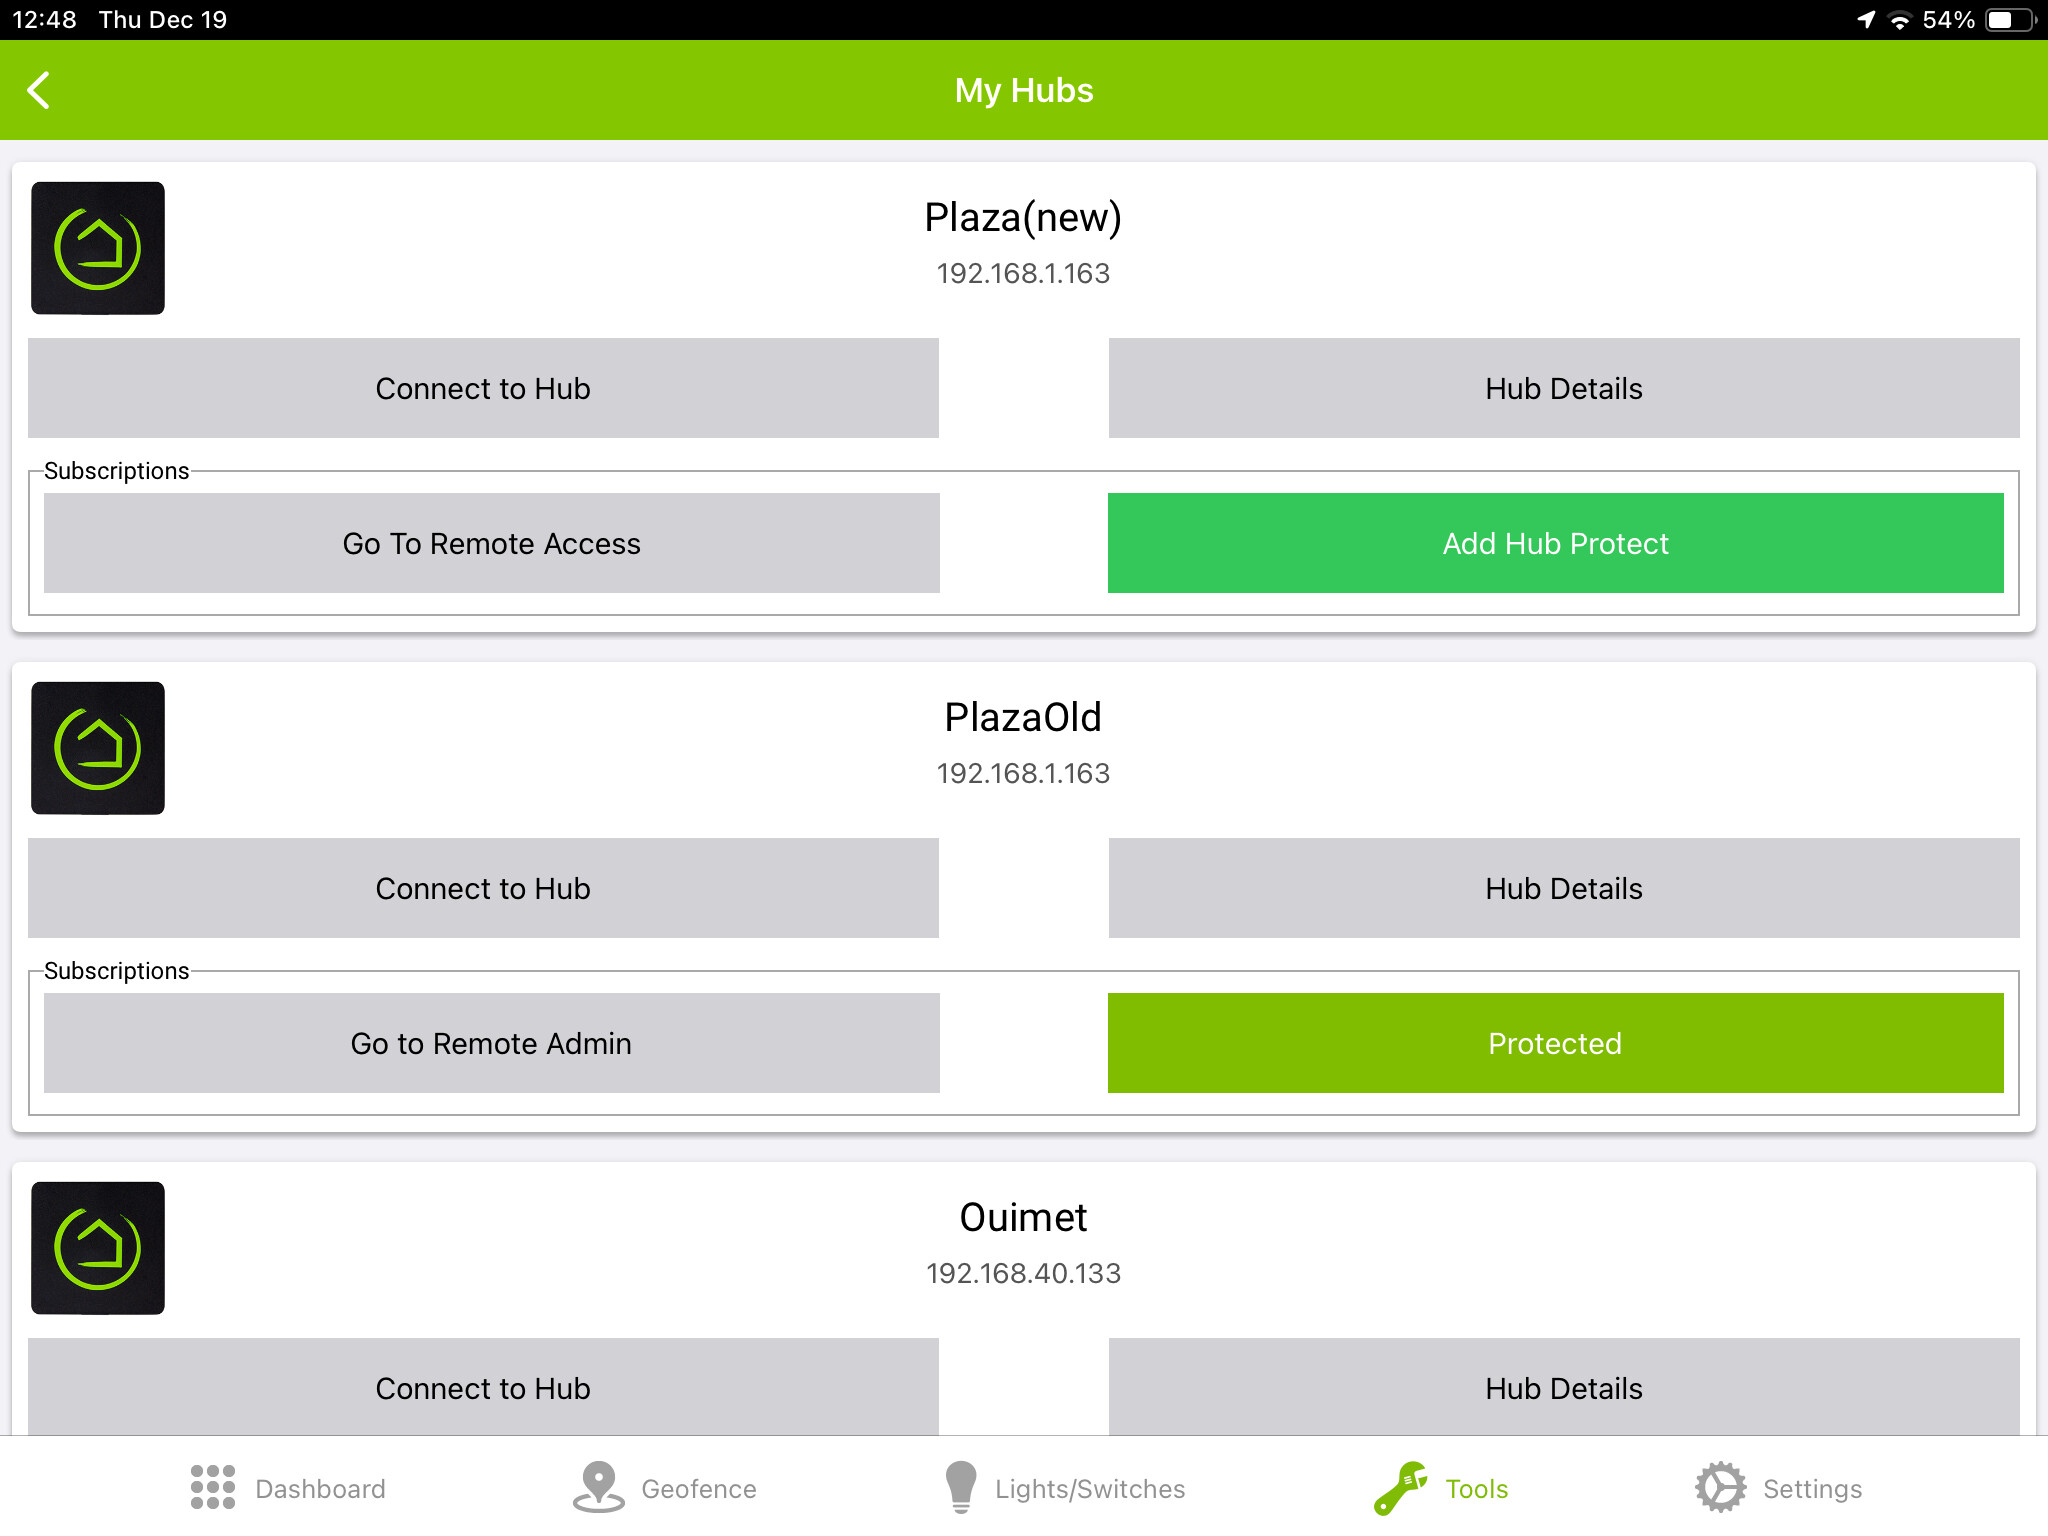
I completed the hub migration before noon today. Upon getting your message I rebooted the Plaza Hub, closed the app on this device and did a force stop. I reopened the app and still protection is not shown
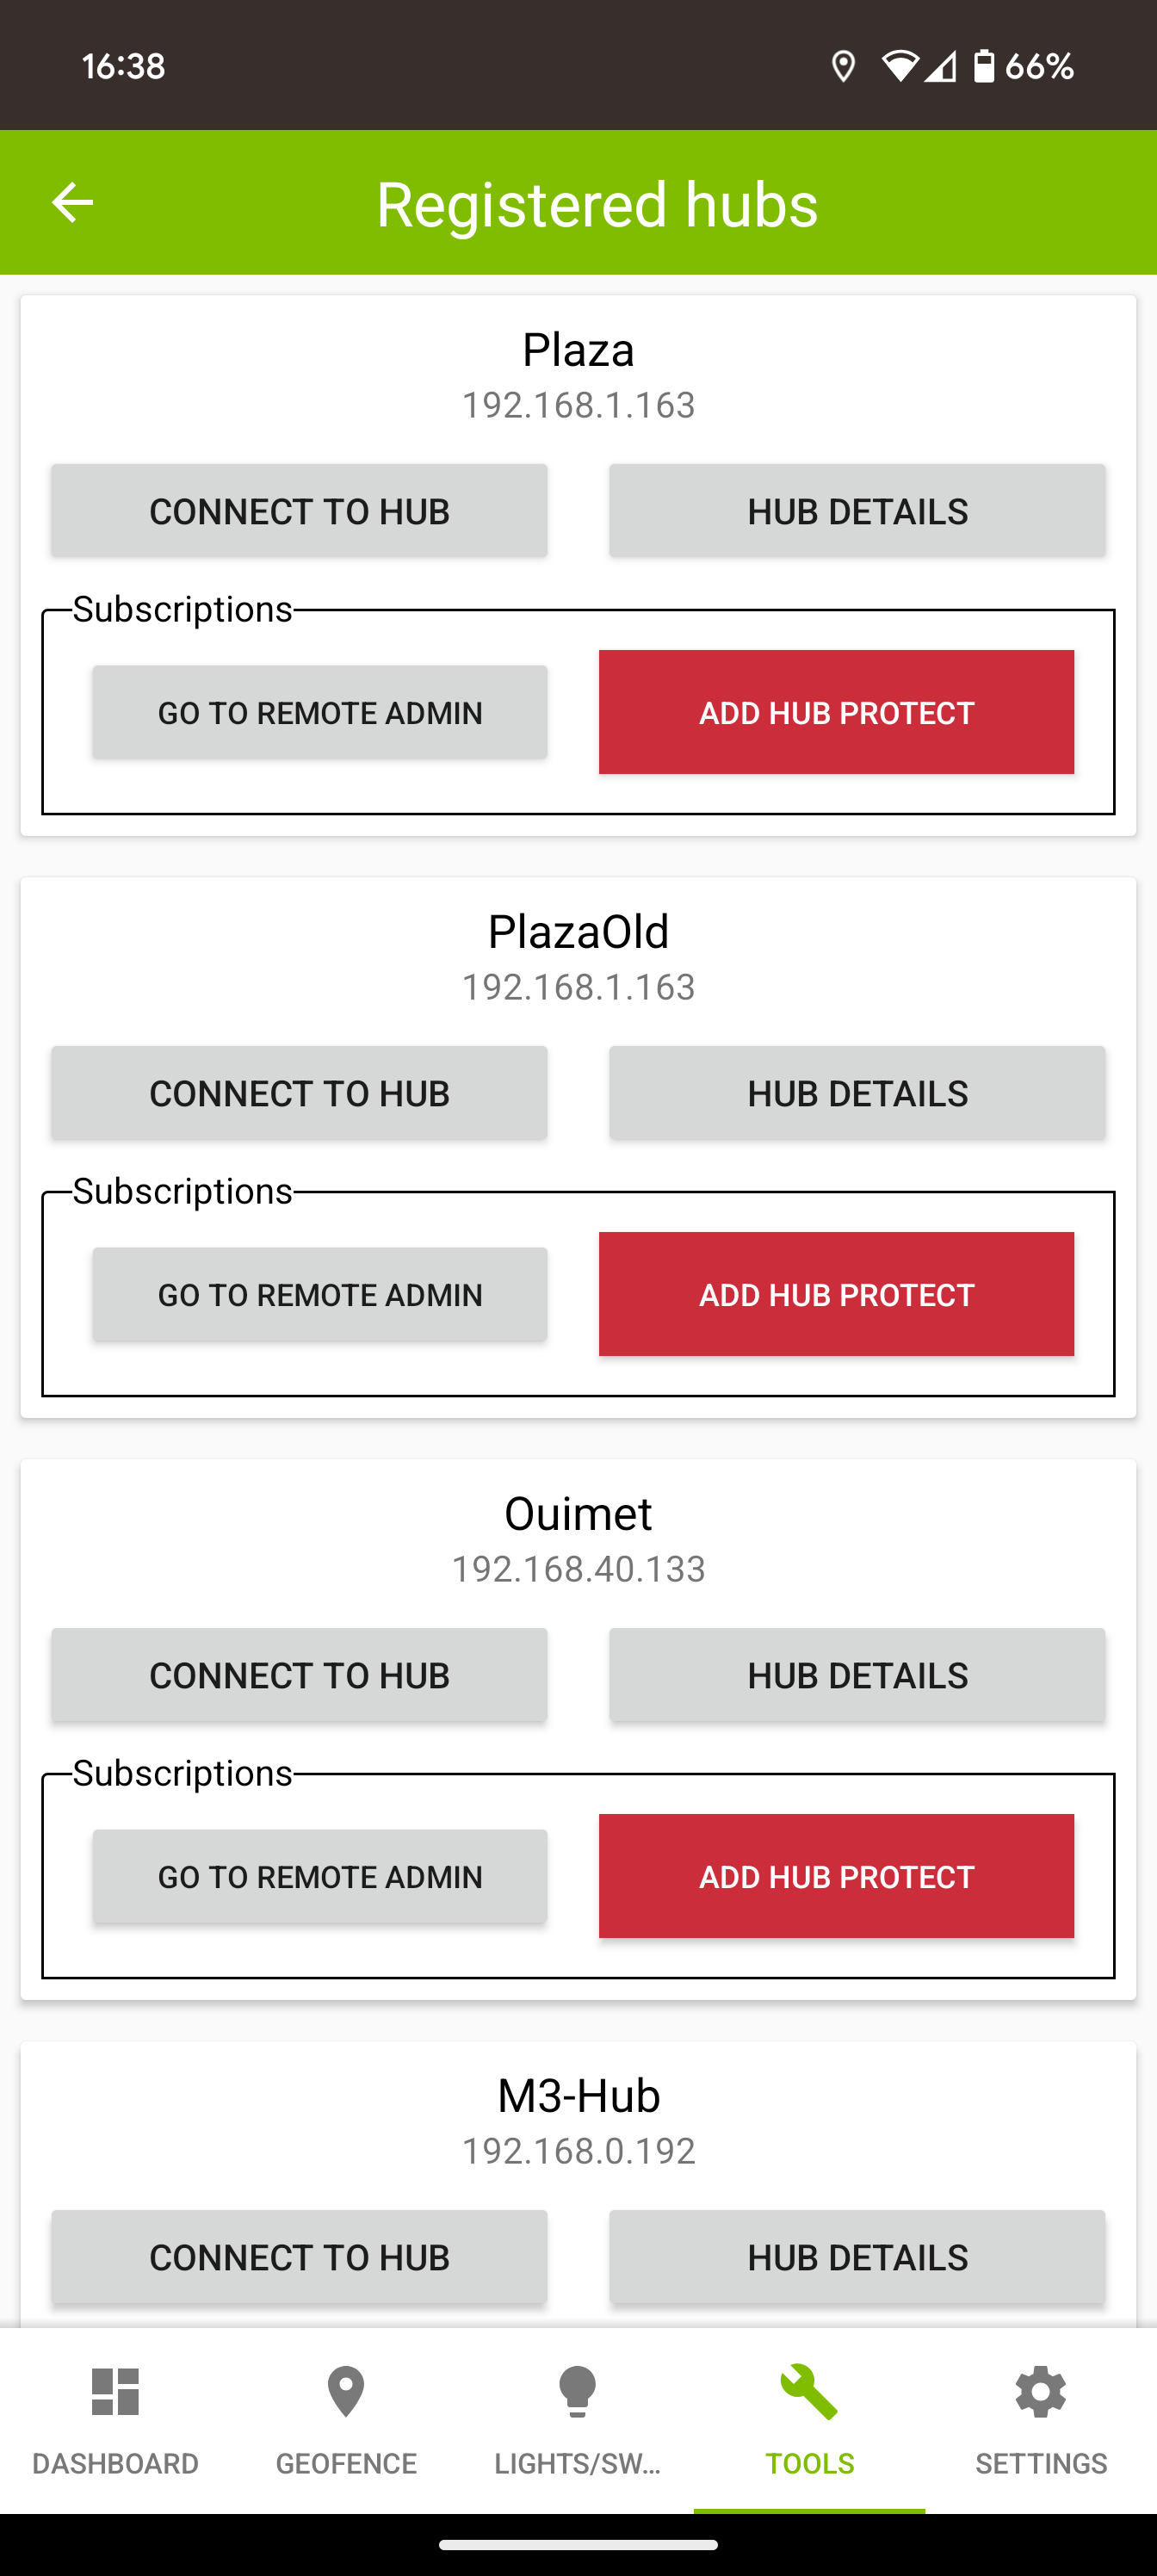
This screen shot just taken now.
My concern is that I have lost the Plazaold backups by changing my protection over to the new hub and if the new hub doesn't catch up for a back up to be performed I would be SOL.
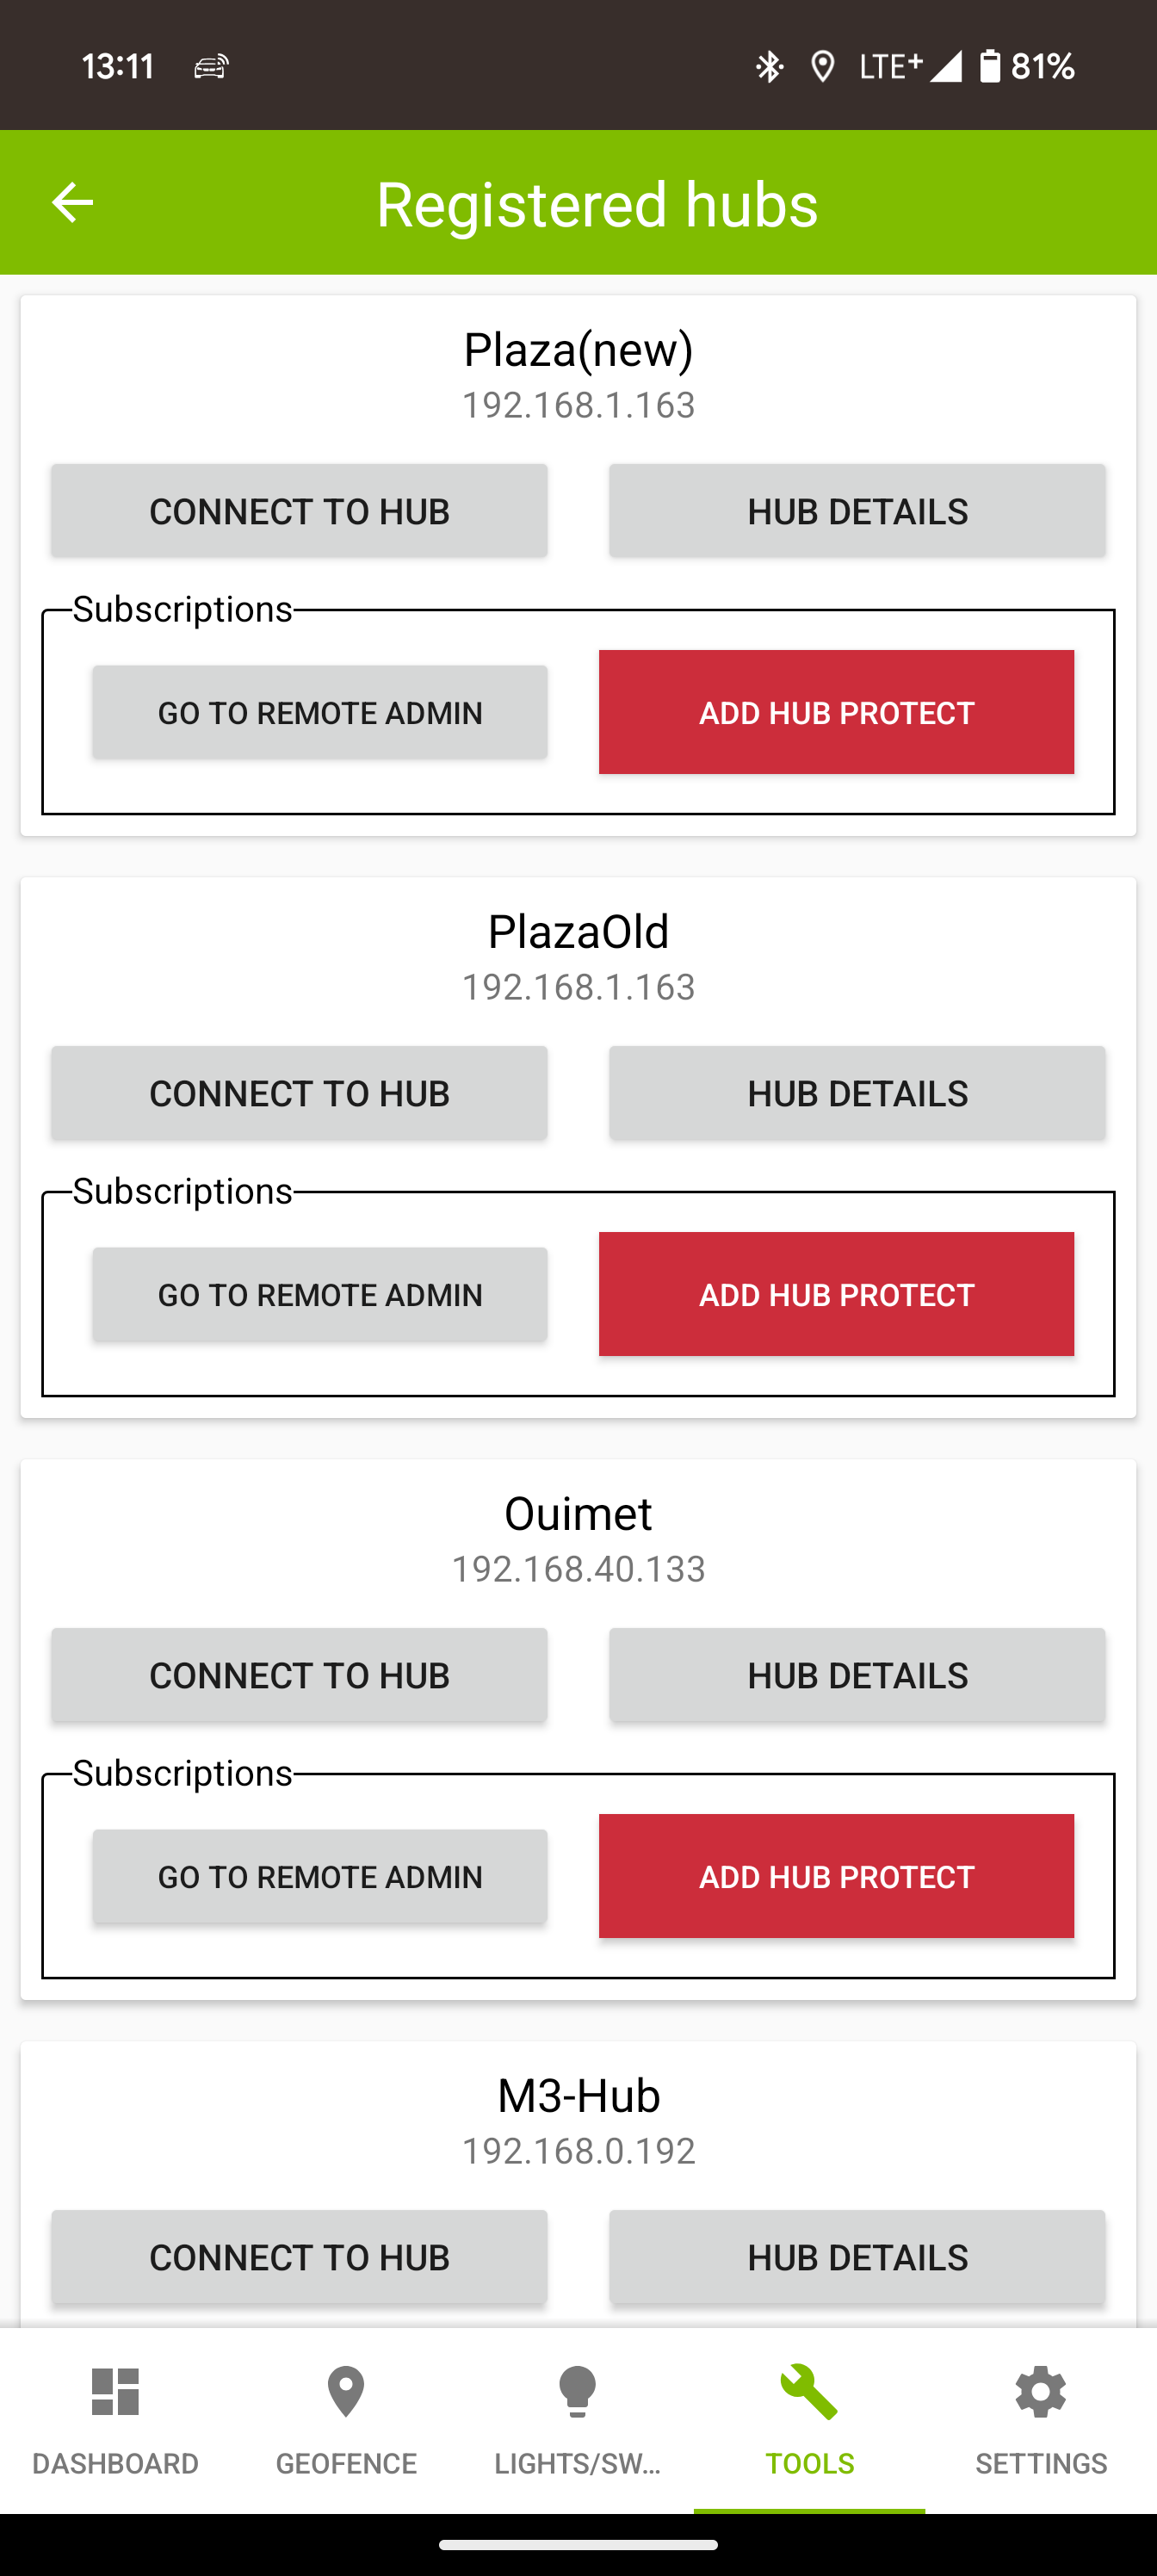
In one screen shot, you show both a wired connection and a wireless one. You should only use one, and preferably the wired one.
2 Likes

