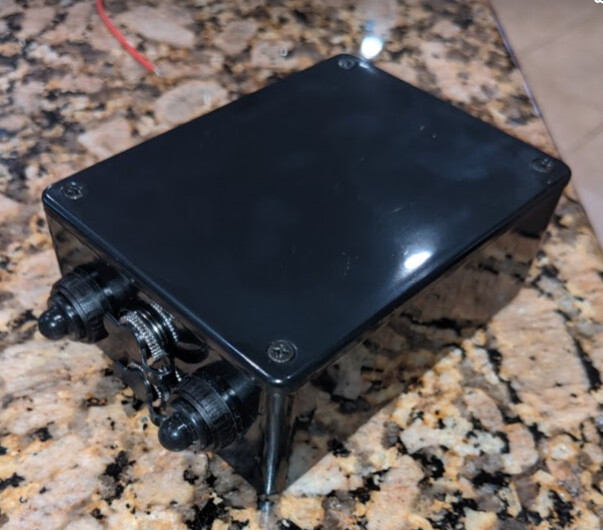
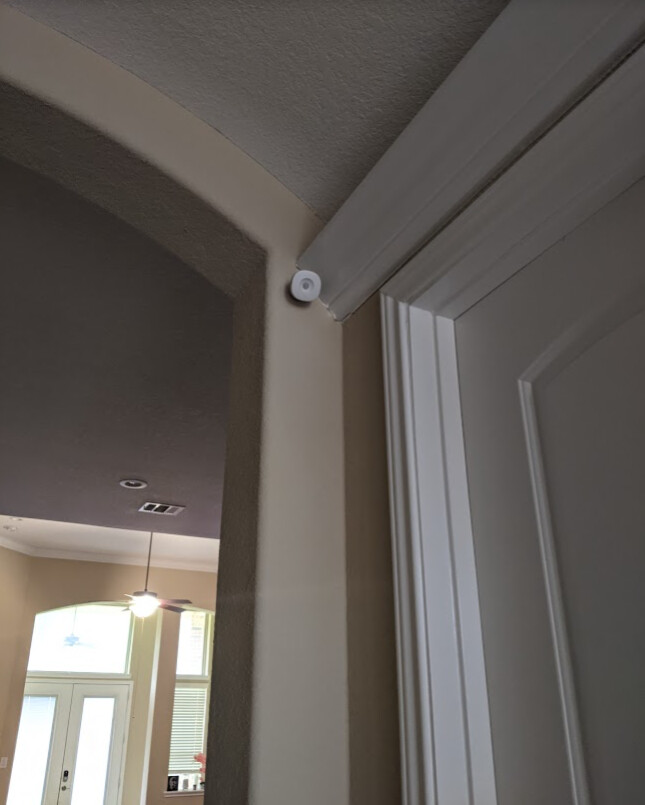
I got tired of replacing batteries for sensors in high-traffic or difficult-to-reach areas so decided to build some battery packs to extend the time between needing to replacing batteries. I needed several of these and this affected my choices when purchasing supplies for them. Several people asked for a write-up and links to the items I used so here you go.
You'll need something to drill holes in the case to insert the buttons and power connectors. I used a Dremel tool to make the holes but a drill would work just as well. I used some heat shrink tubing and a zip tie to manage the cables.
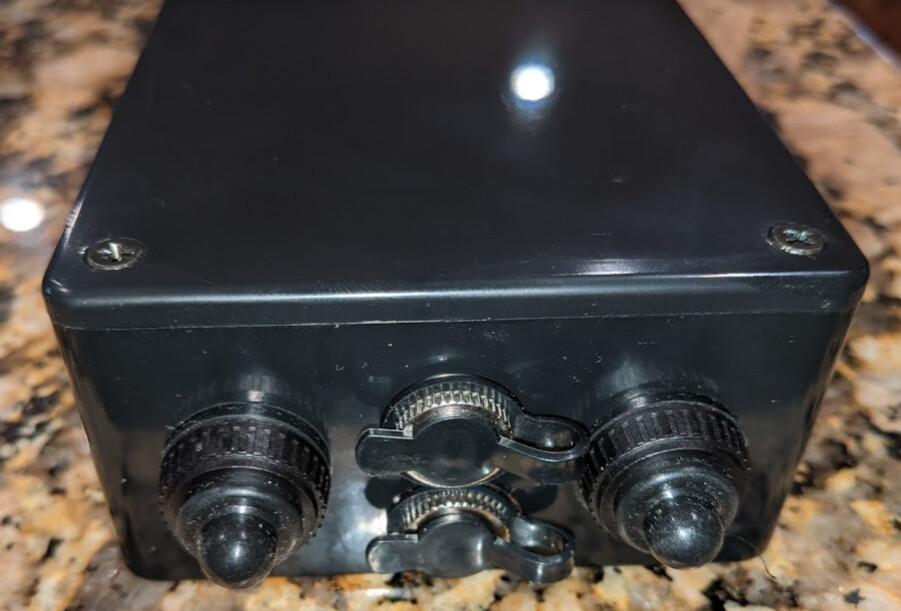
The buttons wire in series on the near side battery holder and to the appropriate terminal on the plug insert. It doesn't matter which side you connect them to since they are just interrupting the circuit.
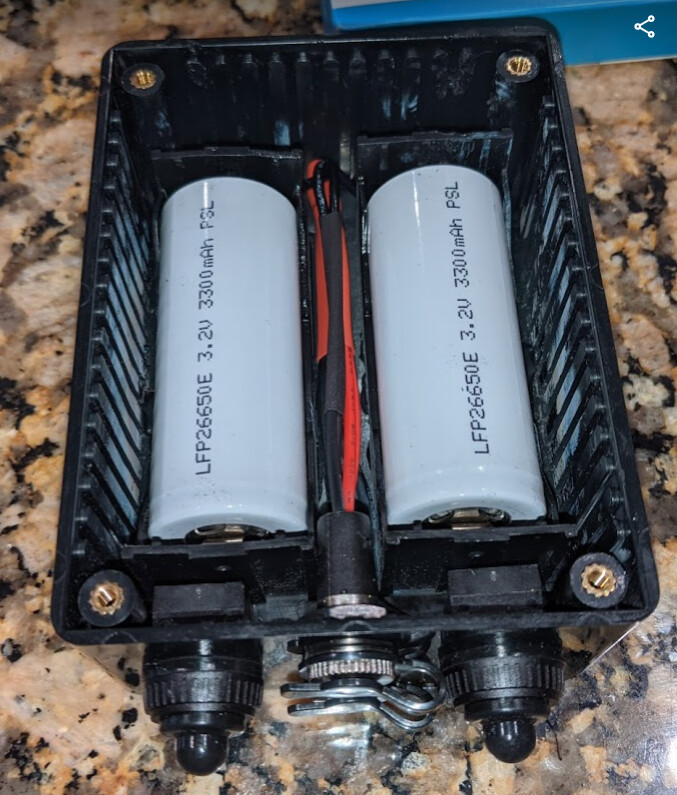
Figure out where you want everything to go and how long of wiring that you need then strip the wires and slide some heat shrink tubing over the wire. Solder up your connections and then slide your tubing over and apply some heat to cover the exposed wiring. After you get all your connections completed go ahead and affix the battery holders to the bottom of the case. I pushed them to the sides so I could route the wiring through the middle. The DC plugs extend out a bit so this layout made the most sense in my case. I sanded the bottom of the case to remove some stamped writing in the case so the battery holders would lay perfectly flat, and to rough it up for adhering the battery holders to the case. I used super-glue to stick them to the bottom. You could also use double-sided tape if you wanted.
Each LiFePO4 battery supplies 3.2v nominal so you have some flexibility depending on what voltage you are trying to achieve. For this project, I wanted the ability to either use each battery individually or run them in parallel to double the capacity. Wiring them in series would increase the voltage to 6.4v. If you go with Li-Ion batteries instead of LiFePO4 batteries, keep in mind that they have a higher nominal voltage and may not work well with devices looking for 3v. This varies per device and may not matter, but could. I went with the LiFePO4 batteries because they better match the battery voltage I use in the sensors I am connecting.
Ideas for future builds:
Add a fuse to the circuit.
These items below are all the items I use for this build, but feel free to swap out anything you want to make it your own.
LiFePO4 26650 Rechargeable Cell: 3.2V 3300 mAh
Tegg 2PCS 26650 Battery Holder for 26650 3.7V Lithium Battery Single Slot DIY Batteries Holder
White Hookup Wire 66ft Stranded Wire Flexible PVC Electrical Wire 2 Conductor Wire (22AWG)
The total comes out to $105.40 including the charger or $52.45 without the charger if you just buy one of each. For multiples, the cost per unit goes down since you'll have some leftover parts. If any of the sellers run out of supplies or you find better alternatives let me know and I'll post new links.

