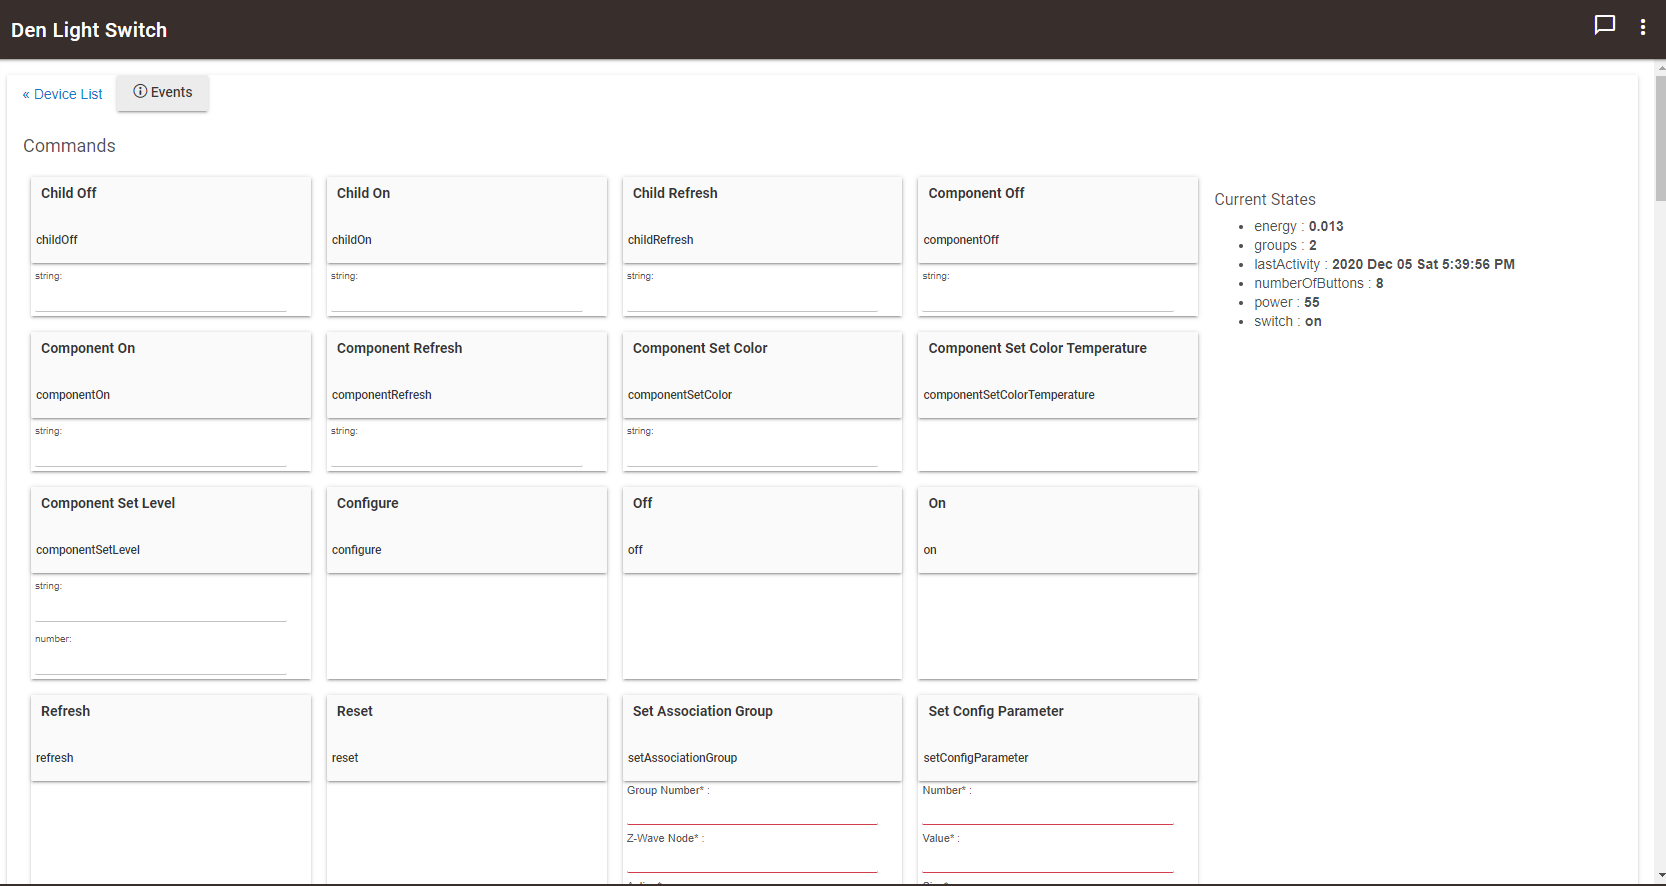
Den Light Switch
chat_bubble_outline
more_vert
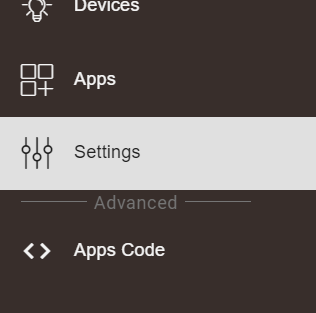
Devices
Apps
Settings
Advanced
codeApps Code
codeDrivers Code
System Events
Logs
« Device List
Events
Commands
Child Off
childOff
string:
Child On
childOn
string:
Child Refresh
childRefresh
string:
Component Off
componentOff
string:
Component On
componentOn
string:
Component Refresh
componentRefresh
string:
Component Set Color
componentSetColor
string:
Component Set Color Temperature
componentSetColorTemperature
Component Set Level
componentSetLevel
string:
number:
Configure
configure
Off
off
On
on
Refresh
refresh
Reset
reset
Set Association Group
setAssociationGroup
Group Number* :
Z-Wave Node* :
Action* :
Add
Multi-channel Endpoint :
Set Config Parameter
setConfigParameter
Number* :
Value* :
Size* :
1
Set Indicator
setIndicator
Set Indicator* :
Start Notification
startNotification
Start Notification* :
Endpoint :
Stop Notification
stopNotification
Endpoint :
Current States
energy : 0.013
groups : 2
lastActivity : 2020 Dec 05 Sat 5:39:56 PM
numberOfButtons : 8
power : 55
switch : on
State Variables
oldLabel :
defaultG3 : []
actualAssociation2 : []
defaultG2 : []
actualAssociation1 : [01]
defaultG1 : [01]
Preferences
State After Power Restored The state the switch should return to once power is restored after power failure.
Click to set
Invert Switch Inverts the orientation of the switch. Useful when the switch is installed upside down. Essentially up becomes down and down becomes up.
Click to set
Auto Off Timer Automatically turns the switch off after this many seconds. When the switch is turned on a timer is started that is the duration of this setting. When the timer expires, the switch is turned off. Range: 1..32767 Default: 0
Association Behavior When should the switch send commands to associated devices? 01 - local 02 - 3way 03 - 3way & local 04 - z-wave hub 05 - z-wave hub & local 06 - z-wave hub & 3-way 07 - z-wave hub & local & 3way 08 - timer 09 - timer & local 10 - timer & 3-way 11 - timer & 3-way & local 12 - timer & z-wave hub 13 - timer & z-wave hub & local 14 - timer & z-wave hub & 3-way 15 - all Range: 0..15 Default: 15
LED Strip Color This is the color of the LED strip.
Click to set
Custom LED RGB Value
Input a custom value in this field to override the above setting. The value should be between 0 - 360 and can be determined by using the typical hue color wheel.
LED Strip Intensity This is the intensity of the LED strip.
Click to set
LED Strip Intensity (When OFF) This is the intensity of the LED strip when the switch is off. This is useful for users to see the light switch location when the lights are off.
Click to set
Active Power Reports The power level change that will result in a new power report being sent. The value is a percentage of the previous report. 0 = disabled. Range: 0..100 Default: 10
Periodic Power & Energy Reports Time period between consecutive power & energy reports being sent (in seconds). The timer is reset after each report is sent. Range: 0..32767 Default: 3600
Energy Reports The energy level change that will result in a new energy report being sent. The value is a percentage of the previous report. Range: 0..100 Default: 10
Load Type The default of the switch is to auto detect the load. In some situations you may want to try the option for a special load type. (firmware 1.17+)
Click to set
Disable Physical On/Off Delay The 700ms delay that occurs after pressing the physical button to turn the switch on/off is removed. Consequently this also removes the following scenes: held, released, 2x, 3x, 4x, 5x tap. 1x tap and config button scenes still work. (firmware 1.19+)
Click to set
LED Notifications
When each notification set (Color, Level, Duration, Type) is configured, a switch child device is created that can be used in Apps to activate that notification.
LED Effect Color - Notification 1
Tap to set
Click to set
LED Effect Level - Notification 1
Tap to set
Click to set
LED Effect Duration - Notification 1
Tap to set
Click to set
LED Effect Type - Notification 1
Tap to set
Click to set
LED Effect Color - Notification 2
Tap to set
Click to set
LED Effect Level - Notification 2
Tap to set
Click to set
LED Effect Duration - Notification 2
Tap to set
Click to set
LED Effect Type - Notification 2
Tap to set
Click to set
LED Effect Color - Notification 3
Tap to set
Click to set
LED Effect Level - Notification 3
Tap to set
Click to set
LED Effect Duration - Notification 3
Tap to set
Click to set
LED Effect Type - Notification 3
Tap to set
Click to set
LED Effect Color - Notification 4
Tap to set
Click to set
LED Effect Level - Notification 4
Tap to set
Click to set
LED Effect Duration - Notification 4
Tap to set
Click to set
LED Effect Type - Notification 4
Tap to set
Click to set
LED Effect Color - Notification 5
Tap to set
Click to set
LED Effect Level - Notification 5
Tap to set
Click to set
LED Effect Duration - Notification 5
Tap to set
Click to set
LED Effect Type - Notification 5
Tap to set
Click to set
Disable Local Control
Disable ability to control switch from the wall
No
Disable Remote Control
Disable ability to control switch from inside Hubitat
No
Child Devices
Use the below options to enable child devices for the specified settings. This will allow you to adjust these settings using Apps such as Rule Machine.
Create "LED Color" Child Device
Create "Disable Local Control" Child Device
Create "Disable Remote Control" Child Device
Enable debug logging
Enable informational logging
Disable Debug Logging
Disable debug logging after this number of minutes (0=Do not disable)
0
Disable Info Logging
Disable info logging after this number of minutes (0=Do not disable)
30
Device Information
Inovelli Switch Red Series LZW30-SN
Device Name *
Den Light Switch
Device Label
Zigbee Id
100
Event history size (1-2000)
30
State history size (1-2000)
edit
0F
Device Network Id *
Inovelli Switch Red Series LZW30-SN
Type *
Advanced
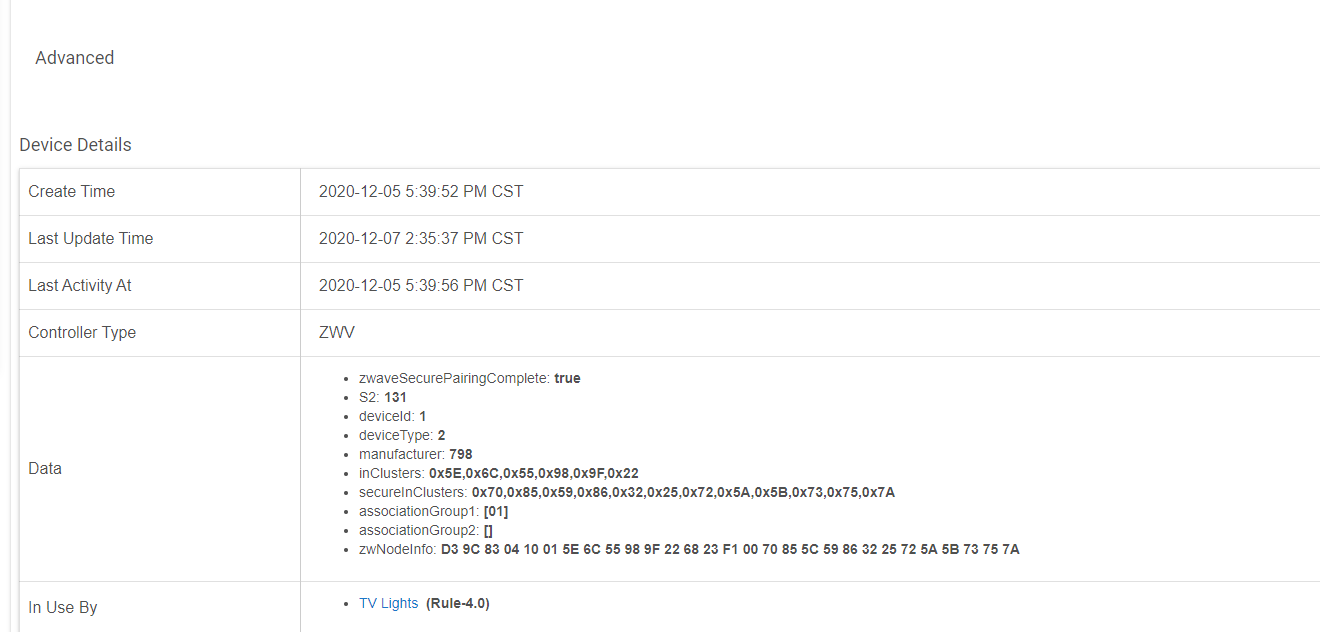
Device Details
Create Time 2020-12-05 5:39:52 PM CST
Last Update Time 2020-12-06 3:48:07 PM CST
Last Activity At 2020-12-05 5:39:56 PM CST
Controller Type ZWV
Data
zwaveSecurePairingComplete: true
S2: 131
deviceId: 1
deviceType: 2
manufacturer: 798
inClusters: 0x5E,0x6C,0x55,0x98,0x9F,0x22
secureInClusters: 0x70,0x85,0x59,0x86,0x32,0x25,0x72,0x5A,0x5B,0x73,0x75,0x7A
associationGroup1: [01]
associationGroup2: []
zwNodeInfo: D3 9C 83 04 10 01 5E 6C 55 98 9F 22 68 23 F1 00 70 85 5C 59 86 32 25 72 5A 5B 73 75 7A
In Use By
TV Lights (Rule-4.0)
Scheduled Jobs
No Scheduled Jobs are set.
Remove Device
Location: 4227Hubitat


