For anyone looking to install Docker / Portainer on a Raspberry Pi or other linux server such as Ubuntu, here is a list of commands to enter in a terminal window.
Notes:
- The first box below can be scrolled until the line "END". Don't miss out on the full instructions.
- Some commands are very long and are hidden to the right. Ensure that the entire line has been selected before copy/pasting.
#### Update System
sudo apt update && sudo apt upgrade

#### Docker
# Docker pre-reqs - curl, certs, and other software
sudo apt install apt-transport-https ca-certificates curl software-properties-common

# Docker GPG key
curl -fsSL https://download.docker.com/linux/ubuntu/gpg | sudo gpg --dearmor -o /usr/share/keyrings/docker-archive-keyring.gpg

# Docker repository
echo "deb [arch=$(dpkg --print-architecture) signed-by=/usr/share/keyrings/docker-archive-keyring.gpg] https://download.docker.com/linux/ubuntu $(lsb_release -cs) stable" | sudo tee /etc/apt/sources.list.d/docker.list > /dev/null

# Update.  Yes, need to update again after installing
# the repo
sudo apt update

# Docker Install
sudo apt install docker-ce docker-ce-cli containerd.io

# Start Docker
systemctl start docker

# Enable Docker
systemctl enable docker

# Check that Docker is running
systemctl status docker
# enter 'q' to quit the status output and return to command prompt

#### Portainer
# Choose port number
# Check if port 8000 is already in use.  If the port is NOT
# in use, there will be no output and the command
# prompt will appear.  If port 8000 is already in use (e.g.
# Homebridge), there will be some output. Check other
# ports, such as 8100.
sudo netstat -peanut | grep ":8000"

# Create Docker volume for Portainer data.  A volume
# stores settings, making them persistent through reinstalls.
docker volume create portainer_data

# Download Portainer and run it
# Replace 8000 with an alternate port from above, if required
# Port 9443 is the web interface for Portainer
docker run -d -p 8000:8000 -p 9443:9443 --name=portainer --restart=always -v /var/run/docker.sock:/var/run/docker.sock -v portainer_data:/data portainer/portainer-ce:latest

# Open ports in the firewall.  These commands are for the
# ufw firewall. Replace 8000 with previously chosen port.
# allow tcp protocol port 9443
sudo ufw allow proto tcp to any port 9443
# allow tcp protocol port 8000
sudo ufw allow proto tcp to any port 8000

#### END
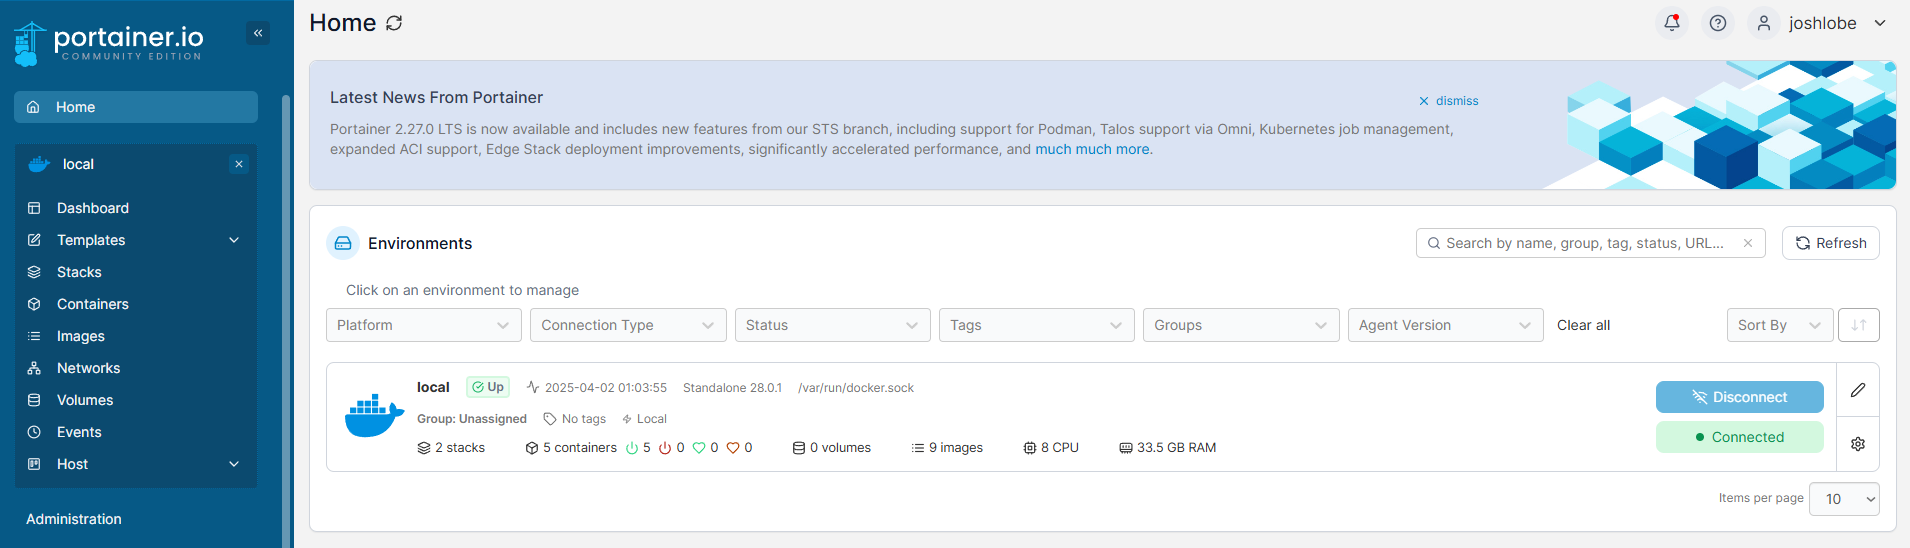
Access the user interface in a web browser: https://<your server IP>:9443
To update Portainer in the future
# Stop Portainer
docker stop portainer

# Remove Portainer container
docker rm portainer

# Download Portainer
docker pull portainer/portainer-ce:latest

# Run Portainer
# Remember to change port 8000, if it was required before
docker run -d -p 8000:8000 -p 9443:9443 --name=portainer --restart=always -v /var/run/docker.sock:/var/run/docker.sock -v portainer_data:/data portainer/portainer-ce:latest
Some additional commands for Docker, if NOT using Portainer. I am not responsible for any harm or loss that may result in using these commands. Seriously, Portainer is the way to go.
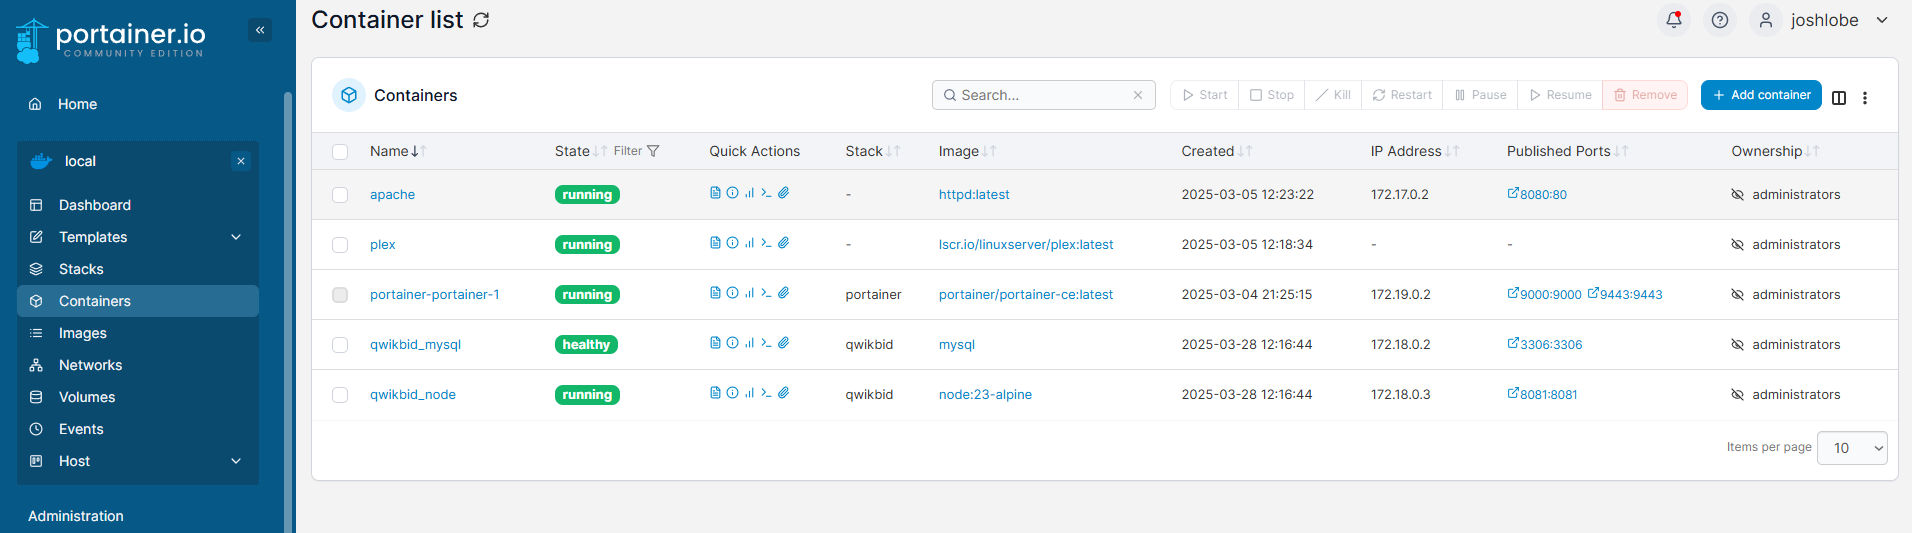
# list running docker containers
docker ps

# restart a container using the ID from previous command
docker restart <id>

# stop a running container. BE CAREFUL!!  BE VERY CAREFUL!!
# Can’t start the container by simply using the instructions given here
docker stop <id>

# remove a container
docker rm <id>

# delete all non-running containers.  BE CAREFUL!!  BE VERY, VERY, VERY CAREFUL!!
# You’re nuking your docker containers.
docker system prune -a
Sources: