For anyone reading this I posted in the HE FB group asking about setting up Raspberry Pi to be able to use echo speaks without Heroku.
I managed to get my pi updated and figured out how to load Docker (something I know nothing about). I then am trying to load Portainer as well since it was mentioned it would make things easier. I have reached the point that Portainer is somewhat set up but still need to connect it to Docker. Adding some screens for reference.
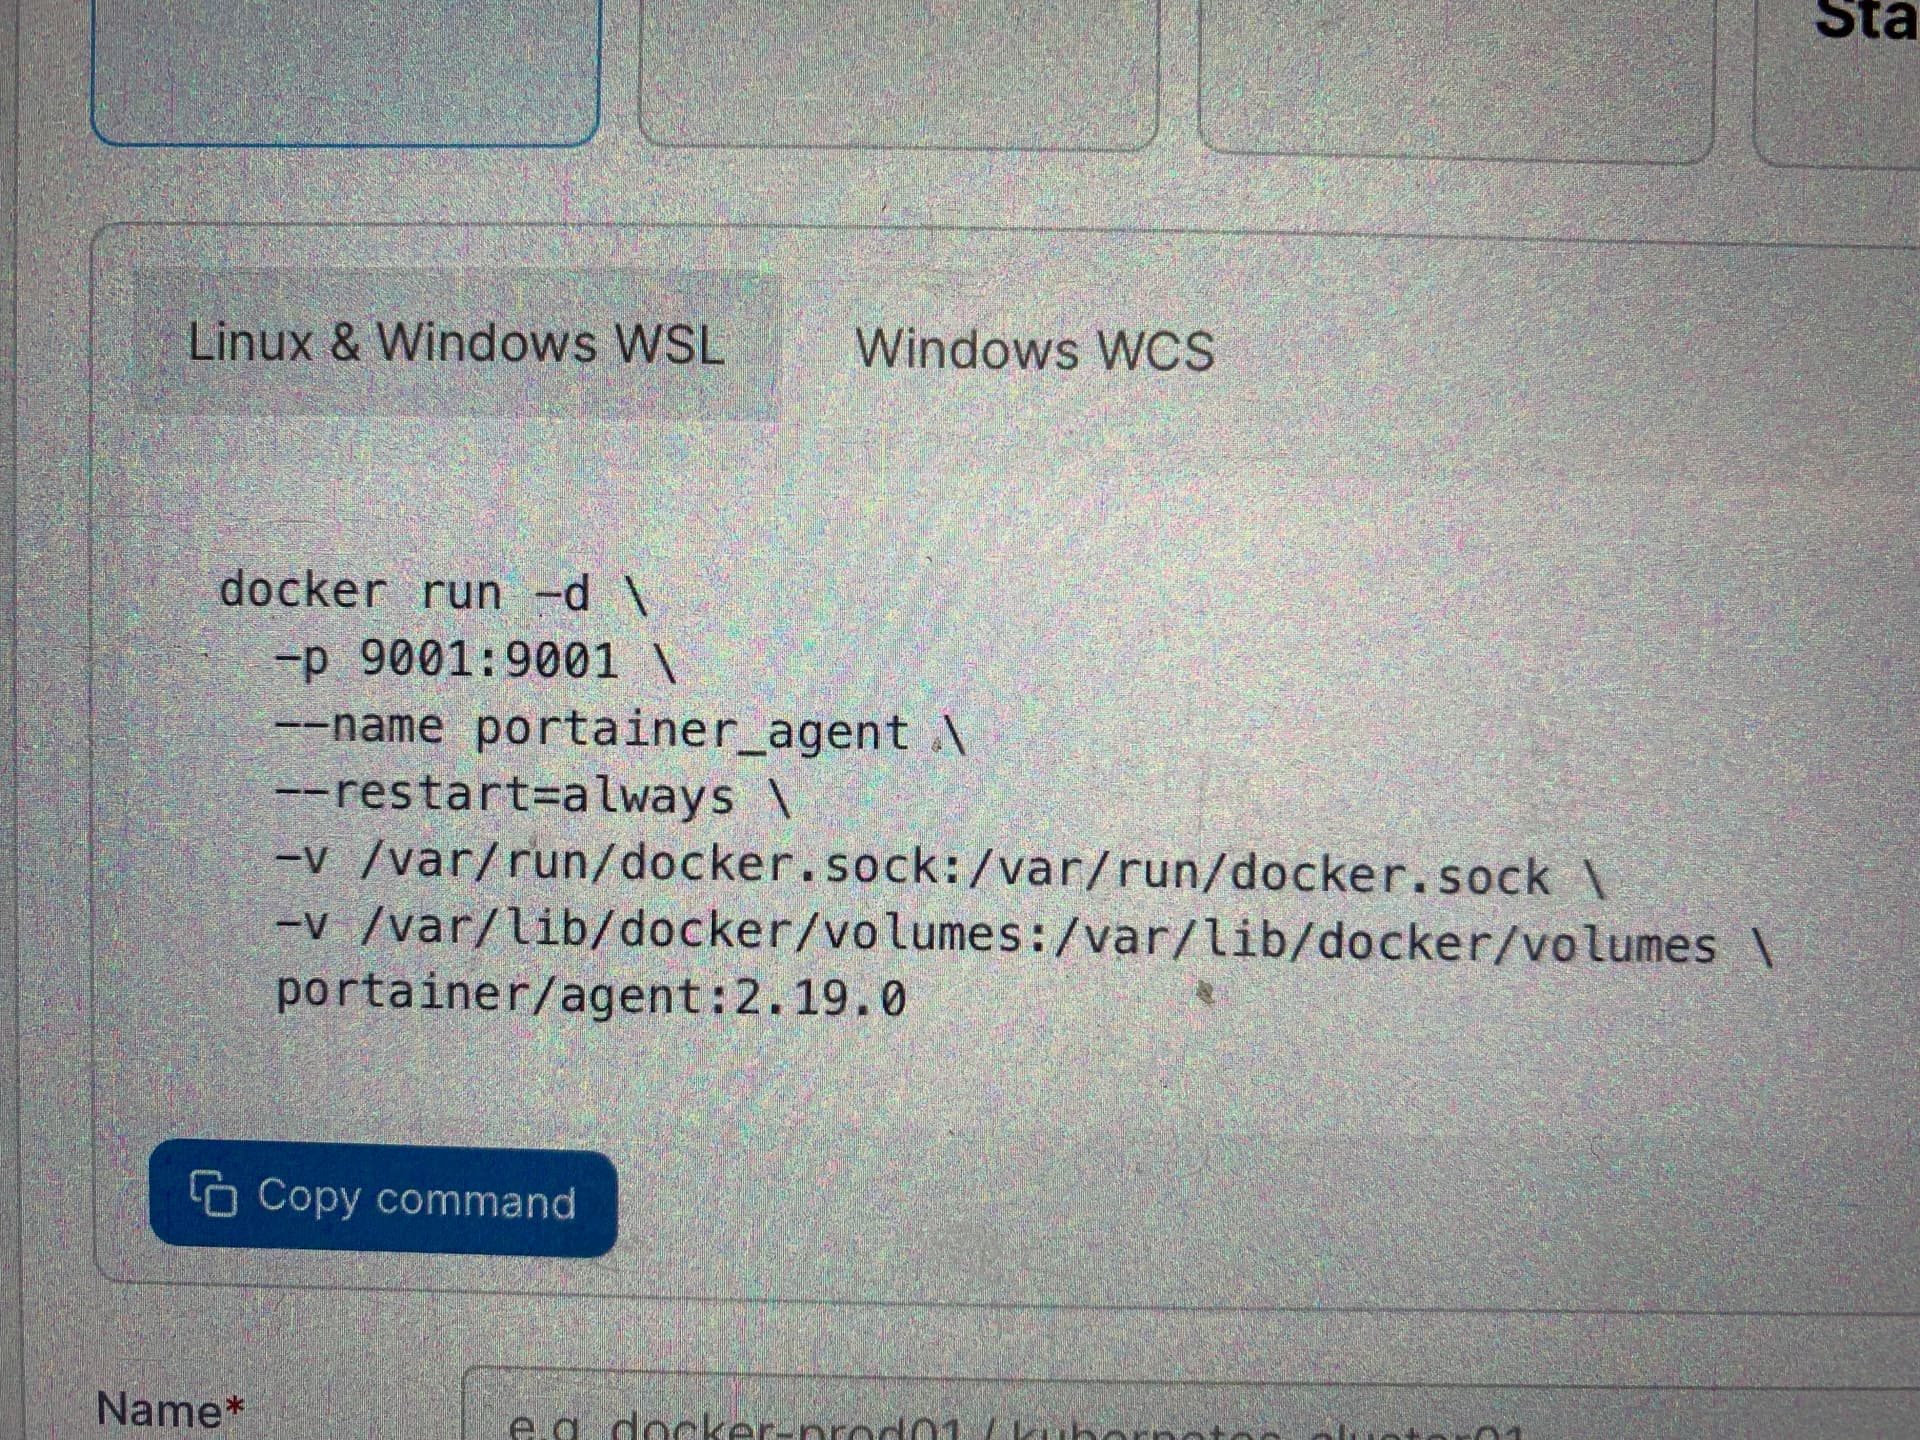
I’m confused which commands to use. Are the “ “ part of the command?
*You may need to log in as root or start these commands with sudo
You already created a portainer container so first do this to remove it docker rm portainer
Not sure if you created the named volume or not? Run this if not docker volume create portainer_data
Then to start portainer using the full string from the docs (this is all one command) docker run -d -p 8000:8000 -p 9443:9443 --name portainer --restart=always -v /var/run/docker.sock:/var/run/docker.sock -v portainer_data:/data portainer/portainer-ce:latest
That should give it access to the docker.sock and a persistent data volume so your settings wont be lost if you have to reinstall portainer at a later date.
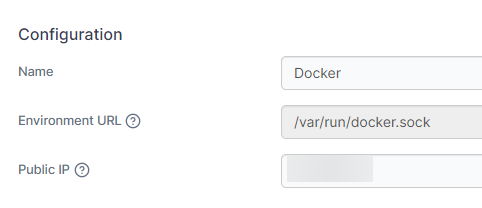
Then once you are in portainer you may need to setup the Environment
From there you can create a stack for Echo-Speaks as outlined in my other guide.
If you are still struggling with Portainer, we can probably at least get ES running with a one line docker command. I will just have to look up how to make it build the image for arm64. My guide has the command needed but I think it may only work if you have amd64 system.
Non-portainer single command to install the container (this may fail and will need to have a command to build the image as I mentioned above). Do NOT use this if you want to use portainer!
i followed your instructions. removed portioner, did the first command then the second one and got this message. oops i just realized you gave me the command 2x, first with wrap then w/o wrap
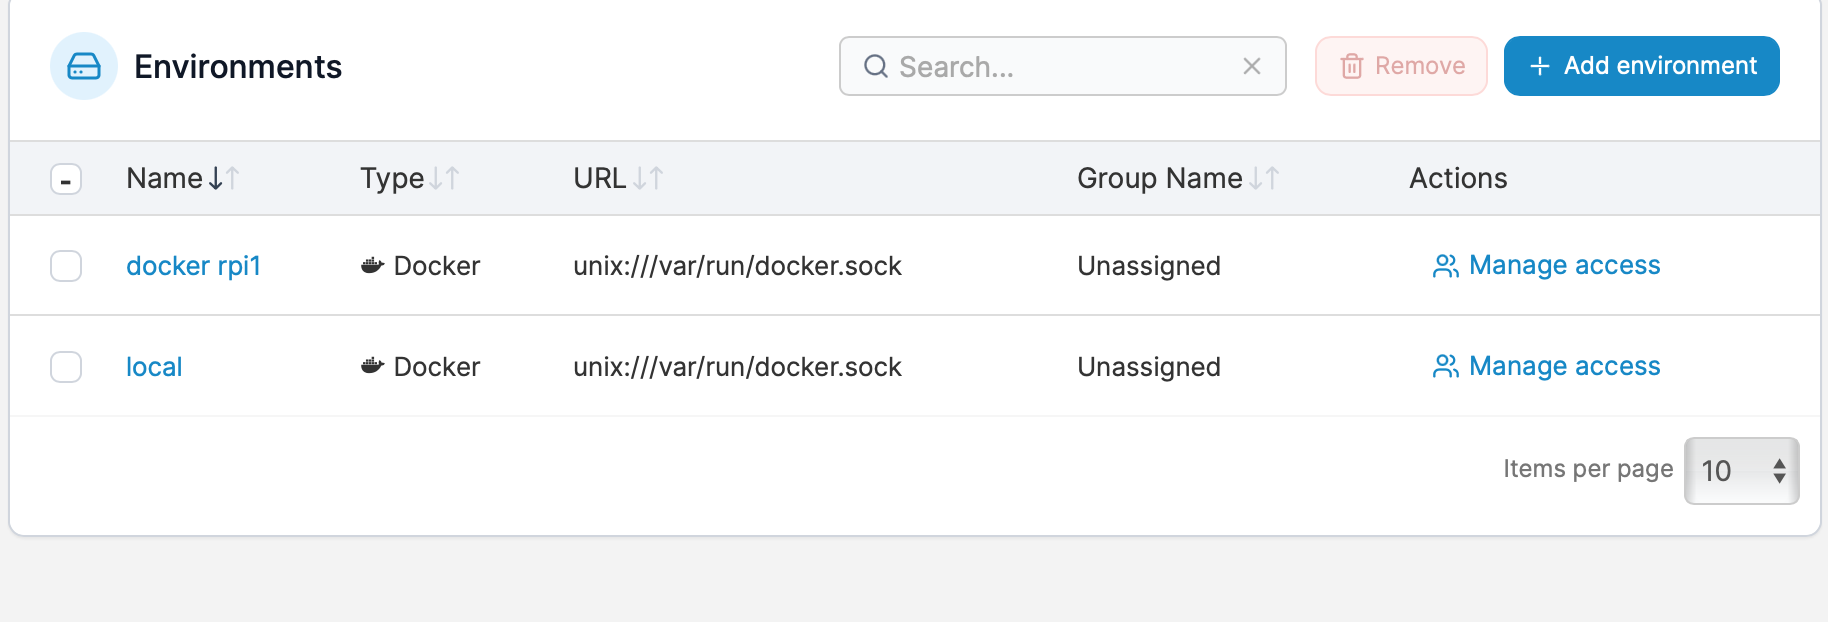
Looks like both of those "Environments" are pointing to the same thing, you could probably remove one to avoid confusion.
From there click on the environment to open it up. Here is the instructions from my guide with a modified config to account for the RPi needing to build the image.
Select: Stacks >> +Add Stack
Name the new stack: echo-speaks-server
Web Editor paste in the yaml config below:
version: "3"
services:
  echo-speaks-server:
    container_name: echo-speaks-server
    # Build image for non-amd64 systems
    build: https://github.com/tonesto7/echo-speaks-server.git
    restart: unless-stopped

    # Network mode host allows IP to be automatically detected
    # Windows MUST change from host to bridge mode and set IP in settings below
    network_mode: host
    #network_mode: bridge
    # Port mappings are ignored with host mode
    ports:
      - 8091:8091   # WebUI must match PORT below

    # Set environment variables
    environment:
      - useHeroku=false
      - hubPlatform=Hubitat

      #### UNCOMMENT Options to use them (remove the # and keep the -) ####
      ## Host IP Address Override if needed
      ## MUST Uncomment next line and set IP when using network_mode: bridge
      #- ipAddress=192.168.1.XXX

      ## Change WebUI Port if needed
      #- PORT=8091

      ## Set callback URL here if you want
      #- appCallbackUrl=

      ## Set amazon domain and locale if need to change from default
      #- amazonDomain=amazon.com
      #- regionLocale=en-US

    # Keeps login and session if re-deployed
    volumes:
      - data:/root

volumes:
  data: {}