I’m 3D printing a Mushroom Lamp for my son and need to figure out what smart lights to use for it. Some other person that printed it used this LED ring. I don’t know much about this sort of DIY at all though.
can I use the same LED ring with a ZWave controller? If so, which one? Would this Zooz controller work?
do I need to buy anything else besides the linked led ring and a zwave controller? A power cable or something?
The ring on a picture looks like built from addressable LEDs. These LEDs get digitally encoded data stream trough the data line passing sequentially from one to another. The main plus of them is the posibility to lit any LED on the ring with any color independently of it's neighbours.
But I don't know any ZWave LED controller that is capable of controlling addresabale LEDs (also called addresable pixels). ZWave LED controllers usually have from 1 to 4 channels (like RGBW). And all the LEDs in such LED strips are lit in the same way as their neighbour LEDs.
The limitation may come from the ZWave protocol itself. There seem to be no command class for addresable LEDs. Only a single color/brightnes for each endpoint device at most.
Oh ok. Yeah I don’t need individual addressable LEDs. Fine if they are all the same color. But I do think the rigid structure of a ring would be best for the lamp, as opposed to just a strip
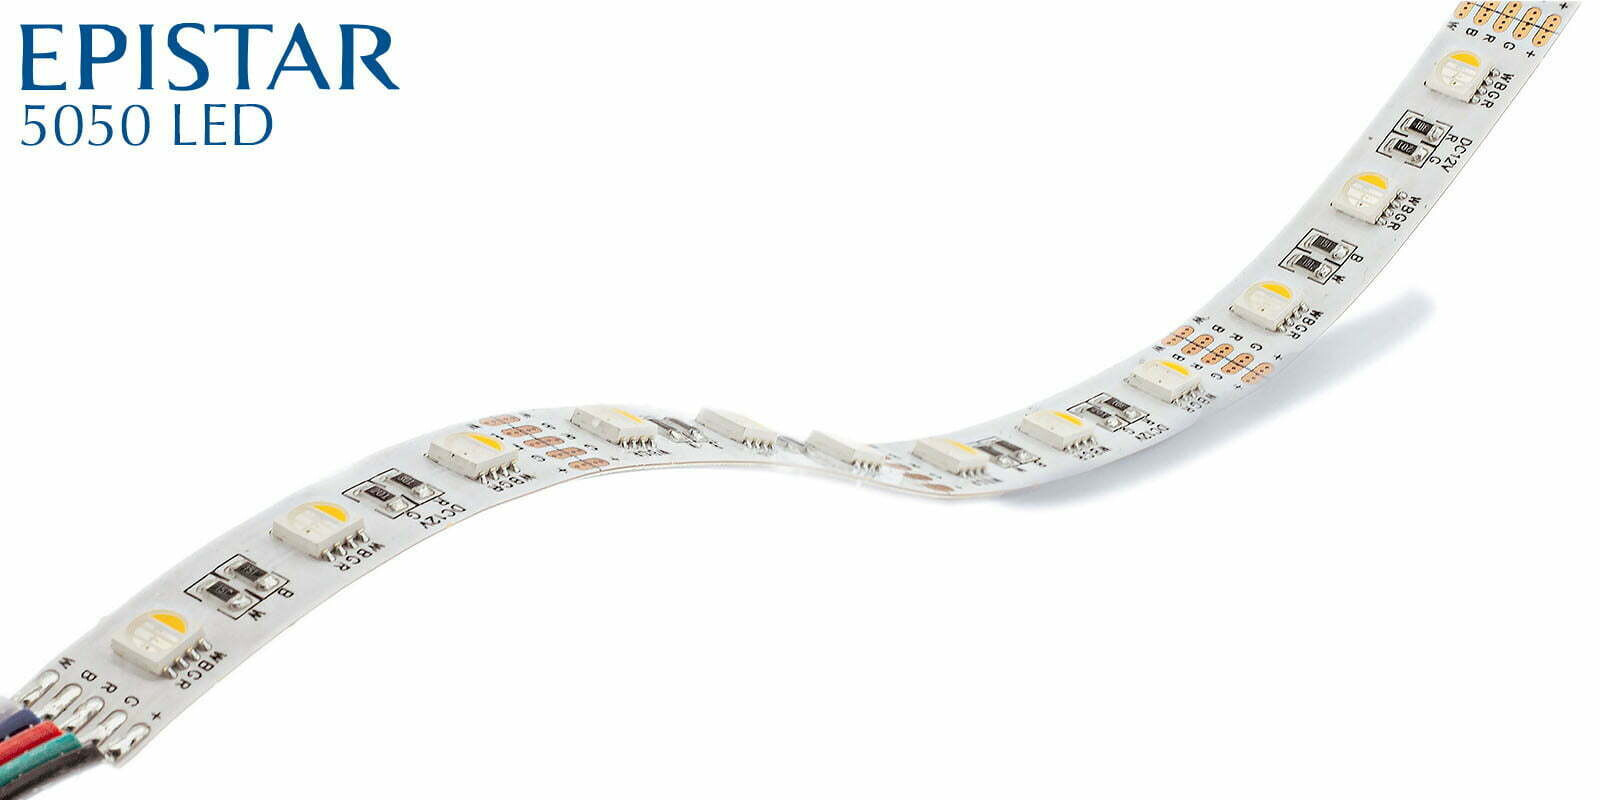
In that case you need a regular 12 or 24 volt RGB/RGBW LED strip. They usually come with a layer of glue at the bottom. But not sure if you could bent them in a such circle without damaging strip itself (its flexible PCB). If hard thin bent is not a strict requirement then most of them should do with some effort.
Maybe there are some premade circles. Or some sort of silicon tube like implementation that could allow to bent them in a way that might fit your needs.
Yes, this is addressable LEDs.
To control this ring you can use Pixelblaze (https://electromage.com/) which has very nice
integration with HE (custom pixelblaze driver). I have 7 Pixelblase based LED lights.
Another option is WLED on ESP32. It also has HE integration but I did not try it.
This is very simply DIY project. You will need to solder few wires (2 for PS and 3 for LED Ring).
Pixelblaze will require very minor programming. There are many nice examples on the
Pixelblaze web site https://electromage.com/patterns
Once Pixelblaze is programmed with the desired pattern you on the HE side you may
end up with simple On/Off switch. But to get full control of Pixelblaze from HE you
will need to install a Pixelblaze driver:
Ok I think I’m up for the Pixelblaze idea. Might be fun to learn more via this simple project and create a foundation for more complex projects later. Threshold question tho: how would you do this? I’m thinking getting the pico controller so I can put it in the base of the lamp, keeping all wiring in the lamp base, so that there’s just a power cord for the controller coming out of the lamp. Also, can you spoon feed me a link to the right power supply to buy for the pico controller? I don’t want to burn the house down…
It comes with a mating connector for the barrel connector.
These barrel connectors are good enough for the 2-3 amps but I will cut the connector off
and solder ps wires directly to the LED Ring. Than you can use 3 thin wires for connecting
Pixelblaze to the LED Ring. (For the high current applications less connectors is better.)
With Pixelblaze you can control each LED individually and can create (or download) many
different lighting patterns. From the HE you can chose which pattern to use and if pattern
uses variables you can update them from HE. The simplest pattern will be just RGB control
for the entire ring. From the HE you can update R, G and B values, set brightness and
use On/Off commands. I can share with you simple RGB Pattern for Pixelblaze I am using
and a correspondent HE RM Rule(s). So, after yours hardware will be assembled you will
be able to test it in a few minutes.
Good luck! Even very first Pixelblaze based project should not be very difficult to implement.
Please let me know if you need my Pixelblaze Pattern for simple RGB control and related
HE RM Rules? If "yes" I will PM them to you.
I feel silly asking but I’m cautious. What wiring exactly do I need? 20 gauge stranded ok? I have some extra 12 gauge solid lying around - I assume that’s overkill but will work.
For the 2 amps max load 20 gauge wires should be OK.
I have no idea how the entire lamp will be constructed but for mechanical
reason solid core 14 or 12 gauge wire could do a better job.
Bring power first to the ring and than Pixelblaze.
You can use up to 30 gauge wires between ring and Pixelblaze.
Pixelblaze Pico is very small so it could be mounted right on the back side of the ring.
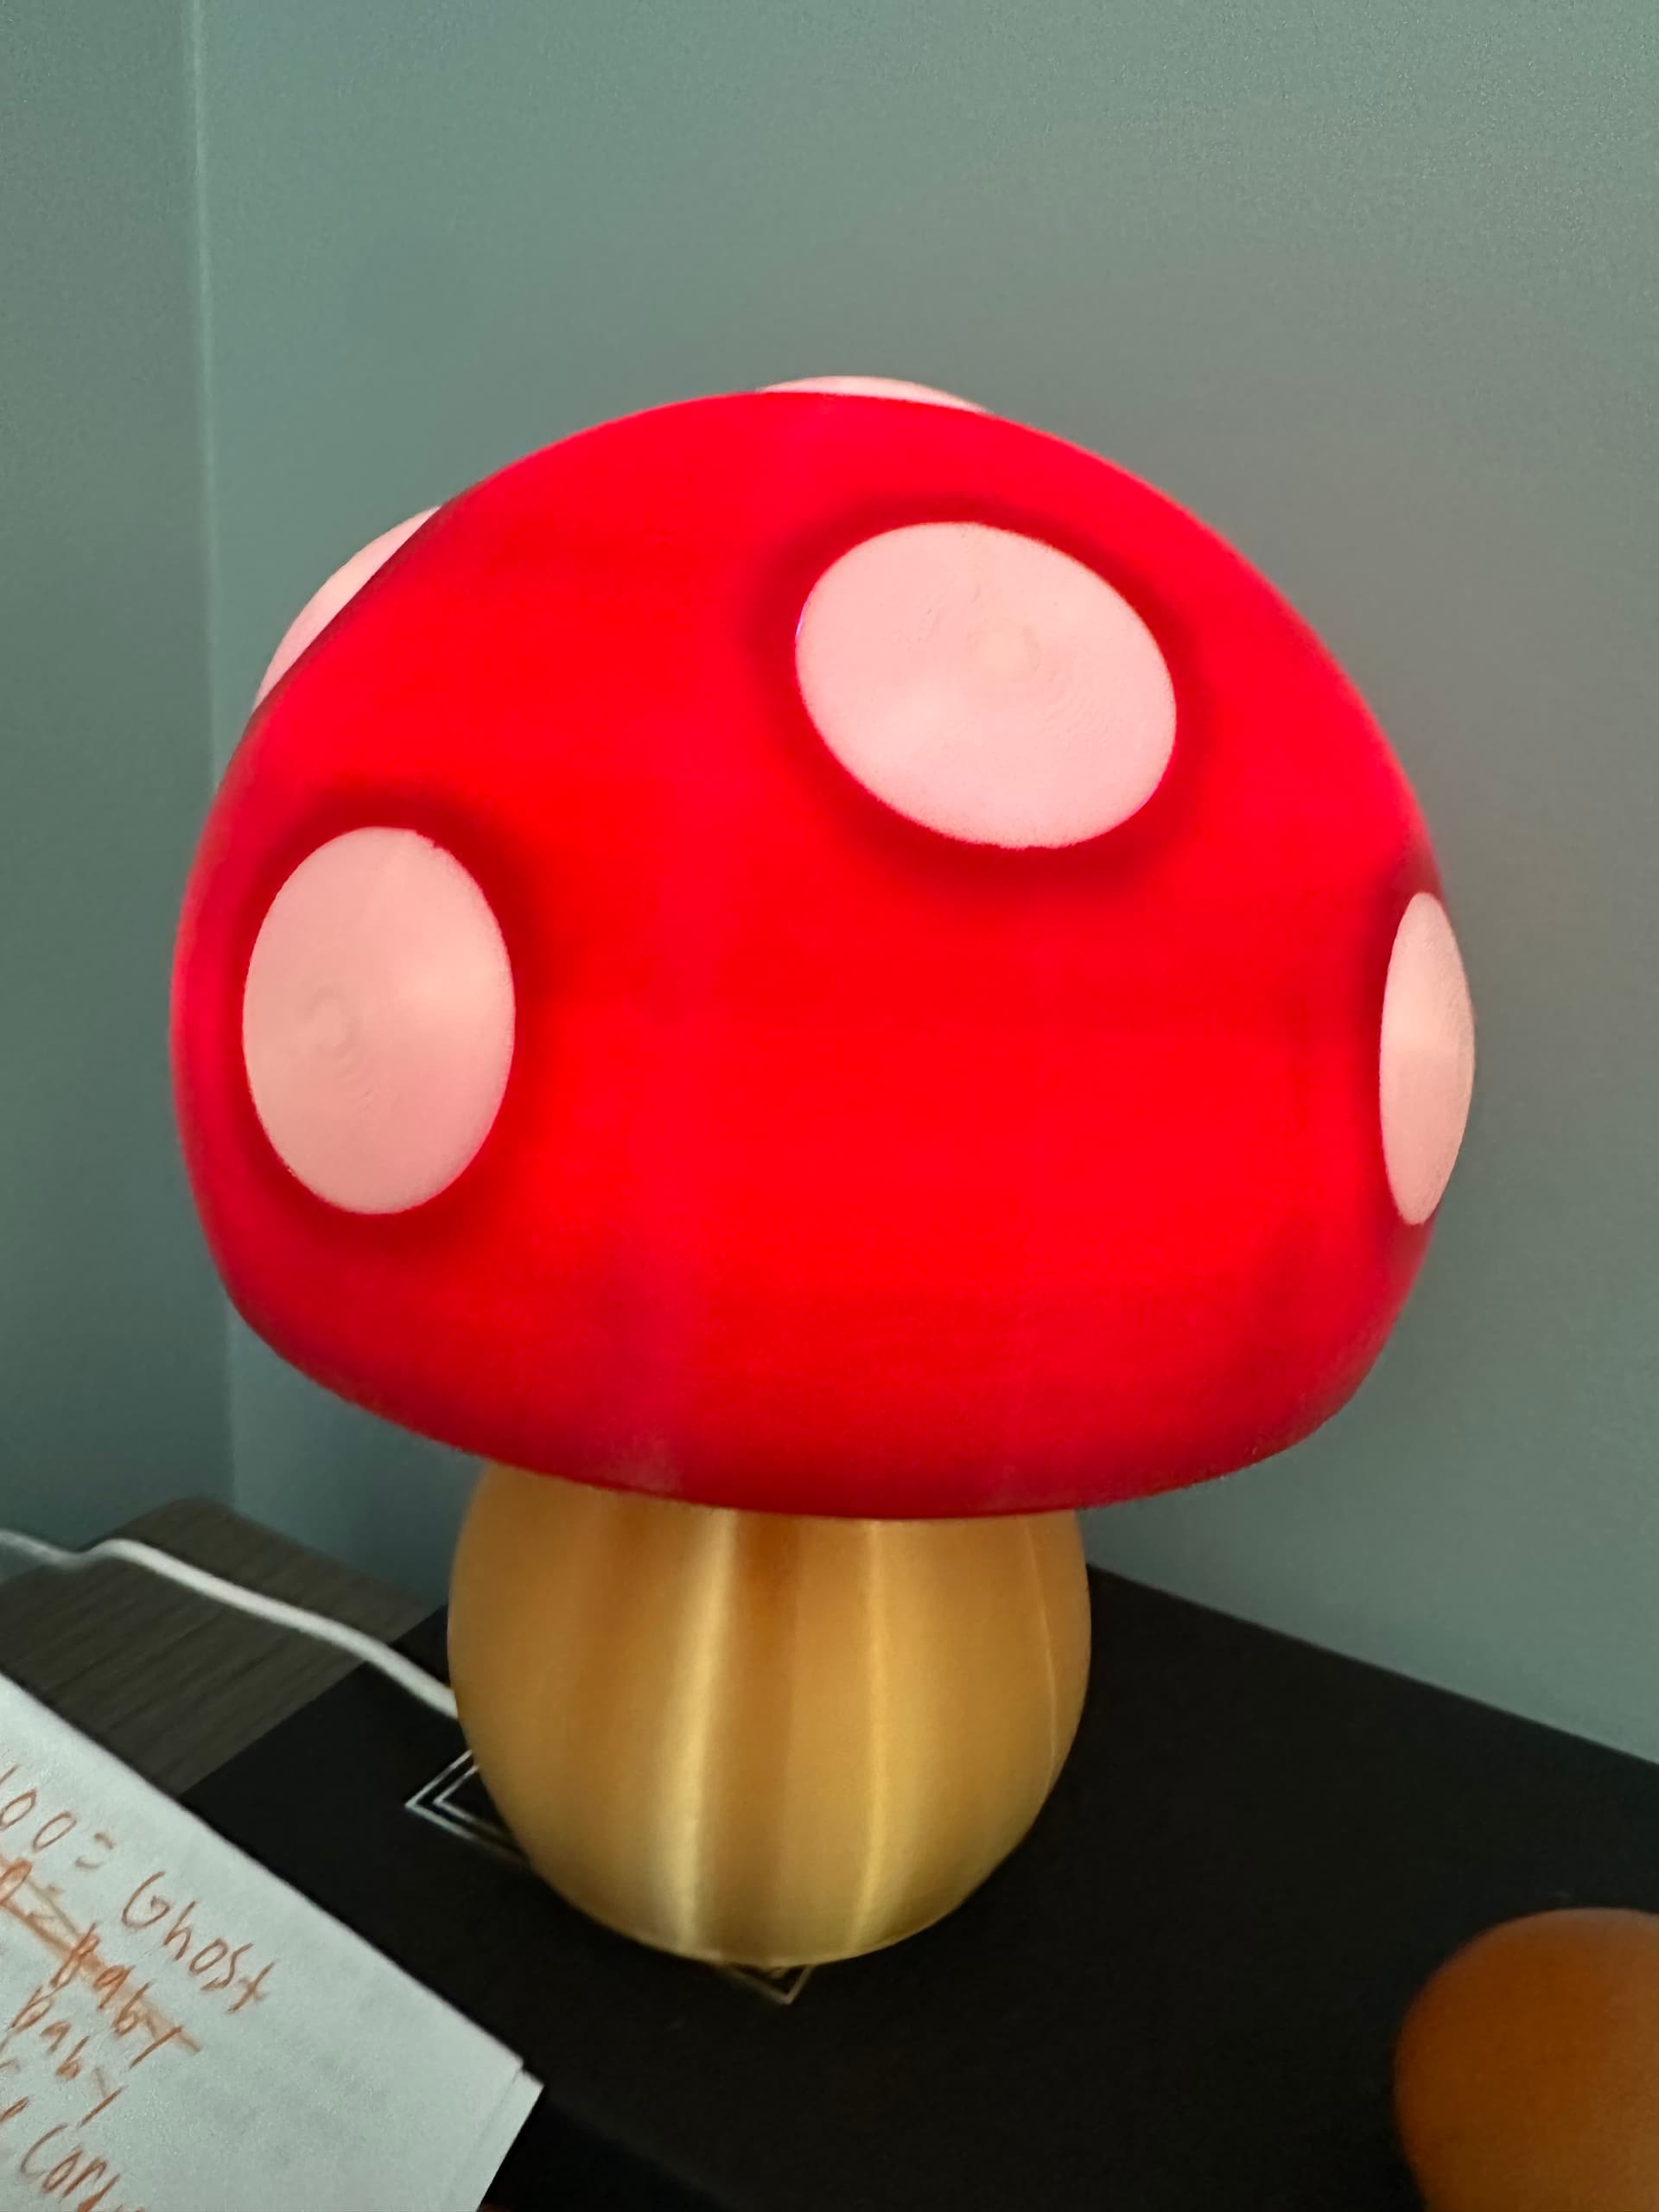
This looks very cool!
Please, DHCP reserve the IP address for the Pixelblaze.
Otherwise you may loose the connection to the HE (driver requires hard coded IP address).
And I assume you already loaded Pixelblaze HE Drivers.
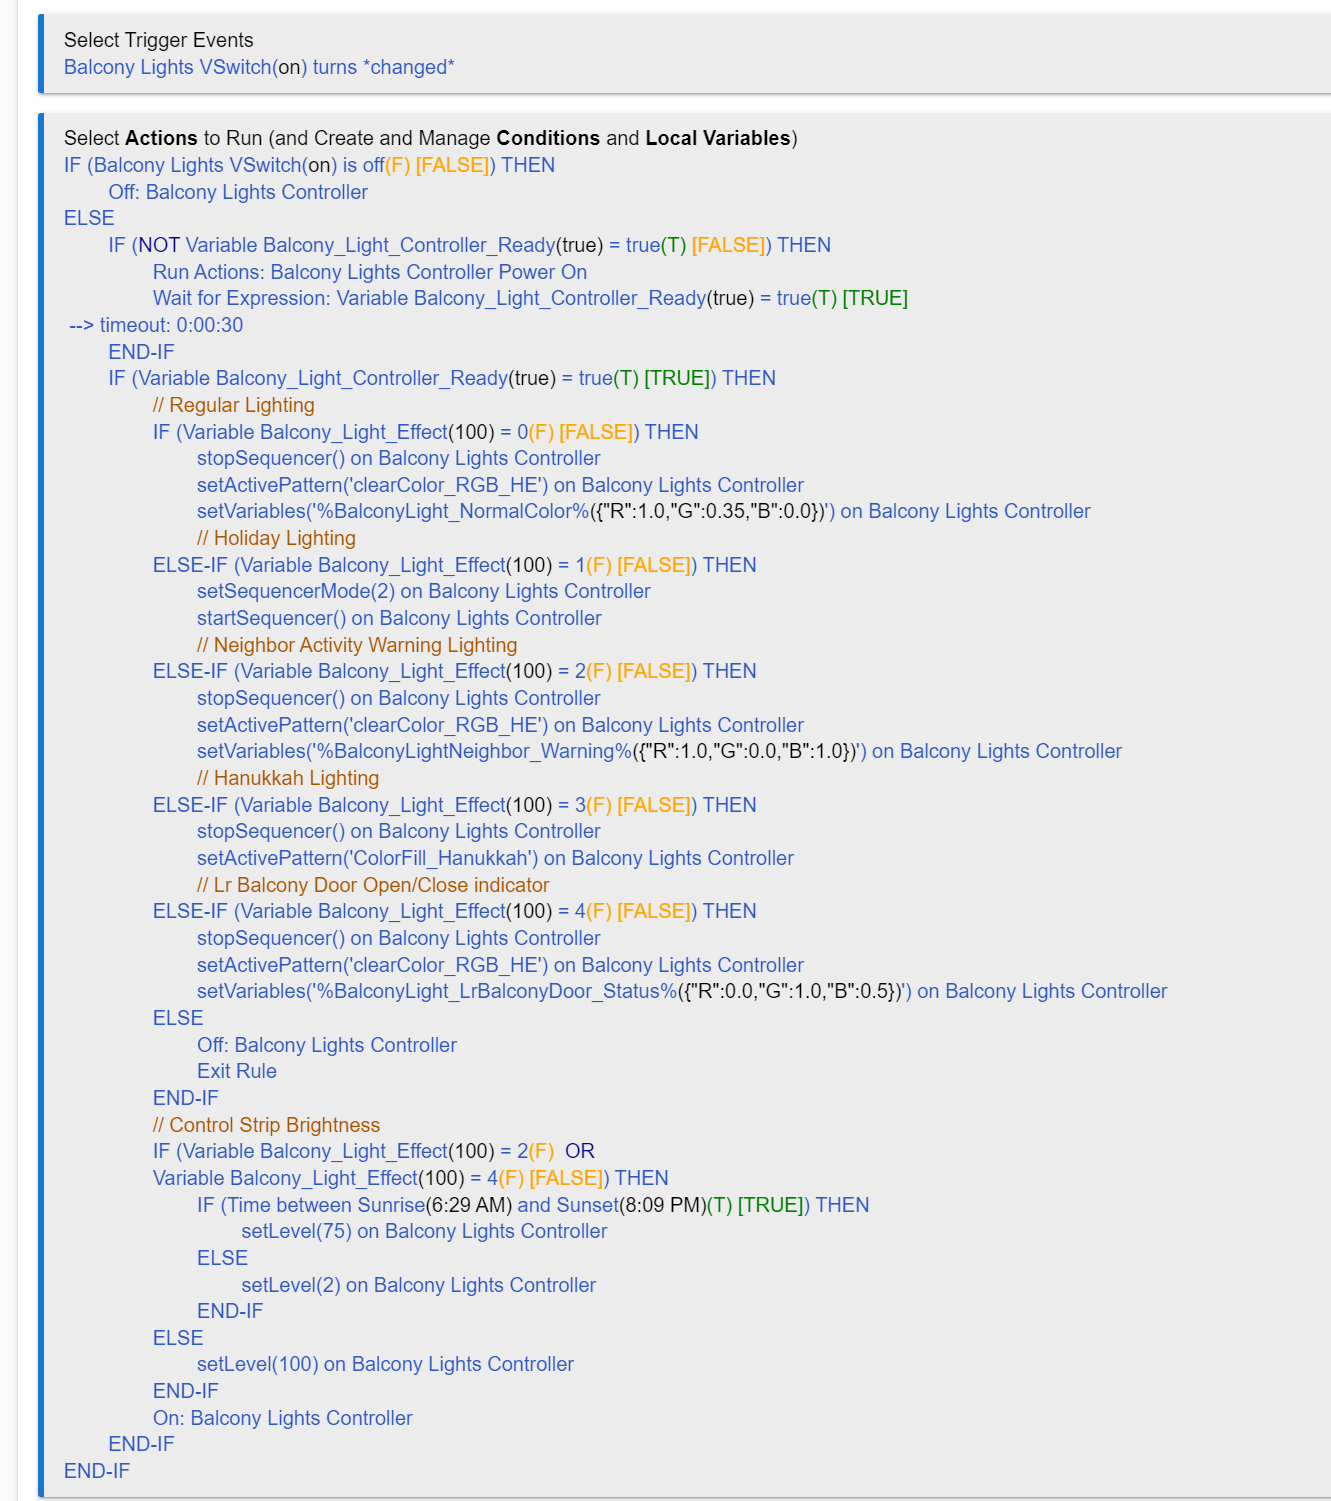
Here is very simple RGB Pattern for Pixelblaze ready to be controlled by HE:
export var R = 1.0
export var G = 0.25
export var B = 0.0

export function beforeRender(delta)
{

}

export function render(index)
{
  rgb(R, G, B)
}
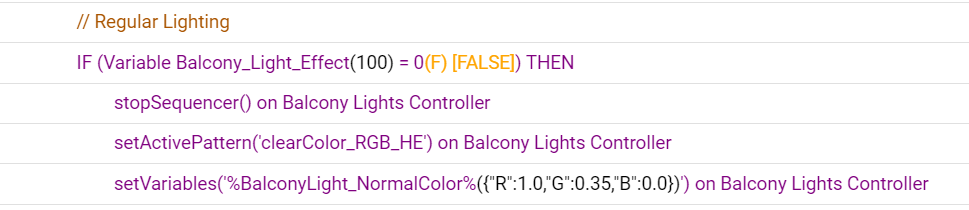
I named this function "clearColor_RGB_HE".
Name could be anything you like but HE RM rules must have exactly the same names.
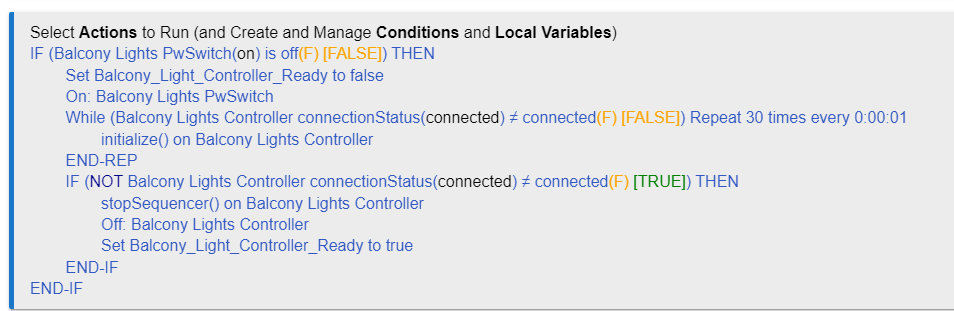
Here is my rule to power on pixelblaze with external switch:
(you don't need this rule if you don't have a smart switch to completely
power down pixelblaze)
Did you mean simulated fire effect?
I don't have one. But pixelblaze wed site has very many different nice patterns.
You can try few and see which one will look good on this LED Ring.
Actually from the HE you can easily pick a desired pattern and crate a RM rule
say, to switch patterns based on some event(s).
Also, right on pixelblaze you can create a sequence of patterns.
In this case you will need a single HE command to start sequencer.
Possibilities are endless.