That would work. Hell of a lot easier than my setup, but if you live in a cold climate batteries would die fast in the Winter. That was my reason for not doing this in Toronto. A lot of people have those basic wireless doorbell buttons you get at Home Depot and they almost never work in the Winter because the batteries are dead.
I have a 1926 home, so I wanted something with a little style. I ordered this doorbell button. The house didn't have a doorbell before, but I already had wiring (Cat 5e) that I had run from my basement to outside the front door for power to my Wyze cam and two more of the wires were used for a Xiaomi motion sensor because of the batteries in the cold issue.
So further down in the cat 5e cable I had prepared for this by adding a piece of shrink tubing, but didn't shrink it. Once I was ready with all the parts, I spliced into two more of the wires at the height of the doorbell button. I use these with a heat gun for attaching wires in place. It's easy, fast, a good connection, and waterproof. Once I had the connections, I slid that piece of shrink tubing in place around the connections and hit it with the heat gun to make the whole thing cleaner looking and further weather proofed (although my setup has the wire also affixed behind permanent storm windows at my front door, so they're not directly exposed to the elements, but would be fine if it was.
I soldered two small wires to the reed switch inside the Xiaomi contact sensor. You can do this with just about any contact sensor. Some already have screw terminals inside, so there's not a need for soldering with those type. Here's a few threads on doing that.
I prefer thinner wires so the device can remain inside the original casing so I use this wire for the job. This is identical to the spool I have had since I was a kid. The stuff lasts a long time. This is the easiest to work with because the dispenser has a cutter and stripper built-in for the very fine wire.
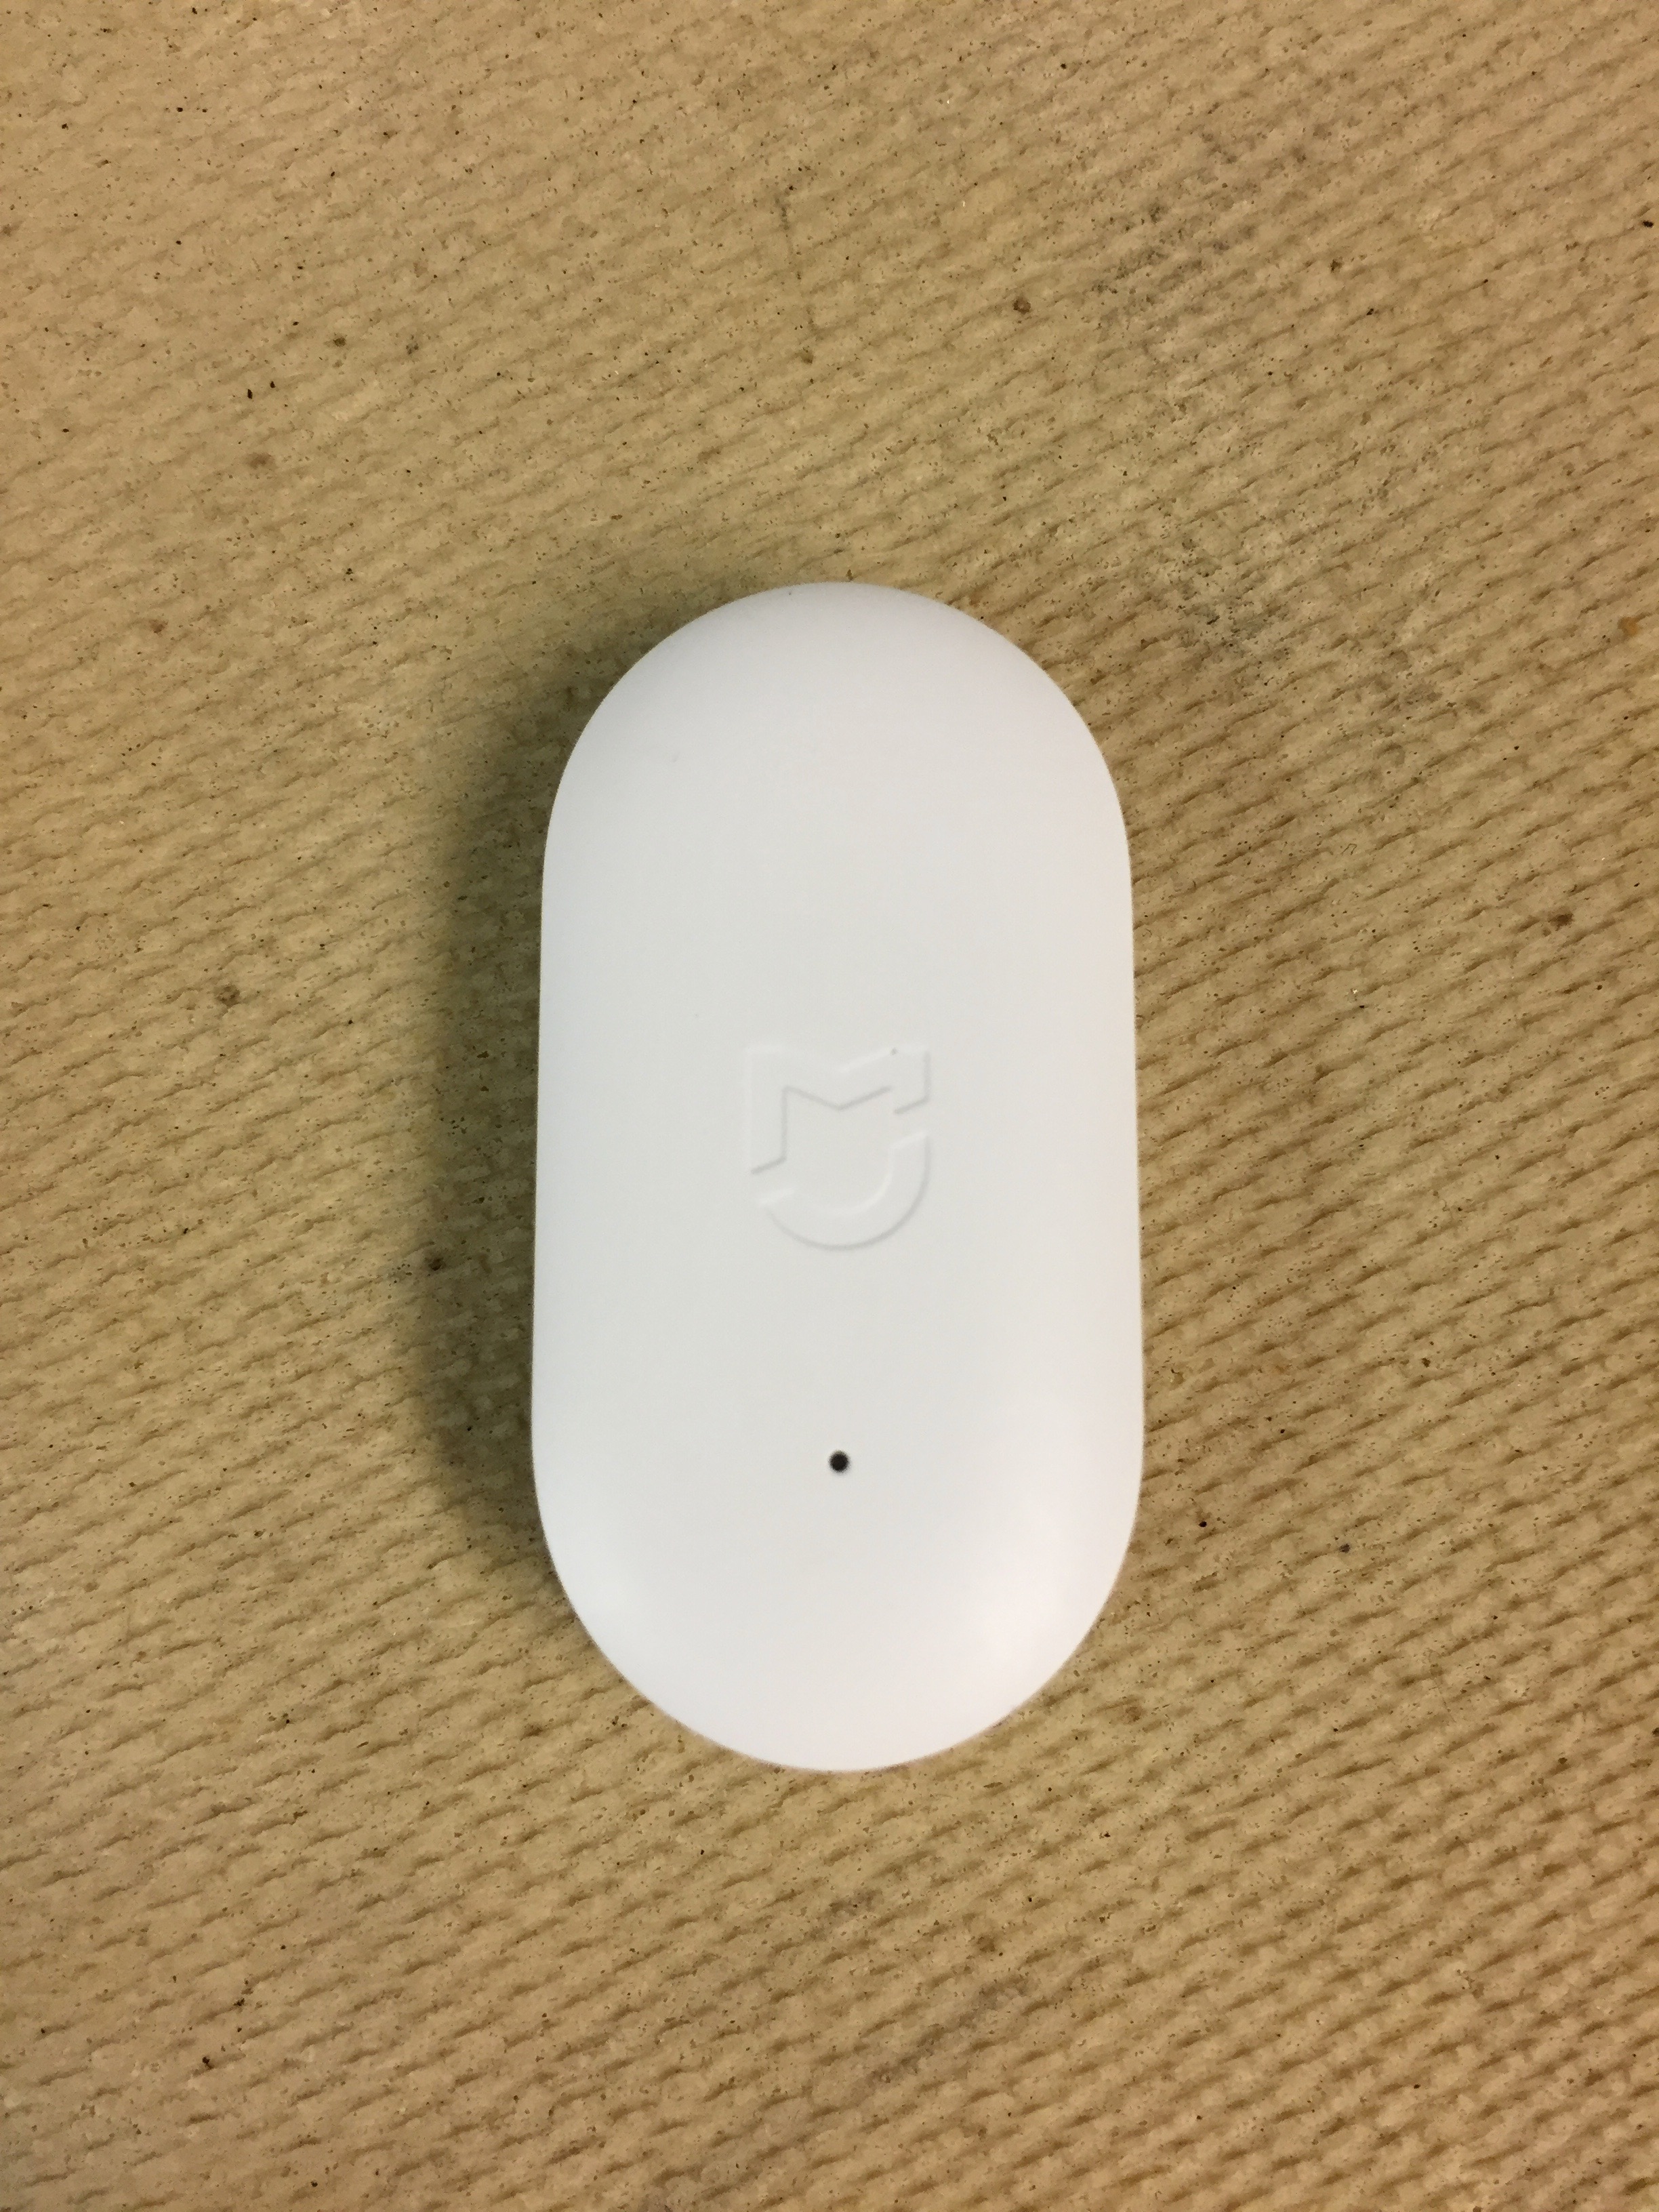
If you choose to use the Xiaomi sensors, the Mijia are the easiest to work with, but for this particular project I used the Aqara version. Here's how to open them. You'll see immediately why the Mijia is a lot less work.
Mijia:
- Take the back off and mark the inside of the case just above where the circuit board sits.
- Pull the board out and remove the battery.
- Drill a small hole in the side of the case.
- Solder the wires to the reed switch and feed them back through the hole from the inside.
- Replace the battery and reinstall the circuit board in the case.
Aqara:
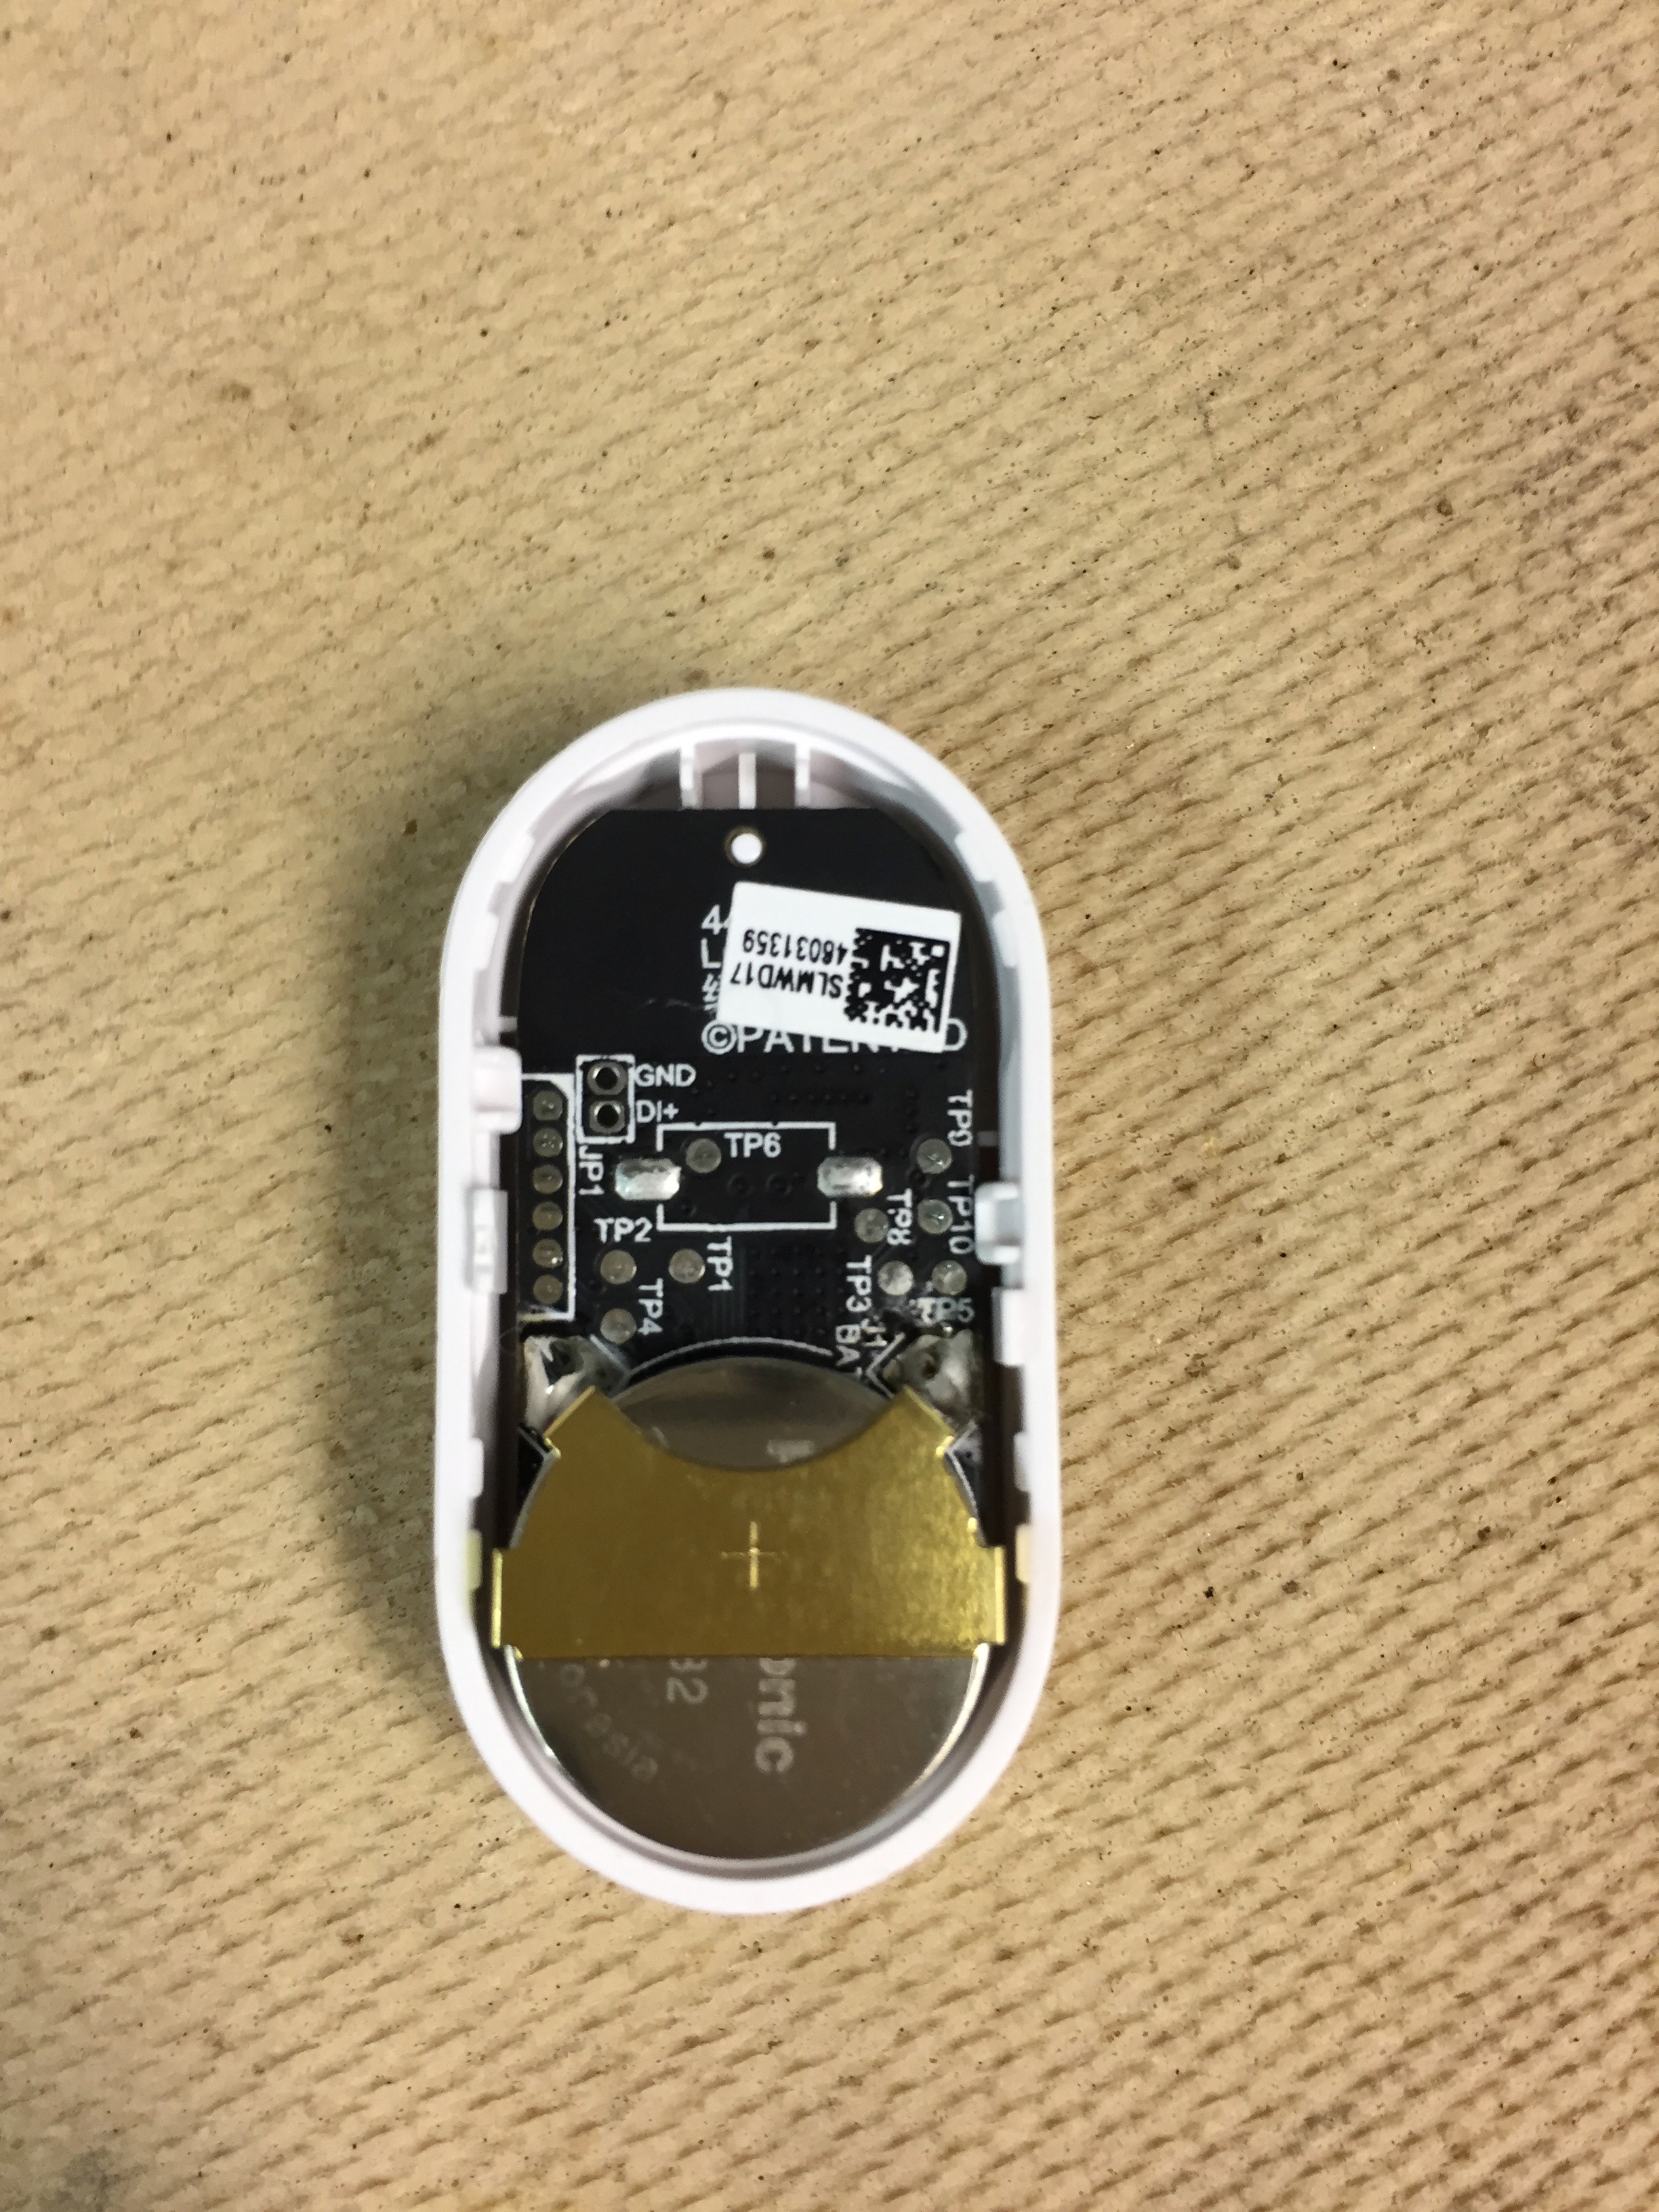
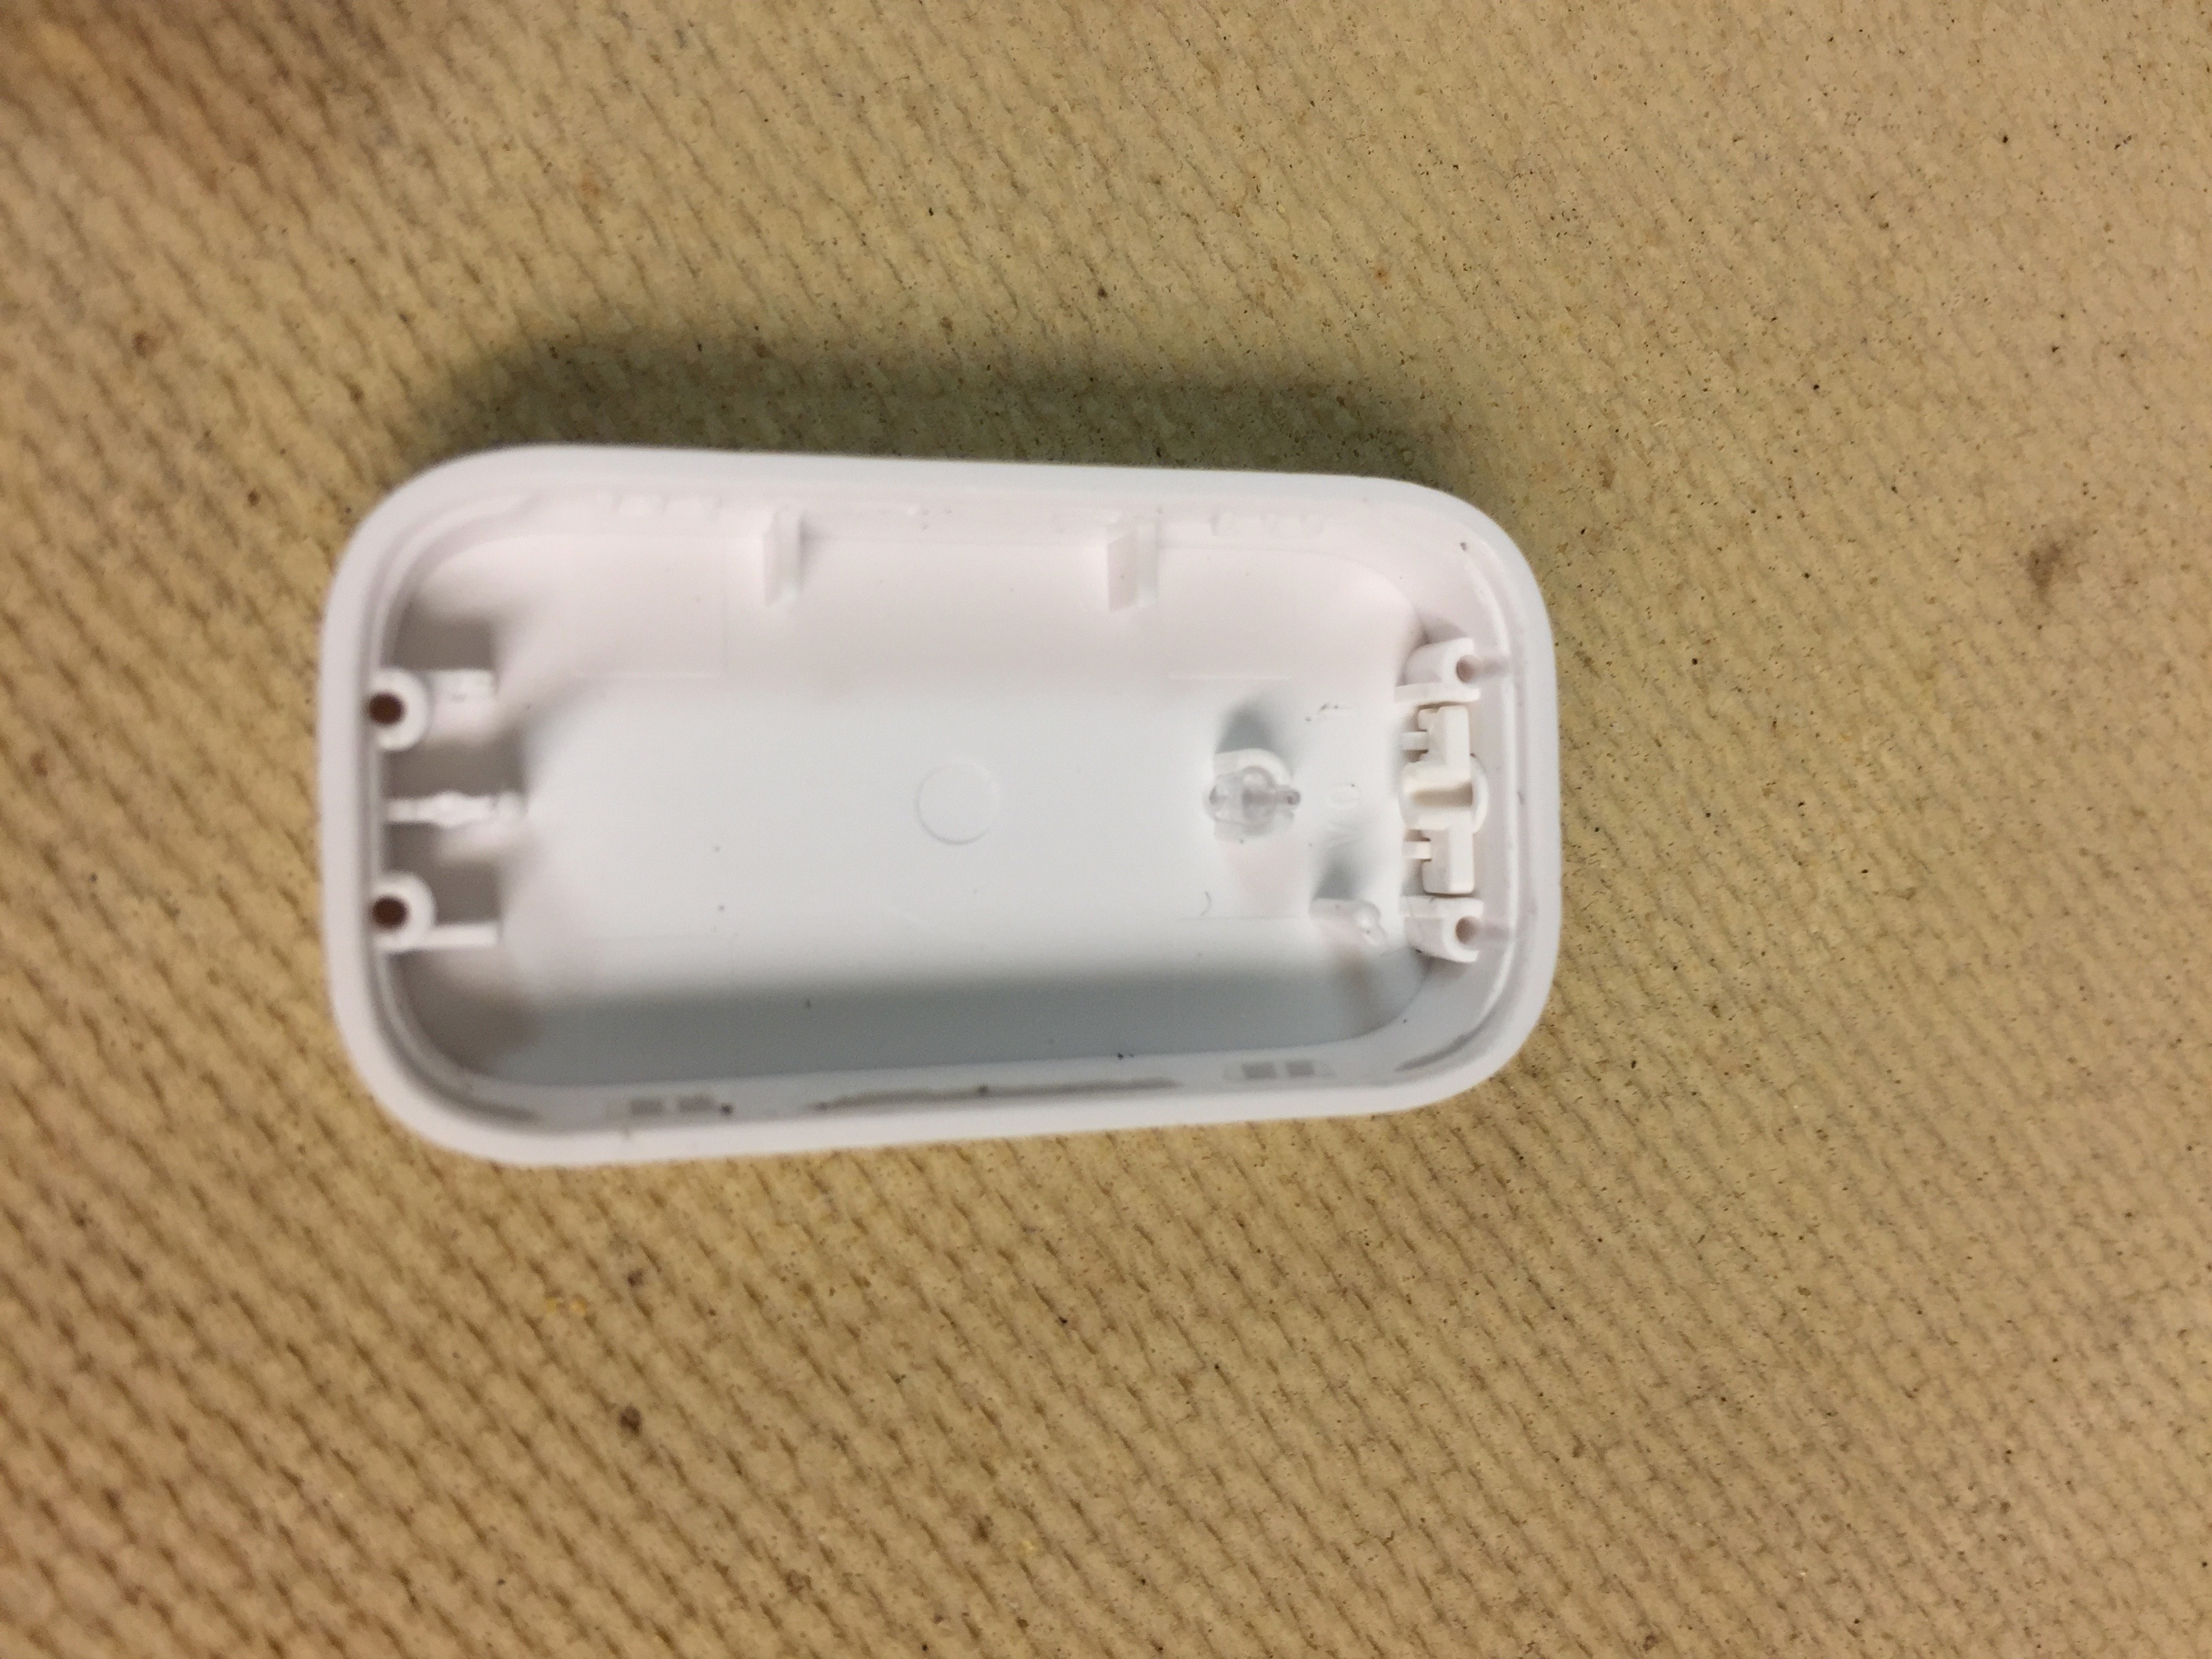
- Take the back off and remove the battery and using a spudger, pry out the inside back that holds the circuit board in. If I remember correctly, you have to pry carefully from the OPPOSITE of the battery side first.
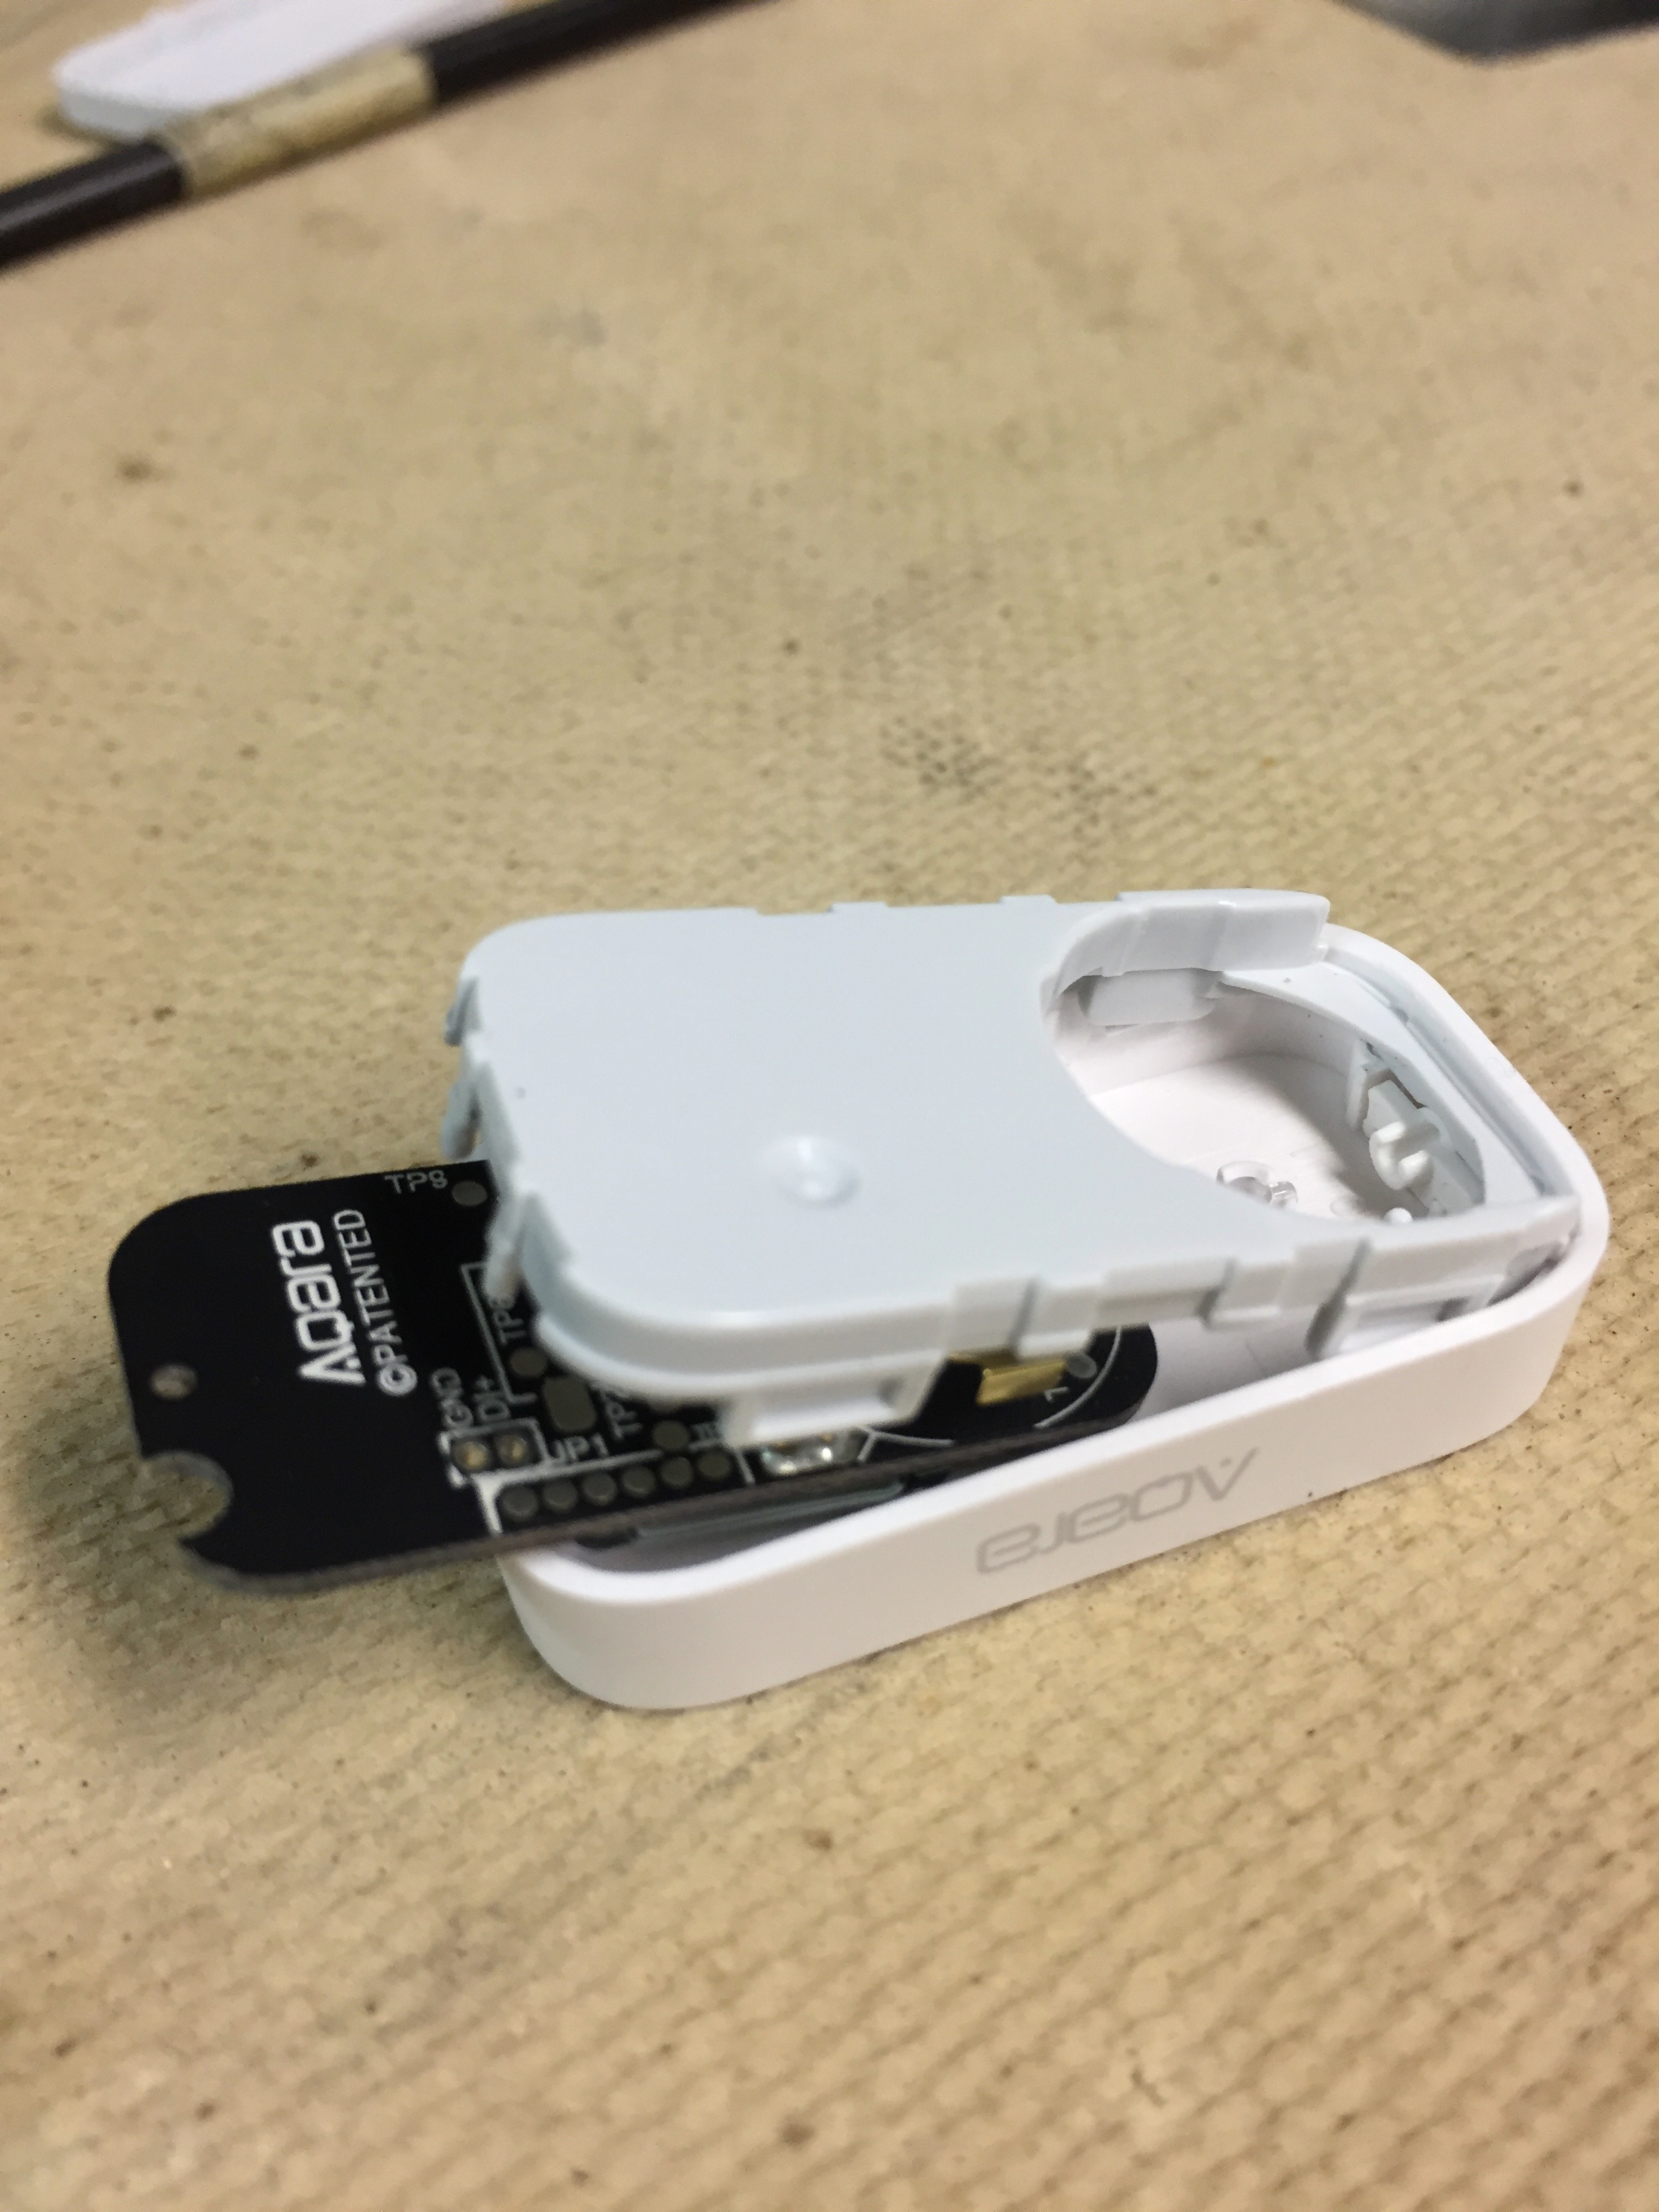
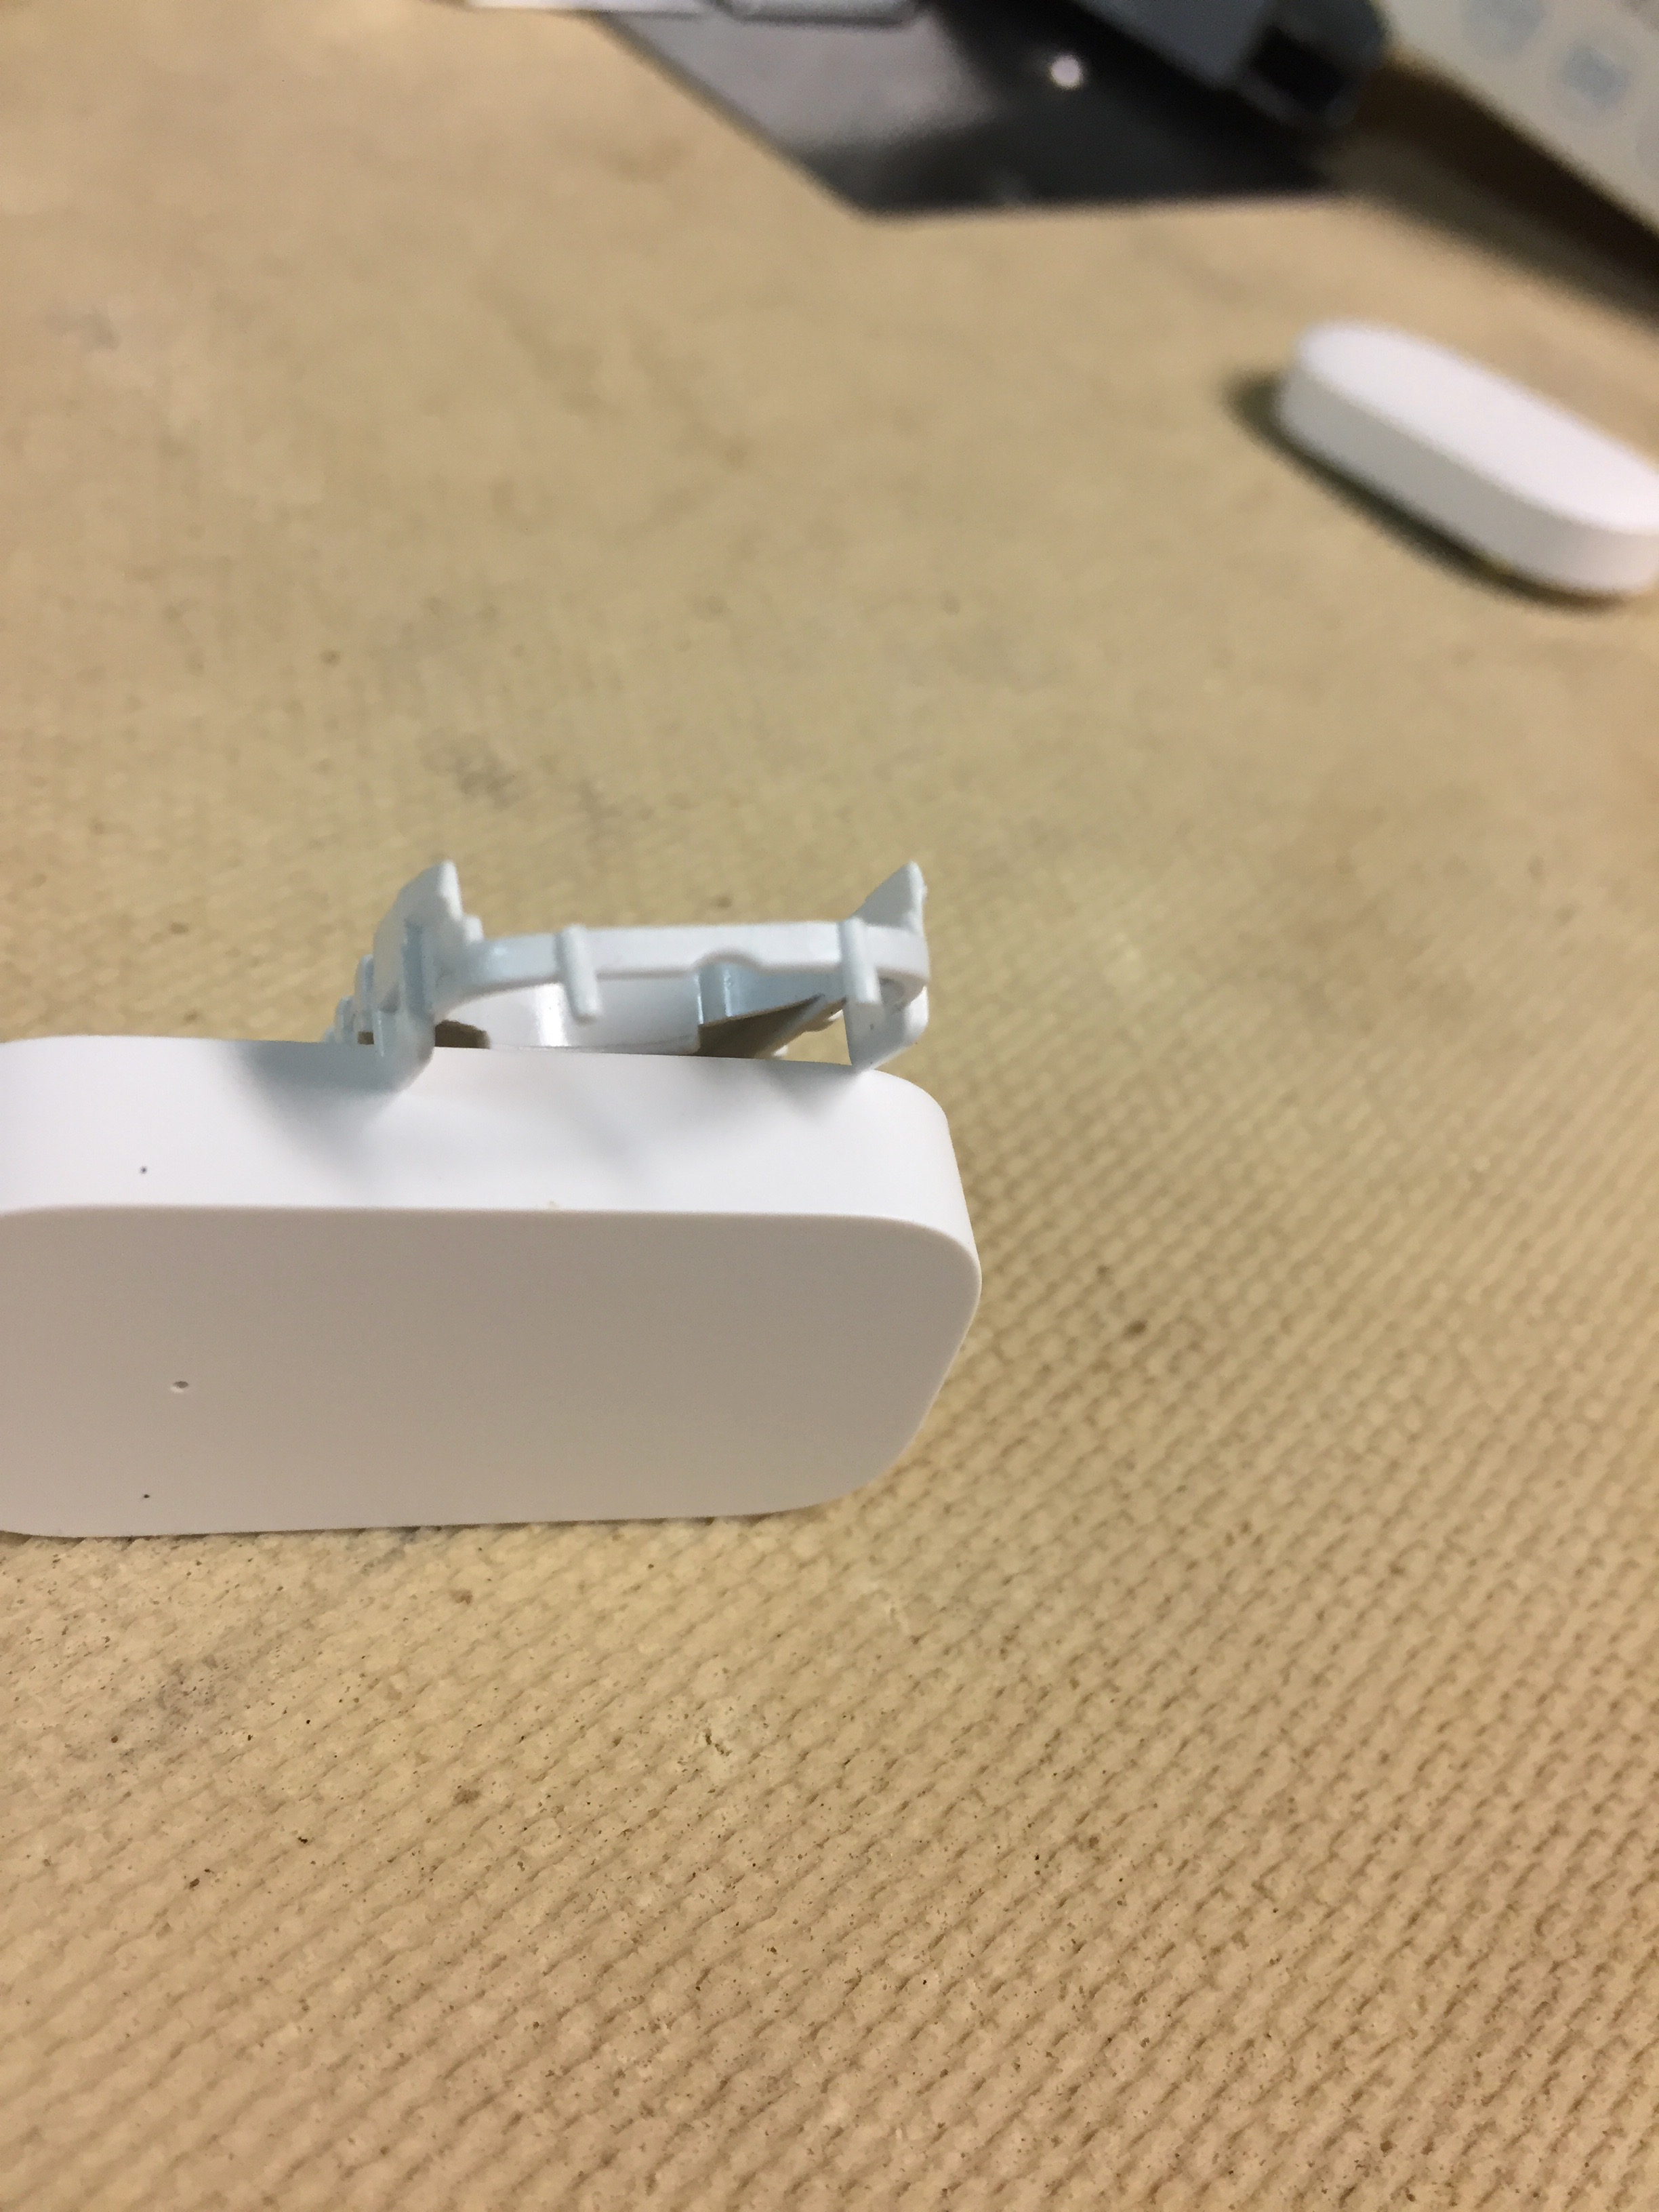
Warning: As I am showing in the photos, there are small plastic alignment pins that can be broken if you pry up at too much of an angle - Once you have the inside back removed, slide out the circuit board and continue removing the back. It is possible to not completely remove the back, but instead tilt up as shown in the photo and slide out the circuit board. This makes drilling a hole in the side tricky though. If you are converting it for mains power, this will be simple. You can just feed them out where the battery would sit and drill a hole in the back cover. More on battery conversion further down in the post.
- If you do choose to remove the inside back, ensure you remove, and then safely set aside the reset/pairing button,
Warning: While the Mijia just has a pin hole for inserting a paper clip in order to reset and pair, the Aqara door/window sensors have a small button that can be easily lost when disassembling it. - Drill a small hole in the side just below the inside back piece, ensuring you will not interfere with the circuit board when reinstalled. This is where thin wires come in really handy.
- Solder the wires to the board, feed them back through the hole.
- Make sure you have the reset/pairing button reinstalled in the case before reinserting the circuit board.
- Reassemble the case.
- Buy a Mijia door/window sensor because it's 1000 times easier to work with for this type of modification!


For power, you can simply continue to power them off their original batteries. This is what I have done just to make it easier for now. I may convert it at a later date. I have converted my Xiaomi motion sensor that is mounted under my covered porch as I mentioned before. This is because the more expensive batteries it uses would be useless after just a day or two of -15 ˚C temperatures in Winter. I use these for the conversion. They are available in 3.3v and 3v versions. Even though the original batteries are 3v, I chose 3.3v because of the voltage drop from the 20 odd feet of Cat 5e cable. Even if no voltage drop from a cable, the extra 0.3 volts will not damage the sensor. They took over a month to get here, but it was just $1.45 for five of them. They come together in a strip, and you just snap off one when you need it.
Doorbell:
The doorbell I'm using is not either of the fugly ones you and Nic linked to. It's actually the Aqara Hub HomeKit edition. More about this device here.
If you're an android user, you can upload any MP3 to it. I'm not and just use the built-in doorbell sound. Working on getting a free android phone so I can change the sound at some point in the future if I want.
I paired the contact sensor directly to the Aqara hub and configured it in their Aqara Home app, so when someone pushes the outside button, the contact sensor closes and I get a doorbell sound. Since the hub is HomeKit and I also have @dan.t's fantastic MakerAPI version of HomeKit setup with HE, I can use HomeKit automations to link the closing of the contact to a virtual switch in HE, so when the button is pushed, the doorbell sound rings from the Aqara Hub (which is pretty loud too), and the HomeKit automation closes the virtual switch in HE. So I also have both my Echos saying "Someone is at the door".
All this is local because HomeKit is local. Dan's HomeKit MakerAPI is very fast, so Aqara sensors and buttons closing on the Aqara hub have the exact same response time as they would if directly paired to HE. Since this all works so well and because I use Mijia door/window sensors anyway, I have them paired directly to the Aqara Hub. This allows me to use the Aqara hub as a supplemental alarm siren, but HomeKit automations still allow me to use the aforementioned method to trigger and limit things off the state of the door/window sensors in HE by simply using the state of virtual switches in my RM automations instead of a contact sensor. The HomeKit control also allows simultaneous arming and disarming of the Aqara Hub alarm with my regular alarm system.

