Buttons on device pages represent device commands. These could be "stock" commands, meaning ones that are assumed to be in your driver based on which capabilities you implement. For example, if you implement capability "colorTemperature", the setColorTemperature() command is required as part of that, and the device page will display a button representing this command at the top.
In general, I think it's preferable to use "standard" (capability) commands when you can. This increases compatibility with apps, since most apps are written to accommodate the capability model. However, no standard command accepts RGB values. Thus, you may need to use a custom command. In your definition() (same place you'd put which capabilies you imeplement, etc.), you can do something like:
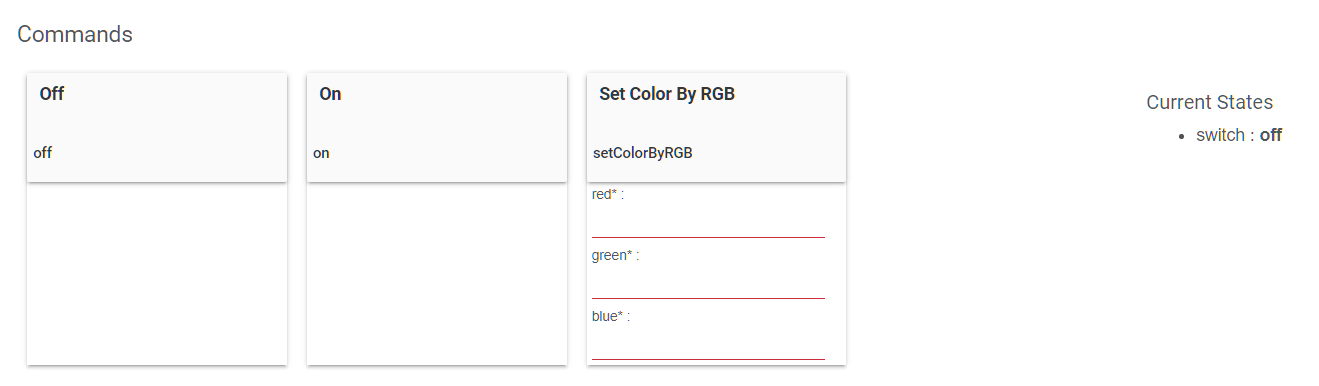
command "setColorByRGB", [[name:"red*",type:"NUMBER", description:"R value for RGB color"], [name:"green*", type:"NUMBER", description:"G value for RGB color"], [name:"blue*",type:"NUMBER", description:"B value for RGB color"]]
Elsewhere in your driver, you will then need a setColorByRGB() method that takes three parameters and does whatever you want this command to do. Your driver must have a Groovy method matching the command name, as that is what will be executed when the command is run.
This assumes you want RGB as all one command; if not, you could make three commands like setRed(), setGreen(), etc., or you could keep it as a single command but make each parameter optional (remove the asterisk, and make sure you have a method signature that matches any possibility, perhaps also using optional/default parameters).
For your "on" and "off" commands, those come as part of capability "Switch", so you should not need to do anything special for those (to make the commands/buttons appear on the device page), assuming you specify this capability. You will, again, just need on() and off() methods, which will be run when these commands are called.