I am about to order two Sylvania starter kits for a lighting project. I would really appreciate some assistance on the connectors for the light strips.
I need to cut the strips in 1 foot sections for each shelf. Each 1 foot strip will go into the top front of the cabinet. I am wondering how to connect each strip to the controller?
Does anyone have a recommendation for a connector type that has a long enough wire to go to each strip on the five shelves of the display case?
The link above provides an image of the case with dimensions.
This is my first time working with LED light strips.
As far as I know, there is not a way to cut and splice the Sylvania strips. Unlike others, these do not have the five wires running parallel throughout.
Dang. Well, I am open to other options. I am trying do a U shape with two corner connectors so the light is in the front and two sides on each shelf. I prefer Zigbee, but I can work with Z-wave if I have to. I am looking for plug and play. No soldering.
If you happen to come up with a solution, I'd be interested as I have a multi shelf china cabinet I'd like to do. I did my kitchen under cabinet lighting with the sylvanias, A 20' run with a stove vent hood and a protruding corner ended up using the full length starter kit, an extension kit, and a flex connector kit. I won't be doing that again!
I just did this for the toe kicks of my kitchen cabinets. Wasn’t looking for color, just warm white. Was relatively simple, turned out nice and didn’t cost much.
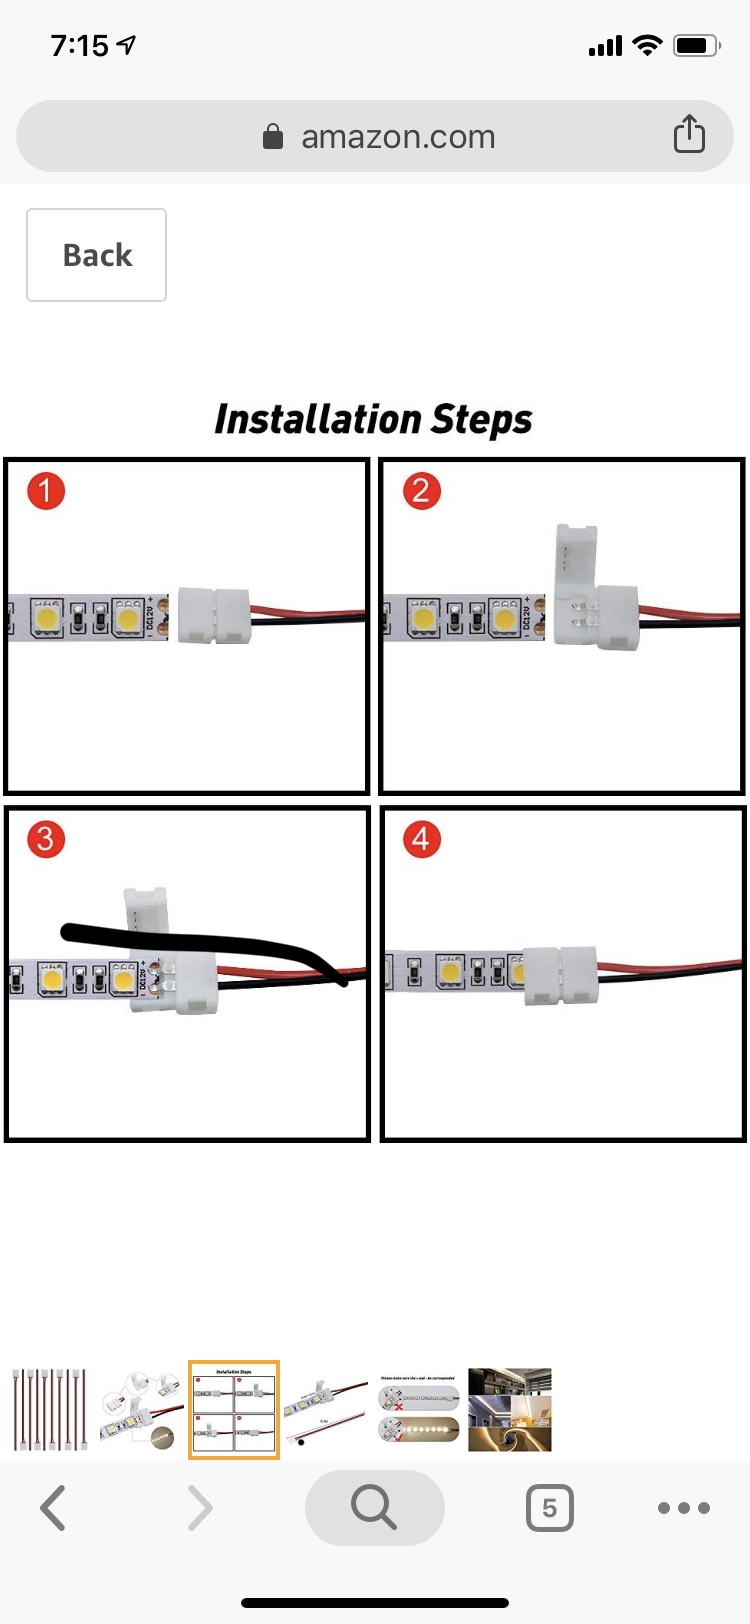
Here’s what you need to do...
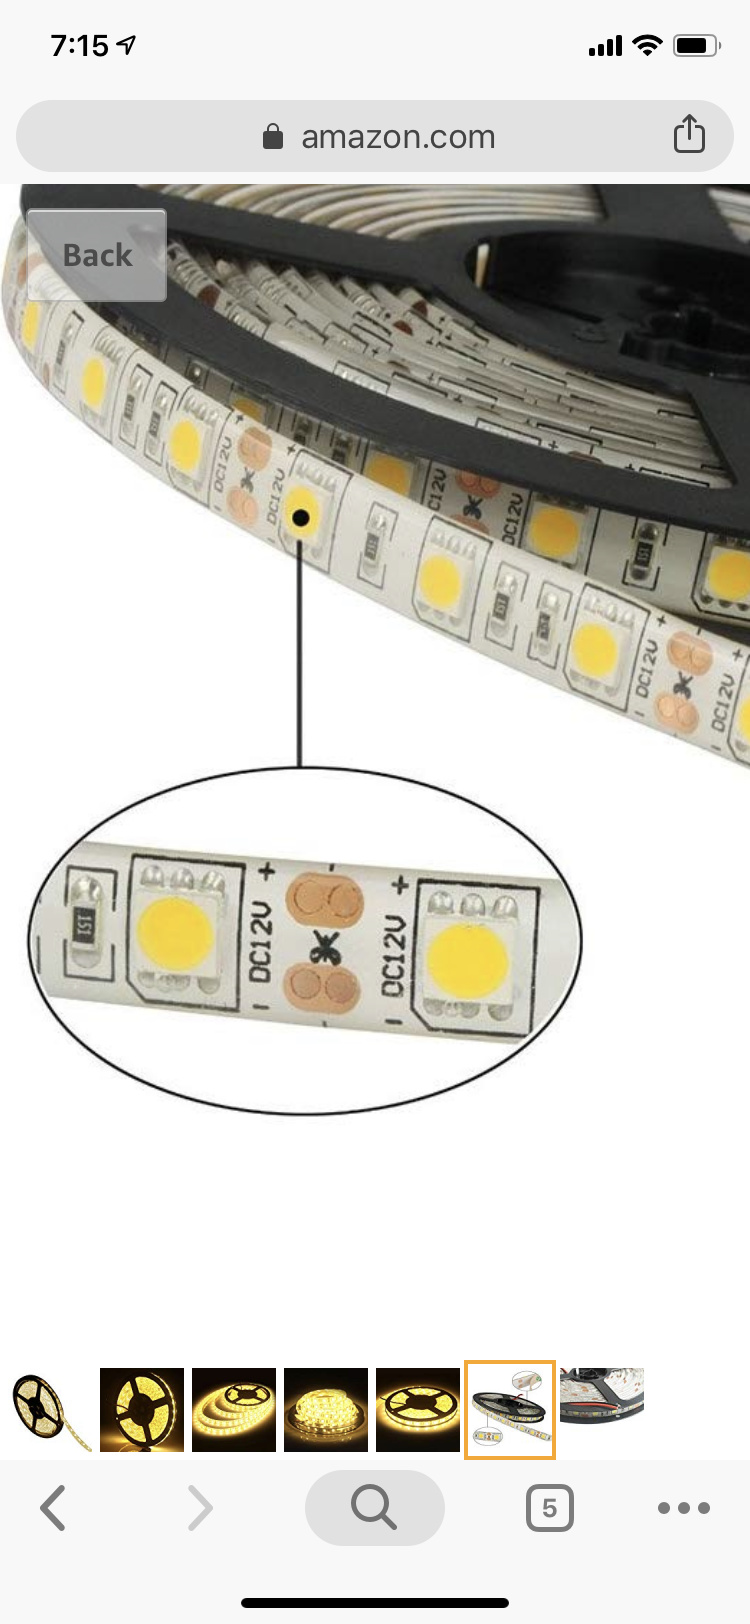
You cut the strip to the length you need where indicated. That gives you two contact pads on each side, so the other piece has it later when you cut the next length.
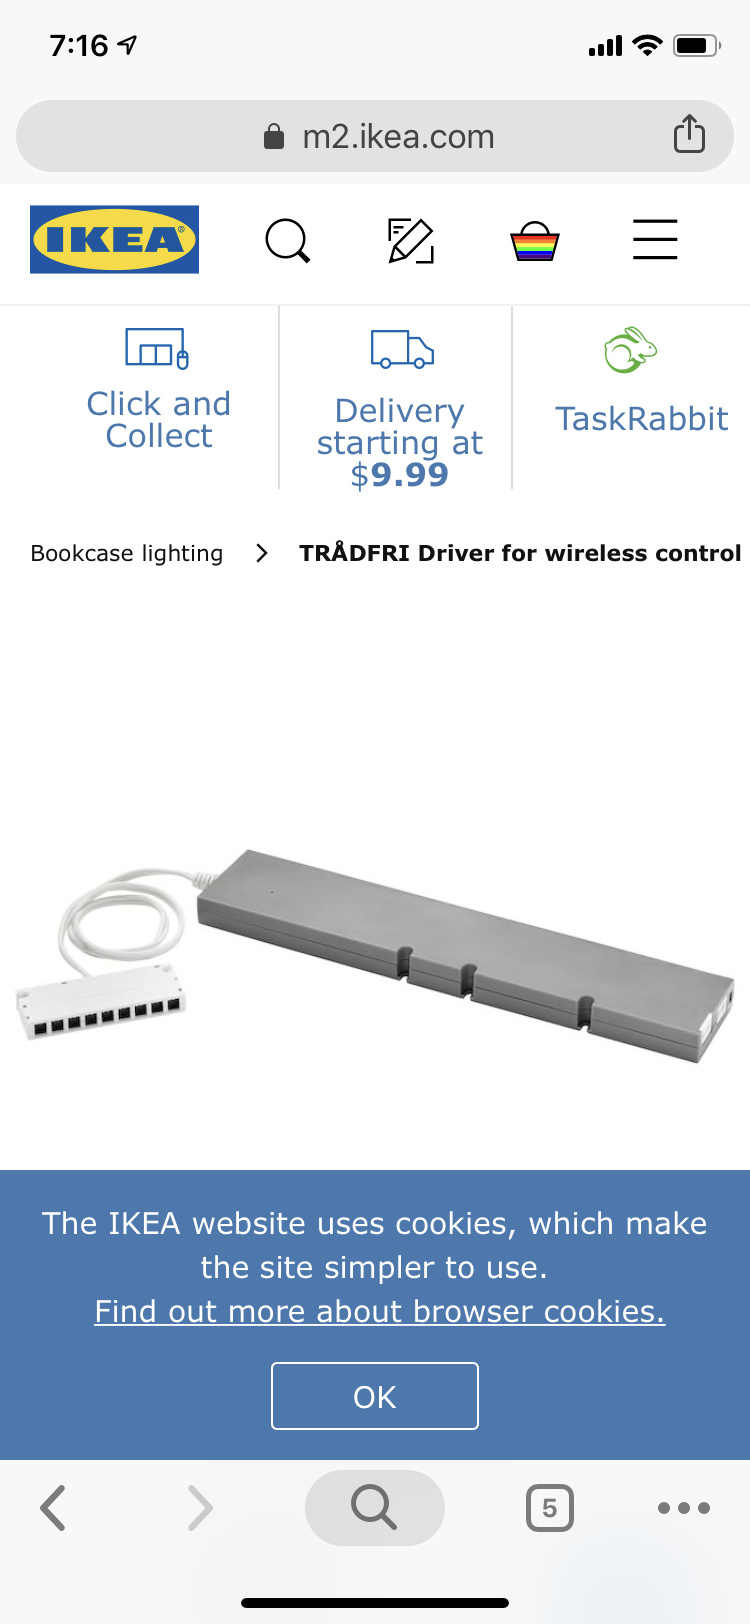
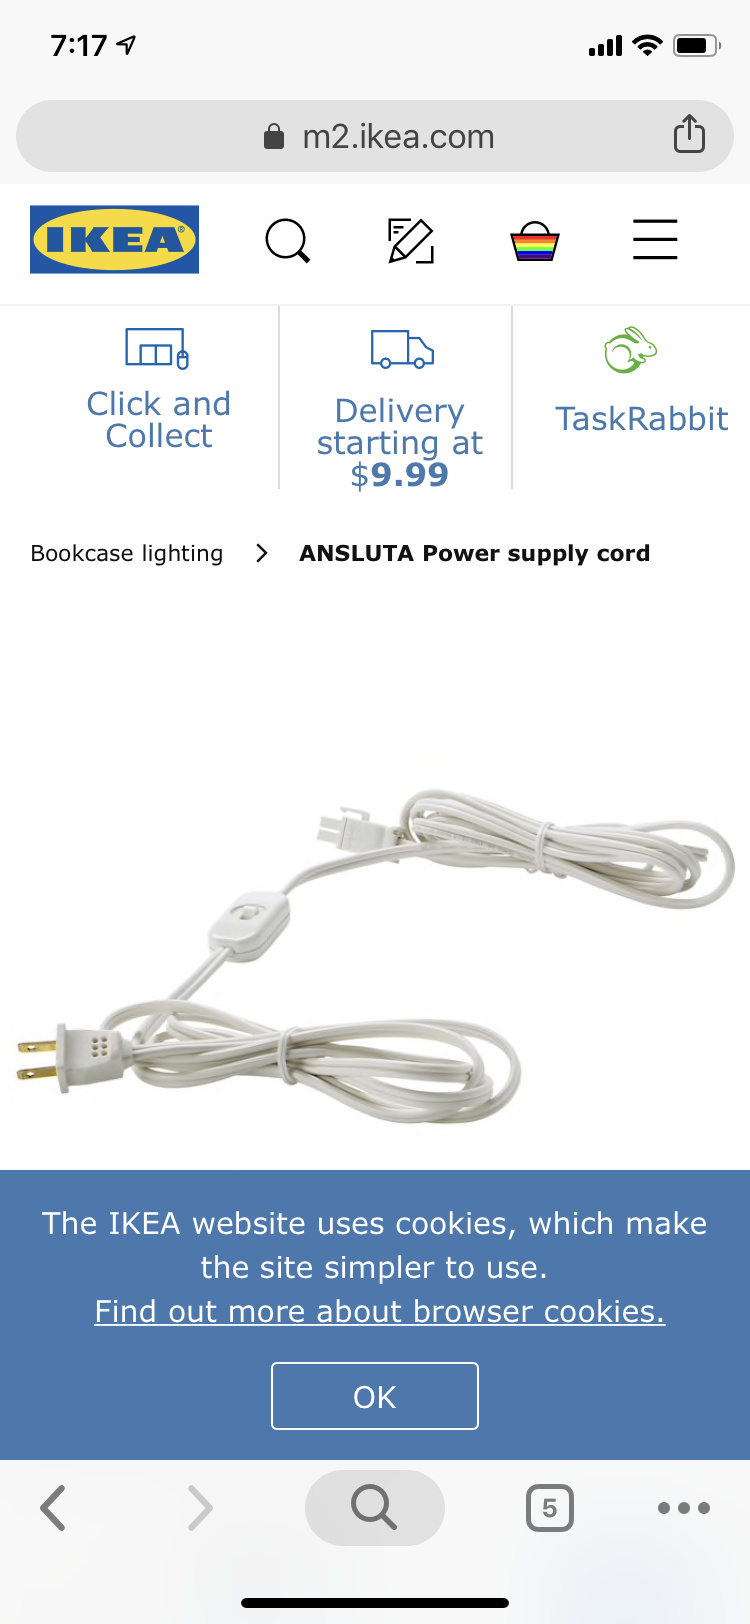
Then you clip on the connection, and then connect that to the white thing hanging off the TRÅDFRI LED driver (not to be confused with a software driver). You get one of the IKEA cords for their LED drivers and you plug it into the other end to supply AC power.
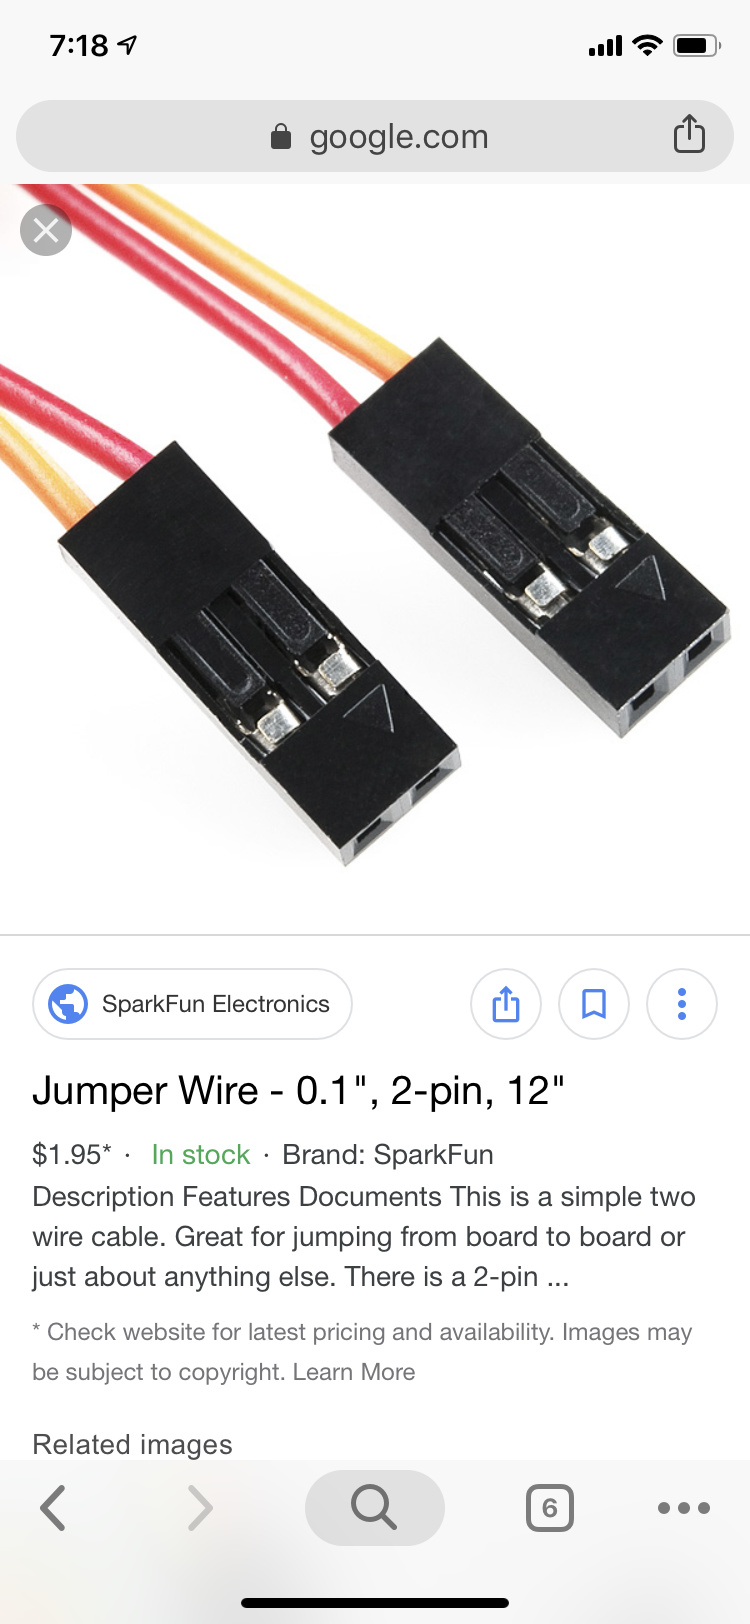
I have a 2pin connector that will fit in the white plug, but the one pictured here or similar should also fit. The official IKEA LED plug for the DC voltage side is only available on their LED strips and pucks they sell. They clip in very easily and have a little release tab to keep them held in. The 2 pin plug (made by AMP) I have is slightly wider, so you get a really tight friction fit. Therefore there’s really no need for a clip. It’s not going anywhere. Old PCs often have 2pin plugs similar to that one in them. So there’s potential to find those for free. You might have to cut or sand off extra bits on a plug from a PC, but it would work.
However, all they have done is take the two white wires (24v DC output) and attached them to a wide connector that has 9 connectors in it. You could also just cut that off and wire the strip(s) directly to that white wire. Use a voltage meter to determine + and -, or just try it on the strip. It’s only going to light up if connected the right way. If the polarity is wrong, nothing will happen.
I liked the result so much, I came up with a way to make my my own diffusers and added more of them under my cabinets too, replacing the old fluorescent that was in use. I will say that those connectors are a pain to use. I’ve ended up using them, but soldering their contacts to the strips for better reliability.
They actually sell great kits on amazon that will give you multiple connectors for whatever number of wires your strip has (2, 4, 5, or 6). Here's one of the two connector variety.
Now, the ends should definitely be soldered, but if you are placing corners that will be anchored on both sides, the 90 degree connectors are REALLY handy. They make your corners look a lot more professional and neat.
I like the angled connectors as they would be perfect for my display shelves. I don't solder and do not have an iron, etc. Looking for more of a plug and play solution.
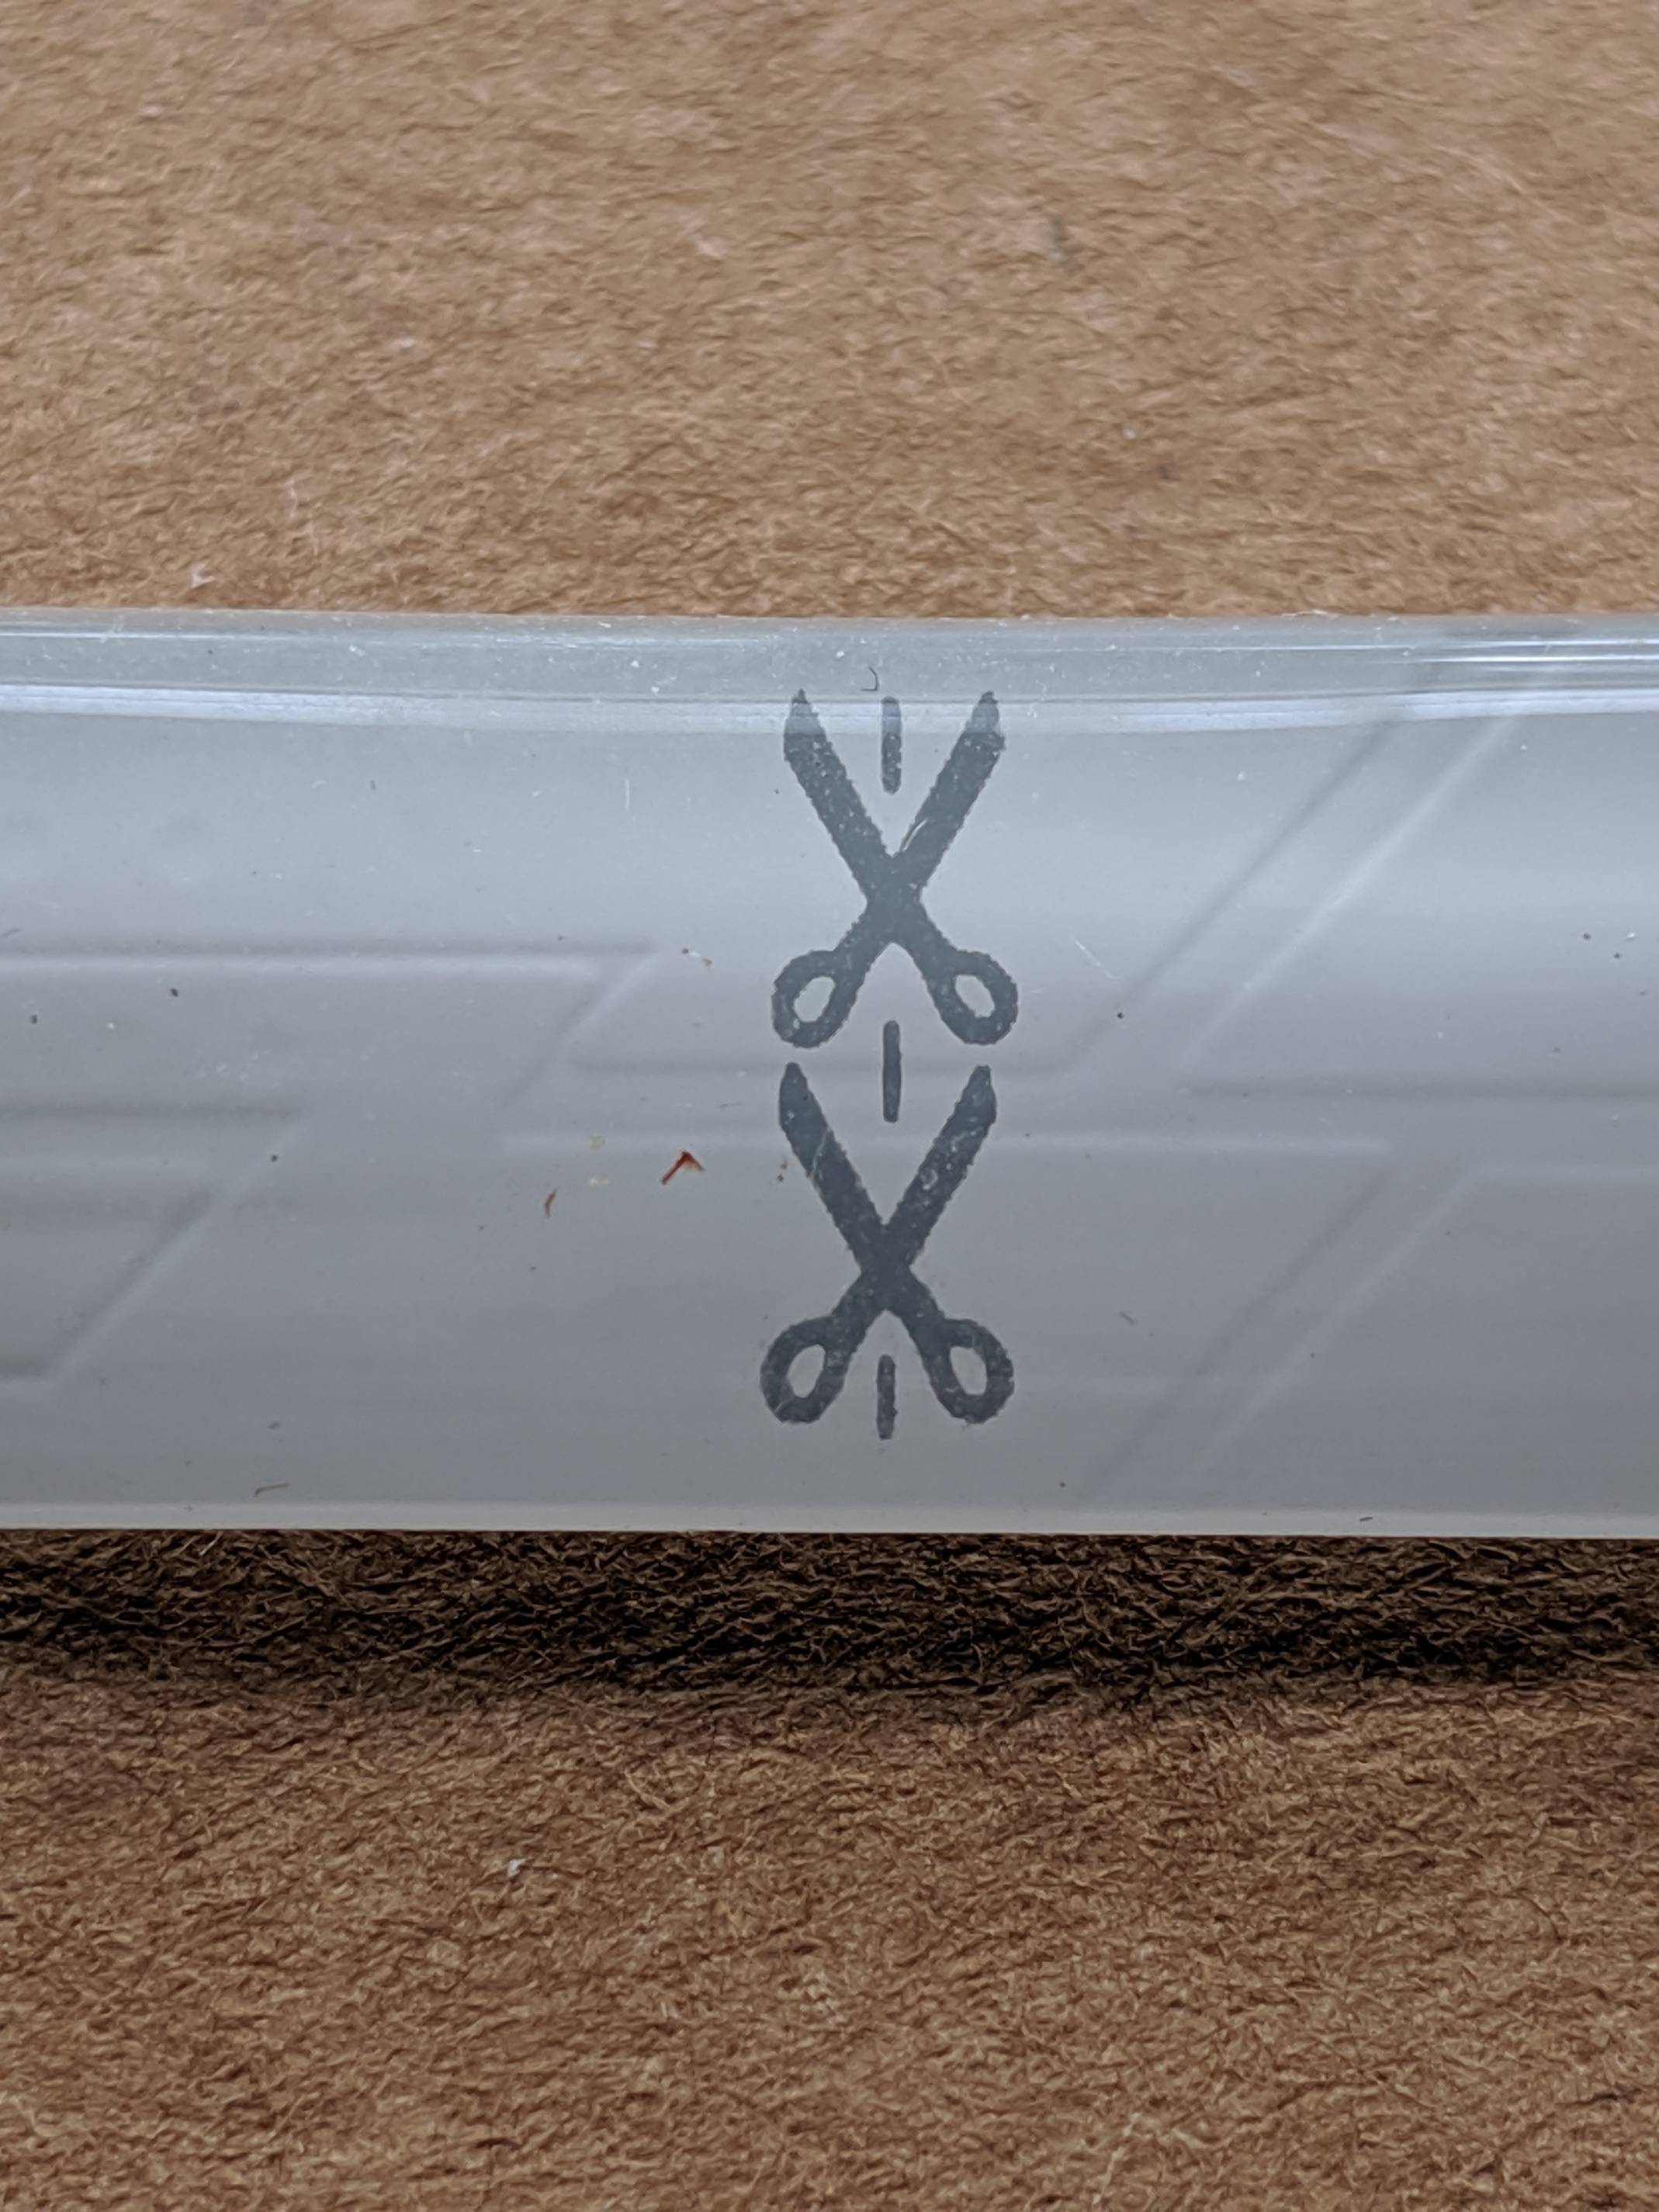
I purchased these and yes, you can cut them, but that terminates the strip. As far as I can tell, there are no solder points. It is all buried in some kind of water proofing sealant blocking access to the strip.
I purchased the Sylvania strips and zigbee controller starter kit, a couple of extensions, and a connector kit. It was a Prime Day special. Personally, I think this is a pricey solution and very frustrating to use. Here is what I learned.
You can cut the strip, but that terminates the strip. You cannot add on to that end as far as I can tell due to the sealant blocking access to the strip. There does not seem to be any solder points where you cut. I was trying to put these behind a curved monitor. Cut to fit, then realized the connectors of the two sections could not be used on the angle connector because there are no conversion plugs. The strips are mismatched with the number of pin / receptacle connections on the angle connector.
The connector kit has a nice mixture of connector cables, but the angle connectors and Smart + to Mosaic connectors are way to few. You get two of each.
There is enough strips for multiple small projects, but only one Zigbee controller. I cannot find where to order additional controllers by themselves.
Adhesive back is not very strong. Strips on monitor started peeling off the back almost immediately.
I have not tried connecting the mosaic strips in yet.
Once I found the right driver, they work fine. I tried using the color map, but ended up putting the values directly into HE on driver page. I could not get red with the color map. I kept showing purple or pink.
All in all, I am not very happy with this solution.