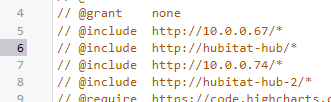
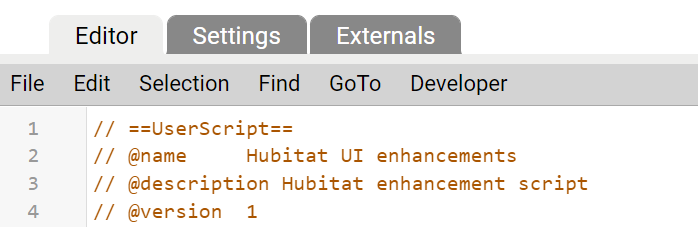
I created GreaseMonkey script to create Hubitat UI a bit better. Script is here: https://raw.githubusercontent.com/surfingbytes/hubitat/master/hubitat-ui-enhancements.js . In GreaseMonkey, just create new script, copy/paste it and update ip address on line 5 to match your hub. I tested it in Firefox, but it should work in Chrome and TamperMonkey too, maybe with some slight changes.
Here is what it does:
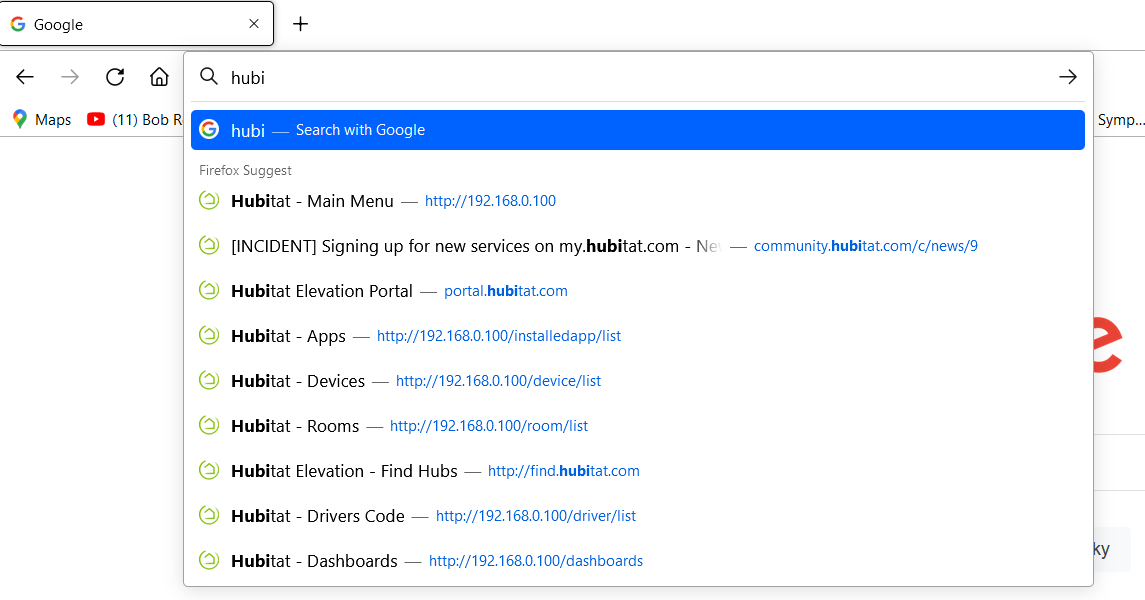
1. Added "Hubitat - " to all page titles
When you write "hubitat" in your browser, it can suggest the url for you and you don't have to access it by ip address:
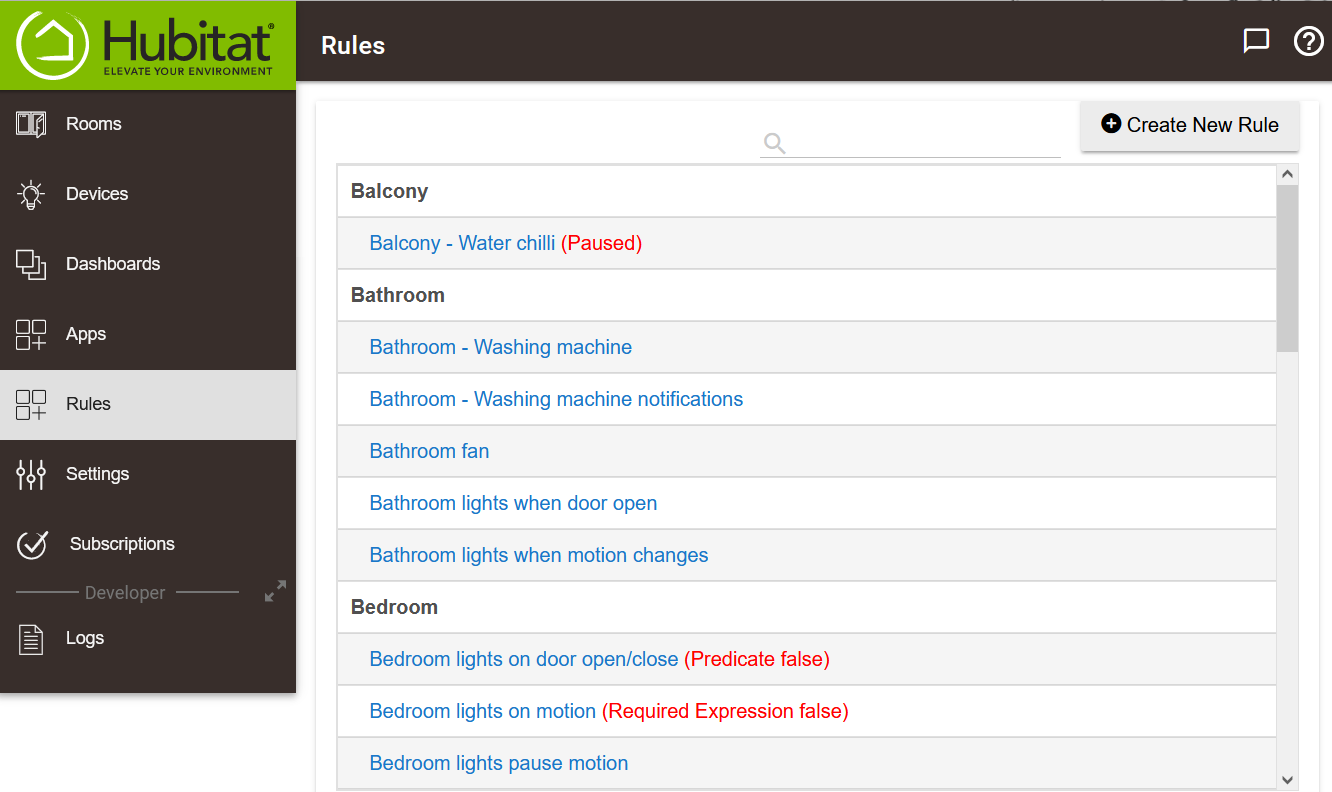
2. Added "Rules" menu
Rules from rule machine are now easily accessible, you can search in them by name (in app lists it doesn't work quite well), and most importantly, rules are grouped by rooms. Because Hubitat doesn't allow to assign rule to room, it takes it from rule name. If there is dash in rule name, it takes everything before dash, otherwise first word as room name.
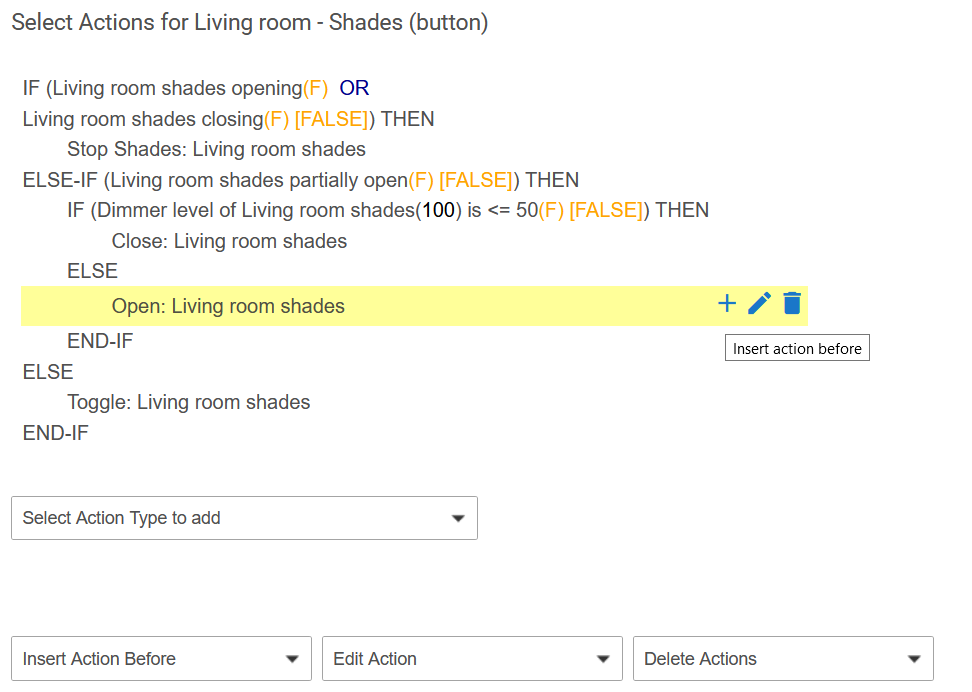
3. Rule edit
I'm personally not a big fan of those dropboxes to select what action you want to edit/remove, or where you want to insert new one. So I added these buttons which appear on action hover. What I'd like to do later is to also add buttons for reorder - move action up or down. And maybe also to bring the controls to insert/edit action directly to the row where action is being inserted too, not sure how would that work out.
If these controls doesn't show up for you, try F5, sometimes it doesn't catch the right moment when actions are rendered, still have to figure this one out.
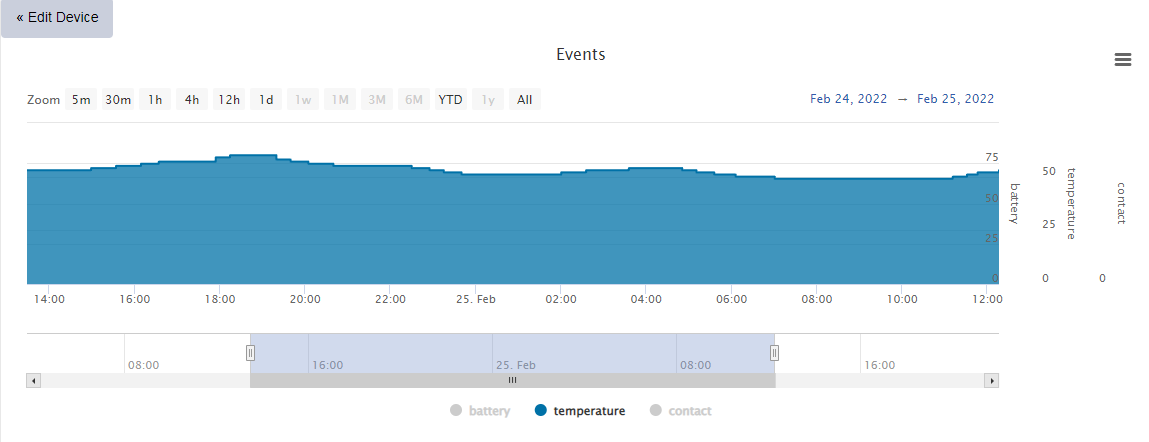
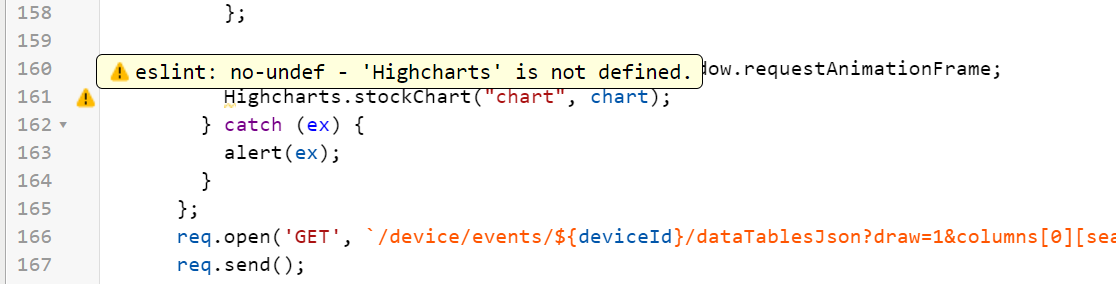
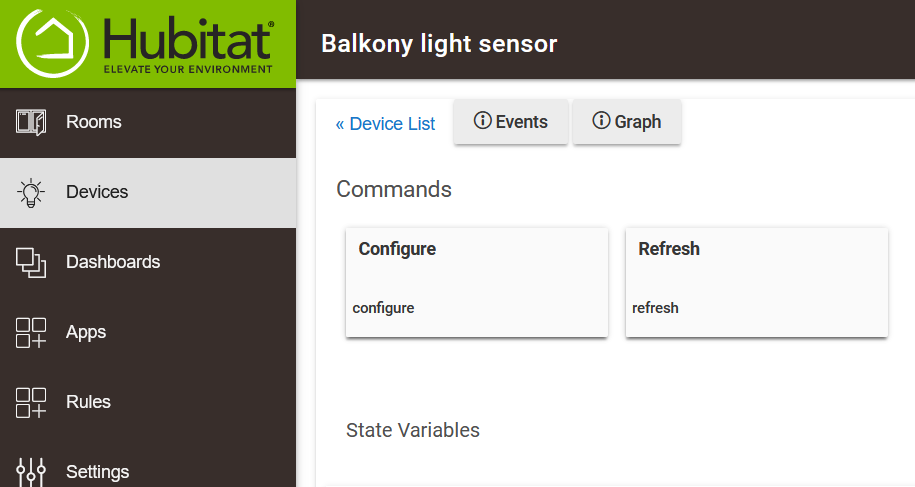
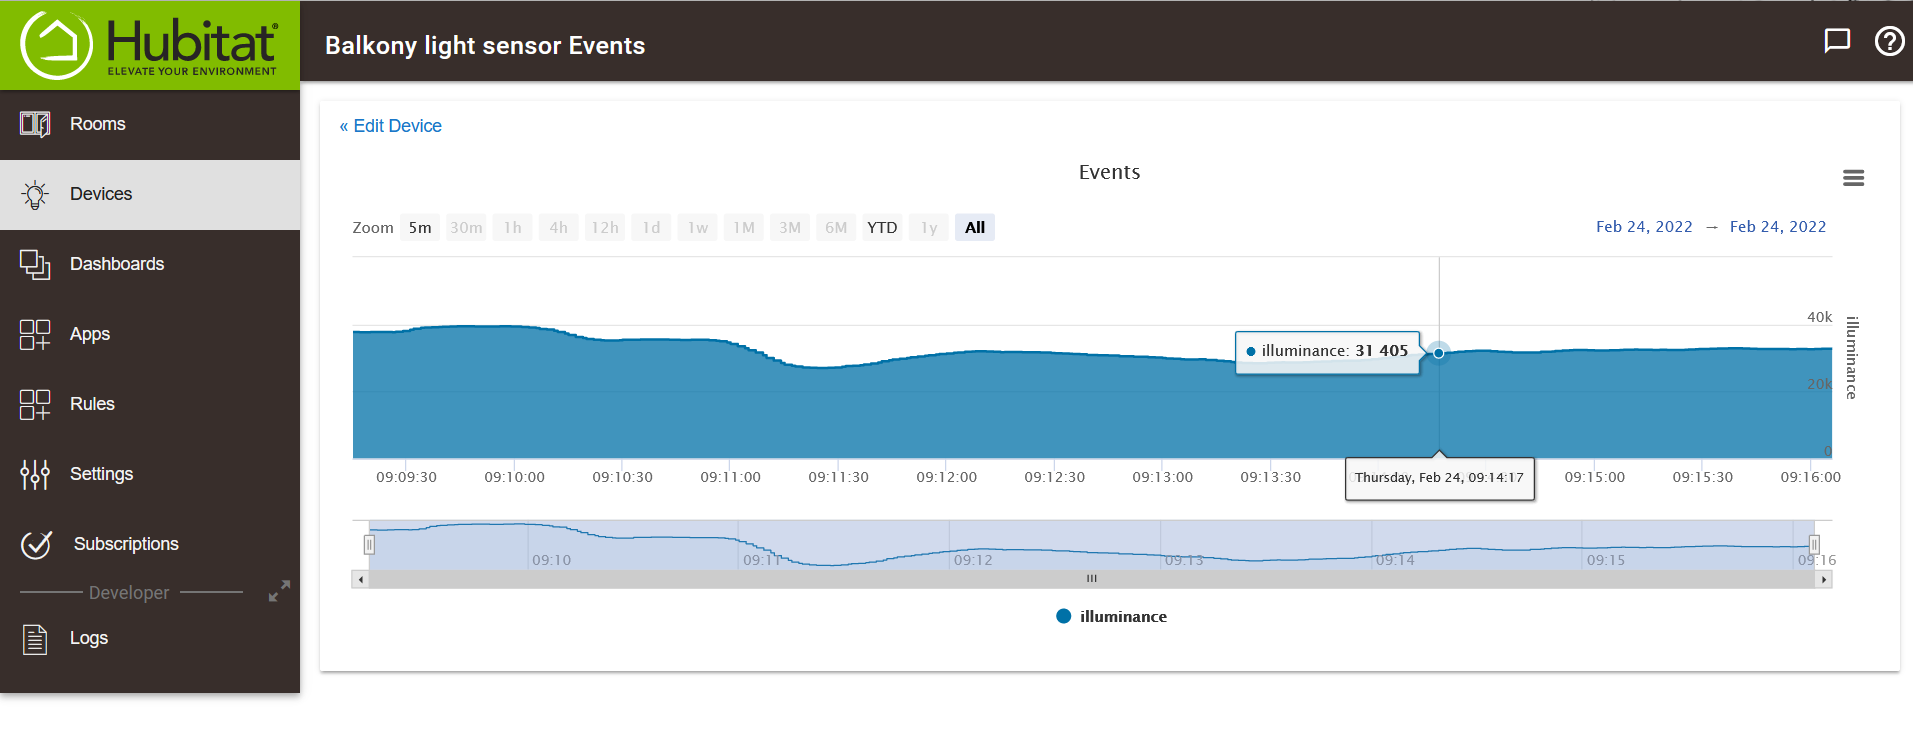
4. Graph
On device page, there is new "graph" button (would be much better to have edit/events/graph as tabs, but I kept it the way how hubitat has it). That button leads to page which shows graph of last 200 events for that device.
On original Events page, I moved the search box a bit higher so the event grid is fully visible on page without scrolling (this "space wasting" is spread across the whole UI, but hard to fix it everywhere with just js script).
5. Dashboard
I removed the double-title bar, and thanks to that, it now fits the exact same tiles on height as my mobile. Without this change, it fitted less and I had to scroll vertically.

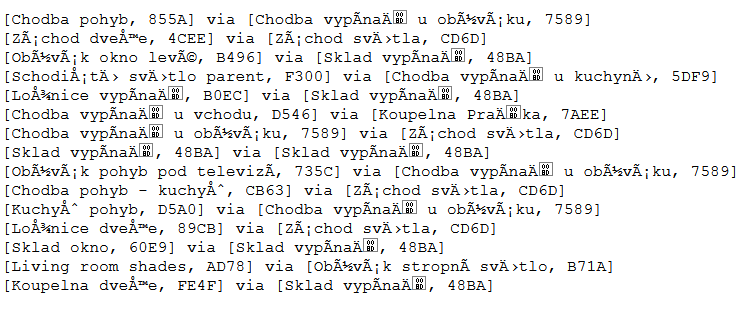
6. Unicode for route info
This one unfortunatelly doesn't work, because the page /hub/zigbee/getChildAndRouteInfo is just plain text, not html page. That means it still looks like this: