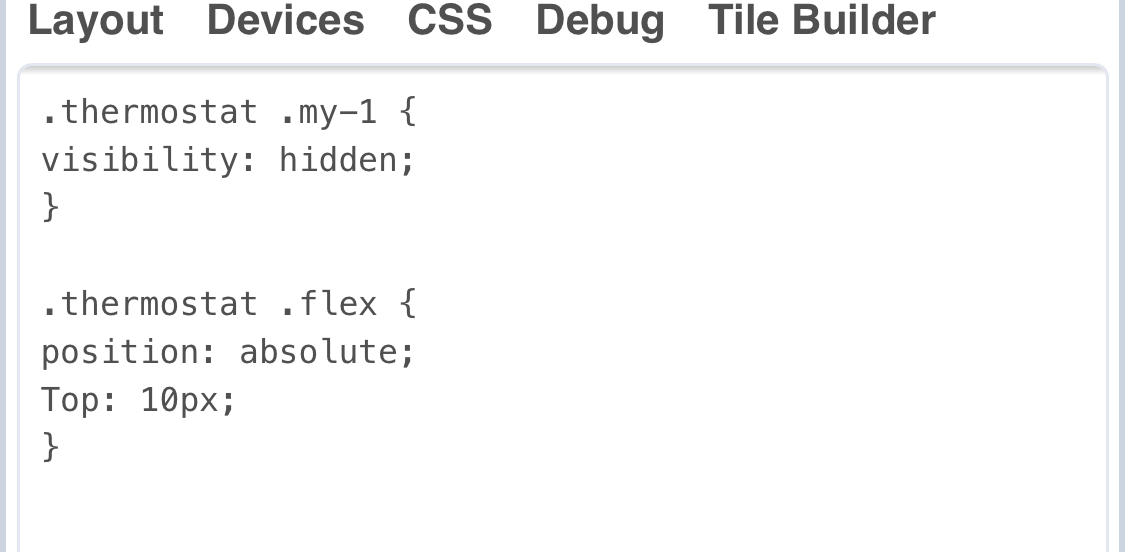
I was looking at using the "line-height" parameter to crop it out but it was smushing the element rather than cropping it
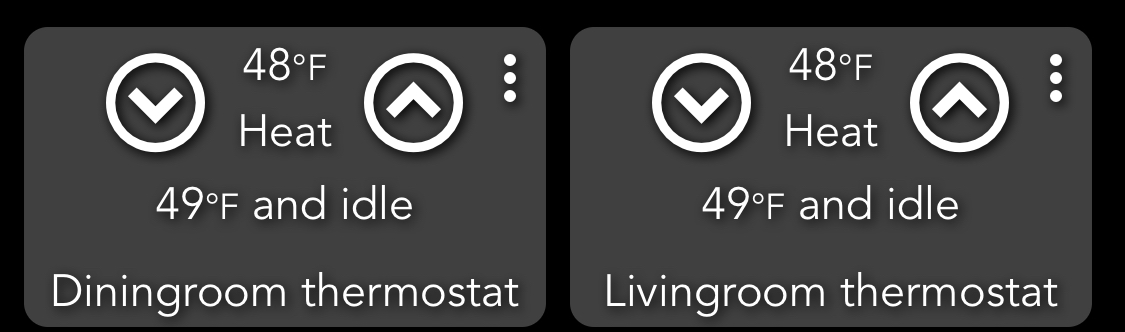
I don’t know if this is what you are looking for but I did this for my stelpro thermostats that don’t use heating or fan modes
1 Like
Where is the save css button?
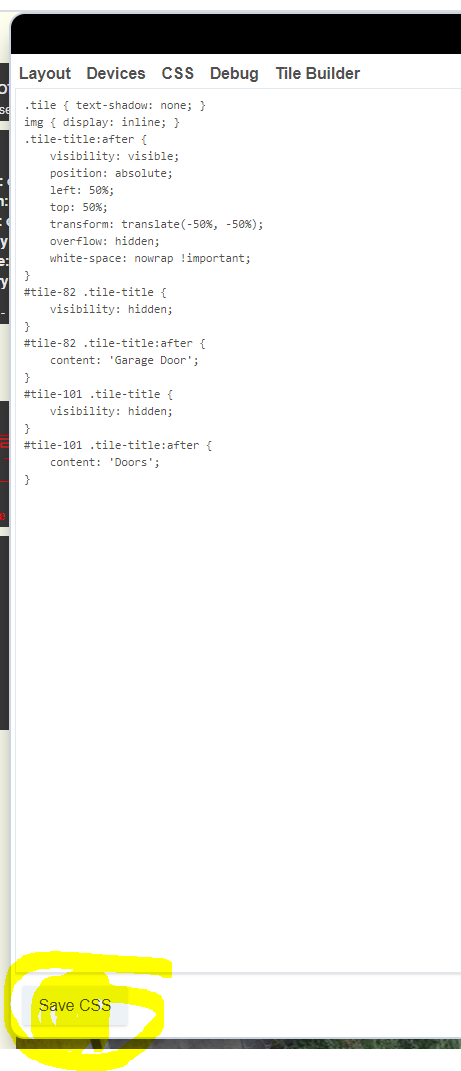
Bottom left of the popup.

You're not in the right area. Screen shots incoming.
Go to your dashboard on a computer browser.
Click the cog (top right)
Click Advanced
Click CSS
Insert your CSS
Save CSS is at the bottom left.
3 Likes
Nice to see you're using my little snippet 
Yeah, it's great. As of this morning (my time). Just last week I shortened a few of my device names, but this will mean I wont have to do any more. Thanks!
2 Likes
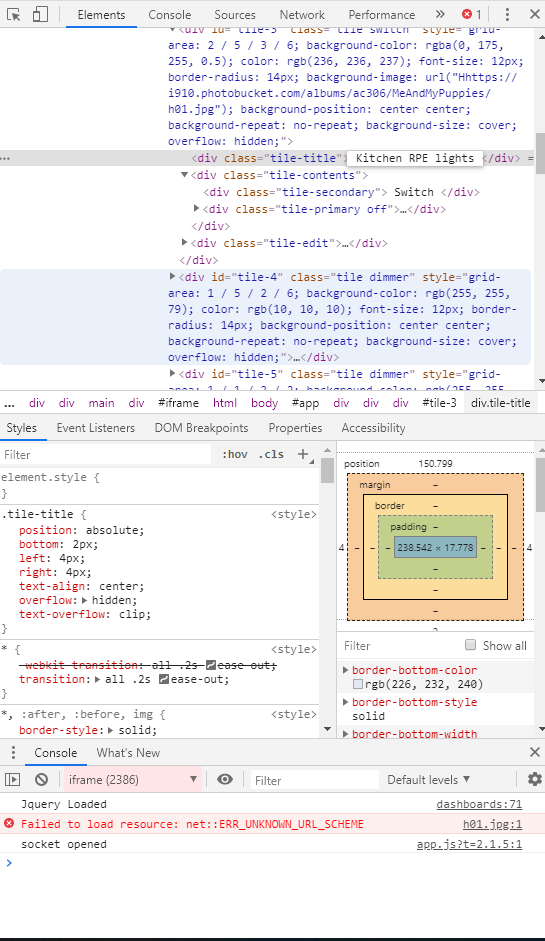
Thanks. I was thinking because there were instructions to right click on the tile you wanted to change that you would be able to save the changes in the Chrome Inspector screen. Thanks for the explanation, I think I get it now Mike.
1 Like
Show me the CSS, please?
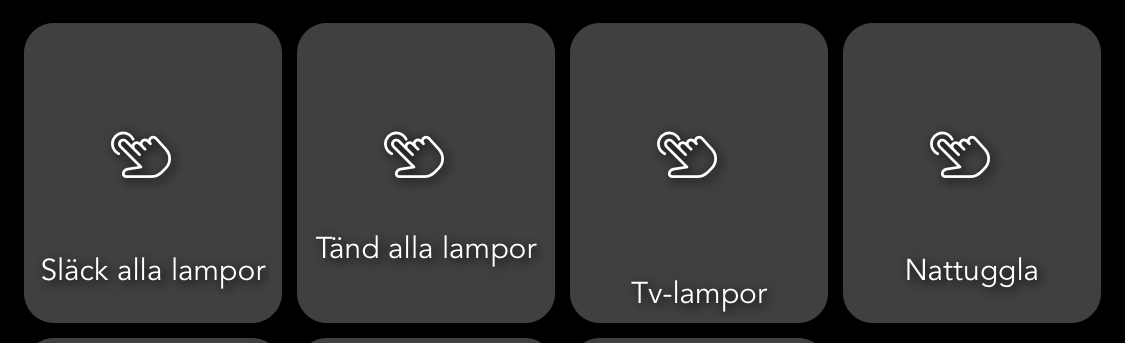
I found out it has to do with the lenght of the text. If "too" long it moves up. If I rotate the screen or look on my PC, it looks good.
.tile-title:after {
visibility: visible;
position: absolute;
left: 50%;
top: 50%;
transform: translate(-50%, -50%);
overflow: hidden;
white-space: nowrap !important;
}
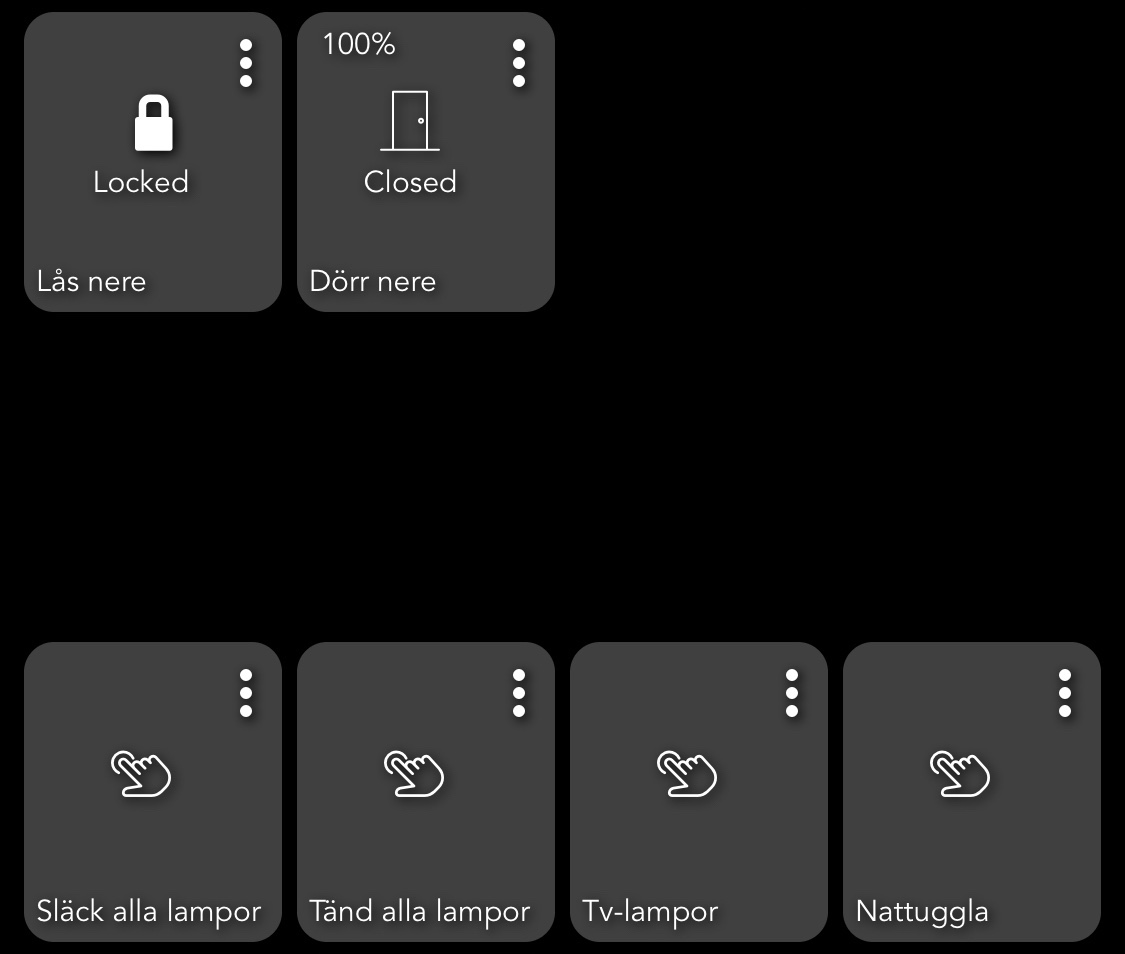
#tile-0 .tile-title {
visibility: hidden;
}
#tile-0 .tile-title:after {
content: 'Lås nere';
}
#tile-1 .tile-title {
visibility: hidden;
}
#tile-1 .tile-title:after {
content: 'Dörr nere';
}
#tile-2 .tile-title {
visibility: hidden;
}
#tile-2 .tile-title:after {
content: 'Anna hemma?';
}
#tile-3 .tile-title {
visibility: hidden;
}
#tile-3 .tile-title:after {
content: 'Ella hemma?';
}
#tile-4 .tile-title {
visibility: hidden;
}
#tile-4 .tile-title:after {
content: 'Tommy hemma?';
}
#tile-7 .tile-title {
visibility: hidden;
}
#tile-7 .tile-title:after {
content: 'Släck alla lampor';
}
#tile-8 .tile-title {
visibility: hidden;
}
#tile-8 .tile-title:after {
content: 'Tänd alla lampor';
}
#tile-9 .tile-title {
visibility: hidden;
}
#tile-9 .tile-title:after {
content: 'Tv-lampor';
}
#tile-10 .tile-title {
visibility: hidden;
}
#tile-10 .tile-title:after {
content: 'Nattuggla';
}
Landscape mode:

UPDATE
Renamed the 4 tiles but the name still does not show in a straight line...
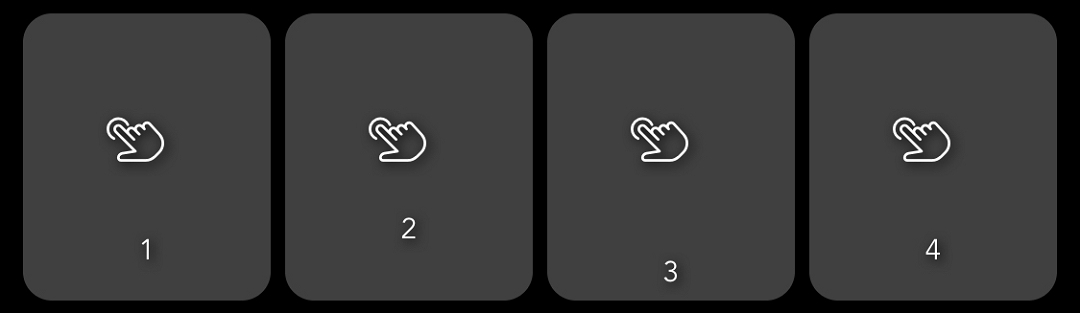
It follows the original text’s wrapping. It is only hidden. For this type of issue another styling would be needed. I’ll have a look at it later when I’m in front of the computer.
EDIT:
@ktd The below should work better, tell me how it goes...
.tile-title::after {
    visibility: visible;
    position: absolute;
    text-align: center;
    left: inherit;
    right: 0;
    bottom: 0;
    white-space: pre-wrap;
}

#tile-33 .tile-title, #tile-50 .tile-title {
    visibility: hidden;
    white-space: nowrap !important;
    overflow: unset;
}
#tile-33 .tile-title:after {
    content: 'Lights - Guest Bath Basin';
}
#tile-50 .tile-title:after {
    content: 'Lights - Guest Bath Basin';
}
If you want to set the title of ALL tiles, just hide all like this first:
.tile-title {
    visibility: hidden;
    white-space: nowrap !important;
    overflow: unset;
}
or just multiple:
#tile-33 .tile-title, #tile-50 .tile-title, #tile-16 .tile-title {
    visibility: hidden;
    white-space: nowrap !important;
    overflow: unset;
}
This MAY not be pixel perfect on mobile devices, you could try "left: 0;" instead of "left: inherit;"
5 Likes
sorry, forgot "align: center;", code updated above.
Speaking of centered, adding the below fixes as far as I can see, the issue of the icon not being centered. It is still not pixel perfect centered, but better than before. If anyone tries it and finds any ill effects, please do tell.
*, :after, :before {
    box-sizing: unset;
}Hmm, didn’t make any different for me.
It should, did you refresh the page?
Yes, tried in browser and the Hubitat app as well.
My bad, one more line I didn't copy out from my own CSS:
right: 0;
Sorry...
1 Like

