Quick update: Netatmo Weather Station Connect v0.4.0 is now available.
This one is all about setup and first-run experience. There are no changes to how data is fetched or exposed, so if your integration is already working you don't need to do anything — update when convenient.
Thanks to those of you who pushed back on the setup instructions. A couple of things that looked obvious from my side turned out not to be, and this release fixes the integration and the documentation rather than just the documentation.
The Redirect URI step is gone.
Setup used to tell you to copy a callback URL out of Hubitat and paste it into the Redirect URI field of your Netatmo application. That was never actually required, and it turned out to be a trap: a saved Redirect URI points at whichever hub authorized first, so reusing one Netatmo application on a second hub — or recreating the integration on the same hub — failed with redirect_uri_mismatch. The callback URL is no longer shown, and setup no longer mentions Redirect URI at all.
If you already have a Redirect URI saved, nothing breaks. Leave it alone. If you ever hit redirect_uri_mismatch, clearing that field is the fix.
Failed authorization now tells you what to do.
Previously it printed Netatmo's raw error code and told you to refresh a page, which didn't help anyone. It now explains the specific failure and the steps to fix it, for redirect_uri_mismatch, invalid_client, and access_denied.
The setup page is no longer a wall of controls.
Until you're authorized, you see only credentials, authorization, and logging. Diagnostics, Discovery, Child Devices, Units, and Polling appear once authorization succeeds. Logging stays visible the whole time so you can turn on debug logging while sorting out an authorization problem.
Discovery runs on its own, and you can't skip selecting devices any more.
The connection test and station discovery both run automatically right after you authorize, so when you get back to the settings page your Netatmo devices are already listed. From there:
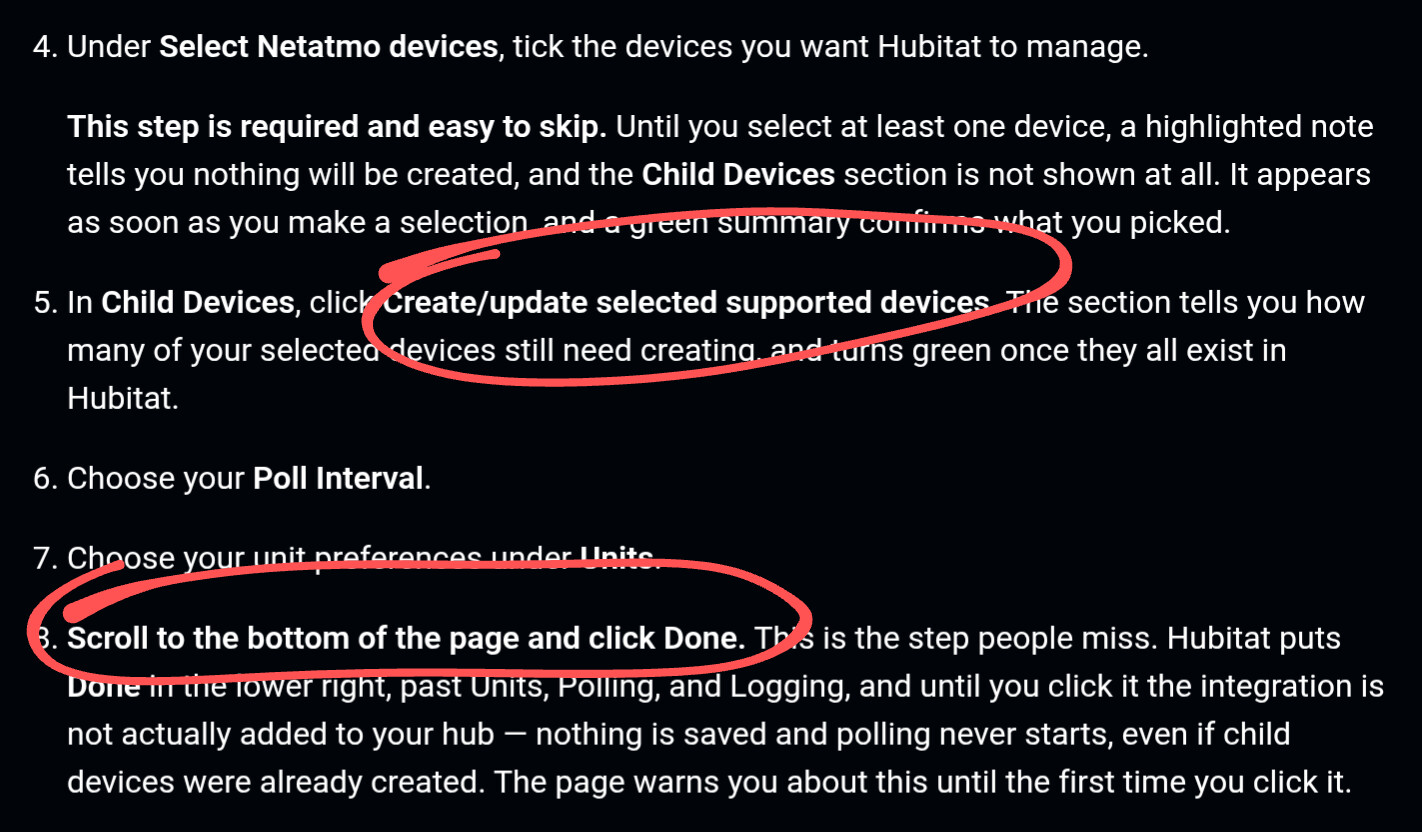
- If you haven't selected anything, a highlighted note says so and the Child Devices section isn't shown at all — the create button can no longer be clicked in a state where it quietly does nothing
- Once you select devices, a confirmation lists them by name and Child Devices appears
- Child Devices reports what actually exists right now ("2 of 3 selected devices have not been created yet"), rather than replaying the result of the last sync. The old behaviour could still claim a device had been created after you'd deleted it
A reminder to click Done.
Hubitat puts Done at the bottom right, past Units, Polling and Logging. It's genuinely easy to do everything correctly, create your child devices, and wander off without ever clicking it — which means the integration was never added, nothing is saved, and polling never starts. There's now a clear warning at the top and bottom of the page until you've clicked it once, after which it shrinks to a single quiet line. (I did this to myself twice while testing, which is how it earned a place in the release.)
Other changes:
- Test getstationsdata is now Test Netatmo connection, and its status messages are in plain language
- Sync child labels from Netatmo names is hidden until at least one child device exists — previously you could switch it on with no children and it would silently do nothing
- Clear stored Netatmo tokens now appears only when authorized and explains what it does and doesn't affect
- The Authorization section explains that a newly typed Client Secret isn't registered until you click away or press Enter, which previously looked like the authorization link failing to appear
Documentation rewrite.
The README now walks through the Netatmo developer portal explicitly — where My apps lives, the required fields that are easy to miss, and where the Client ID and Secret appear. It also corrects the Hubitat navigation: this installs under Integrations → Add user integration, not under Apps.
Update through Hubitat Package Manager, or install manually from the source files:

 If you don't click the button, the devices won't get created.