Home Connect Integration - Complete Rewrite with Enhanced Features
I'm excited to announce the initial release of Home Connect Integration v3 for Hubitat. This is a complete rewrite of the Home Connect integration, building on the excellent foundation laid by the original author Rfg81.
What's New in v3?
This isn't just an update—it's a ground-up redesign with significant improvements:
Architecture & Reliability
Three-Component Architecture
The integration uses a clean separation of concerns across three components:
- Stream Driver: Handles the Server-Sent Events (SSE) connection to Home Connect's event stream. This persistent connection receives real-time updates about your appliances' status, ensuring immediate notification of cycle completions, errors, and state changes without polling.
- Parent App: Manages OAuth authentication and device discovery. This is your control center for authorizing with Home Connect, discovering new appliances, and managing which devices are added to your Hubitat hub.
- Child Drivers: Dedicated drivers for each appliance type (currently Dishwasher, with more coming soon). Each child driver translates Home Connect's API data into Hubitat attributes and commands, providing appliance-specific capabilities and controls.
This modular design makes the integration more maintainable, easier to debug, and allows for independent updates to individual components without affecting the entire system.
New OAuth Implementation
The OAuth flow has been completely redesigned to address common authentication issues:
- Stateless validation eliminates race conditions and timing issues people experienced previously (the two browser workaround)
- Improved error handling with clear, actionable error messages that help you quickly identify and fix configuration issues
The result should be a more reliable authentication experience that "just works" - especially important when setting up the integration for the first time or re-authorizing after token expiration.
Enhanced Features
- Four-button notification system:
- Button 1: Cycle complete notifications
- Buttons 2-3: Maintenance alerts (e.g., salt/rinse aid low)
- Button 4: Error notifications
- Delayed program start support for cost optimization (start during off-peak electricity hours)
- Node-RED compatibility through JSON state attributes
Current Support
- Dishwasher (fully implemented with all programs and options)
- Additional appliance types coming soon!
Installation Options
Option 1: New Installation (No Existing Home Connect Setup)
If you've never used Home Connect with Hubitat before, follow these steps:
Step 1: Create Home Connect Developer Account
- Go to Home Connect Developer Portal
- Sign up for a developer account (free)
- Create a new application with these settings:
- Application ID: Choose a unique name (e.g.,
hubitat-yourname) - OAuth Redirect URI: Leave blank for now (we'll add this in Step 4)
- Success Redirect: Leave blank for now (we'll add this in Step 4)
- Note your Client ID and Client Secret - you'll need these next
Step 2: Install the Integration
Option A: Via Hubitat Package Manager (Recommended)
- Open Hubitat Package Manager
- Search for "Home Connect Integration v3"
- Click Install
- HPM will install all three components and automatically launch the app configuration screen
Option B: Manual Installation
- Go to Drivers Code and create a new driver
- Copy the contents from: HomeConnectStreamDriver.groovy
- Paste into the driver code editor
- Click Save
- Create another new driver
- Copy the contents from: HomeConnectDishwasher.groovy
- Paste into the driver code editor
- Click Save
- Go to Apps Code and create a new app
- Copy the contents from: HomeConnectIntegration.groovy
- Paste into the app code editor
- Click Save
- Click the OAuth button and enable OAuth for the app
- Go to Apps and click Add User App
- Select "Home Connect Integration v3" from the list
Step 3: Initial App Configuration
- In the app configuration screen:
- Enter your Client ID from Step 1
- Enter your Client Secret from Step 1
- Select your Region (US or EU)
- Set Debug Level (recommend "Info" for initial setup)
- Click Next
- The app will now display your unique registration URIs (these include your app-id)
- Copy both URIs - you'll need them for the next step
- Do NOT click "Authorize" yet - we need to add these URIs to Home Connect first
Step 4: Configure Home Connect with Your URI
- Return to your Home Connect Developer Portal
- Open the application you created in Step 1
- In the Redirect URI field, paste the full URI shown in the Hubitat app (this is the complete URI that includes your app-id)
- Save your Home Connect application settings
Step 5: Authorize & Discover Devices
- Return to the Hubitat app configuration
- Click "Authorize with Home Connect"
- Log in with your Home Connect account credentials
- Grant permissions to the integration
- After successful authorization, return to the app and click "Discover Devices"
- Your appliances will appear - select the ones you want to add
- Click Done to create the devices
Option 2: Side-by-Side Installation (Test Alongside Existing Integration)
If you're currently using the original Home Connect driver and want to test v3 before fully committing:
Step 1: Install v3 Integration
Option A: Via Hubitat Package Manager (Recommended)
- Open Hubitat Package Manager
- Search for "Home Connect Integration v3"
- Click Install
- HPM will install all three components and automatically launch the app configuration screen
Option B: Manual Installation
- Go to Drivers Code and create a new driver
- Copy the contents from: HomeConnectStreamDriver.groovy
- Paste into the driver code editor
- Click Save
- Create another new driver
- Copy the contents from: HomeConnectDishwasher.groovy
- Paste into the driver code editor
- Click Save
- Go to Apps Code and create a new app
- Copy the contents from: HomeConnectIntegration.groovy
- Paste into the app code editor
- Click Save
- Click the OAuth button and enable OAuth for the app
- Go to Apps and click Add User App
- Select "Home Connect Integration v3" from the list
Step 2: Initial Configuration to Get URI
- In the app configuration screen:
- Enter the same Client ID and Client Secret from your existing integration
- Select your Region (same as your existing integration)
- Set Debug Level (recommend "Info" for initial setup)
- Click Next
- The app will display your v3-specific Redirect URI
- Copy the Redirect URI (it will have a different app-id than your original integration)
- Do NOT click "Authorize" yet - we need to add this URI to Home Connect first
Step 3: Add Second Redirect URI to Home Connect
- Go to your Home Connect Developer Portal
- Open your existing application
- Check the "Add additional redirect URIs" checkbox
- Add the new v3 Redirect URI from Step 2 (don't replace the existing one - you'll now have two URIs listed)
- Save the application settings
Step 4: Authorize & Create Test Devices
- Return to the v3 app in Hubitat
- Click "Authorize with Home Connect"
- Log in and grant permissions
- After successful authorization, click "Discover Devices" and select your appliances
- Click Done
- Note: v3 devices will have a
HC3-prefix (e.g.,HC3-Dishwasher) to distinguish them from your original devices
Step 5: Testing & Migration
- Both integrations will work simultaneously
- Test v3 features with the new devices
- Update your rules/dashboards to use v3 devices when ready
- Once satisfied, you can remove the original integration and its devices
Key Differences from Original
- Better OAuth handling: Cleaner error messages, more reliable authentication
- Enhanced notifications: Four-button system for different alert types
- Improved state management: JSON attributes for easier Node-RED integration
- Comprehensive logging: Easier troubleshooting with detailed debug options
- Program mapping: Supports both technical and friendly program names
- Maintenance tracking: Salt, rinse aid, and other consumable alerts
Troubleshooting Tips
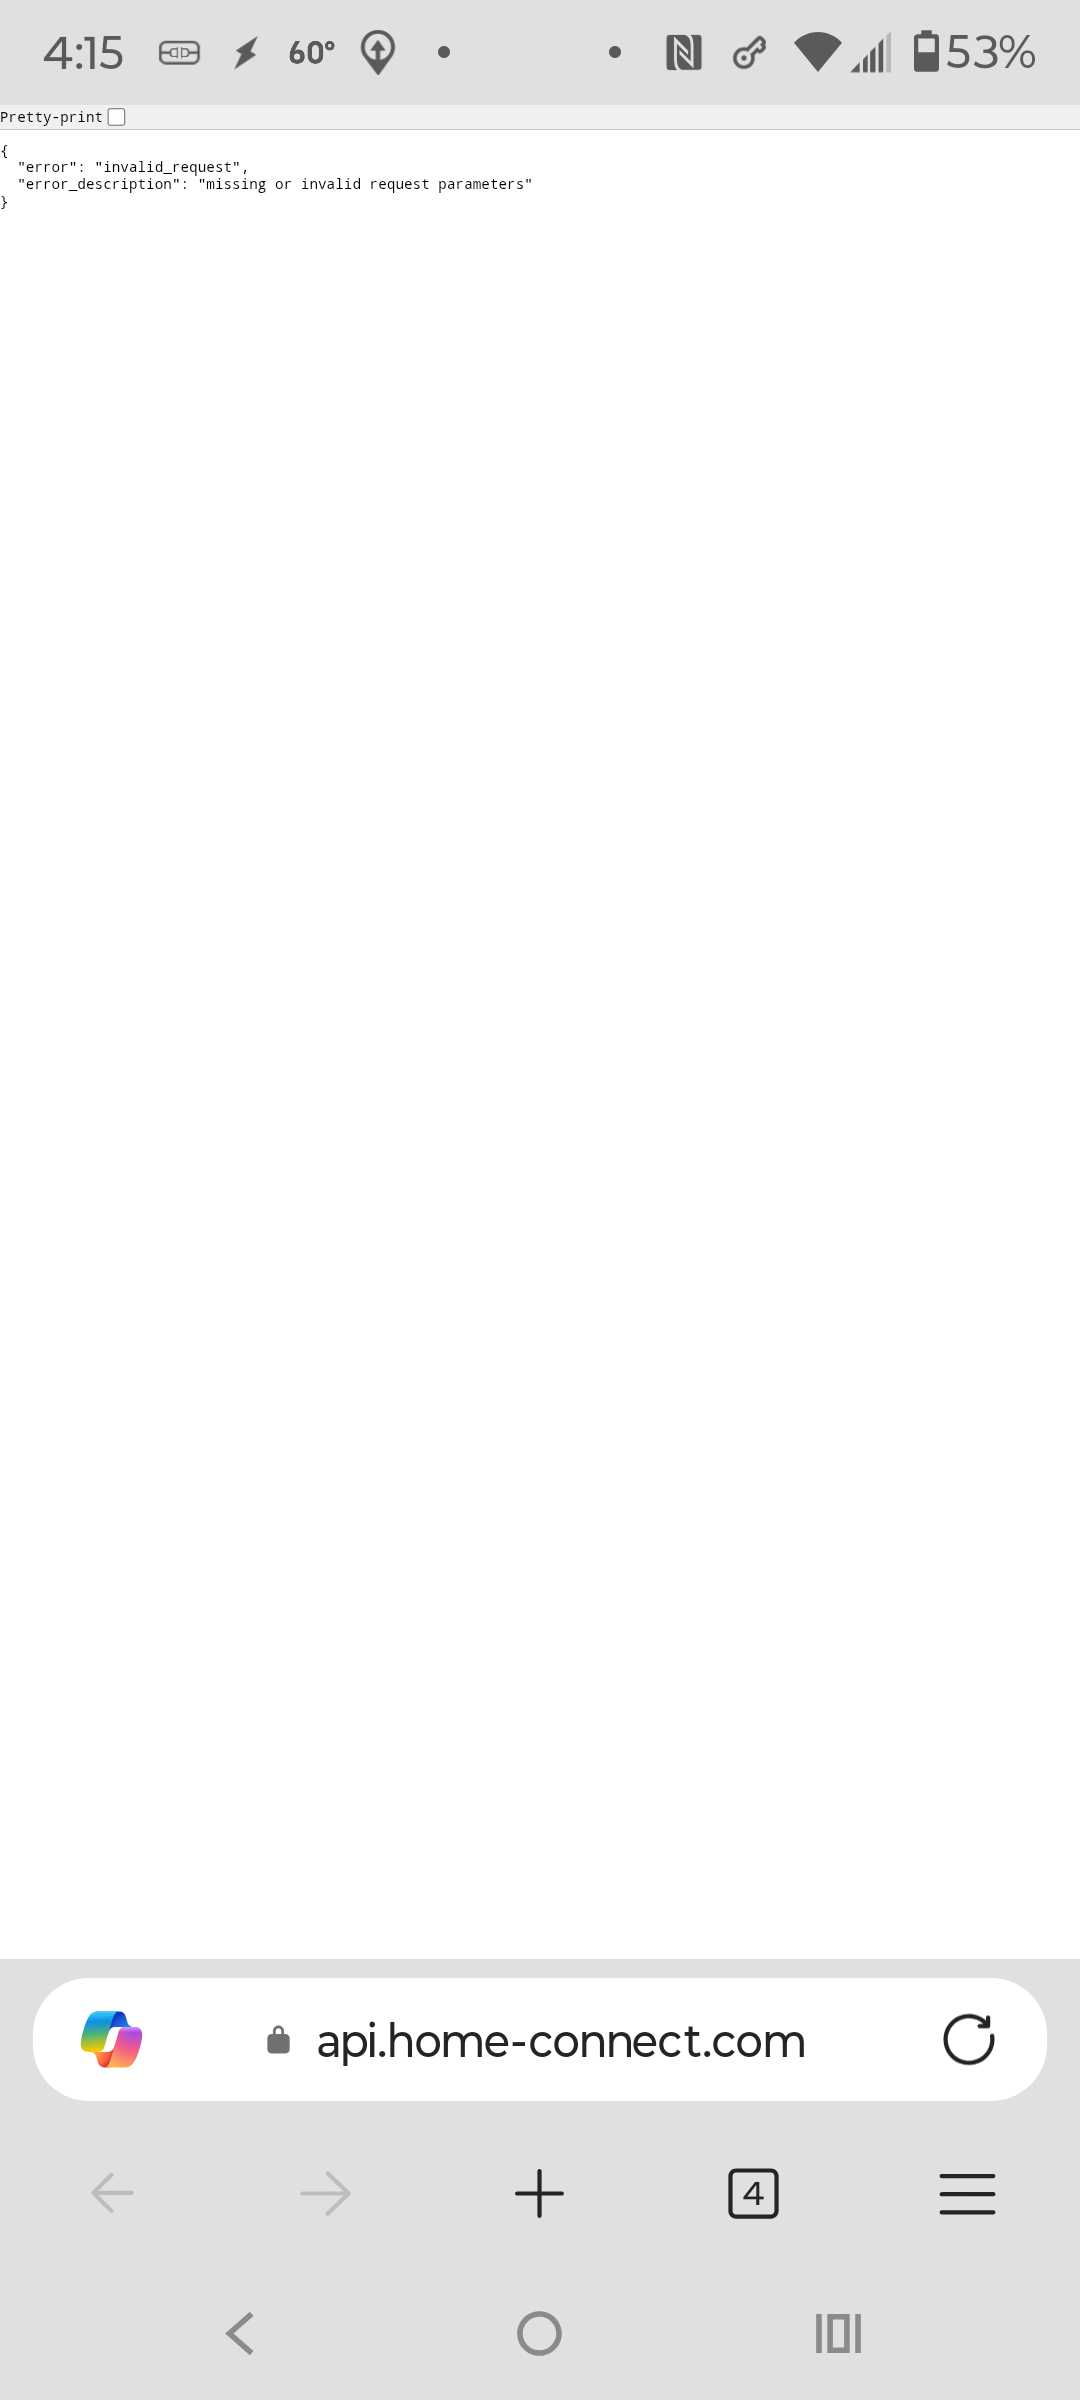
- OAuth errors: If you see "missing or invalid request parameters," double-check your redirect URIs in the Home Connect Developer Portal
- Enable debug logging in the app settings if you encounter issues
- Check the Stream Driver logs for SSE connection statusly
What's Next?
I'm actively working on support for additional appliances:
- Ovens
- Coffee makers
- Refrigerators
- Washers/Dryers
- And more!
Credits
A huge thank you to Rfg81 for creating the original Home Connect integration. This project wouldn't exist without that foundational work. Version 3 builds on those concepts while addressing limitations and adding modern features requested by the community.
Support & Feedback
Please report any issues, feature requests, or questions in this thread. Include debug logs when reporting problems—they're incredibly helpful for troubleshooting!
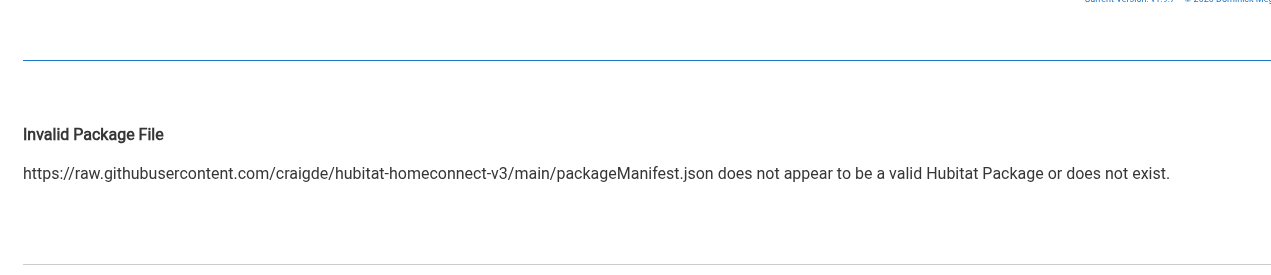
Installation Links:
- Hubitat Package Manager: hubitat-homeconnect-v3/packageManifest.json at main · craigde/hubitat-homeconnect-v3 · GitHub
- GitHub Repository: GitHub - craigde/hubitat-homeconnect-v3 · GitHub
Looking forward to your feedback and helping you get your Home Connect appliances working smoothly with Hubitat