I created a driver that works with Emporia Vue. Unfortunately it requires an external script to get an authentication token (i.e. python), but I'm holding out hope that it can all be run through Hubitat someday.
Please keep in mind that Emporia does not have an official API and this may stop working at any time. If you are using the unofficial API, they request you keep the API calls to less than 2 per minute (This driver uses 1 per minute at most).
I hope I can too. I've hit a hard roadblock with the authentication. If Emporia adds a public API, I have no doubt many users will pick up the product. As it stands, it's only possible to integrate in a 'hack-y' way.
This driver was my first attempt at utilizing child devices, so no doubt I'll be able to make refinements as I learn more.
Every time it expires. I haven't tested it thoroughly, but I think that's about once per hour. The driver will store the token locally and use it as long as it is valid.
I love my 3 emporia vue's (pool house, garage and main house).
I looked at the python code. it looks like it authenticates and then just pull json strings with the data. That should be possible to move completely into a native hubitat app.
I won't have time to do anything with it (working in a startup so every living hour is spent on the company), but hopefully someone else can.
the vue is excellent, highly recommend it. Installs into the fuse panel, hook up amp meters to each fused circuit, label the circuit and voila, you have detailed power consumption graphs. Highly recommended. The device sells on amazon for about $100-150.
Exactly right, the driver is API driven. The limitation is that in order to use the API you need an auth token. I have not found a way for groovy to authenticate with AWS to get the token.
For my own implementation I am using pyemvue on an external server to get the token and pass it into the driver using the Hubitat make API. If somebody knows a way to get the auth token using groovy then the driver will run fully on Hubitat alone.
@ke7lvb: Thank you for doing this. There is much in the above string I don't understand, but I surmise
a. You figured out how to get Emporia Vue data into Hubitat, but the authentication expires every hour.
b. You wrote an external program on something other than HE to overcome this, which requires more hardware and knowledge than just Hubitat.
I share your hope that someone can figure this out. The lack of integration with Hubitat is the one thing keeping me from investing in the Emporia Vue hardware and install.
This looks really awesome, and I would love to be able to use your driver, but not sure where to start with using pyemvue and maker api to get and pass the token to HE.
Would it be possible for someone to post a step-by-step "for dummies" wiki on how to set this up on a PC or Pi?
This is what I did on Ubuntu. You would need to run the Debian equivalents for Pi.
Intall PyEmVue
sudo pip install pyemvue
Create a directory for the authentication script
mkdir ~/pyemvue
Create a .py file in a text editor
nano ~/pyemvue/login.py
Copy the contents below into login.py - replace items in angle brackets <> as needed (remove the angle brackets)
import pyemvue
import json
import requests

vue = pyemvue.PyEmVue()
#create the auth token and store it in keys.json
auth = vue.login(username='<emporia_username>', password='<emporia_password>', token_storage_file='keys.json')

#retrieve the auth_token from keys.json
with open('keys.json')as f:
        data = json.load(f)

#pass token to hubitat via Maker API
token_id = data['id_token']
requests.get("http://<url_or_ip_to_hubitat>/apps/api/<maker_api_id>/devices/<emporia_device_id>/authToken/{}?access_token=<maker_api_access_token>".format(token_id))
Test the script and confirm the token updated in Hubitat
python3 ~/pyemvue/login.py
Create a cron job with whatever user profile should run the script
I was able to install pyemvue and run login.py on an AWS EC2 ubuntu instance.
I can get python code to run, and if I just print(token_id) and copy paste to "update authtoken" button in the Emporia device, it works and updates all my circuits as sub-devices.
So, I think I can get this working, but need to find the best way to communicate from EC2 instance to maker API (requests.get("http://<url_or_ip_to_hubitat>...))
If I enter the cloud URL link from maker API with https (https://cloud.hubitat.com/api/ff3xx...xxxx), python script executes without error, but does not update emporia device on hubitat. Is https a problem for request.get command, or some other reason this isn't working?
Any suggestion on easiest way to set up communication between EC2 instance and hubitat without opening up major network security issue?
works, with key posted to google sheets. Cron job also working with new post to sheet every hour.
When I print() everything in the request.get(), it also seems to output key correctly in the expected way for "secondary value" of the Maker API send device comand syntax:
(134) is number from maker API sample requests, and (104) is device number of emporia from get all devices command.
Hmm, just noticed syntax is different for local vs. cloud versions of maker api syntax. Local version has .../apps/api/ before <maker_api_id>, but cloud version just has .../apps/.
Still working after hours with 1 min scale + 1 min refresh.
I see no need to log/graph, as I'm happy with Emporia app and website for these, but I am anxious to start making rules based on different circuits power/duration triggers!
Yes, thanks again. Really appreciate the driver. It is awesome.
Was thinking about how to do this locally, but since need to interact with Emporia web anyway, this seemed like a good opportunity to try to do something with an AWS free tier cloud instance. Just need to mind the syntax difference between local and cloud maker API call.
Seemed pretty wasteful to keep my EC2 instance running 24/7 just to execute every hour, and assuming it's still needed after my year of free tier runs out, don't care to pay $4/month estimated cost.
There are probably other ways to cut the cost, but I managed to get login.py running as an AWS Lamda function with a couple modifications (uses EventBridge to trigger every hour):
import pyemvue
import json
import requests
import os
def lambda_handler(event, context):
os.chdir('/tmp')
vue = pyemvue.PyEmVue() #create the auth token and store it in keys.json
auth = vue.login(username='xxxxxx', password='xxxxxx', token_storage_file='keys.json') #retrieve the auth_token from keys.json
with open('keys.json')as f:
data = json.load(f) #pass token to hubitat via Maker API
token_id = data['id_token']
requests.get("https://cloud.hubitat.com/api/xxxxxxxxxxxxx/apps/###/devices/###/authToken/{}?access_token=yyyyyyyyyyyyyyyy".format(token_id))
Used this tutorial to install pyemview as a layer:
Should be very cheap, to keep this running after free tier runs out, but haven't estimated cost yet.
Sorry to keep spamming your thread with this, in case no one else finds it useful. I do hope someone figures out how to do this in Groovy, or with WebCore/Rules.
Thanks again for awesome driver. It's been humming along fine for better part of the month, and enjoying benefits of triggering actions when washer/dryer done, TV turned on/off, and still finding more ways it's useful.
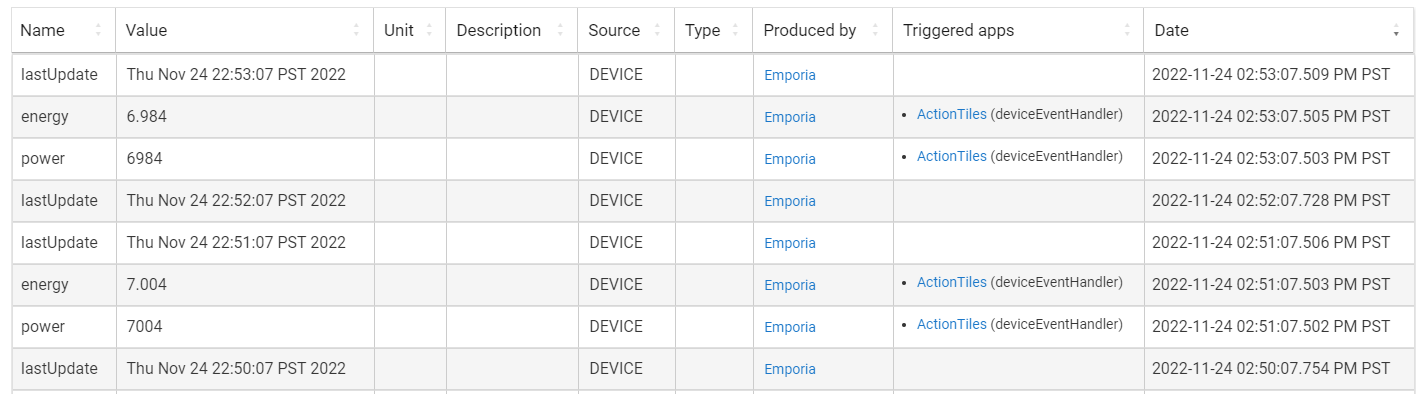
Just one quick question. After updating HE firmware today, I noticed lastUpdate date/time seems to be reporting GMT instead of local PST time. Everything else seems to be working fine. Did I just not notice this difference before, or is this unusual?
 If Emporia adds a public API, I have no doubt many users will pick up the product. As it stands, it's only possible to integrate in a 'hack-y' way.