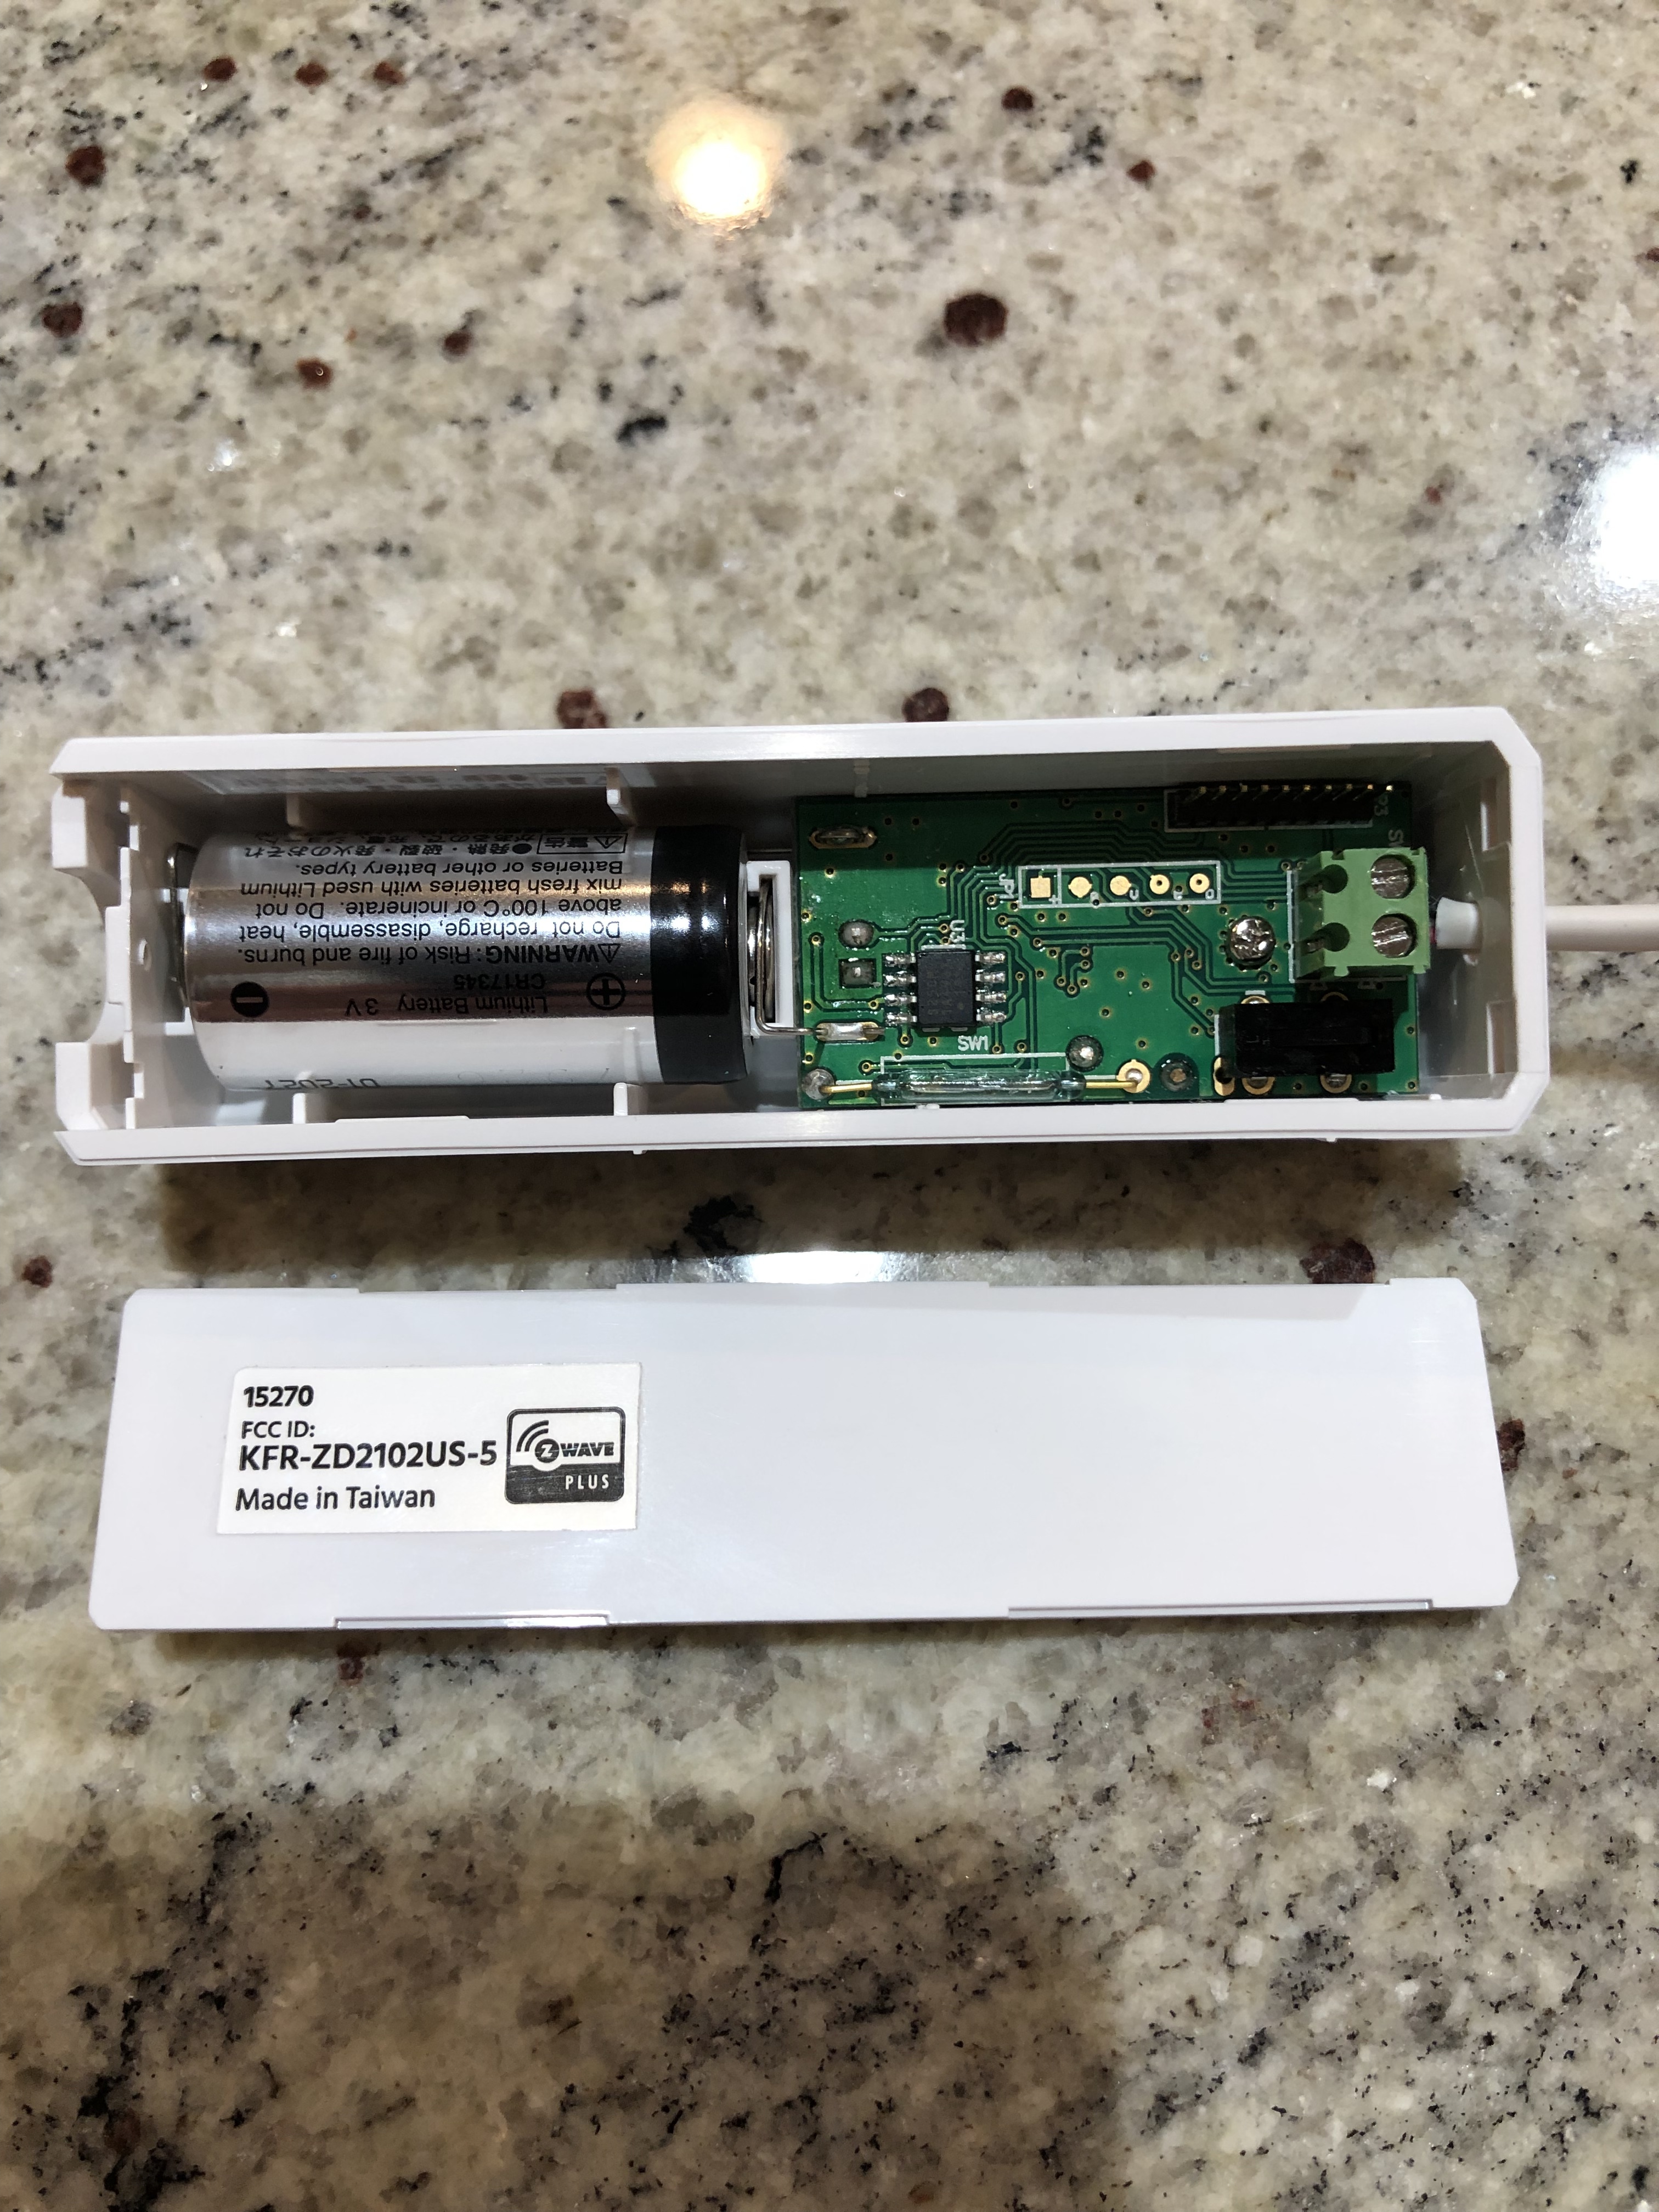
Thanks for the driver unfortunately it doesn’t work but I am unsure if the external contacts work. The instructions say that I have to set 0x01 parameter to 0xFF and I am trying to figure out if I am doing that correctly. I have a reed sensor somewhere around here that I need to find and hook up to this sensor to validate it’s working.
To verify a change, I even put my multisensor on tone and verify if I place probes on top of 2 screws with power brick plugged in, it tones (closed) and when I disconnect power tone stops. This thing isn't reporting any changes on the external contacts. I even downloaded Rboys Monoprice DH since it has a preference to enable/disable it and still nothing.
I am getting 1.5VDC on the external contacts when the brick is plugged in.
Unfortunately no dice. I have tried to set parameter 1 to enable the external sensor a bunch of different ways and every time I change back over to the basic z-wave tool to check its value it never changes. This is very frustrating.
I think it's time to pair it back to ST and test it there with @krlaframboise DTH. His DTH has both the internal and external status and I have a feeling the driver here is not functioning correctly with one of the status.
You did try with just a jumper wire on the external contact correct?
Yes thought about this, will try this weekend, heading out on business tomorrow. I bought 2 so maybe this one is defective. I did put the wires on either side of the reed switch and it does change status so something is up with the external sensor. Worse case I solder the wire to the reed.
I know that to report closed, you have to have the magnet close to the Reed switch as well. According to the monoprice documentation, the external contacts are intended for a window that can open both ways. For example, can be slid sideways from the left and write. So, it will report open if either the external or Reed switch are open and only report closed when both are closed. If memory serves me, enabling the external contacts does not alleviate the necessity to have the Reed switch closed for the device to report closed.
It is a DC powered Environment Sensor. At current state, it has battery backup and expansion port. I think this single module has all the ingredient that you need.
The battery backup allow the module still running in the event of power loss.
The module has digital input expnasion that can be wired with a relay, transistor, or in my case opto-isolator to sense the 5V input power.
Here is a demo how it work.
As a note, my dth abstract out the expansion pad as a child device. I have motion device handler that I can use to quickly show how it work. It will be easy to abstract out the digital input state to any capability.
The module is a Zigbee Router as well.
I hope this is useful information for anyone who is looking for a way to detect power loss in one module.
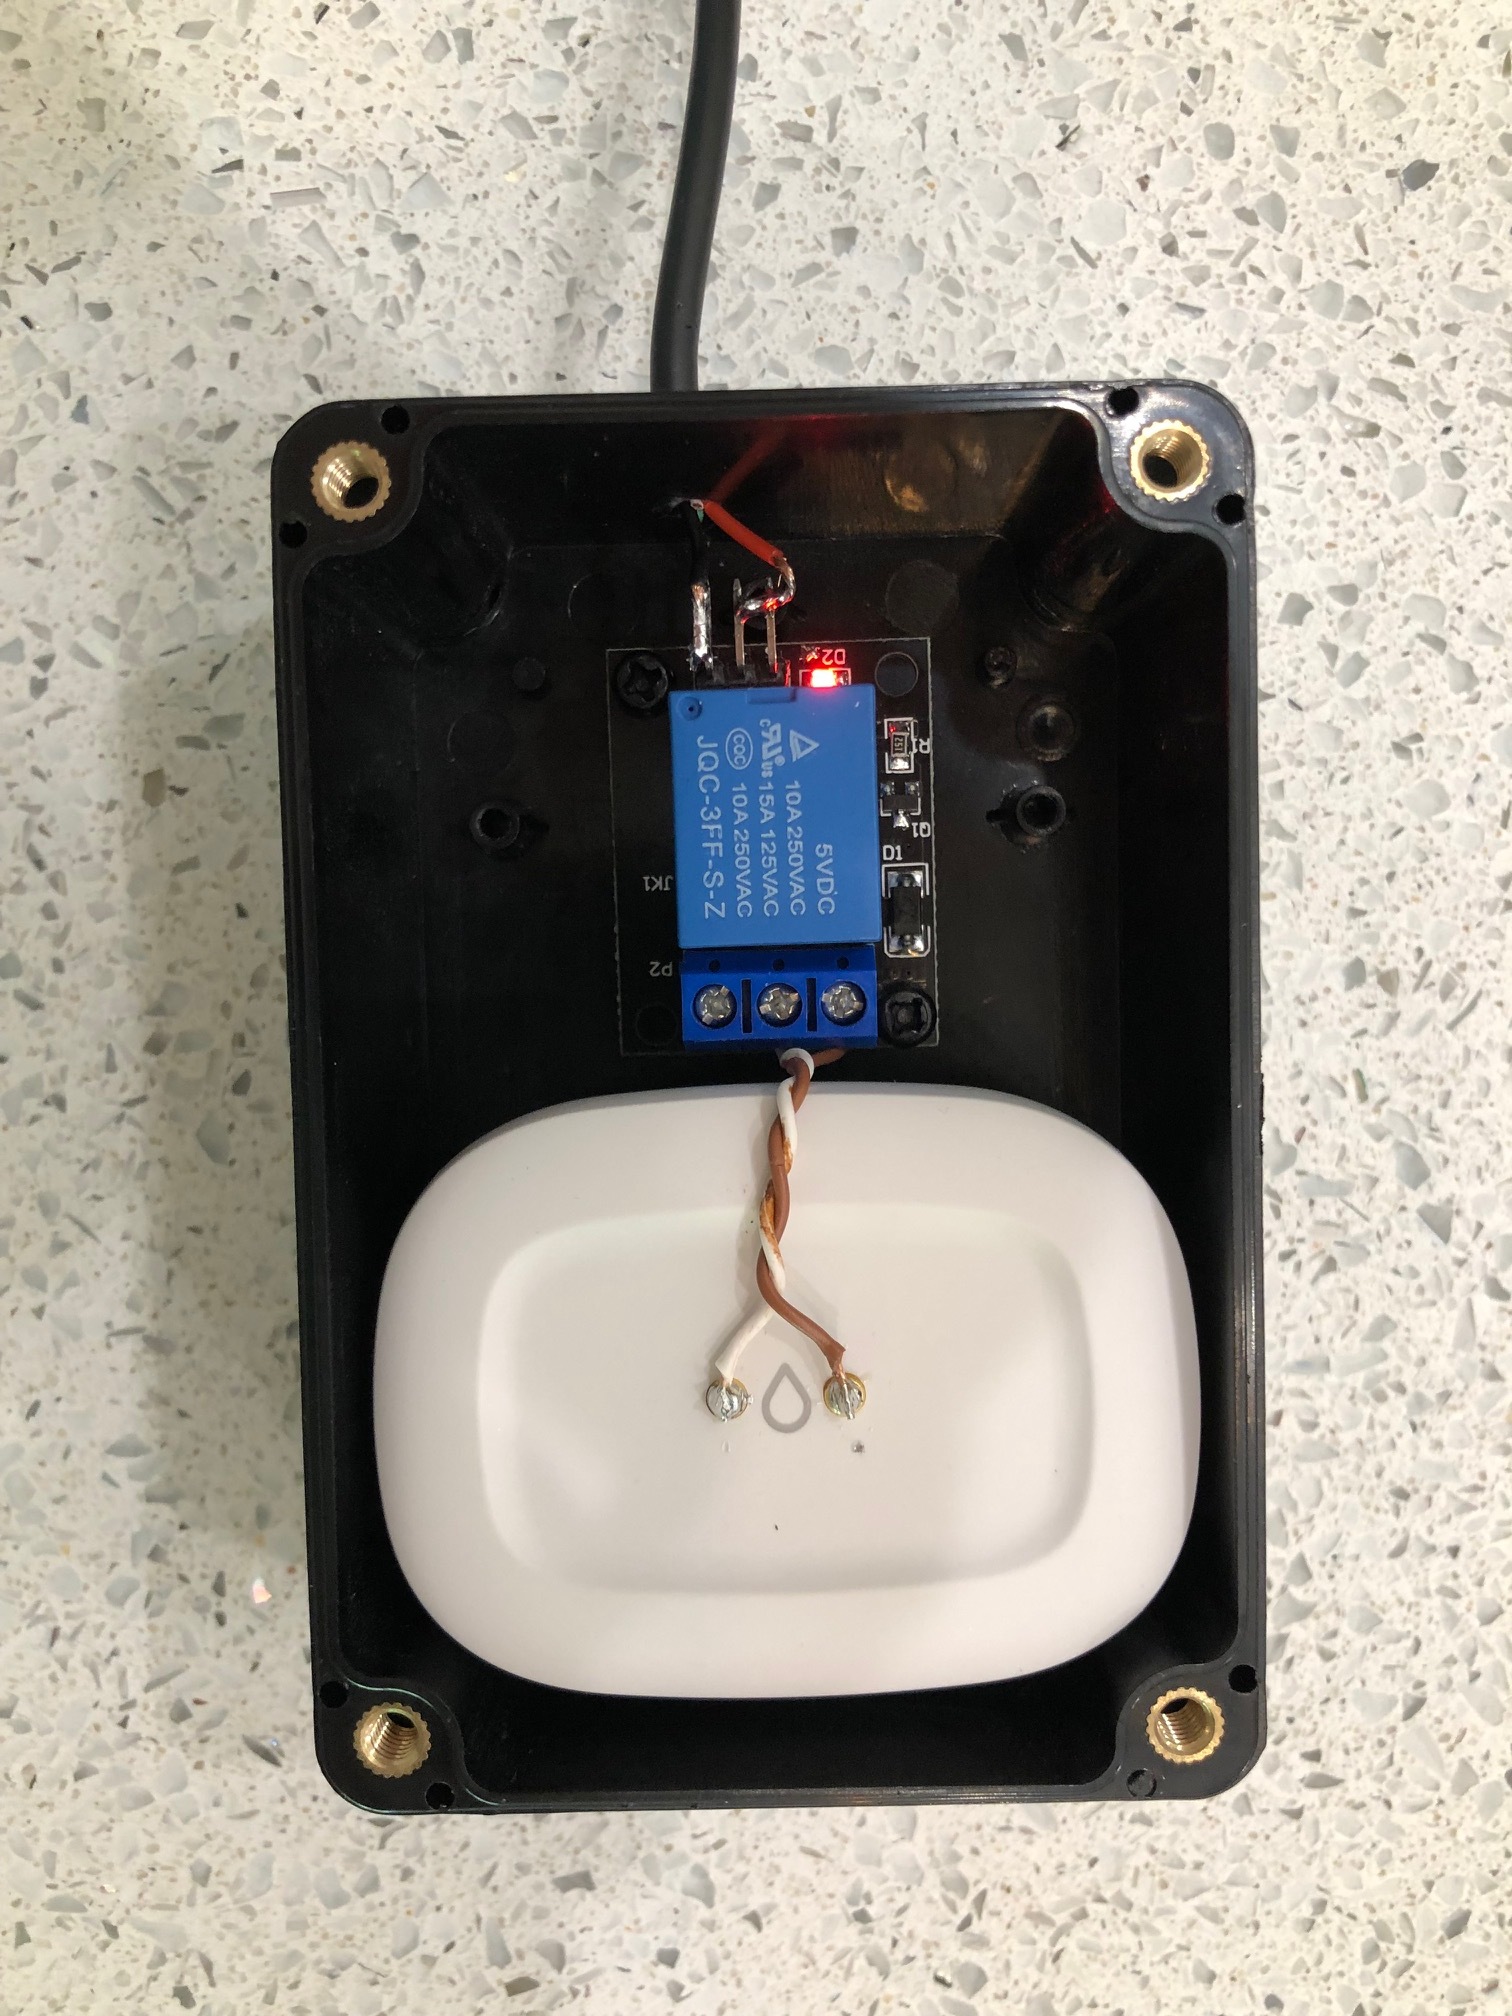
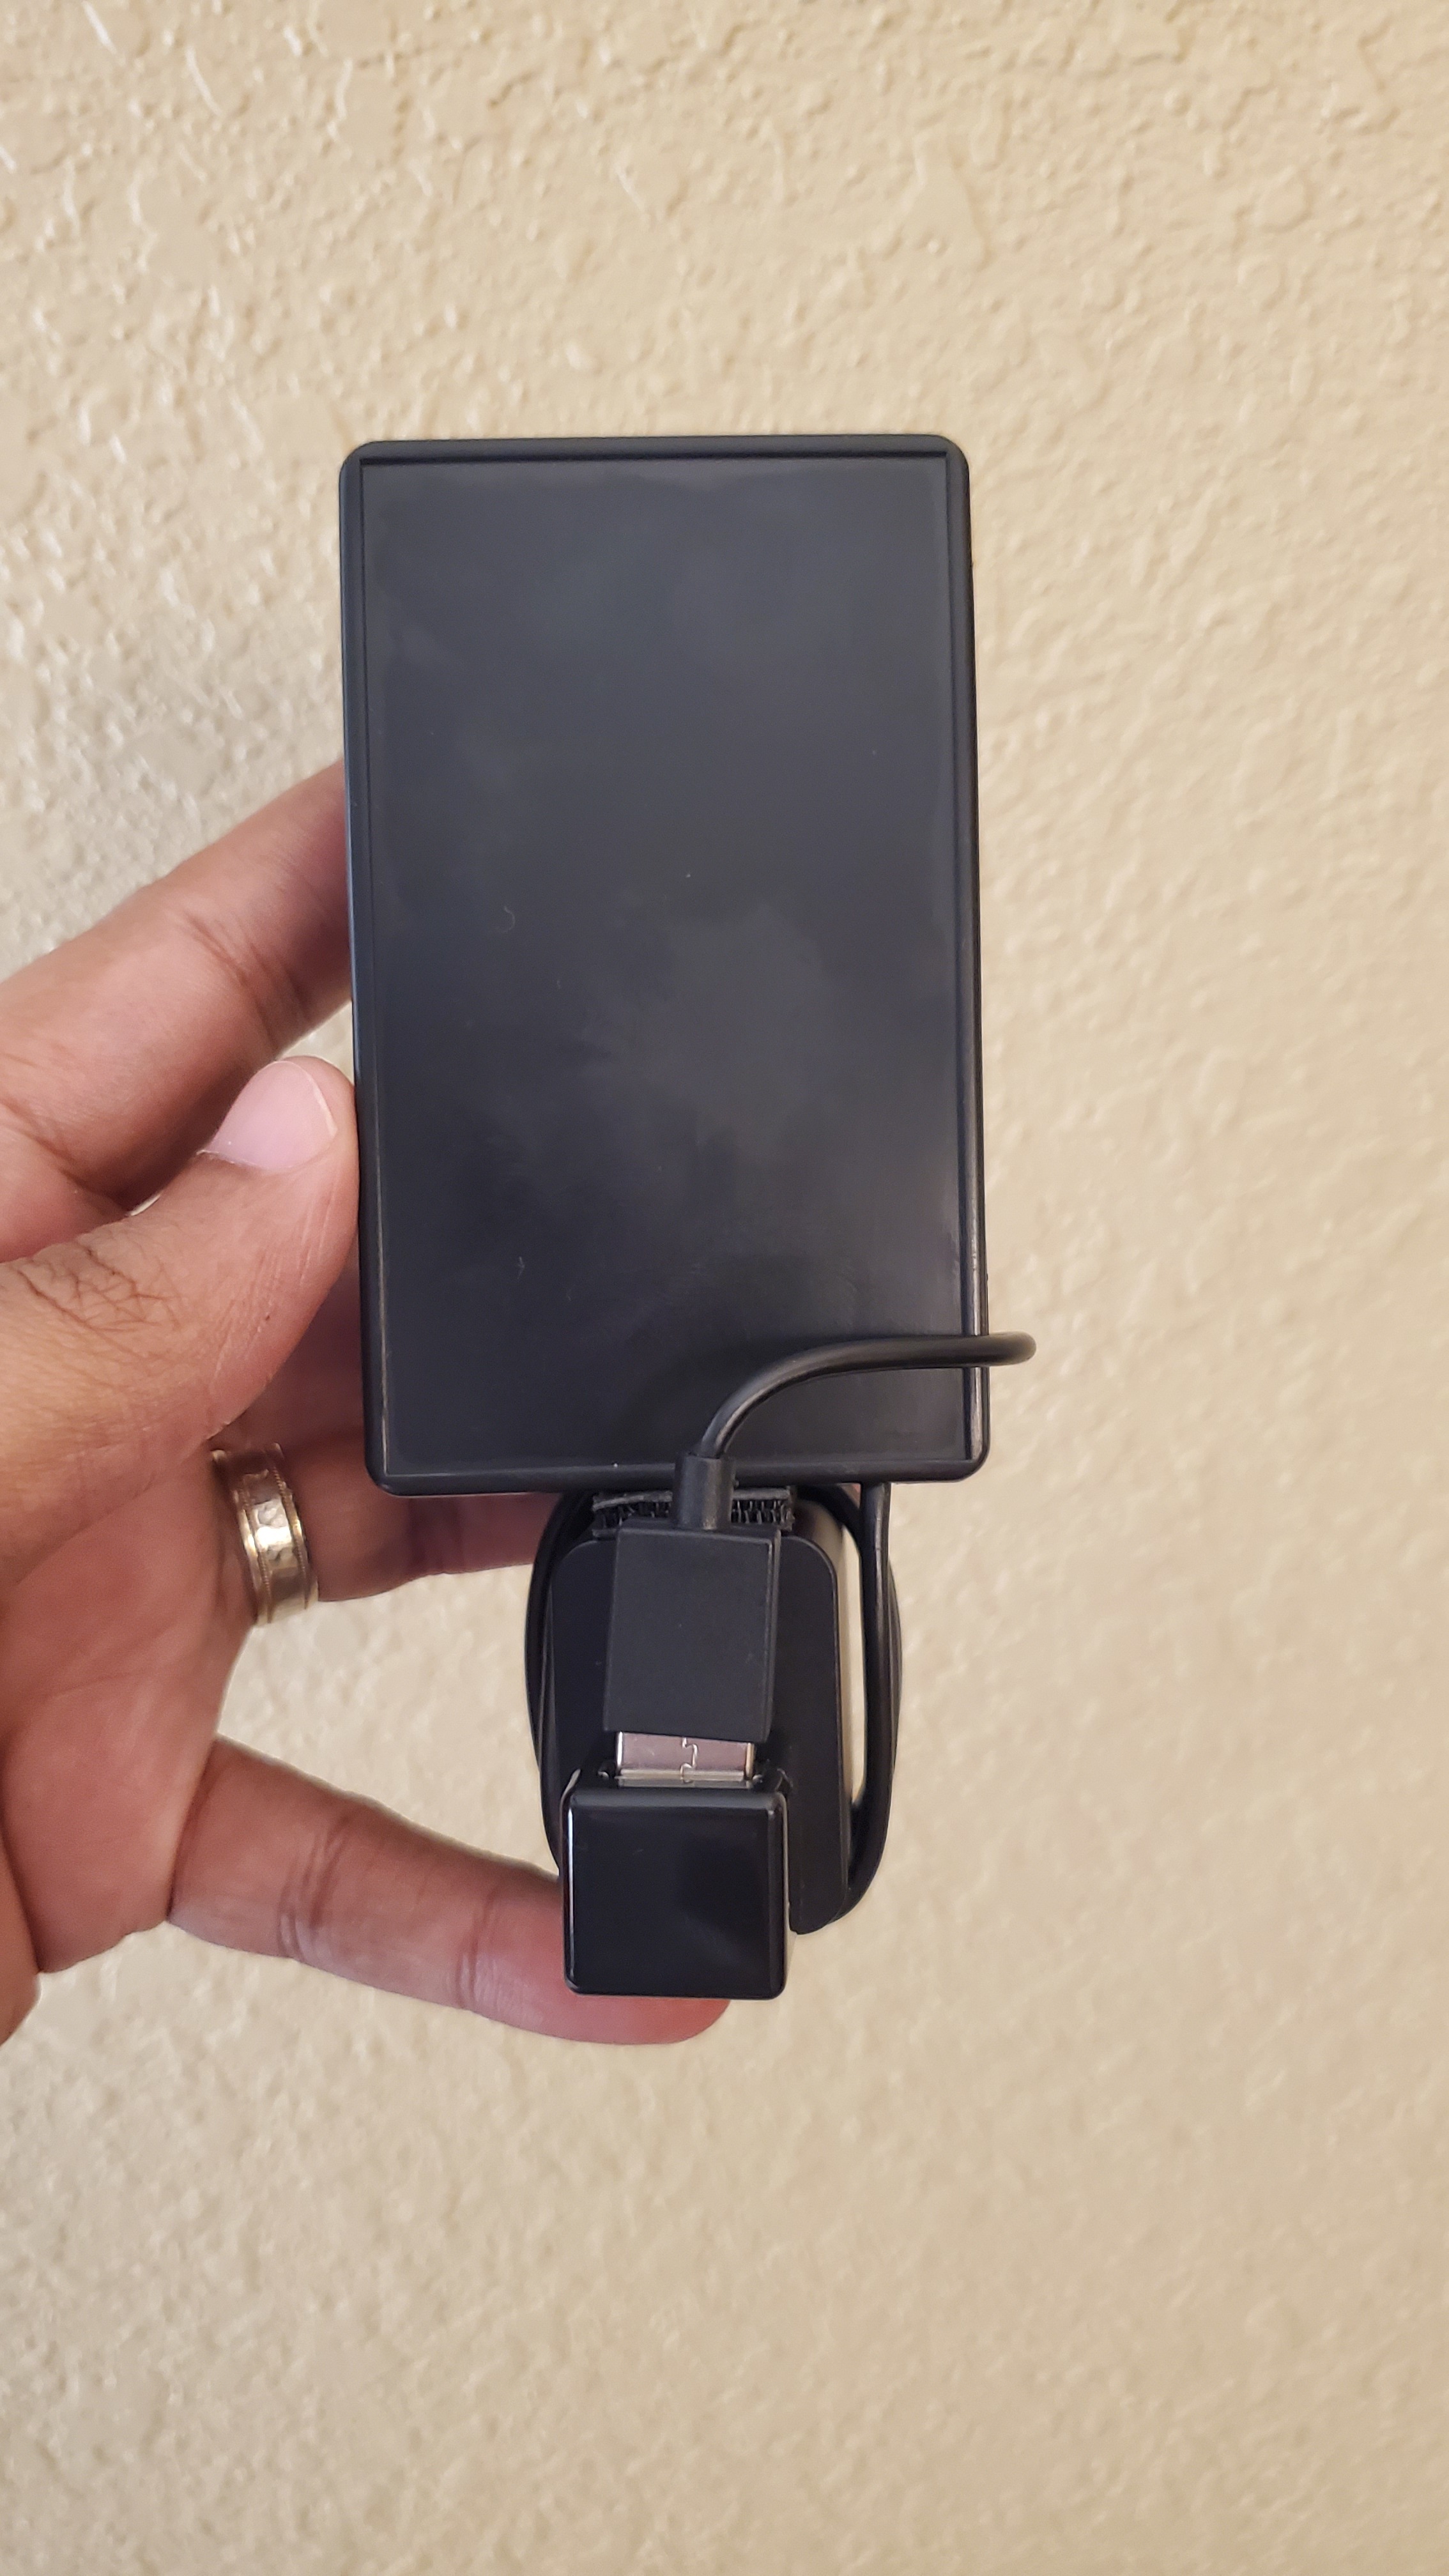
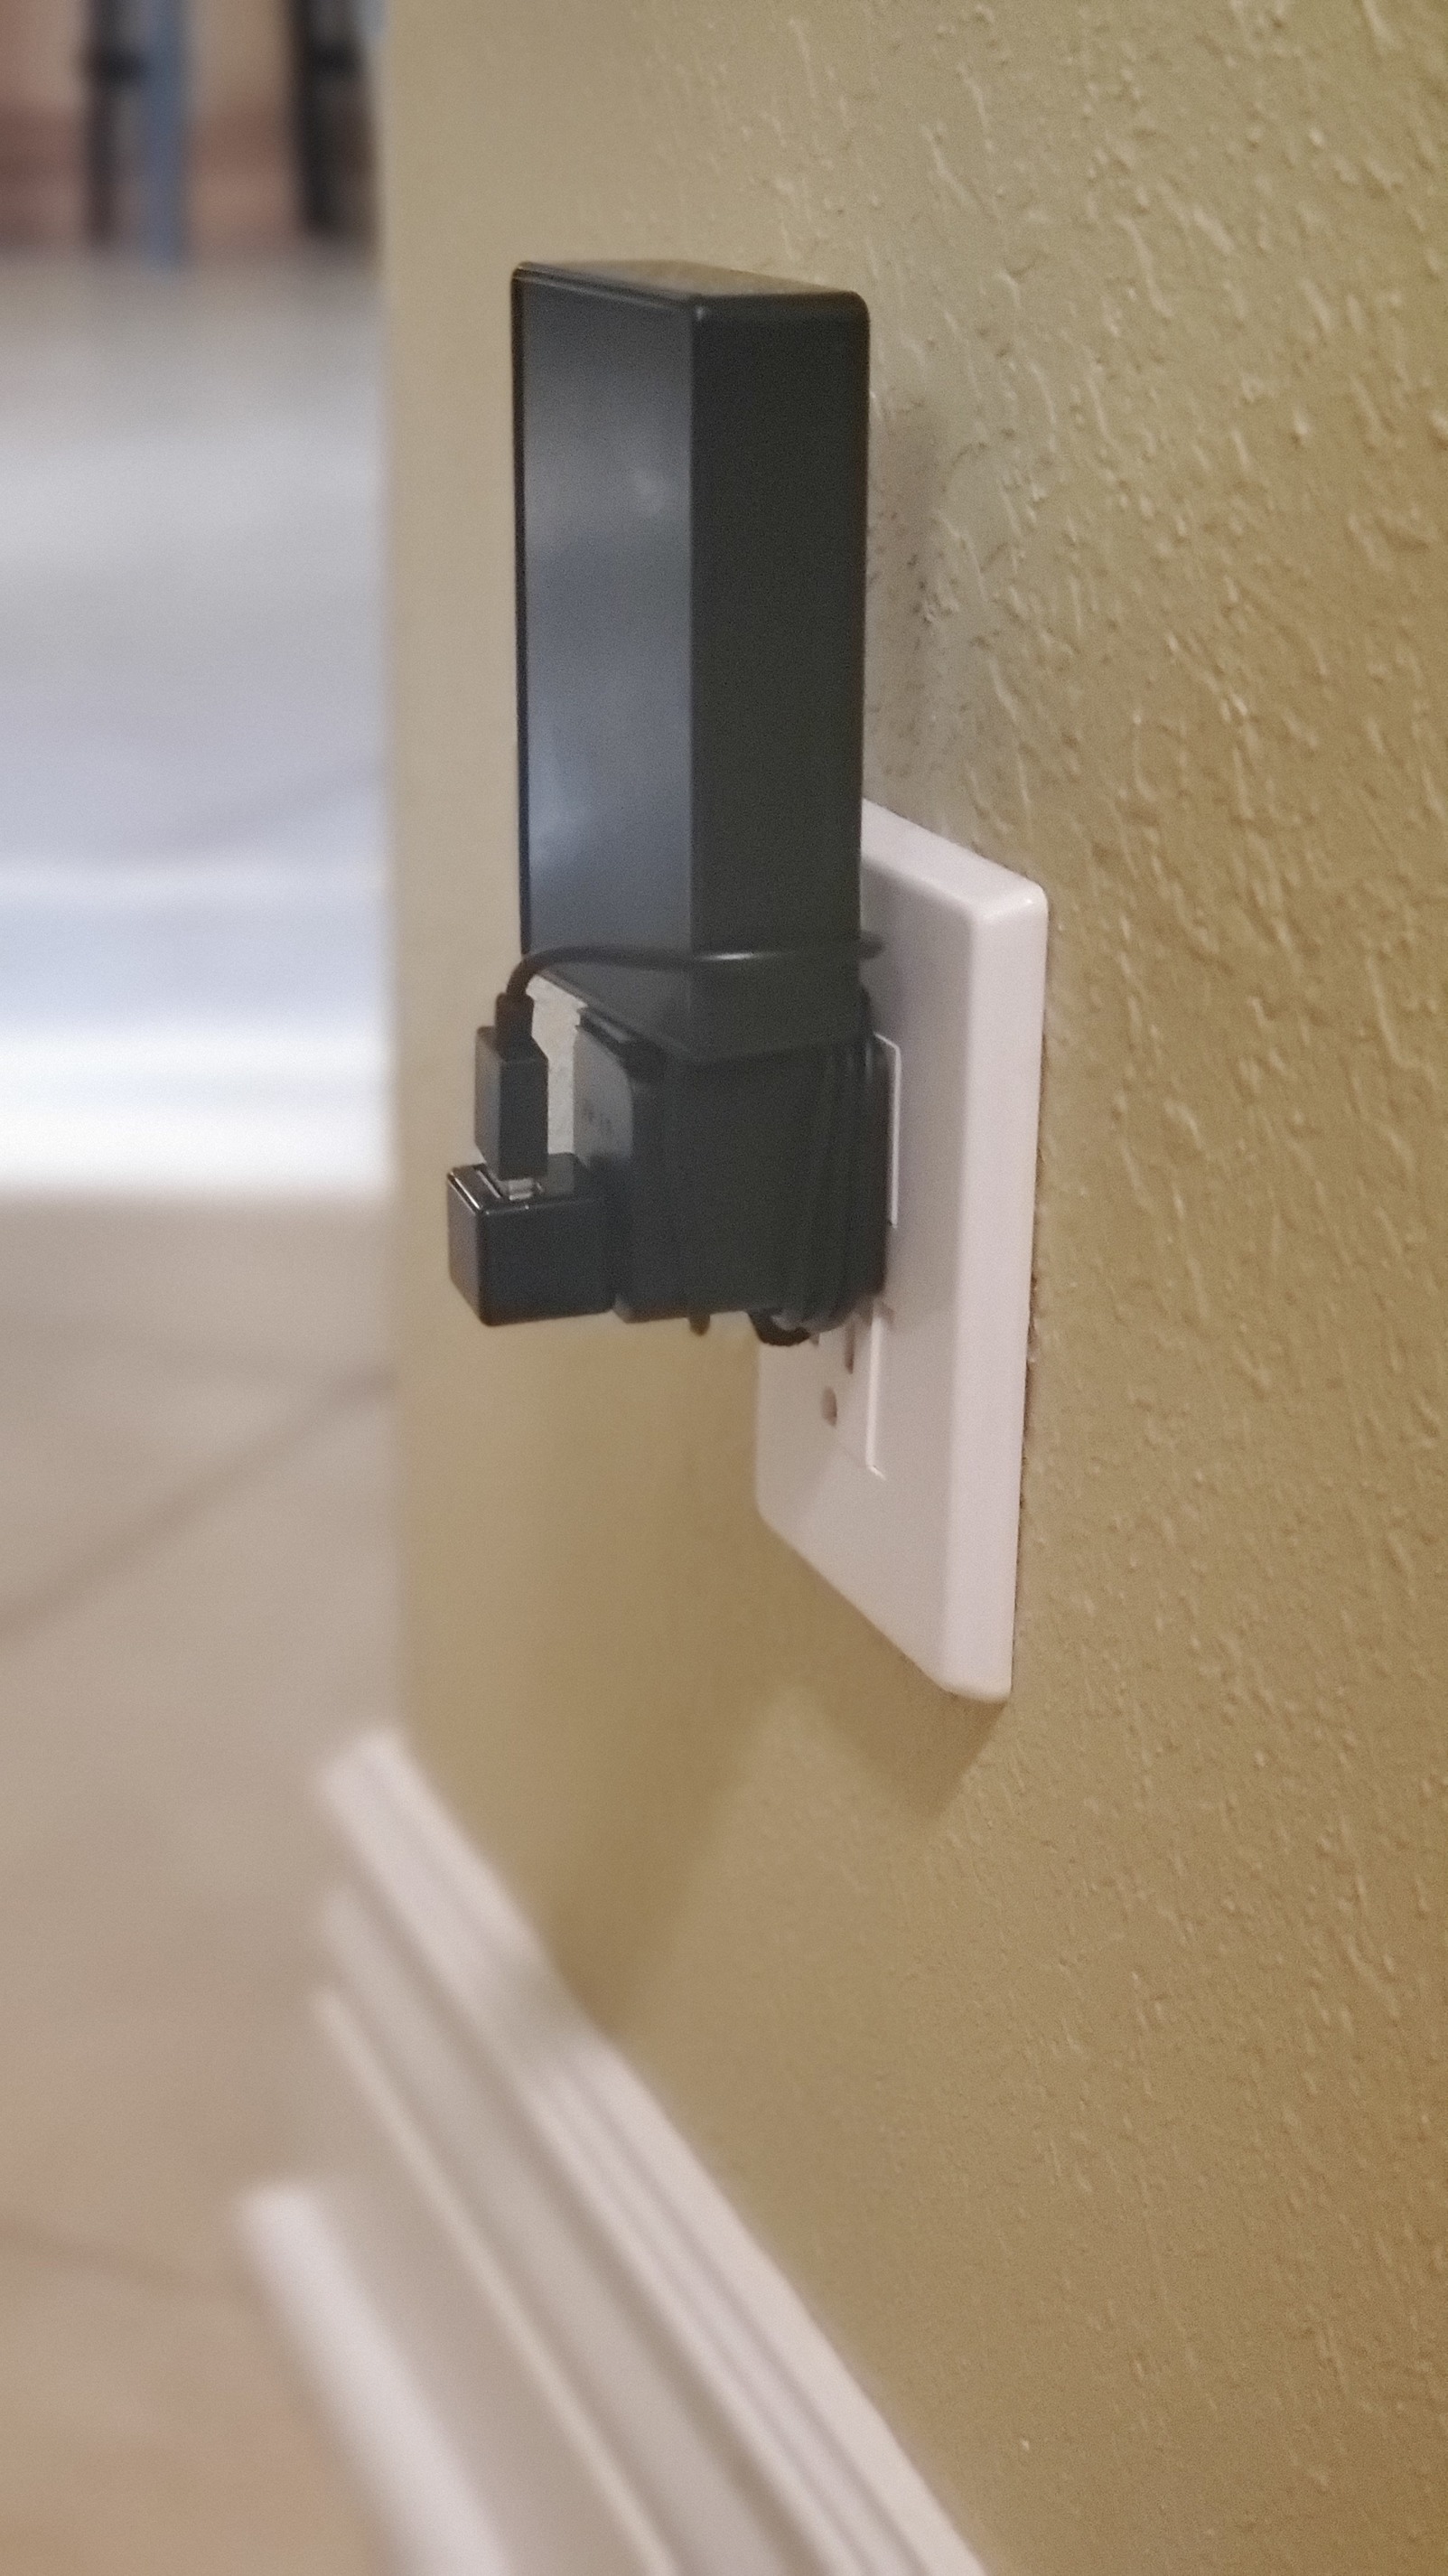
I know the topic might be a little old but I have been looking to monitor for power loss on a couple of circuits. I decided to use a Smart Things water leak sensor (GP-U999SJVLCAA) and a 5V relay (Wingoneer KY-019 for arduino). Less money than going the contact sensor route.
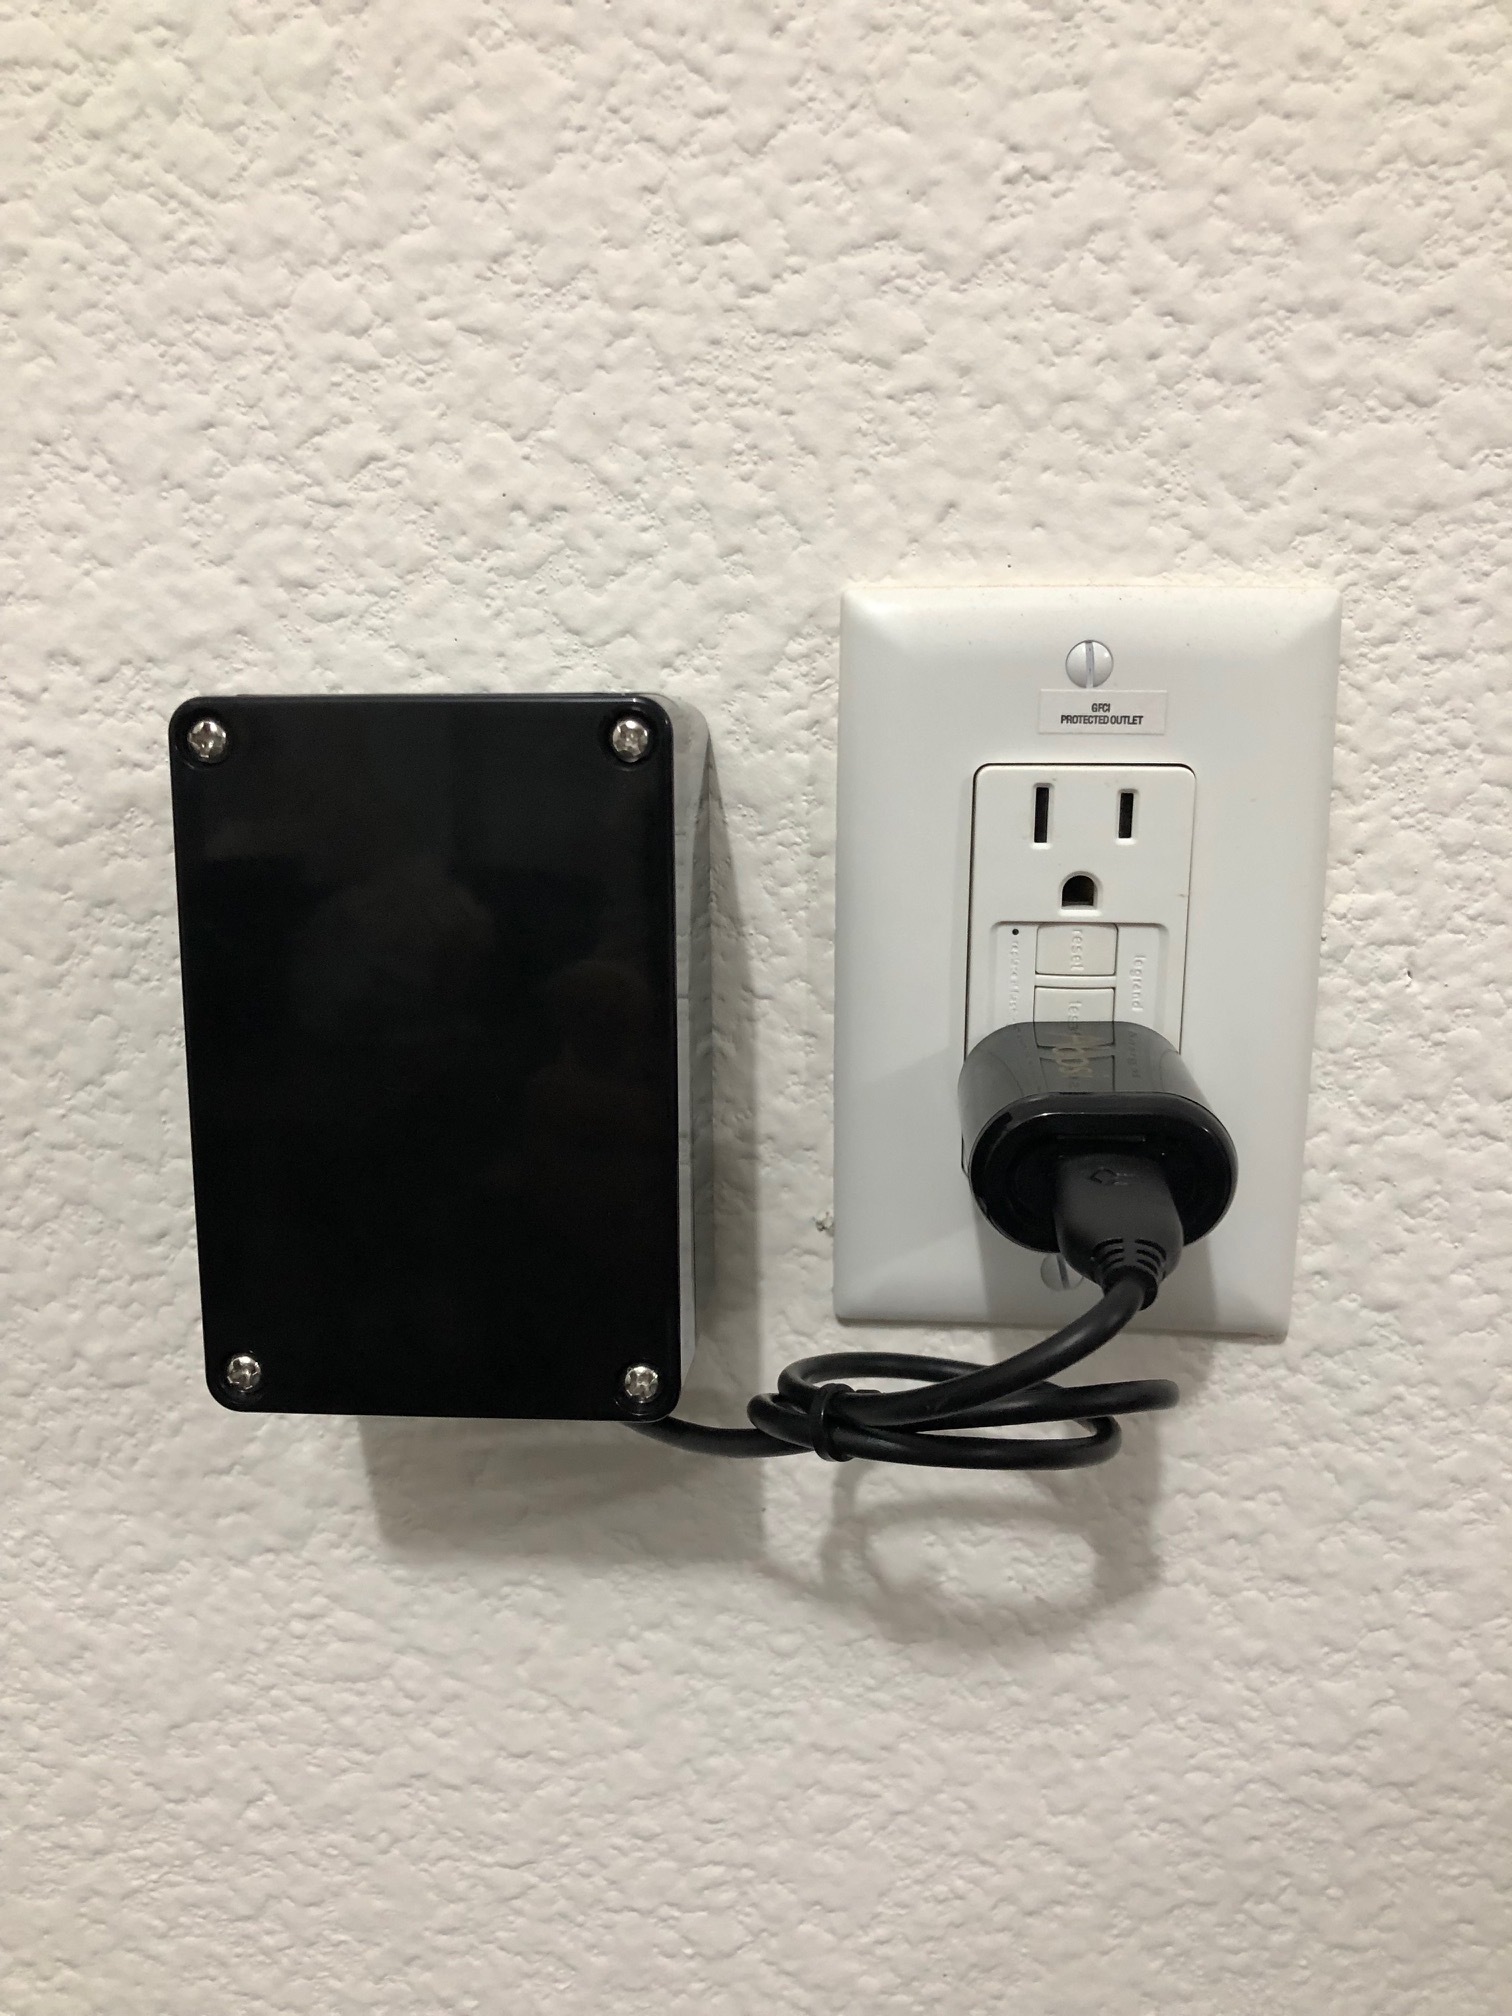
Project was really simple. Hook up 5V from a USB cable/Charger to the 5V plus trigger side of the relay and then connect the relay normally closed contacts to the external sensor points on the water leak sensor. This way the sensor reports dry when power is present and wet when power is lost.
There are a lot of solution out there. I am glad that there are a lot of creativity. I just thought that I mentioned some of unique advantage using my module for power monitoring. Here they are.
With the module that I made, it has battery backup using Li-ON/LIPO battery that you should not need to replace perhaps for the lifetime of the sensor (assuming power outage is rare).
You will get reading of Temperature, Humidity, Pressure and Light of the room where you install the sensor using a dedicated a sensor.
The module still have one digital output and one digital input that you can use to control other devices. In this scope, you can use the digital output to control a relay to shutdown some of your device on UPS(uninterruptible power supply) to save power.
You will get Zigbee Repeater which will improve your Zigbee mesh especially for your Xiaomi devices. The radio is an extended range Zigbee radio with additional dedicated amplifier. The vendor whom I purchased the sensor claim 1Km range (perhaps in the line of sight).
I tried to squeezed as much as juice possible to give us more value out more than just power monitoring. You get those additional advantage with pretty much the same or lower cost with my modules. I thought that I mentioned those points.
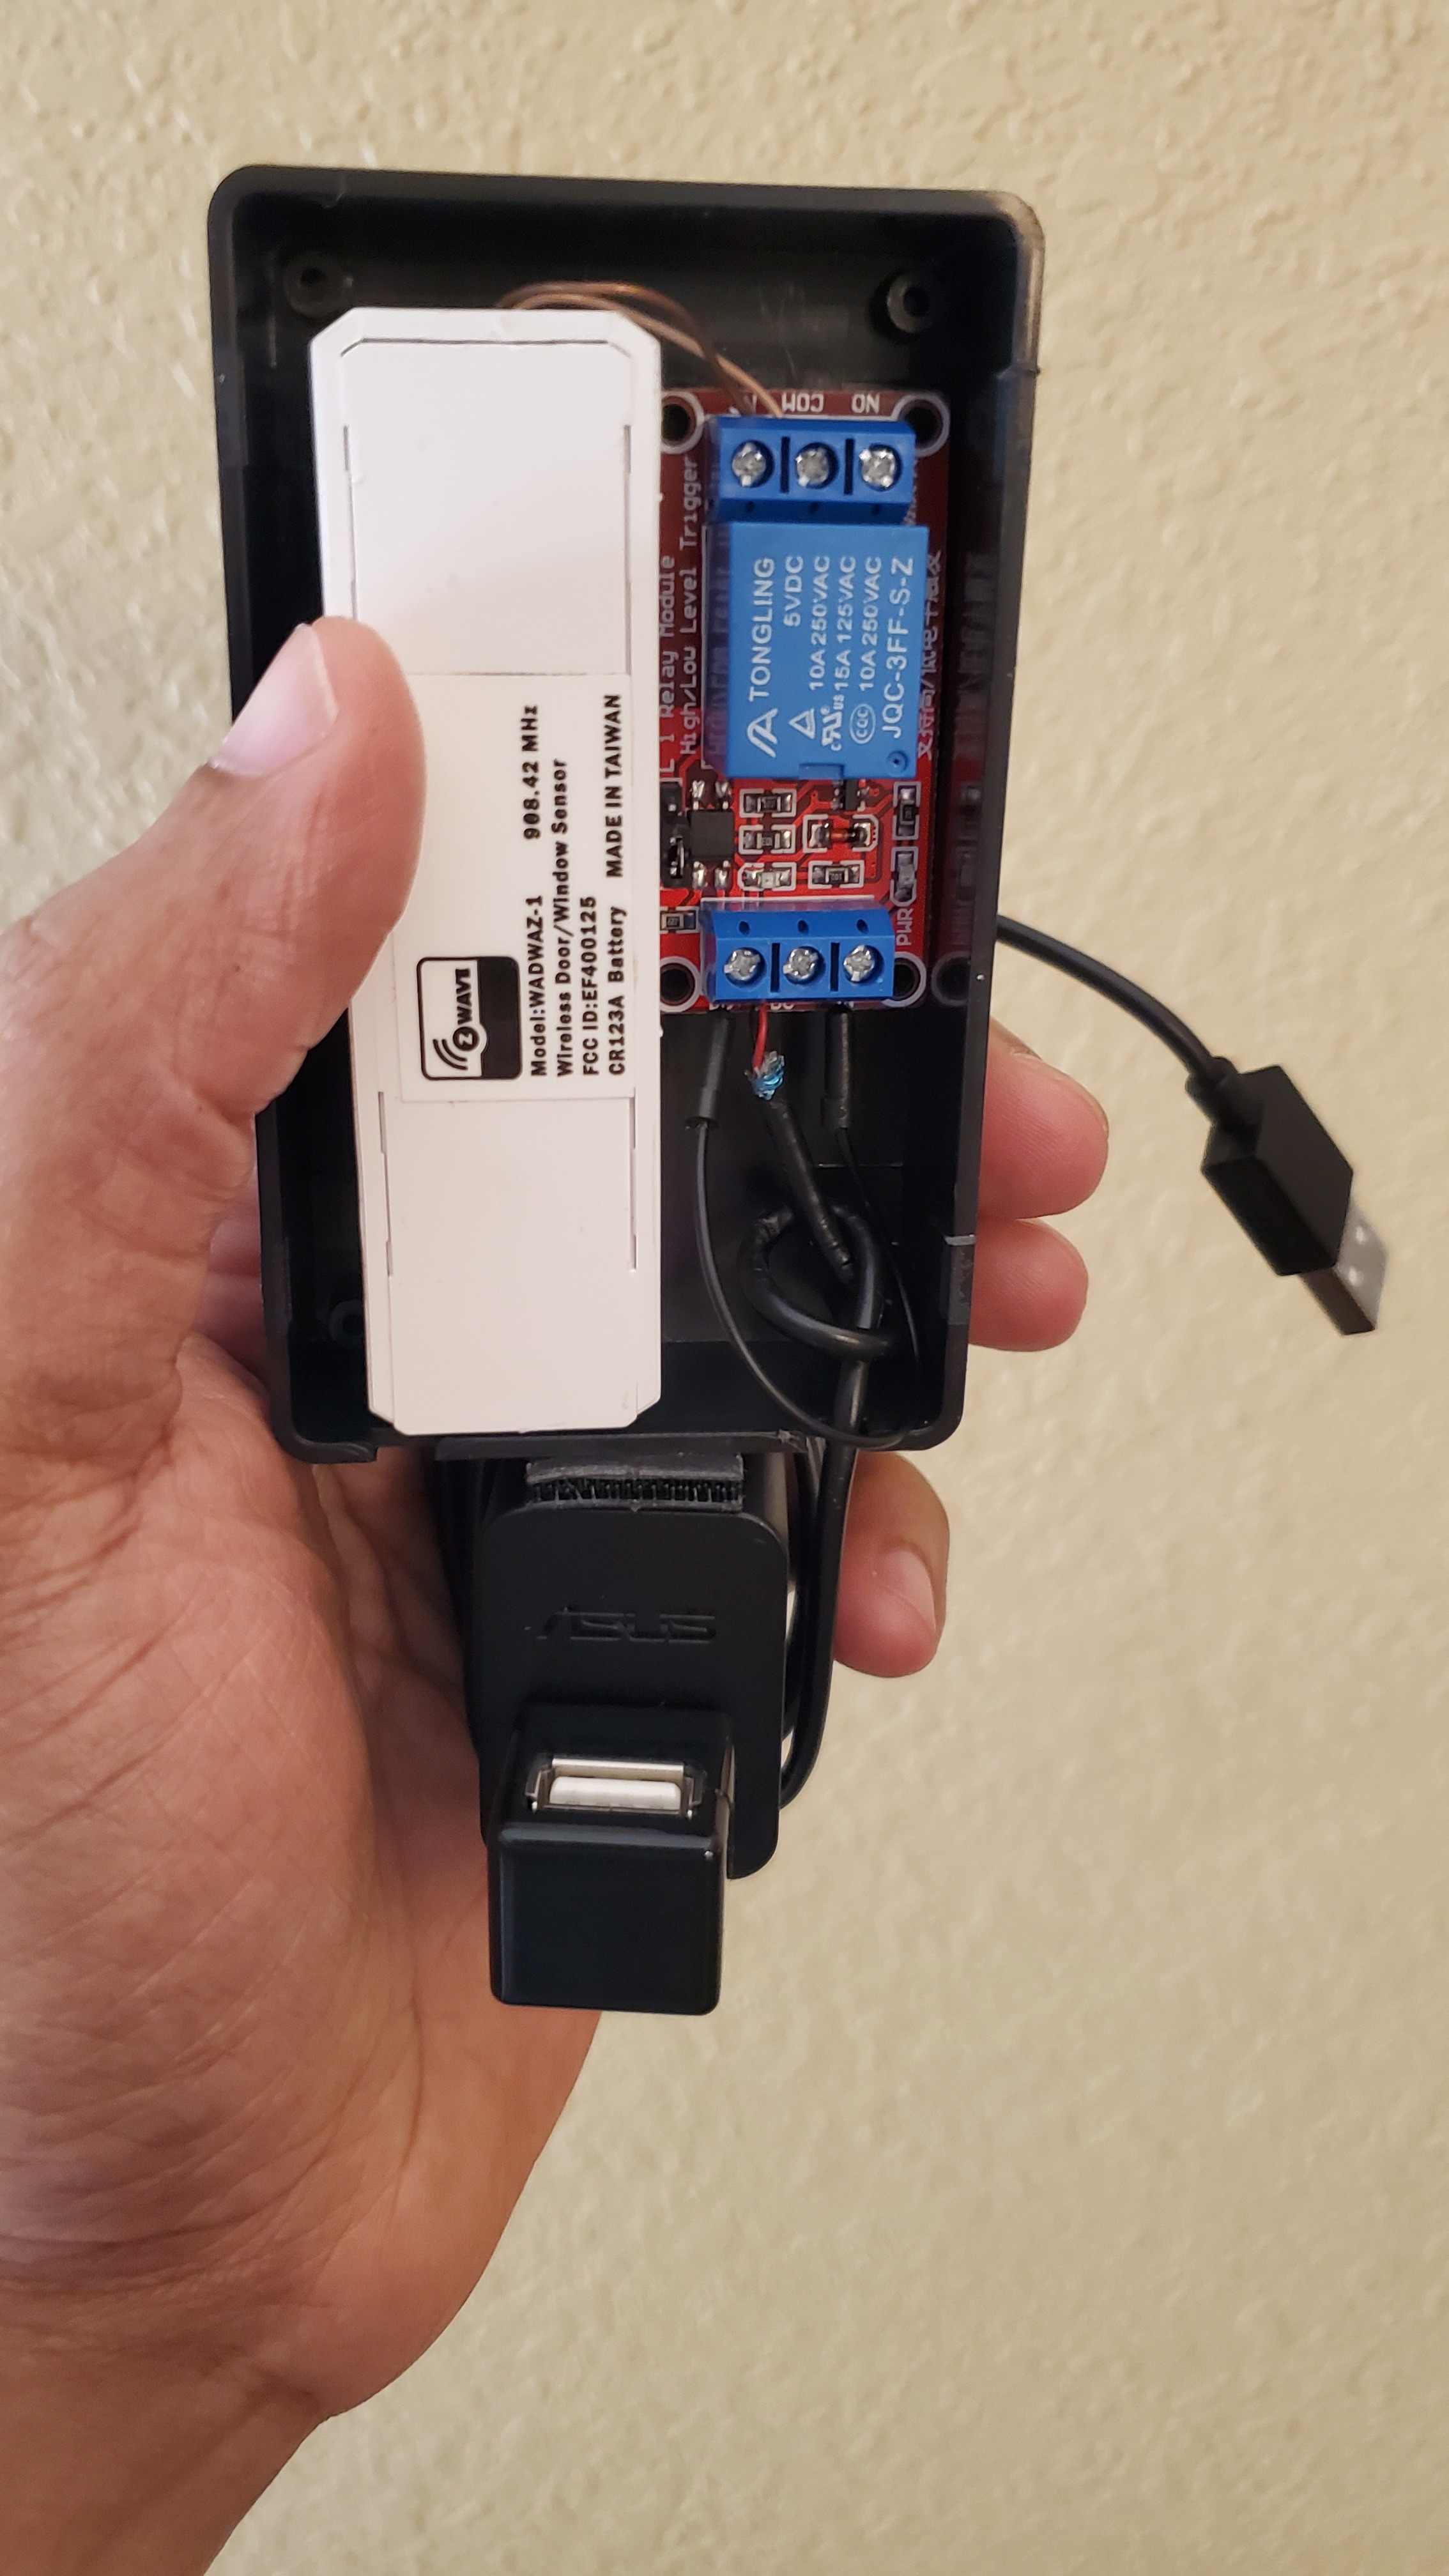
Thank you @greg.cole for posting your setup. I've had my power monitoring contact sensor sitting on my work bench since January. It kept falling to the bottom of my Todo list because it would take some soldering and heat shrinking to complete my initial setup (2 things I'm not very good at yet). That and @ritchierich gave me another method to see when power was out via a UPS NUT server.
Your pics made me realize I had all the equipment I needed and that I should have kept it simple and used a relay like @Navat604 recommended to me a long time ago. I grabbed my relay, small project box I had laying around and my USB paraphenalia. Had a complete project in less than 10 minutes and it works perfectly. Better yet, I have a little more space on my work bench now.
It takes a bit of practice because the tubing becomes very flexible when the solder is at its melting point, but they do a nice job and all in all it's very simple. I get the wires in there, crimp the lead with pliers to hold them in place and hit it with the heat gun. A deflector on the heat gun in tight spaces works very well.
I find that the red are very useful to typical wiring we would find in our IoT devices, and the white for thin 22 gauge and finer wire work great.
Also available separately. If you're only dealing with 26-18 guage wire, you can buy the sizes individually.
If you don't have a heat gun, this has been a very good one. Just need to burn off the manufacturing oils the first few times you use it. It's been very reliable and heats fast. Also on for an incredible price of just $18.53 right now too!
Thanks for the links. Yes, I have a heat gun and I actually have a few of the self seal connectors (the ones you posted look a lot better though). The problem is the very tight space and angles needed to fit everytrhing in the zwave enclosure. I also had to fit a resistor and a transistor and that's the main reason I never got to it.
see this post:
The relay in the project box was a LOT easier and quicker. One day I might go back to the method above...but I'm in no rush
Yeah, the relay used here is a very good way to go. Unless you already had a spare contact sensor, I would lower the cost further with a Xiaomi door window sensor. They're very easy to solder wires to- There it is again, MORE SOLDERING!
The best technique for joining wires together with hand soldering or soldering to components that shouldn't get too hot, it to tin the wires with solder. That way, it's a quick 1-2 second touch of the solding iron and they're joined.
A note about this video: It's text book. In practice, I don't use a heat sink, I don't apply flux (I use rosin core solder that already includes the flux), and I move faster than what is shown in the video.
Keep your solding iron tip clean with either a damp sponge or a soft coiled tip cleaner, and use a chisle tip.