I am looking for an easy to implement and "cheap" e-paper panel solution for Hubitat.
I see that there are projects made with Lilygo T5 4.7" e-paper display and Esp32
there is a EspHome project here: https://esphome.io/ but I can't find any direct integration to that from Hubitat.
and there is a Hubduino project which controls access to Esp devices from Hubitat.
But I am not a good integrator and do not have much info on this subject.
I can't choose where to start from.
Is there an easy to implement solution for dummies ?
@ogiewon would be a great person to ask if he knows whether there might be a way to integrate this via Hubduino.
That being said, it's cool and cheap enough that I bought one--I've wanted to play around with something like this for a while, and this all-in-one option looks easier than things I'd considered before. So, I'll find out soon enough (but might just do it via Home Assistant and ESPHome).
I got mine from Amazon because I'm impatient, but if I like it, I'll consider another from AliExpress like above--and they're on sale for a good price right now there!
ok but just the display is not enough I believe.
We also need a esp board to drive it , right ?
So what else did you purchase ? Just the item in the Aliexpress link ?
esp, rpi, arduino... tons of things can drive the display. One just has to pick the one they are most comfortable with / will get the job done they need.
so if we just get this , and then a battery (there are 2 versions)
it will be possible to use with ESPhome ?
how can we start with ESPhome ? (learn the basics etc.)
if it can send/receive http commands , then we can write a communication bridge to drive it from Hubitat.
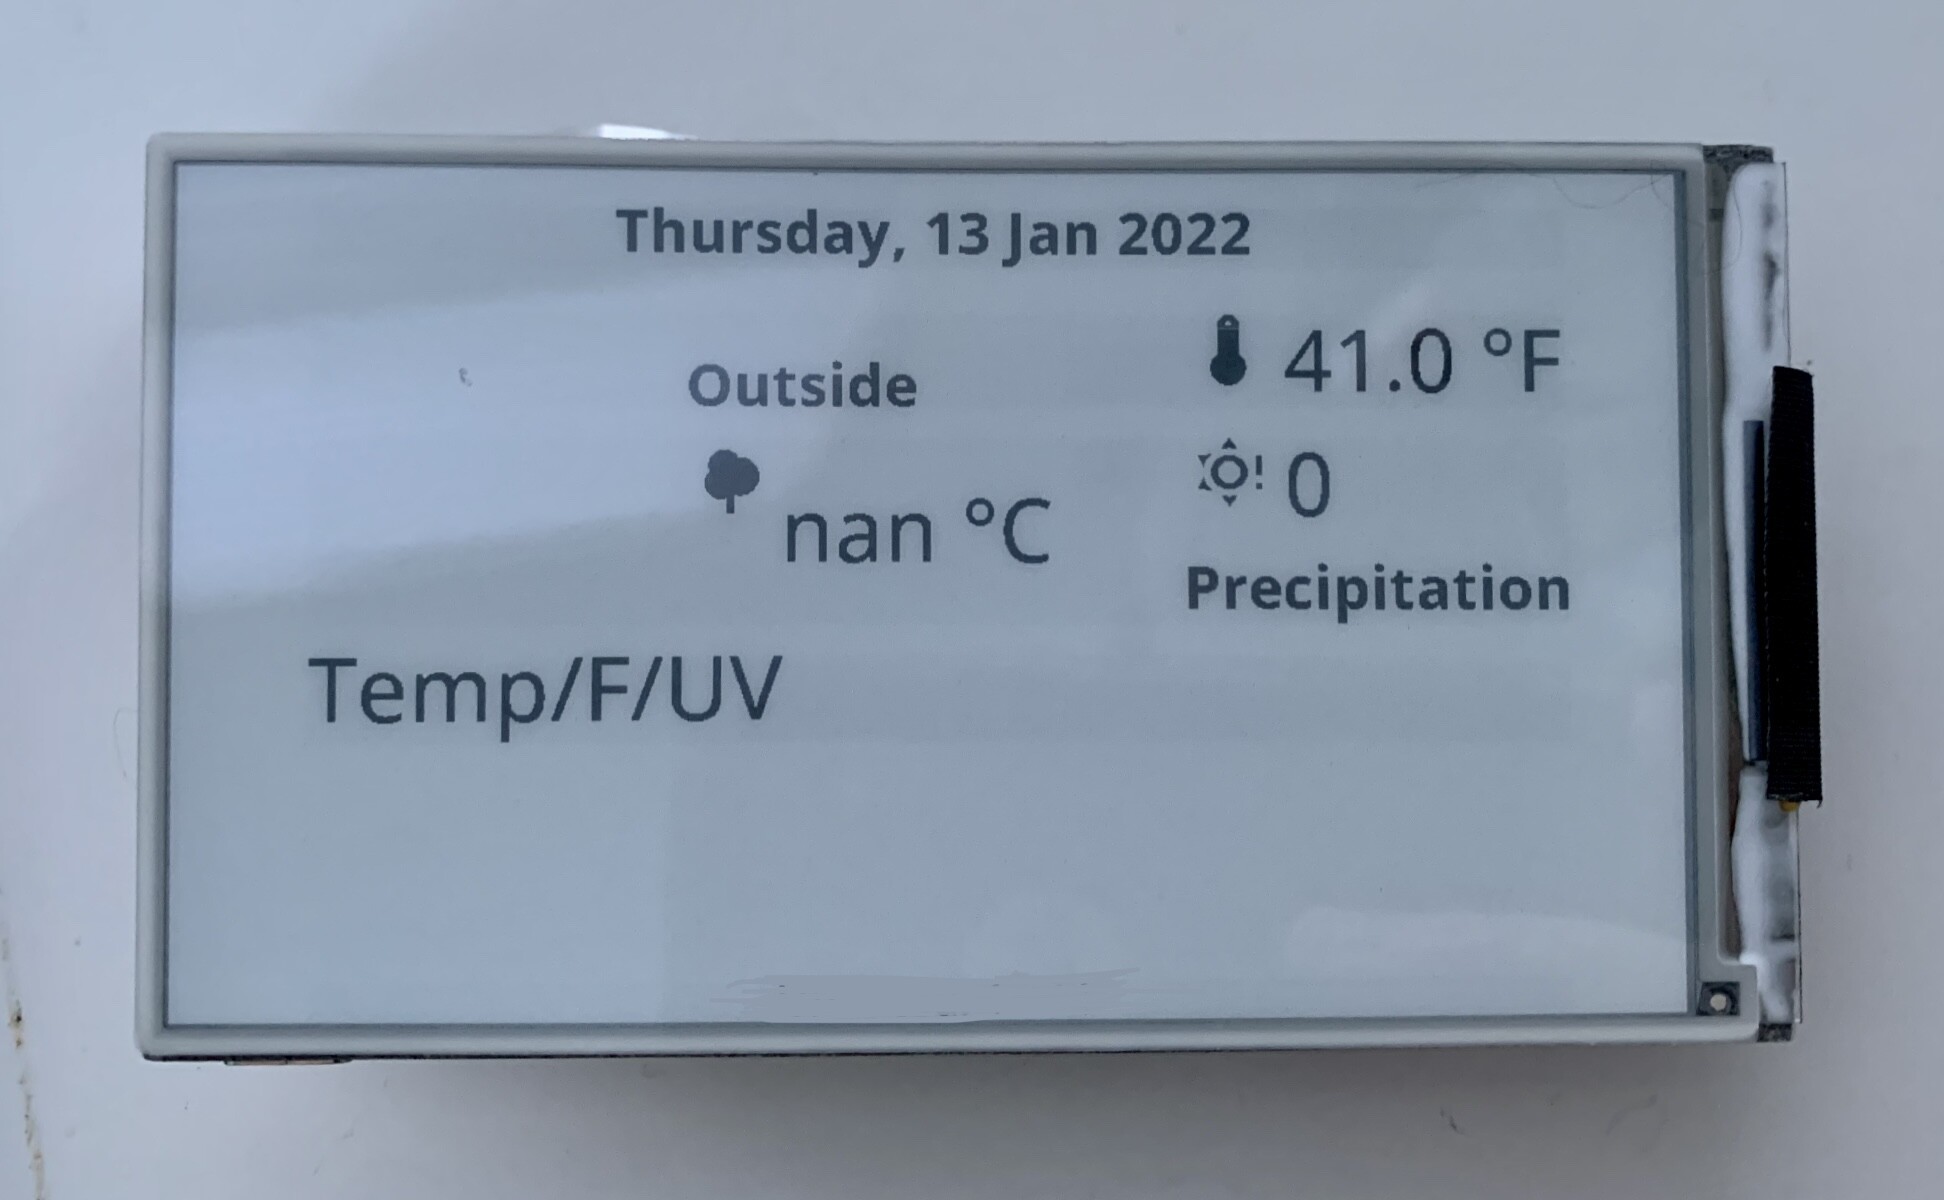
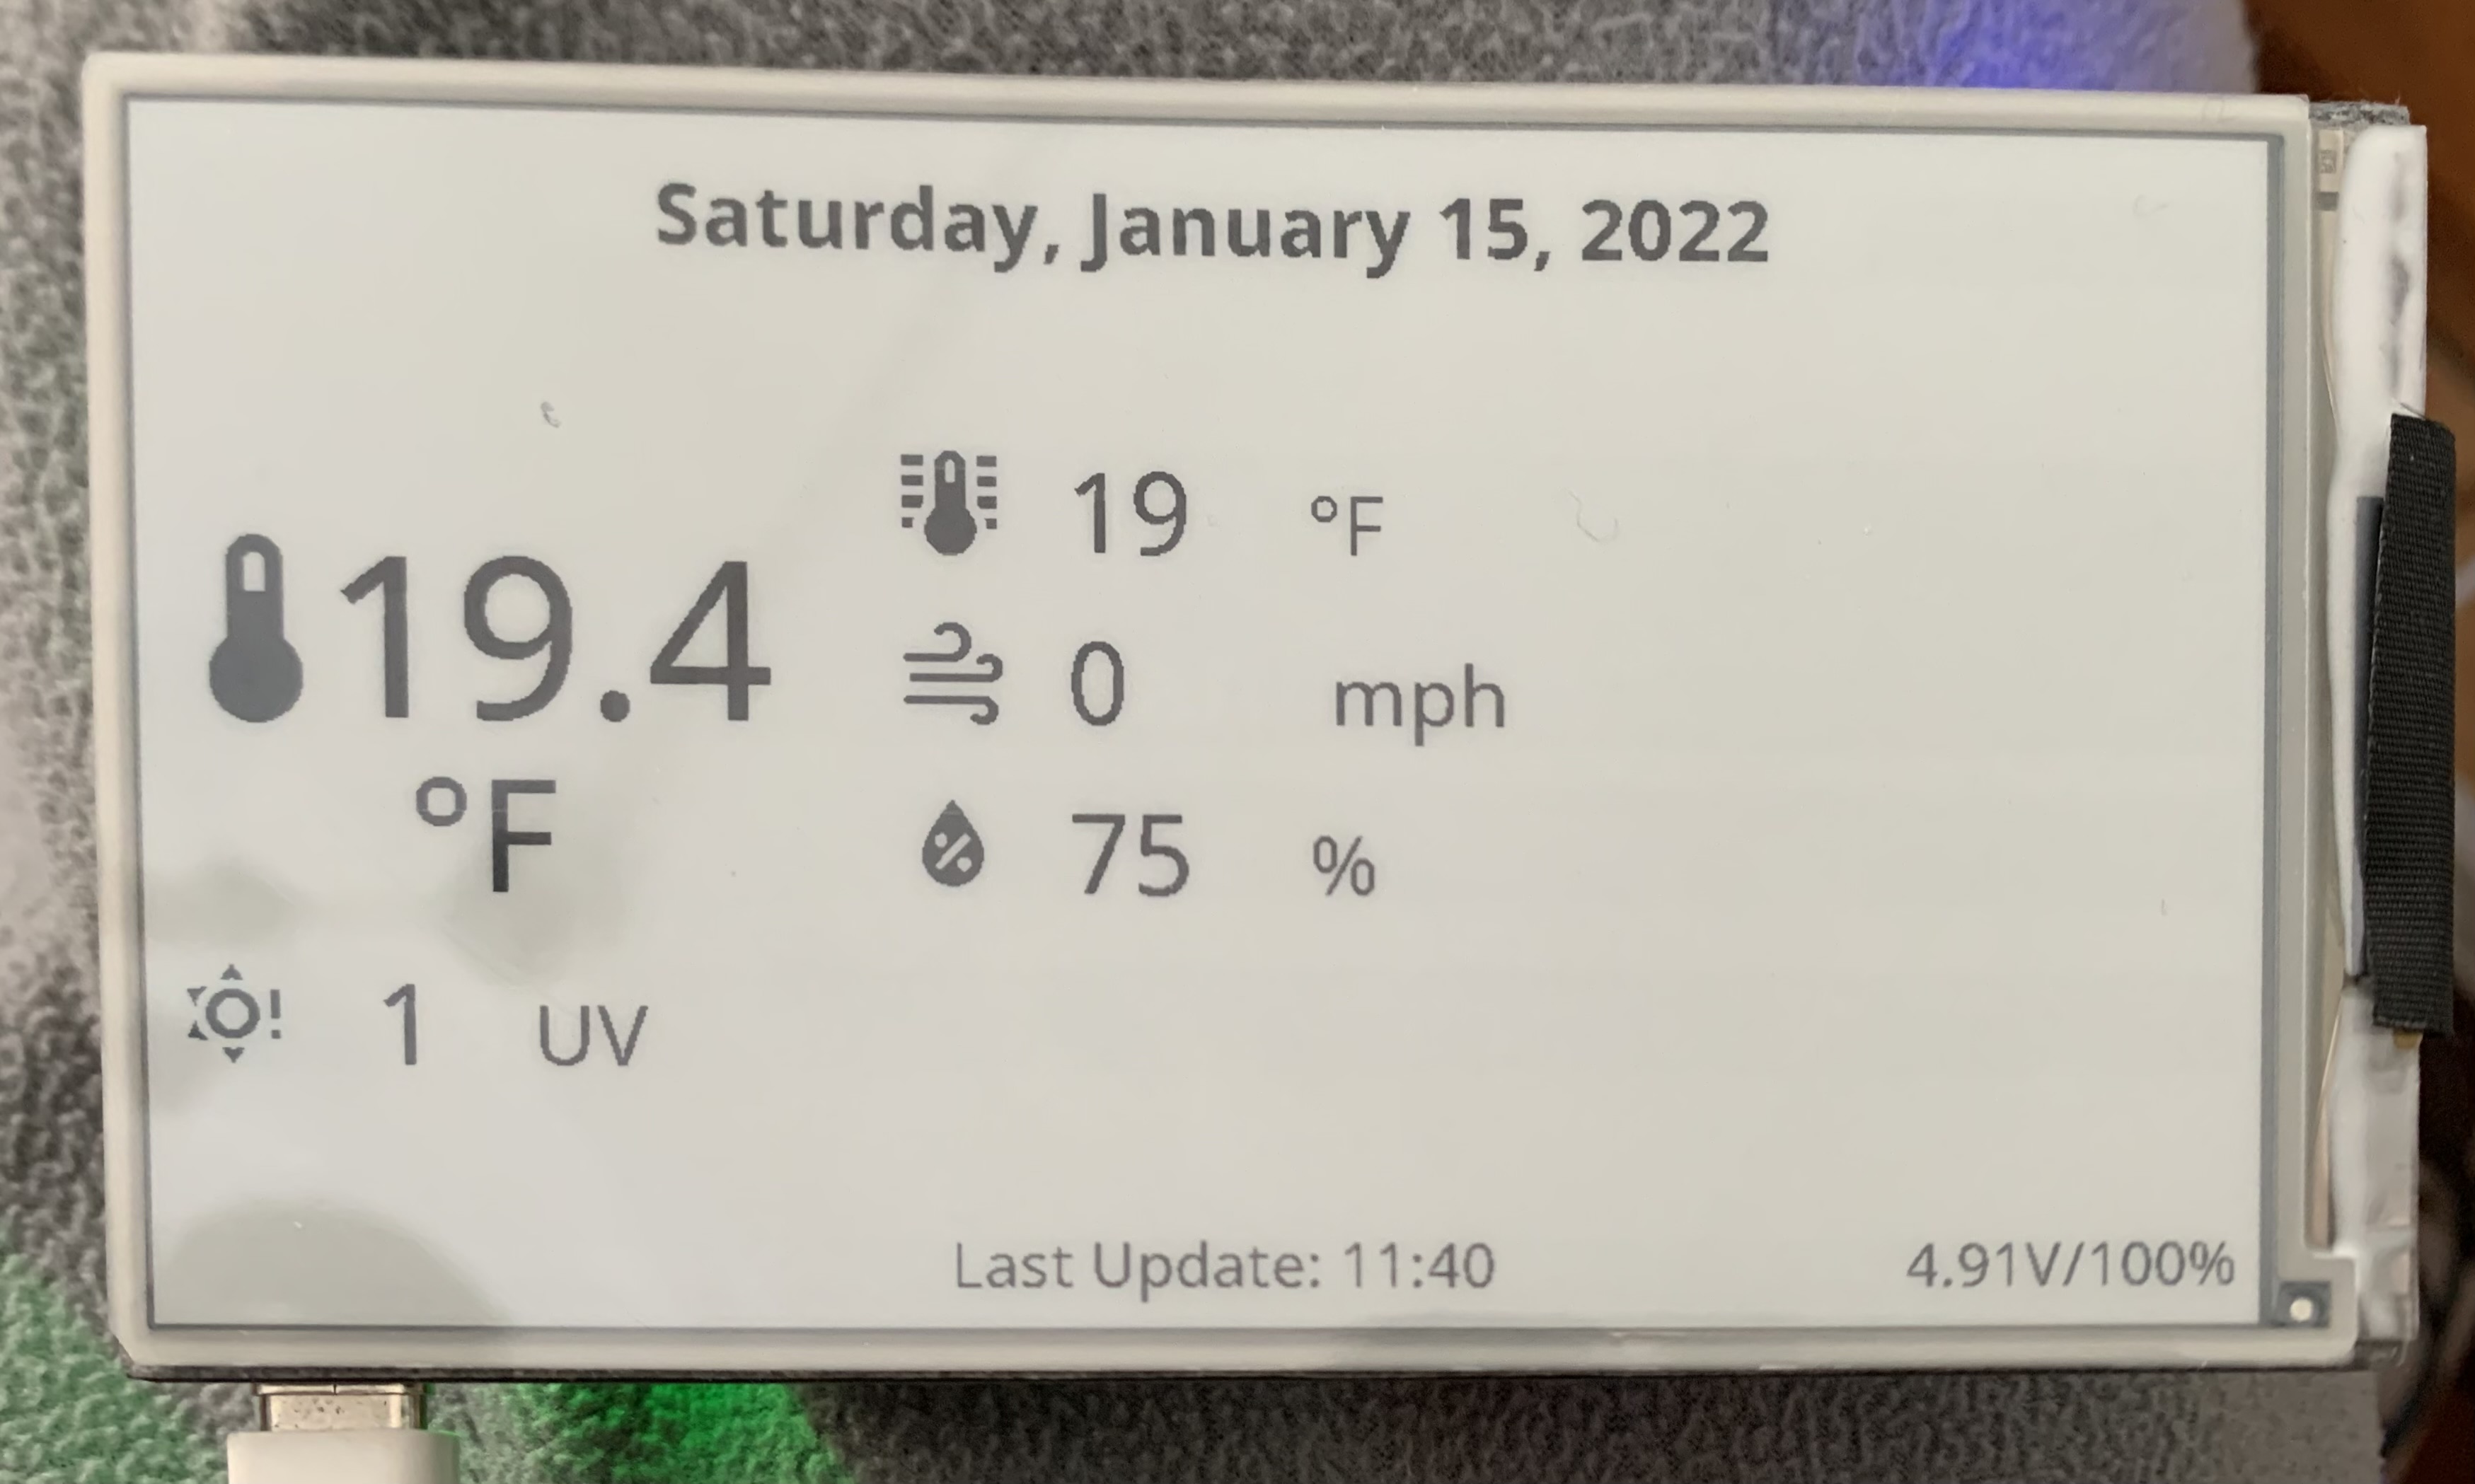
Got mine in the mail and started playing around with it with ESPHome. Decided to start there since I'm not sure if Hubduino can do anything with displays, and I'm not as familiar with that. But if I ever figure something out with this, I'll probably try that at some point since I'd rather not put ESPHome and Home Assistant (which I'm ultimately using for this data at the moment) in the middle if I don't have to.
But...given my lack of skill, that will probably be a while, if ever.
(This is even using some of the configuration in the post the OP linked to as a starting point, ha.)
As others have noted, this is an all-in-one solution--the ESP32 is already included on the back of the board. So you really don't need to do anything special to set that part up, which is part of what stopped me from doing this before (not that it would have been too difficult, but this is still more appealing--and very thin, and should be easy to 3D print a case for).
The post you linked to above has a working ESPHome configuration, so it is absolutely possible (it pulls the data from Home Assistant, so you'll either need that or to get it into ESPHome via other means). The ESPHome website has a "Getting Started" guide that is...not super-helpful if you don't know what you're doing, and I don't, but you might be able to make more sense of it than me. This is pretty much to be expected with super-DIY projects like this, though.
Also, I'd recommend power via USB-C. I got the version that takes an 18650 battery--I think both can still accept USB power--but on battery alone, I can't imagine it would last more than a few days given the power needs of the Wi-Fi module. You might be able to extend that if you just make it sleep and only wake up every so often, but I'm not sure if/how you can configure that. (The screen is another issue but undoubtedly a very small portion of the power use, just for refreshes.)
I will be ordering one when I get back home after the vacation.
But I am not sure what şs required from the esphome website.
I see the yaml file from the reddit post that I wrote above.
But to use it we need to put a firmware on the esp32 , right ?
how do we get there ?
can you write the basic steps ? Because as you already noted, Esphome site is not very helpful.
First, you need to get ESPHome installed. I did this as the Home Assistant Community add-on, because that was the easiest option (and practically the only documented one, though I'd be surprised if you couldn't run it in Docker or on bare metal yourself if you wanted): Getting Started with ESPHome and Home Assistant — ESPHome. Then you just need to use ESPHome to create a configuration file for this device. The Reddit post you linked to originally has one example (though it depends on that poster's specific Home Assistant "entities"/devices, so you will need to modify some things to make it work with your setup). ESPHome can then write this configuration to the device, either over USB (if ESPHome is running on the same computer or with a supported browser) or with their flashing utility. Subsequent updates can be done that way or, now that you'll have it connected to your Wi-Fi network, over the air.
For more, I'd probably recommend seeking help on the ESPHome Discord (seems to be their community support?) or Home Assistant forums, but it's possible folks here will know more, too. And it would be great to do something like this with Hubitat directly at some point.
reading again the "getting started" guide, I see that the yaml file is what the firmware is being built by.
So now since it only supports homeassistant API we're stuck with that.
I wonder if they have a generic http rest API.
or else, how can we write and compile our own firmware for esp32...
So we can call get and post methods using http from Hubitat to values on the display.
Since the display is not a touch display there is no possibility of other way communication (from display to the Hubitat Hub)
I think we can easily do this using the rest api.
I need to order one asap.
*another option is as you suggested contacting the developers using their discord channel.
and they might provide an api for Hubitat. But if the rest api works as I imagine, it won't be needed.
I am writing these as a note , so if someone would like to combine and make a simple rest server listening and then displaying graphics on the lilygo display...
But I'm still going through ESPHome and getting data from Home Assistant. That is the easiest option for me right now. I'm sure in the long term, someone could do something directly from Hubitat, but I think the biggest challenge here would be the display rendering system. ESPHome has something for this built-in (not super-easy to use, but not hard to modify if you have examples to follow, like I did--and which you can see in the configuration linked to in the Reddit post you linked to originally. See the lambda option under display: in that config file.). You would need some way to do the same from Hubitat (or perhaps have most of this statically configured somewhere and just pull in the numbers/text/icons--all really fonts, in my example--from Hubitat as needed somehow).
I received my board and installed my first Arduino code on it.
Tomorrow I'll start working on a simple rest server which will receive http get/post commands from Hubitat.