I have been interested lately in monitoring humidity levels within my house as well as under the house in the crawlspace. I already had a few Centralite 3310-G Temperature and Humidity Zigbee sensors on hand that were using Hubitat's built-in "SmartThings Humidity Sensor" driver. This driver works fine, however I really wanted to be able to have a Humidity Offset user preference to allow me to calibrate these sensors a little better. (Note: The built-in driver allows for a Temperature Offset only.)
This also gave me a good excuse to learn a little more about writing Zigbee device drivers for the Hubitat platform. As I dug into some old SmartThings Groovy driver code, I came to realize that thse Centralite 3310-G sensors do not report Humidity on the standard 0x0405 Zigbee Humidity cluster. Instead, they use a Manufacturer specific Zigbee cluster of 0xFCF5. So, this just adds to the challenge a little bit. ![]()
I was able to piece together a working driver for Hubitat, which I would like to
share with the community. This is an initial release, and thus there may be a few bugs lingering. Please feel free to point out any issues that you find. Feedback is a gift! ![]()
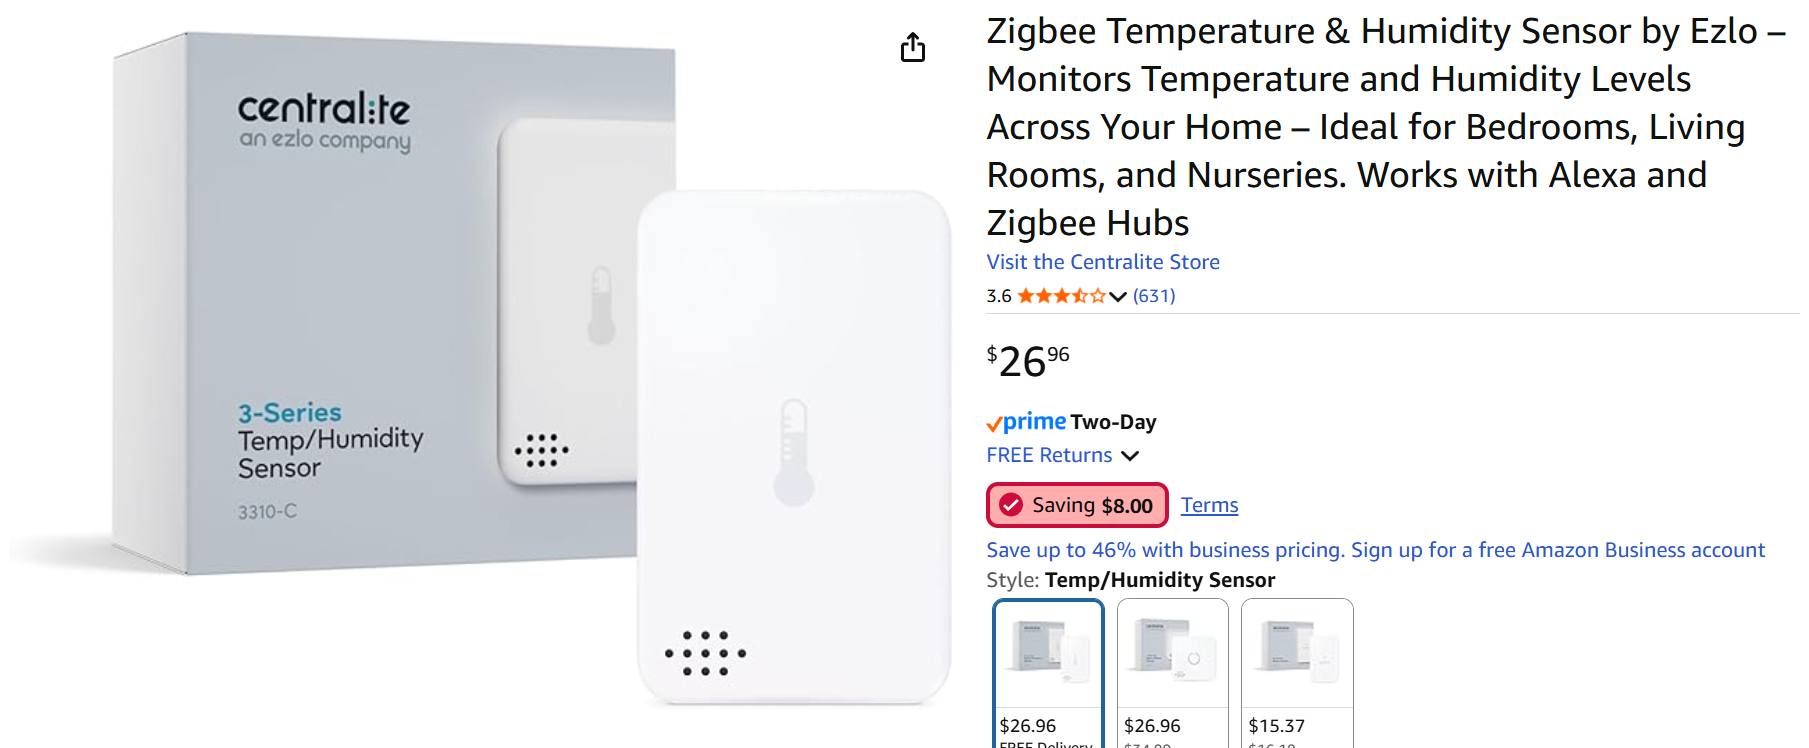
Here is what the device looks like. It is available on Amazon and direct from Ezlo.
My house is full of Zigbee HA1.2 devices made by Centralite, mostly for the original SmartThings and Lowes Iris v2 platforms. As such, I find sticking with the same vendor tends to help maintain a stable Zigbee mesh network. I also get to use the same CR2 batteries in all of my motion, leak, contact, and temp/humid sensors.
I am sure there are newer Zigbee 3.0 Temperature/Humidity sensors available on the market. So please do not take this post as an endorsement that these Centralite sensors are the best. To be honest, these are the only humidity sensors that I have ever owned! ![]()
One neat trick that I have just recently found online, is an easy way to calibrate humidity sensors. One can simply buy the proper Boveda packs (I chose 58% RH packs), and place one in an air-tight container along with the sensor. Wait 24 hours and then simply adjust the calibration offset in the Hubitat driver to match the Boveda Pack. Be sure to read the link, as it explains which Boveda packs can be used for this purpose.
Before anyone asks, no I am not going to add this driver to HPM. I personally have never used HPM and do not intend to start now. My Hubitat system was mostly complete for my needs before HPM ever existed. Thus, I have never found the need for it.
If anyone tries this driver, please let me know how it goes. Thanks!