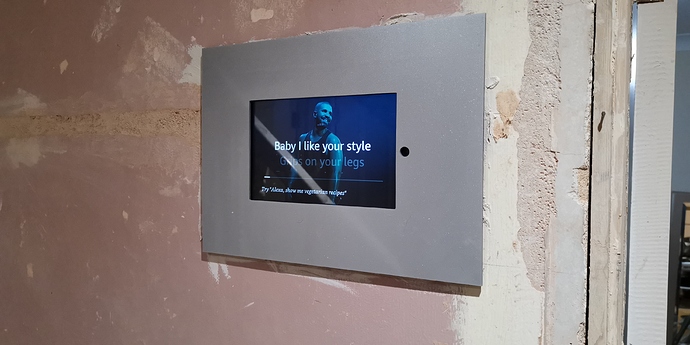
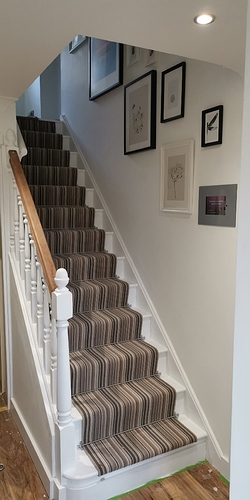
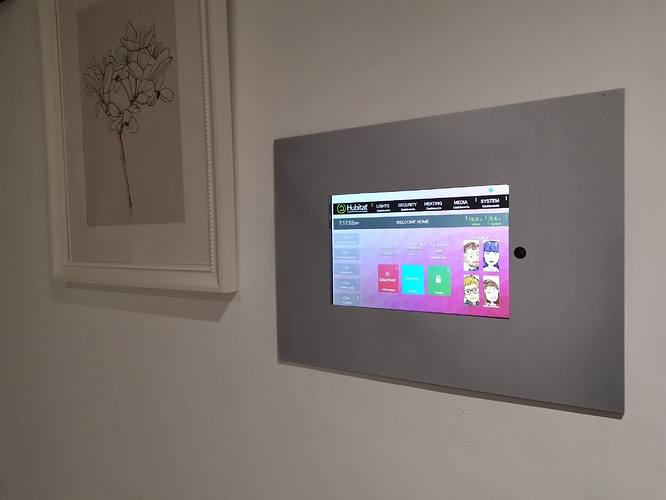
Hi, thought I would share some build pictures of my in-wall tablet construction.
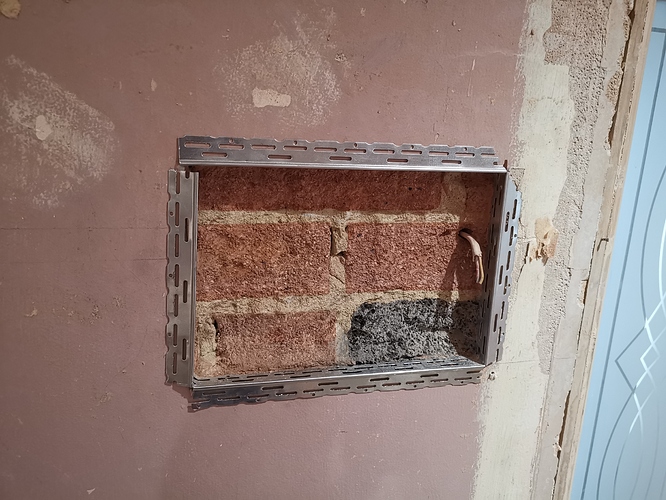
Beginning of the year I did a load of renovations to our hall way. I had to get the walls re-plastered as most crumbled away, but I thought it would be a great time get my flush(ish) display I always wanted. We live in an ex-council 1950's house, so everything is brick and more brick, so there was no easy option of holes in plasterboard.
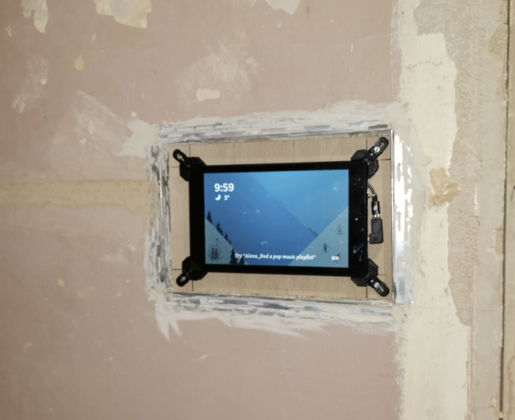
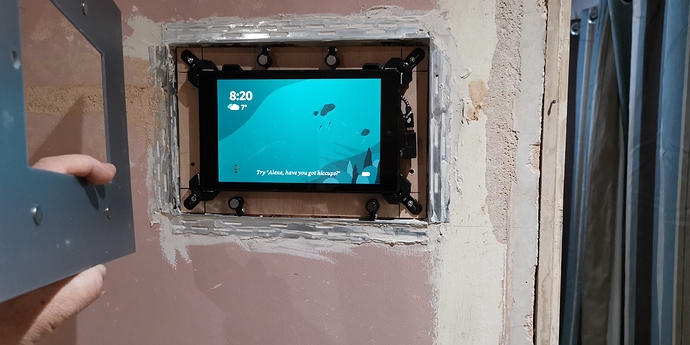
The Hole for the tablet is much larger than it needs to be in case I want a bigger screen in the future. I designed printed out some adjustable brackets that will allow different tablets to be used.
The cut edge had some plaster beading on it and the plaster man was able to go straight up to it
The front cover is some chromatic silver perspex (PERSPEX® Royals - PERSPEX® Acrylic Crown Jewels | PERSPEX®) that I cut a hole in and there are several magnets stuck to it so I can pop the cover off easily.
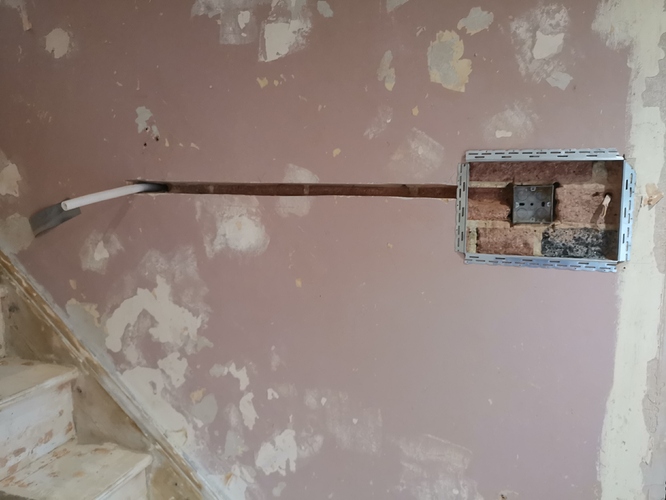
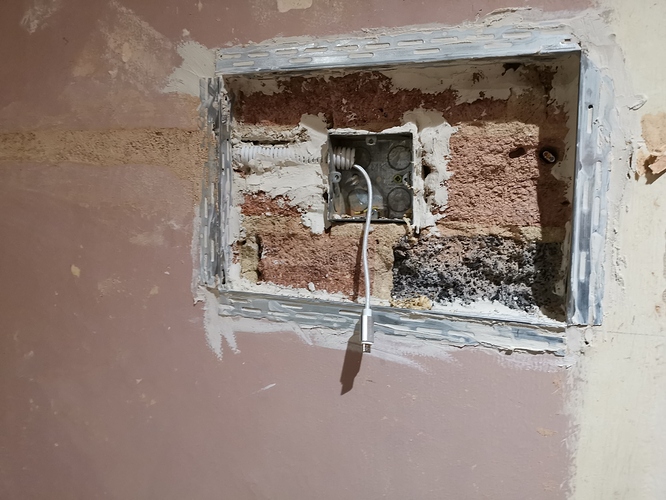
The power cable is ducted sideways, there is room for another cable like audio, but I have not bothered as the tablet does not support multi-room audio with alexa.
The device just runs from a normal USB plug that pops into the room behind.
It was a dusty project and personally I would not have done it was I not stripping back the room to bare., but I'm really glad I did, everybody who walks through the door loves it and it's the perfect place to catch up on events, weather etc.
I only recently added hubitat dashboard which looks great.
I'm planing a simpler job in the media room, where I'm integrating another tablet into my server door. P
